
Changing your username in Windows 11 is easy and can help personalize your computer experience or correct a misspelled name. Whether you’ve recently changed your name or simply prefer a different username to display, this guide will walk you through the steps to update your username in Windows 11. Please know that your username is different from your email address or Microsoft account name; it’s the name that appears on your Windows welcome and lock screens.
For Microsoft Account Users
If you’re using a Microsoft account to sign into Windows 11, changing your username means updating your information on the Microsoft website. Here’s how to do it:
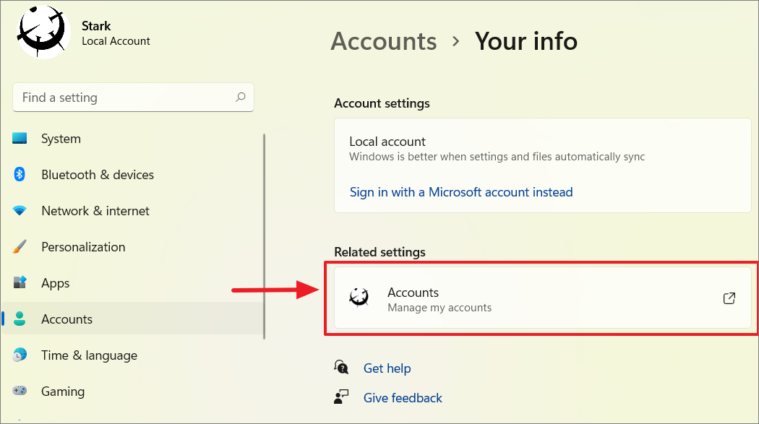
First, open ‘Settings’ and go to the ‘Accounts’ tab on the left pane. Then, click ‘Your info’ on the right pane.

Then scroll down and click on the ‘Accounts’ button under Related settings.
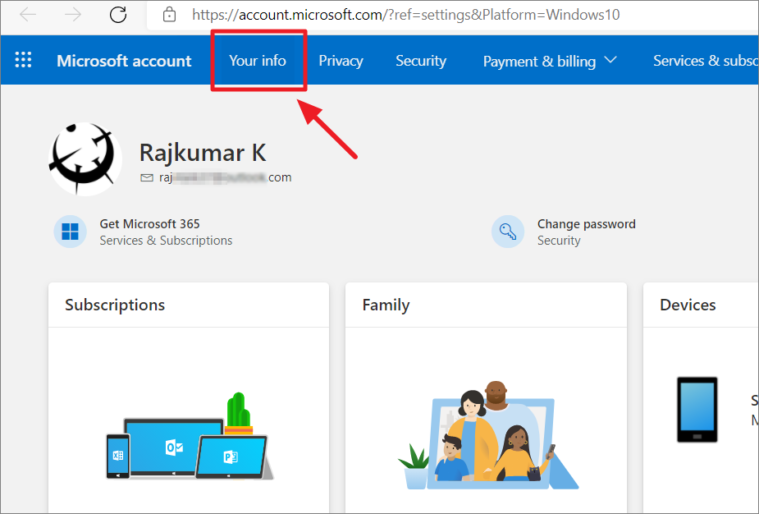
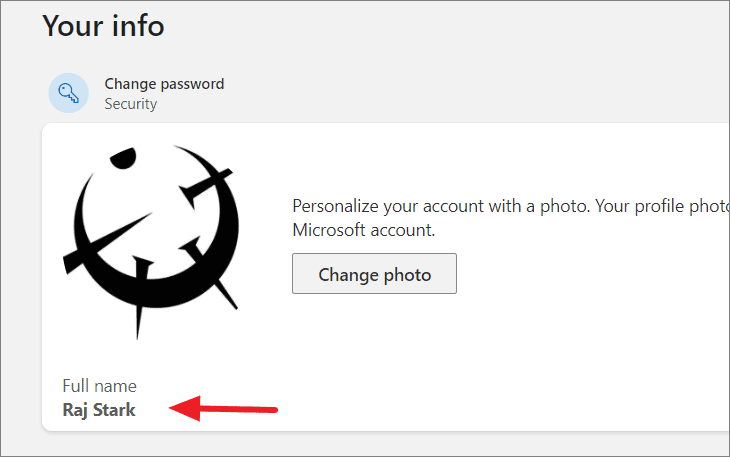
It will open up your Microsoft account on your default browser. There, click ‘Your info’ at the top left corner of the page.
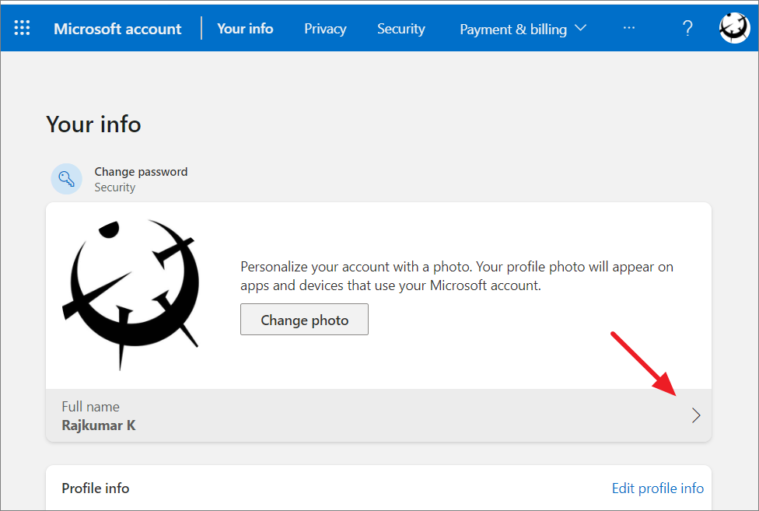
Then, click the arrow button next to your account name.
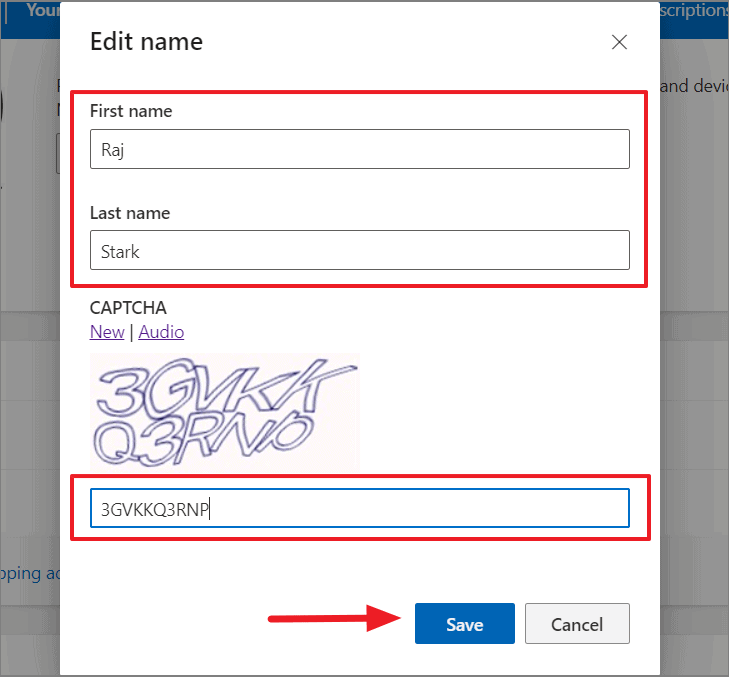
The Edit name pop-up will appear. Here, change the new account name as needed and fill in the captcha for verification. Then, click the ‘Save’ button.
Now, check if the username change has been applied to the Your info page and restart your system for the change to take effect on the computer.
For Local Account Users
If you’re using a local account on Windows 11, you have a couple of options to change your username.
Change Account Name Using Control Panel
If you want to change the username of the local account, there are several different ways to do it. One of the easiest of those methods is using the Control Panel to change the account name.
Search for ‘Control Panel’ in the Search feature and open it.
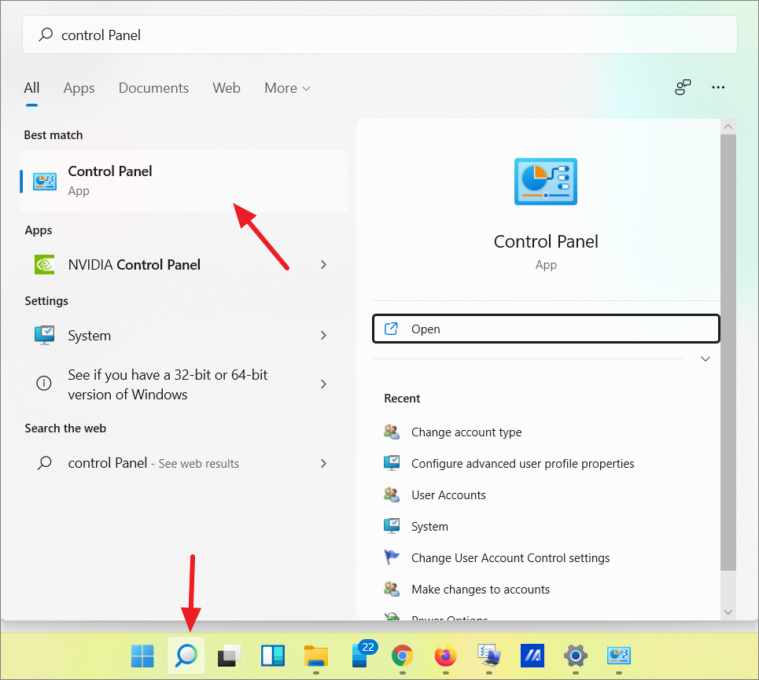
Under the User Accounts category, click on the ‘Change account type’ option.
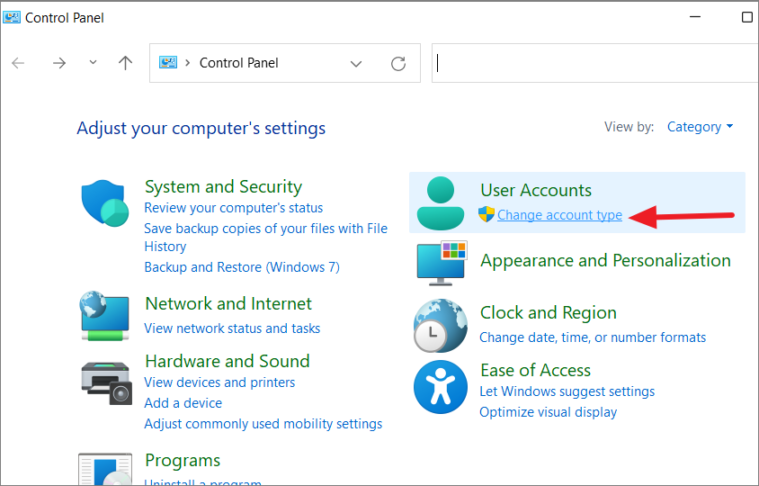
Or, go to User Accounts > User Accounts > Manage another account.
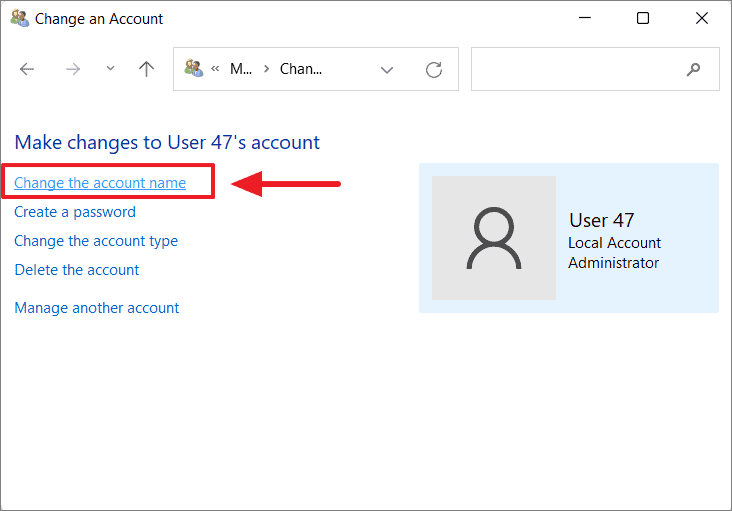
On the next page, you will a list of the local accounts on your computer. Select the account that you want to rename.
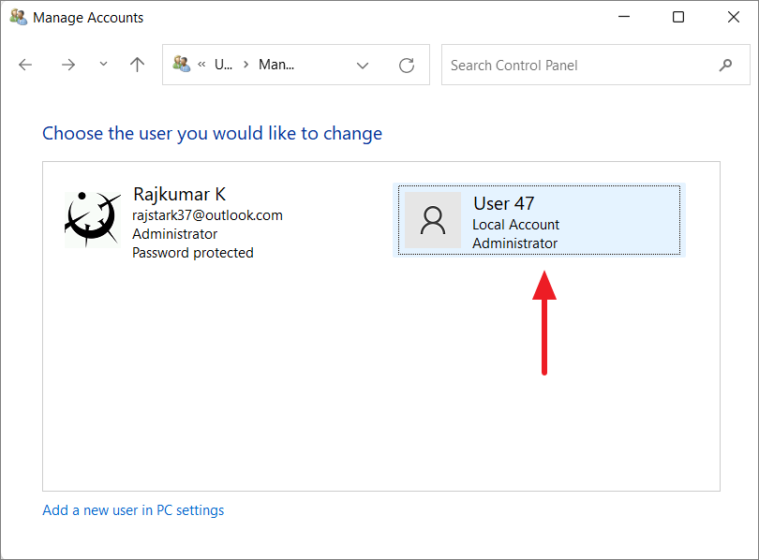
Then, click on the ‘Change the account name’ option.
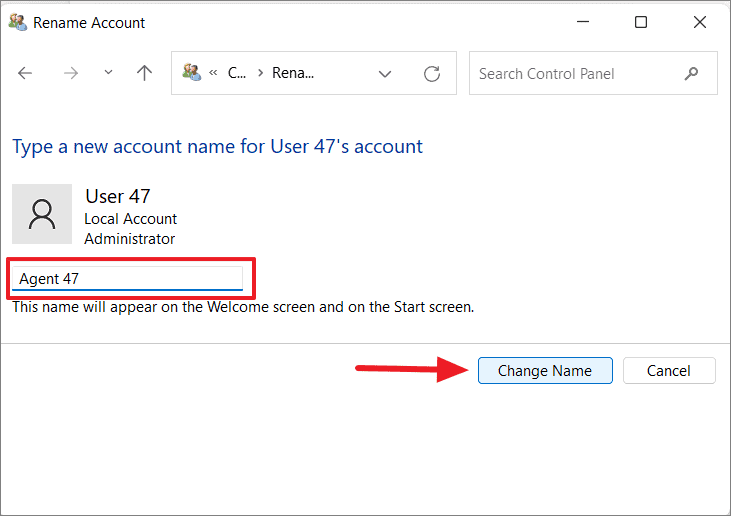
On the Rename Account page, enter the new user account name in the box and click the ‘Change Name’ button to save changes.
Then reboot the system and now the Login screen should display the new username.
Change Account Name via Netplwiz Command
You use the legacy account management tool ‘Advanced User Accounts Control Panel’, also known as the ‘netplwiz’ command to change the username of an account.
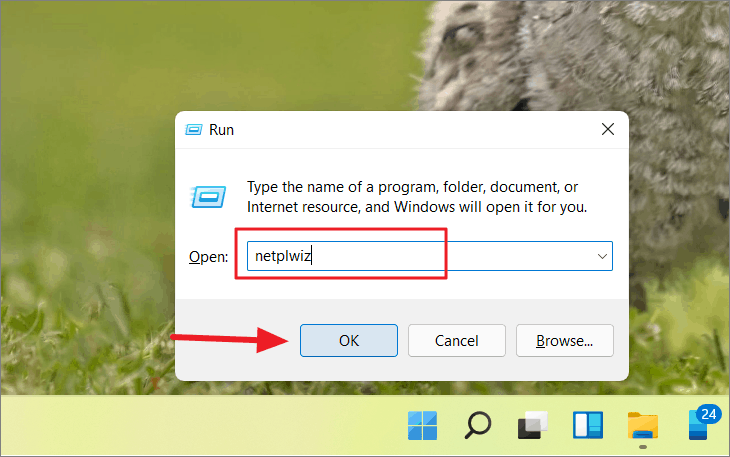
Open the Run-dialog box via the shortcut key Windows + R, type netplwiz in run the command and click OK.
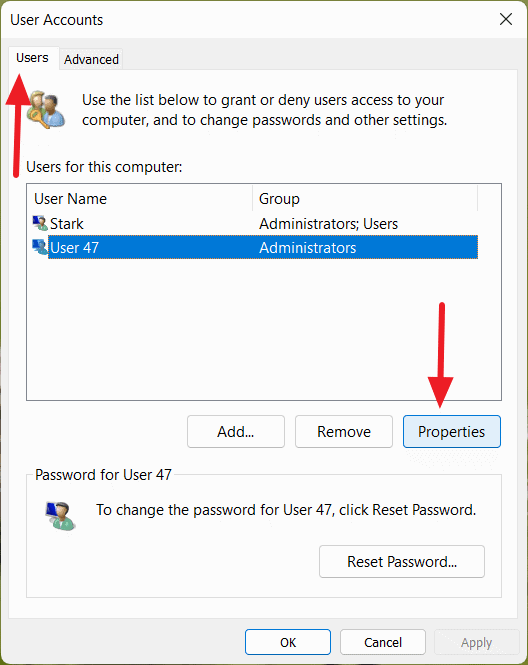
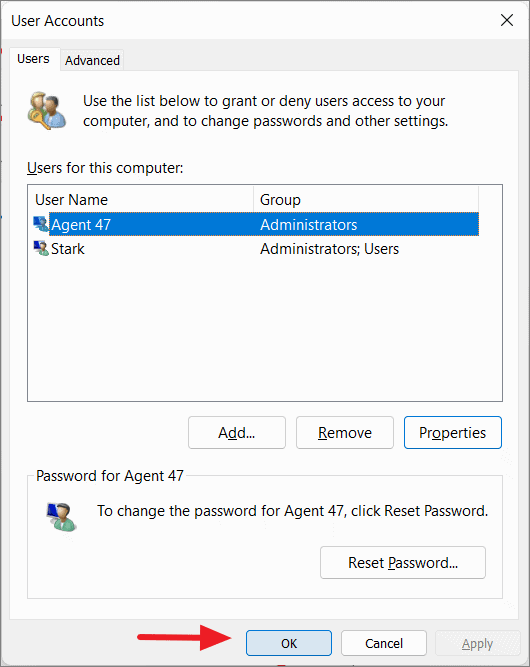
This will open the User Accounts dialog window. Under the ‘Users’ tab, you will see the list of the user accounts. Choose the account you would like to rename and click ‘Properties’.
Under the General tab, update the ‘User name:’ field to change the account username. You can also enter the Full name and Description, which are optional. Then, click ‘Apply’ to apply the changes and select ‘OK’.
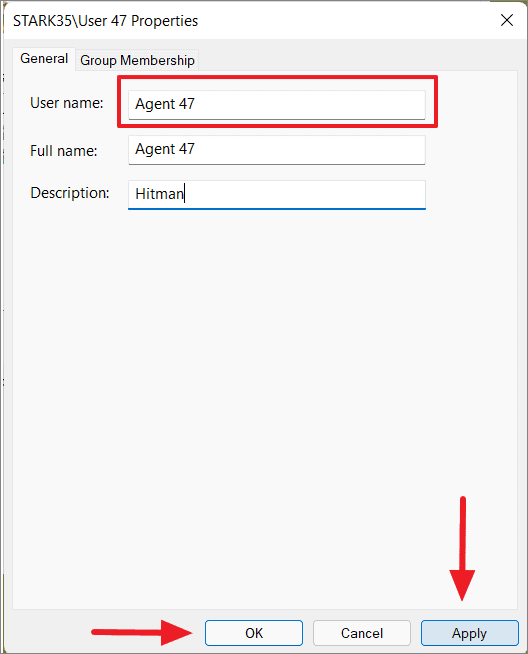
Click ‘OK’ to close the dialog box. Now the username will be changed.
Change Local Username using Command Prompt
Windows 11 username for a local account can also be changed via the command prompt. Search for ‘cmd’ or ‘Command Prompt’ in the Windows 11 search bar and click ‘Run as administrator’ on the right pane.
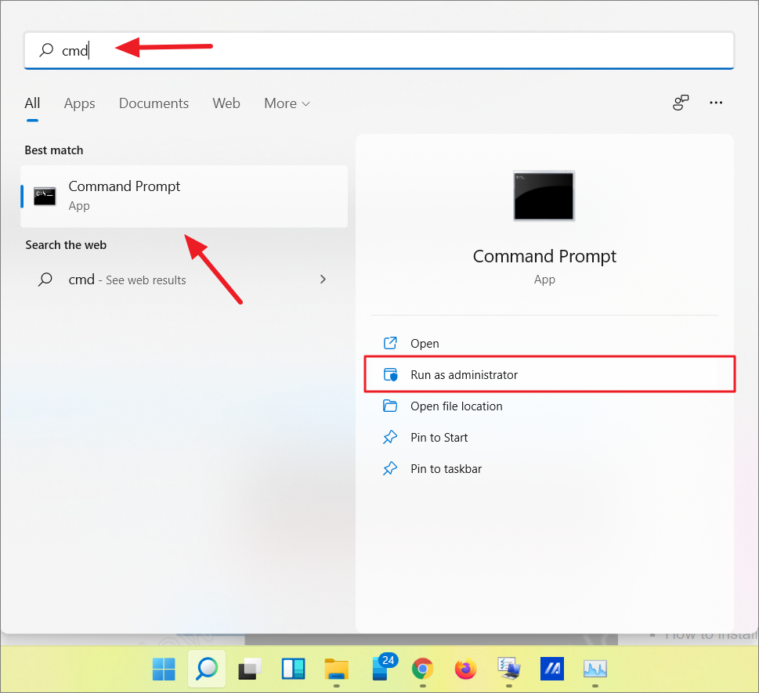
Remember, the command prompt must be run as administrator or this won’t work.
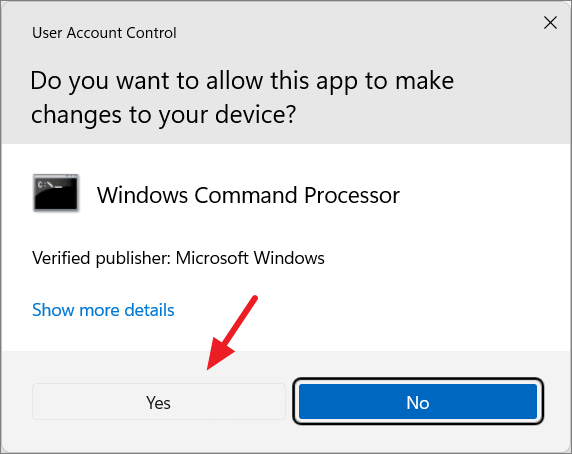
If Windows asks permission, click ‘Yes’ to continue.
In the command prompt, type the below command to list all the local user account names including default accounts:
wmic useraccount get fullname, name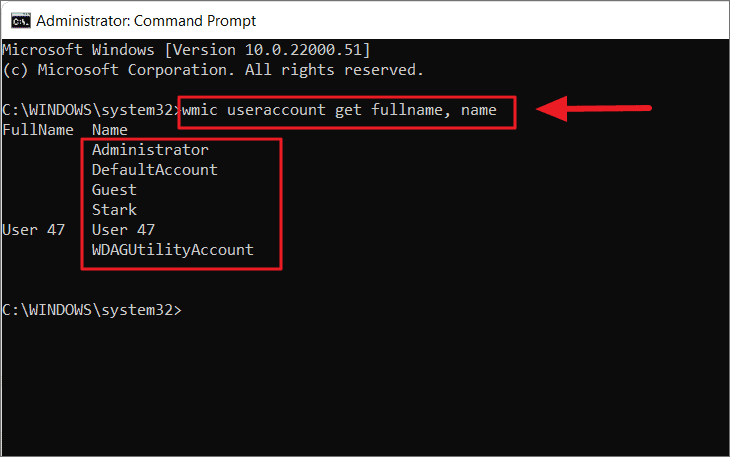
Now, run the following command to change the user account name. Replace “Current User Name” with the name of the account you want to change and “New User Name” with the new username you want to give. Also, make sure to put Usernames within double quotes (” “).
wmic useraccount where name="Current User Name" rename "New User Name"Example command:
wmic useraccount where name="User 47" rename "Agent 48"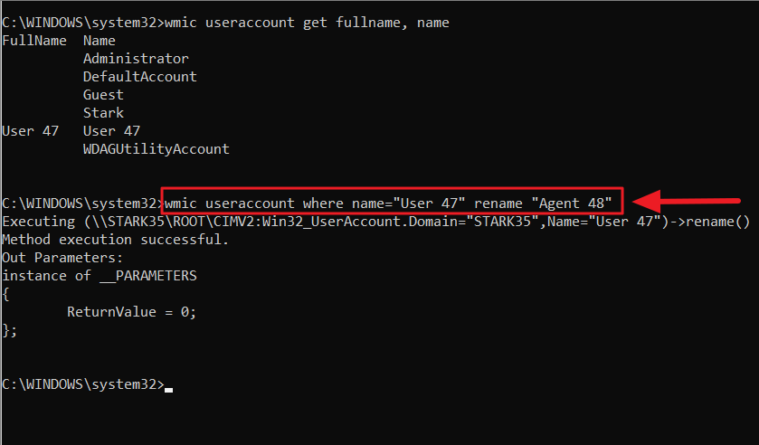
Now, restart your computer to implement the changes.
Change Local Account Username using PowerShell
This is a method preferred by power users, but anyone can use this method to change local account names. Windows PowerShell is more advanced and powerful than the traditional Command Prompt. For those who wish to change username via PowerShell, this is how you do it:
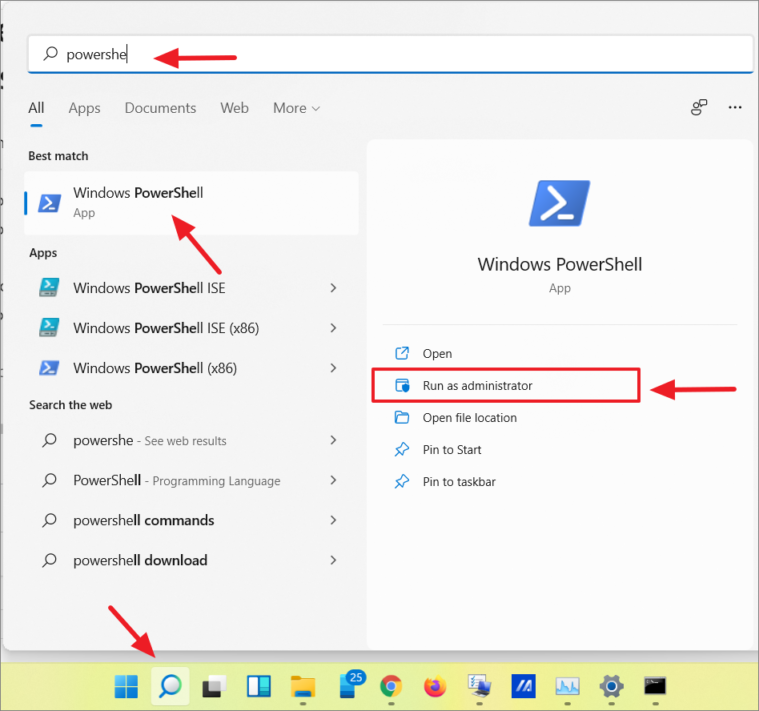
Search for ‘PowerShell’ in the Windows 11 search bar and click ‘Run as administrator’ under Windows PowerShell on the right pane.
Type the below command to list all local user account names on the computer and note the username you want to change:
Get-LocalUser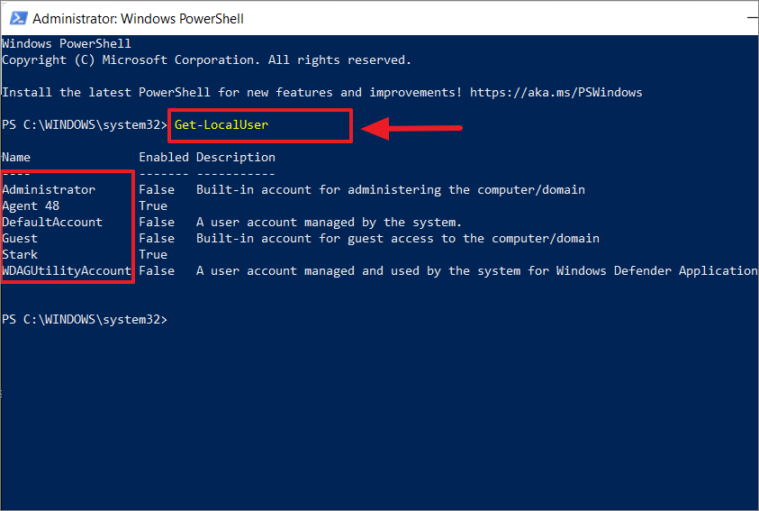
Now, give the command following to change the account name and replace “Current Username” and “New Username” accordingly, just like in the previous method:
Rename-LocalUser -Name "Current Username" -NewName "New Username"Example Command:
Rename-LocalUser -Name "Agent 48" -NewName "Hitman"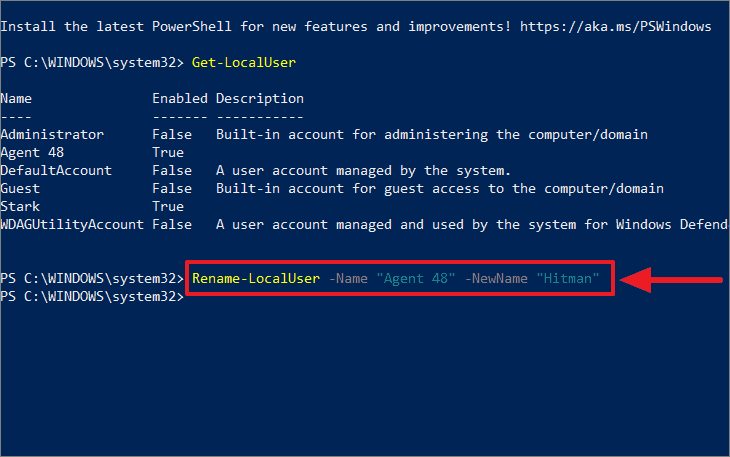
Now, if you try the first command again, you will notice the username is changed.
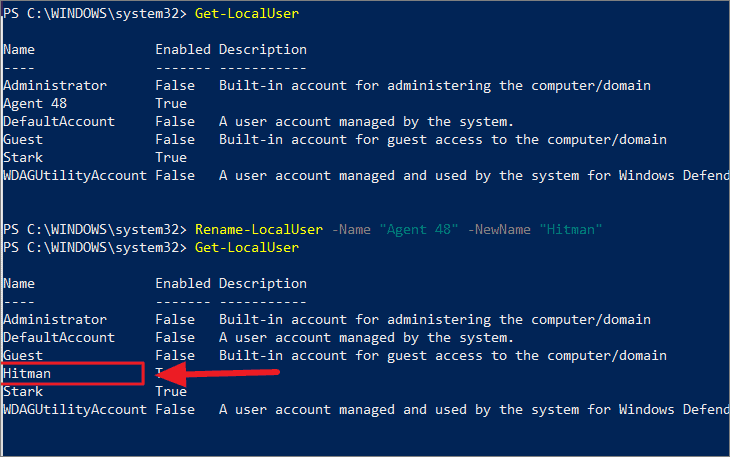
Now, reboot your PC to apply the changes.
Change the Name of the Built-in Administrator account using Local Security Policy
When Windows is installed, there are few built-in hidden users accounts (like Administrator, Guest) are created by the Windows for backup and security purposes. The hidden ‘Administrator’ account is the first account created when the operating system is installed, which is a setup and disaster recovery account.
You can change the name of this account using the Local Security Policy.
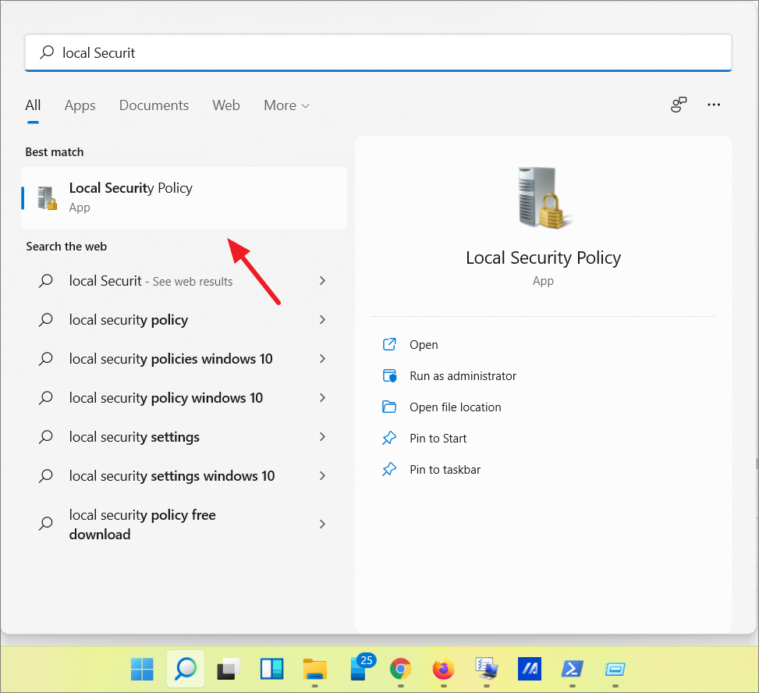
To do that, search for ‘Local Security Policy’ using Windows 11 search button and open it. Or enter secpol.msc in the Run command and open it.
In the Local Security Policy, navigate to Local Policies > Security Options.
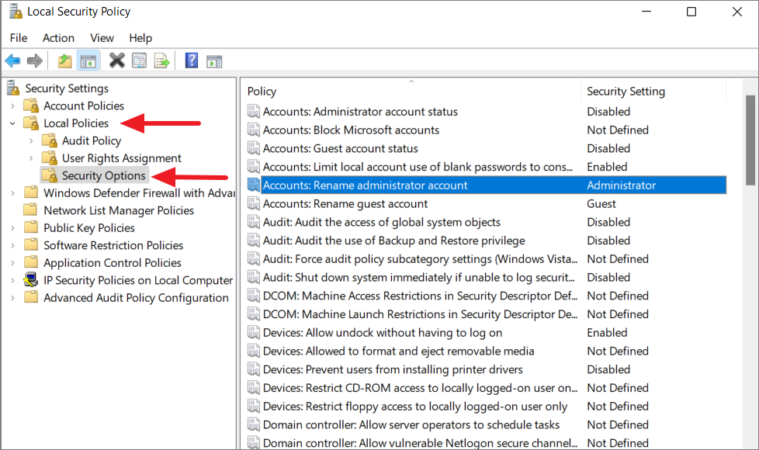
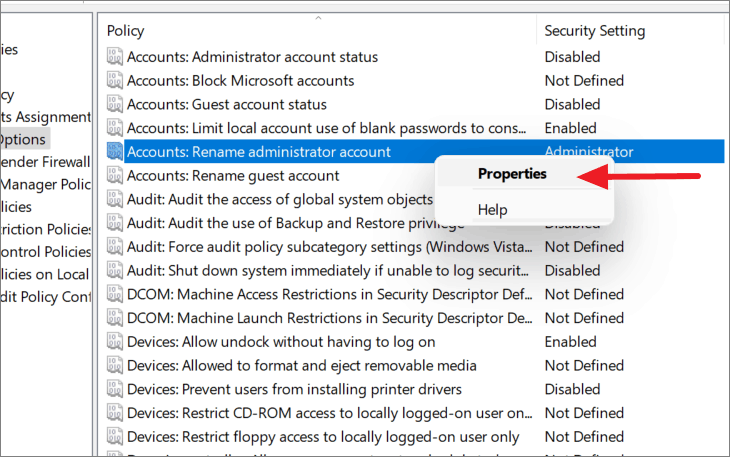
In the right-side panel, right-click on the ‘Accounts: Rename administrator account’ and select ‘Properties’ or double-click on it.
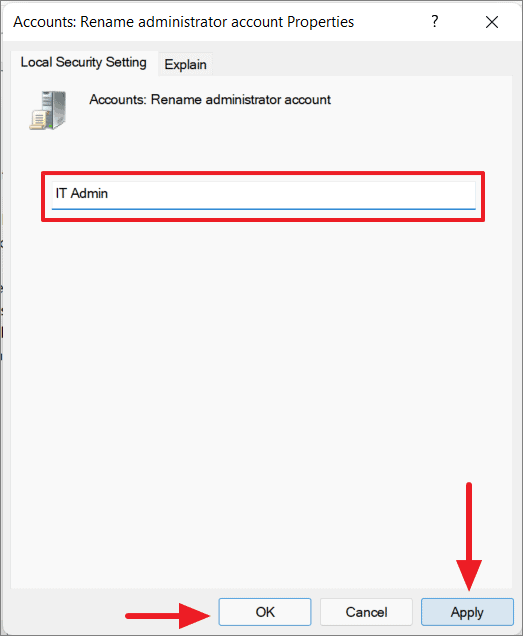
Now you can change the default ‘Administrator’ account name to any other name you want to use. Then, click ‘Apply’ and select ‘OK’.
After changing your username, it’s a good idea to sign out and then sign back in to your Windows 11 account for the changes to take effect. In some cases, you might need to restart your computer. Keep in mind that if you’re using a Microsoft account, changes will sync across all devices where you use this account.


