
Reinstalling your operating system can be a time-consuming task that involves configuring numerous settings tailored to your machine. However, it’s often worthwhile if you’re facing persistent issues with your computer, planning to pass it on to someone else, or aiming to remove unwanted software and malware that have found their way onto your PC.
4 Ways to Reinstall Windows 11
If you’re new to reinstalling Windows, it’s normal to feel a bit confused. With multiple methods available, deciding which one is right for you can be tricky. Below, we’ve compiled several ways to reinstall Windows 11 so you can select the one that best suits your needs.
- Reinstall Windows 11 from Settings
- Reinstall Windows from Recovery Mode
- Reinstall Windows 11 by Mounting an ISO File
- Reinstall Windows 11 from a Bootable USB
Reinstall Windows 11 from Settings
If you prefer a straightforward method without the need for external media, you can reinstall Windows 11 directly from the system settings.
Steps to Reinstall Windows 11 from Settings
-
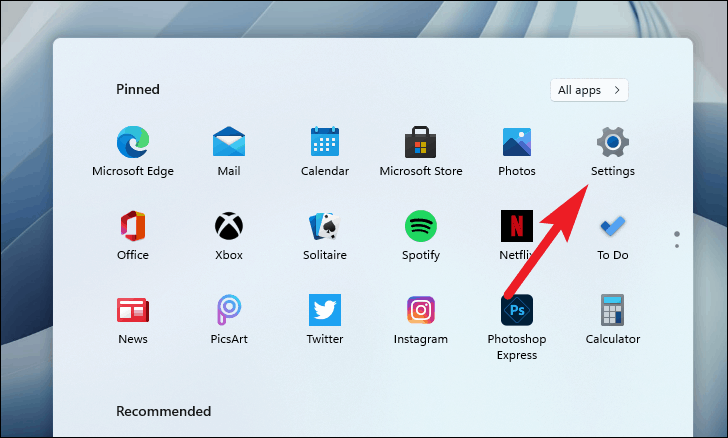
Open the Settings app by clicking on the Start Menu and selecting the Settings icon, or by pressing Windows + I on your keyboard.
-
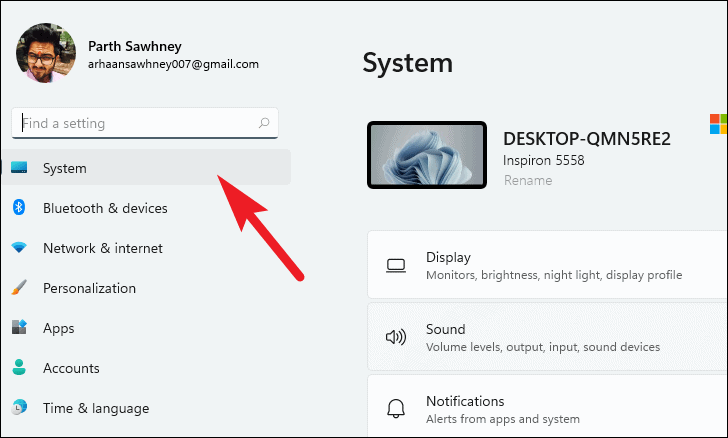
In the Settings window, click on System from the left-hand menu.
-
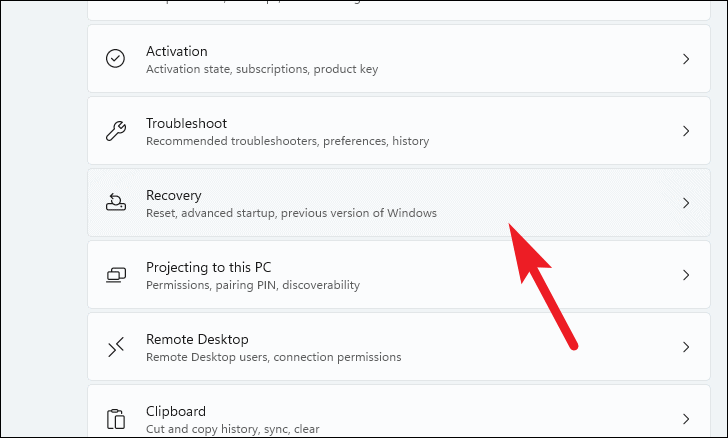
Scroll down and select Recovery from the list of options.
-
Under Recovery options, click on the Reset PC button next to “Reset this PC”.

-
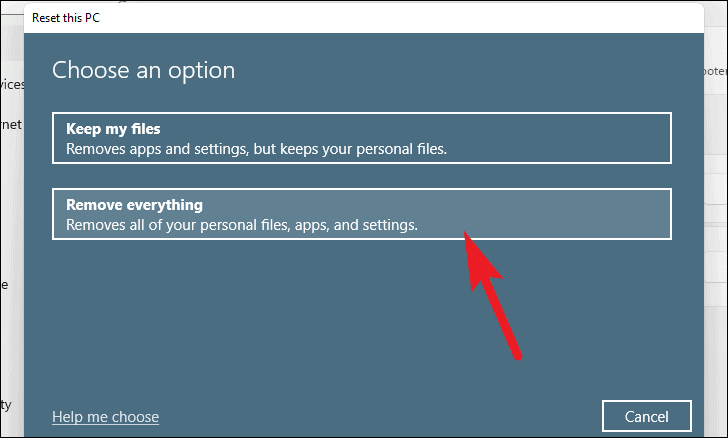
A new window will pop up. Choose Remove everything if you want a fresh start, or Keep my files if you want to retain your personal files.
-
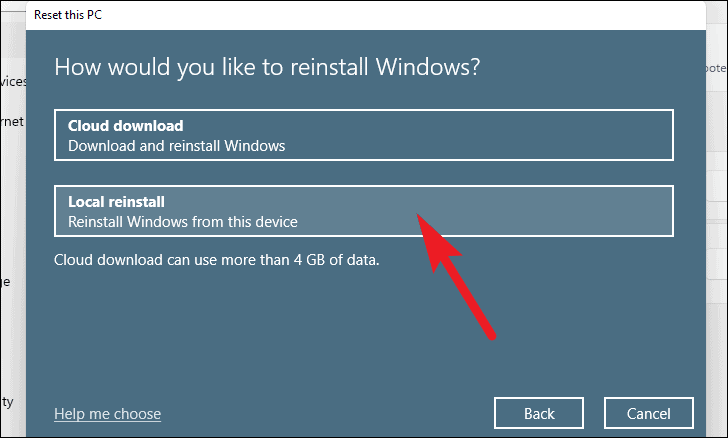
Next, select the method of reinstallation. Choose Cloud download to download a fresh copy of Windows 11 from Microsoft’s servers (requires an internet connection and at least 4GB of data), or Local reinstall to use the existing system files on your device.
Note: Neither option requires external installation media.
-
Review the current settings. If you wish to make changes, click on Change settings; otherwise, click Next to proceed.
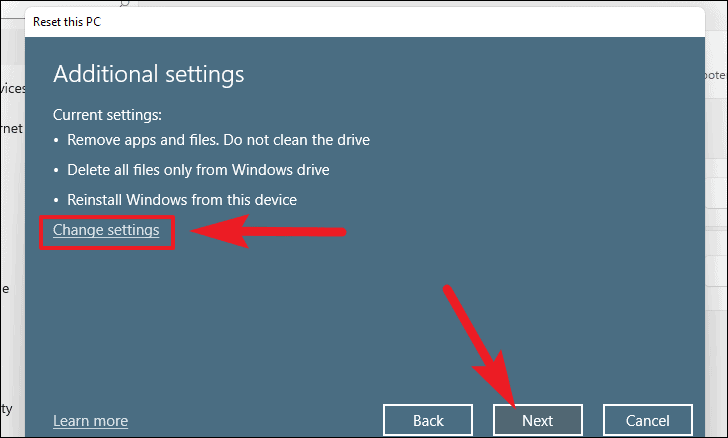
Note: If you clicked Next, skip to step 9.
-
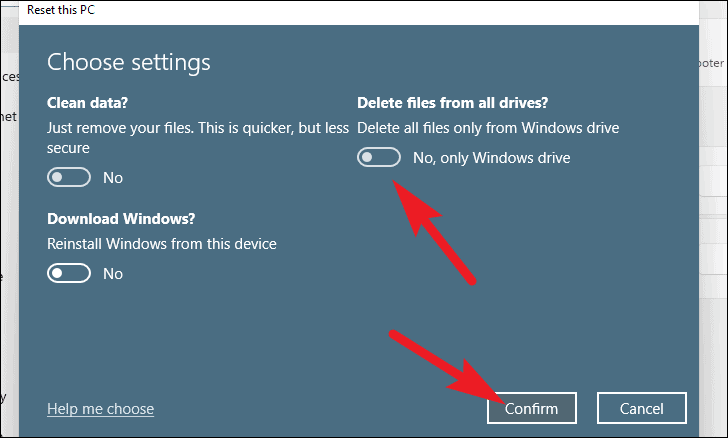
In the Change settings menu, you can adjust options such as whether to Clean data (making files unrecoverable) and switch between Cloud download and Local reinstall. Toggle the switches as per your preference, then click Confirm.
-
Windows will display a list of settings and the impact of resetting. Once you’ve reviewed them, click Reset to begin the reinstallation process.
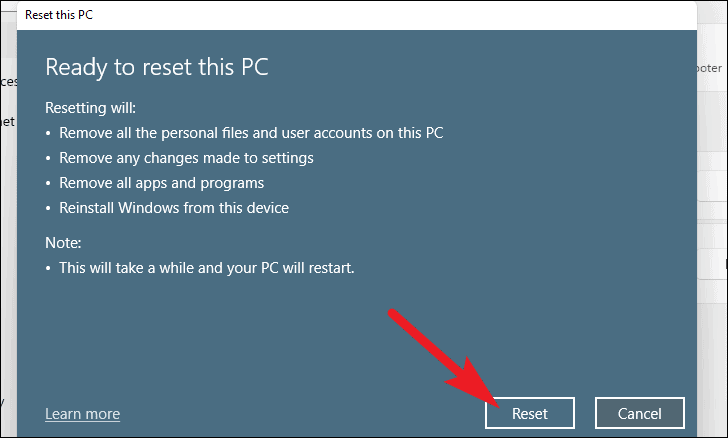
The resetting process may take some time, and your computer might restart multiple times. Be patient and let Windows complete the reinstallation.
Reinstall Windows from Recovery Mode
If you’re unable to access your desktop properly or have forgotten your password, you can reinstall Windows 11 directly from the Recovery Mode.
Steps to Reinstall Windows 11 from Recovery Mode
-
From the sign-in screen, click on the Power icon at the bottom right corner. Hold down the Shift key and click on Restart.

-
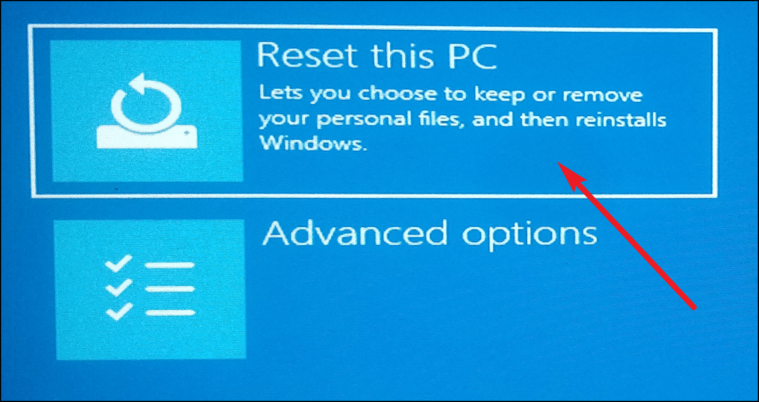
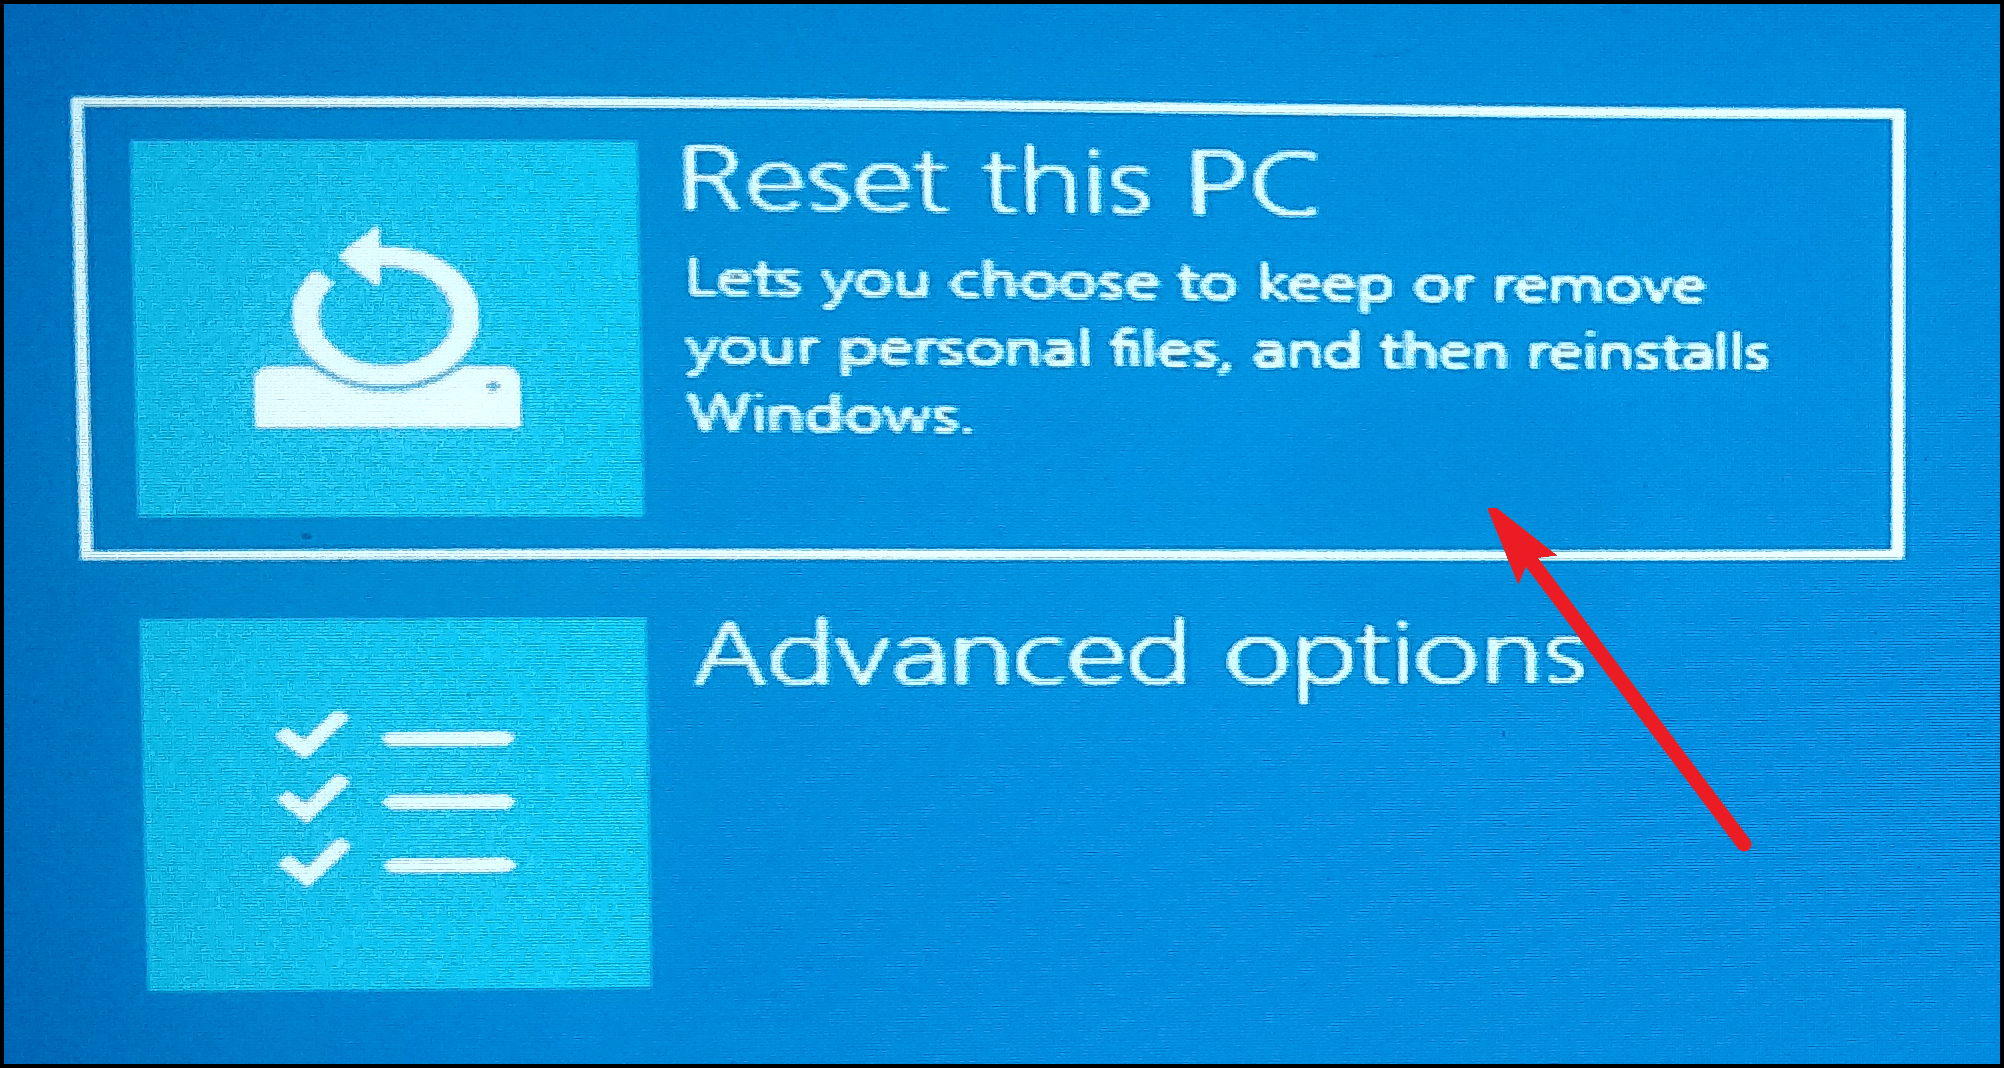
Your PC will restart and boot into the Windows Recovery Environment (WinRE). Once there, select Troubleshoot.
-
In the Troubleshoot menu, click on Reset this PC.
-
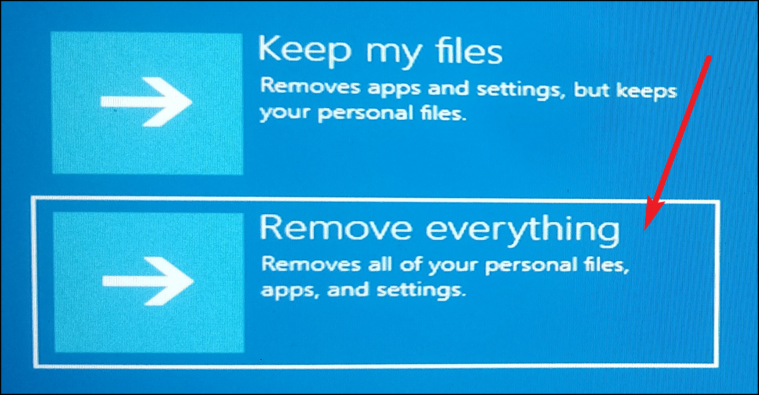
Choose whether you want to Keep my files or Remove everything, depending on your preference.
-
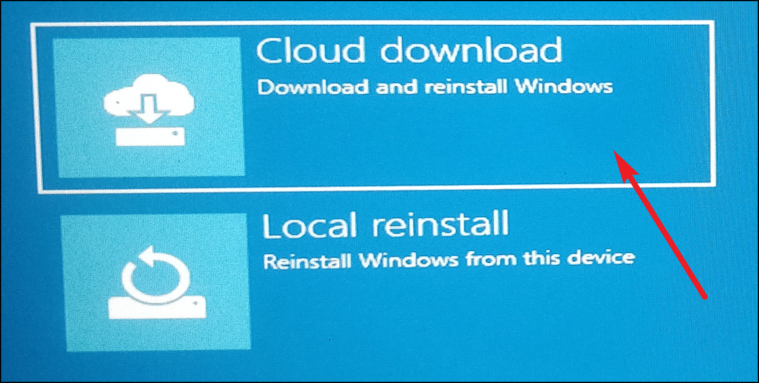
Select the reinstallation method. Choose Cloud download to download Windows 11 from Microsoft’s servers, or Local reinstall to use the existing system files.
Note: Neither option requires external installation media.
-
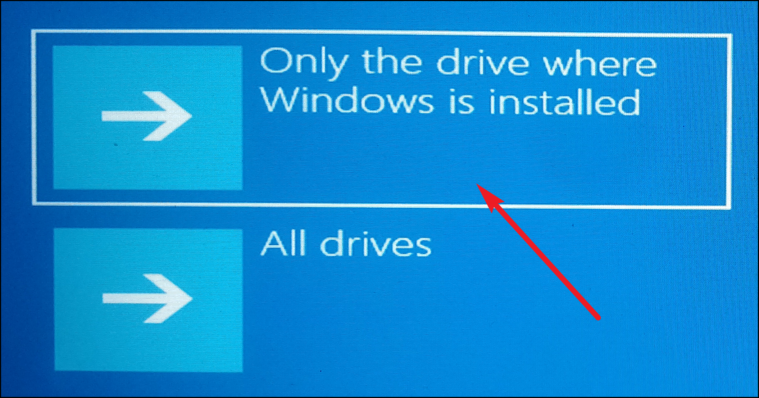
Decide whether you want to reset Only the drive where Windows is installed or All drives if you have multiple partitions.
-
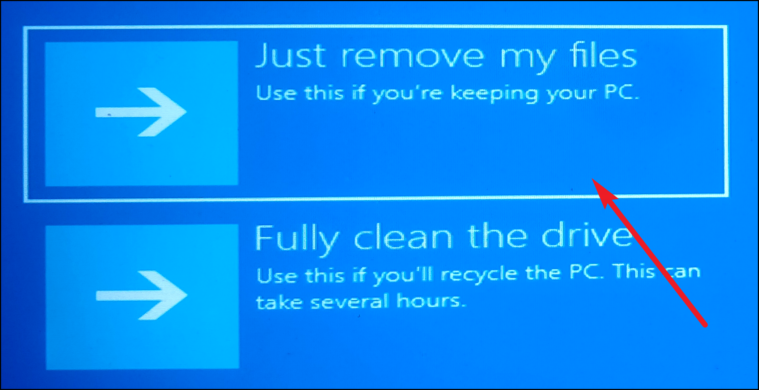
Choose Just remove my files if you’re keeping the PC, or Fully clean the drive to make sure files are unrecoverable (recommended if you’re giving away the computer).
-
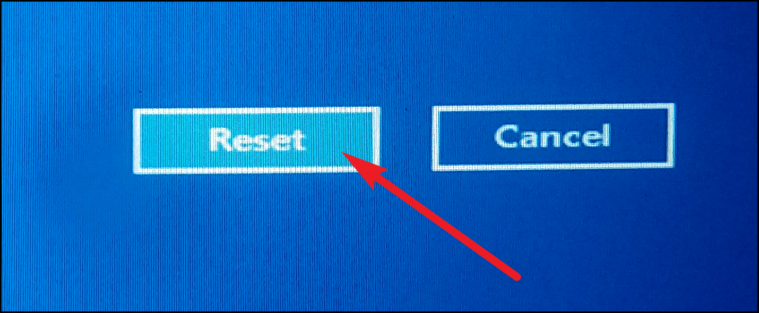
Review the reset information, then click Reset to start the reinstallation process.
Your computer will restart and begin reinstalling Windows 11. This process may take a while and involve several restarts.
Reinstall Windows 11 by Mounting an ISO File
You can reinstall Windows 11 by mounting an ISO file directly on your computer. This method allows you to keep your files and settings intact while reinstalling the operating system.
Prerequisites
- Windows 11 ISO File
- A computer running Windows
Steps to Reinstall Windows 11 Using an ISO File
-
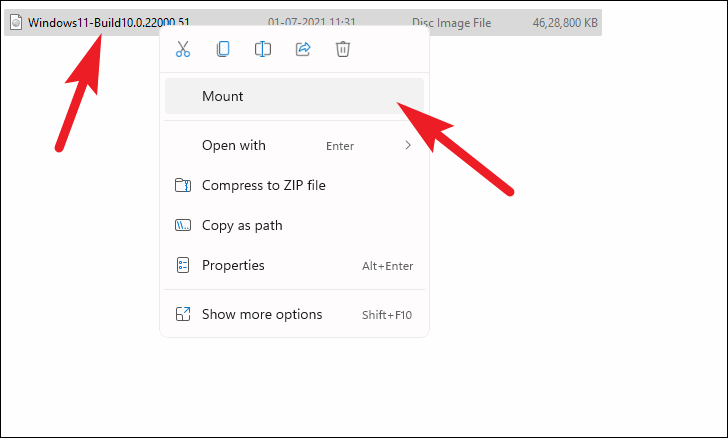
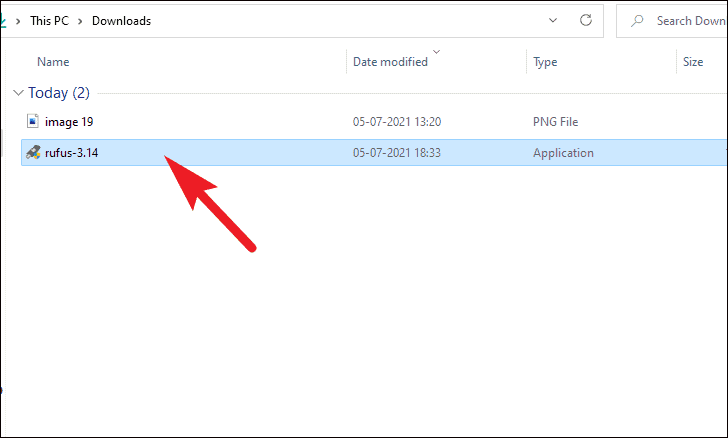
Locate the Windows 11 ISO file on your computer. Right-click on the file and select Mount from the context menu.
-
The ISO will appear as a virtual drive under This PC. Navigate to the mounted drive and double-click on the
setup.exefile to start the setup.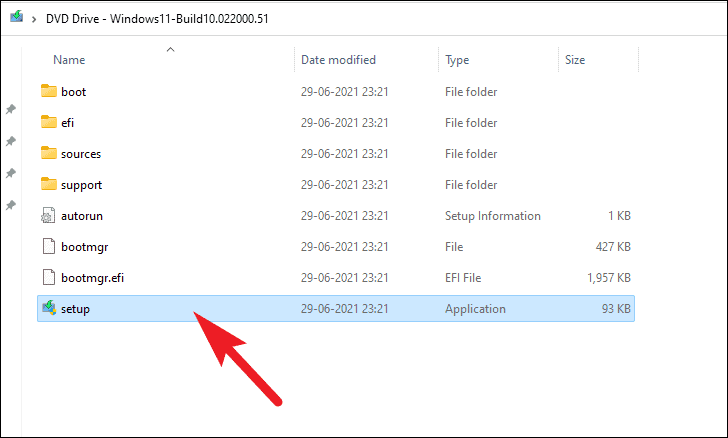
-
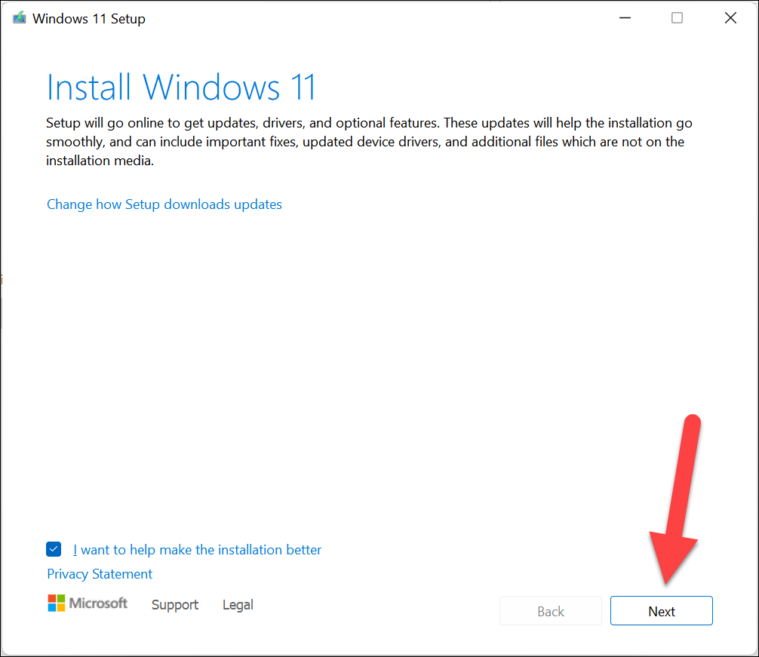
When the setup window appears, click Next to proceed.
-
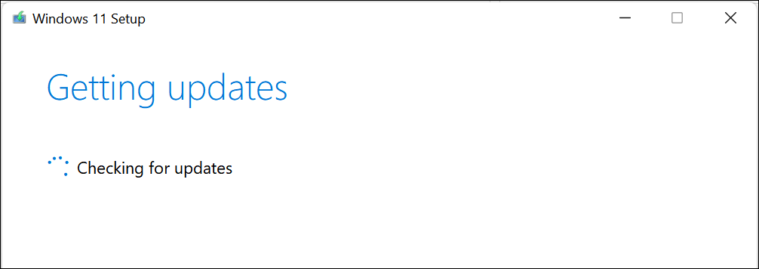
The setup will check for updates. Wait while it downloads any necessary updates.
-
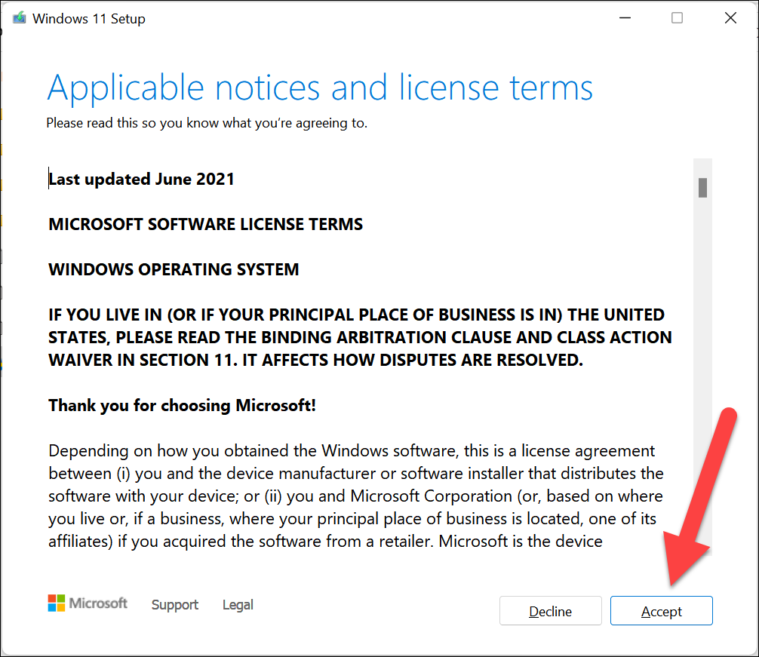
Read the End User License Agreement and click Accept to continue.
-
The setup may check for updates again. Please wait as it configures the installation.

-
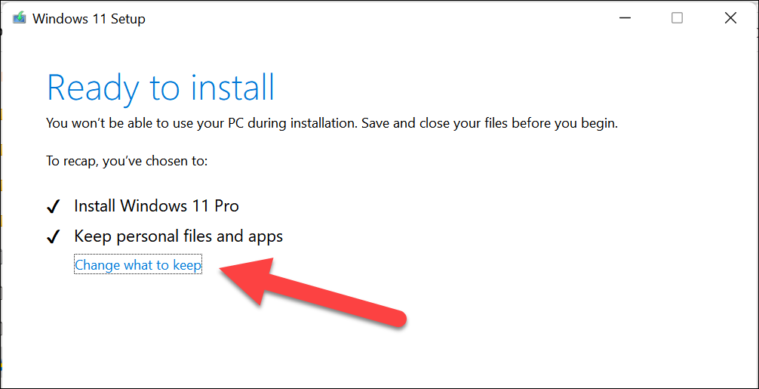
You’ll see a summary of what will be installed and what will be kept. To change these settings, click on Change what to keep.
-
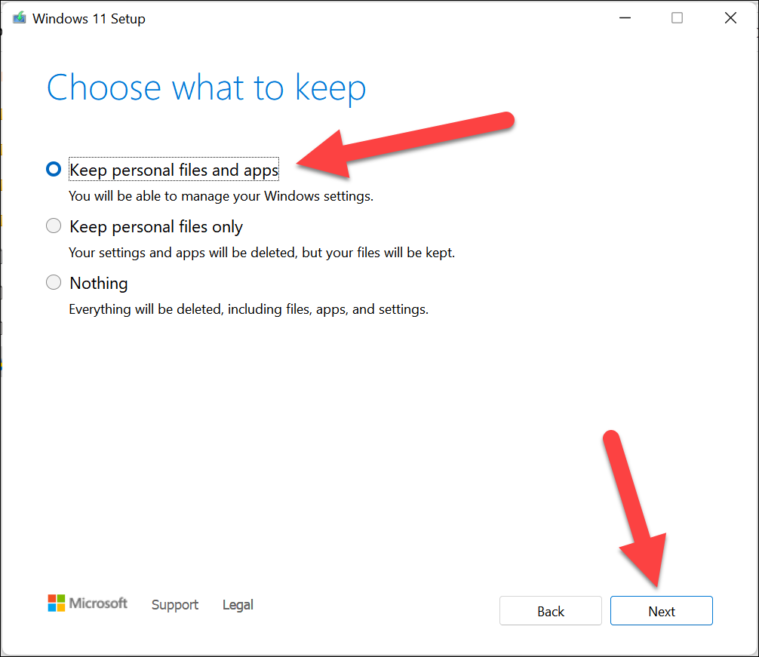
Choose one of the following options:
- Keep personal files and apps: Preserves your files, settings, and apps.
- Keep personal files only: Keeps your files but removes apps and settings.
- Nothing: Removes everything and performs a clean installation.
After selecting an option, click Next.
-
Review your choices, then click Install to begin the reinstallation.
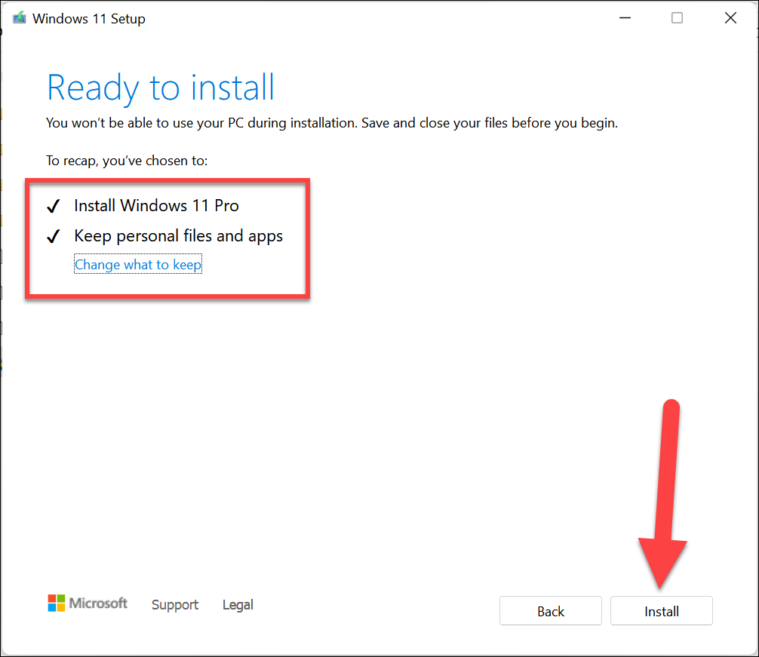
The installation process will start, and your computer will restart several times. Make sure not to turn off your PC during this time.
Reinstall Windows 11 from a Bootable USB
Using a bootable USB drive is a reliable way to perform a clean installation of Windows 11, especially if you’re unable to boot into your existing OS.
Prerequisites
- Windows 11 ISO File
- A USB flash drive with at least 8GB of storage
- A Windows computer to create the bootable USB
Create a Bootable USB Drive
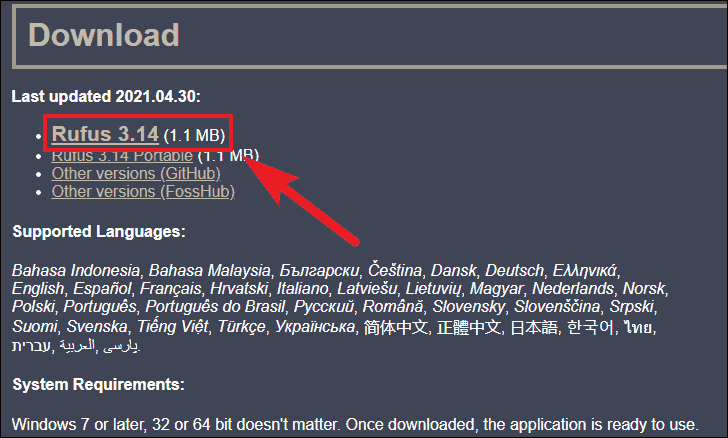
We’ll use Rufus to create the bootable USB.
-
Visit the Rufus website and download the latest version of Rufus under the Download section.
-
Run the Rufus executable file you just downloaded. No installation is required.
Note: Rufus is a portable application and doesn’t need to be installed.
-
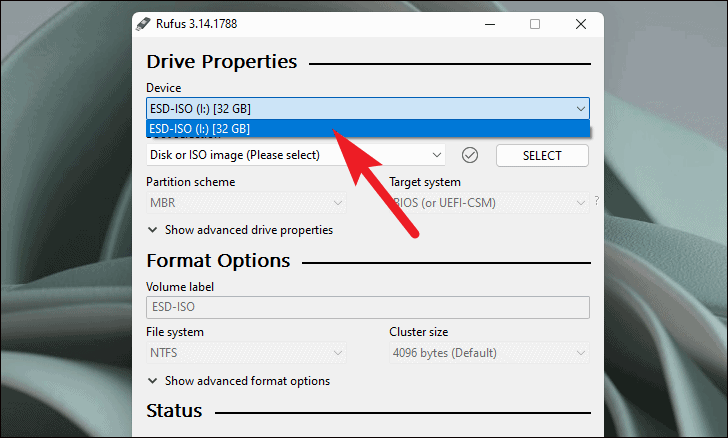
Insert your USB flash drive. Rufus should automatically detect it. If multiple drives are connected, select the correct one from the Device dropdown menu.
-
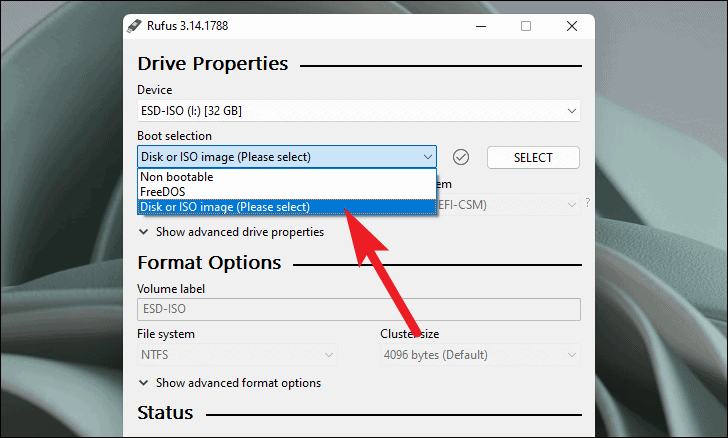
Under Boot selection, ensure Disk or ISO image is selected. Click SELECT to browse and choose the Windows 11 ISO file.
-
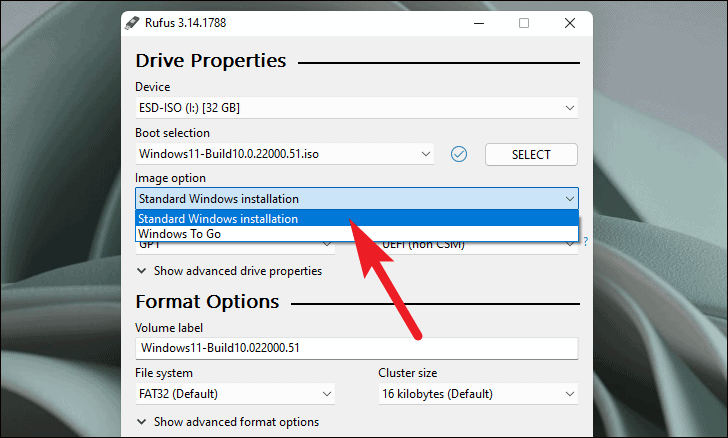
In Image option, select Standard Windows installation.
-
Choose the appropriate Partition scheme:
- Select GPT if your system uses UEFI BIOS mode.
- Select MBR if your system uses Legacy BIOS mode.
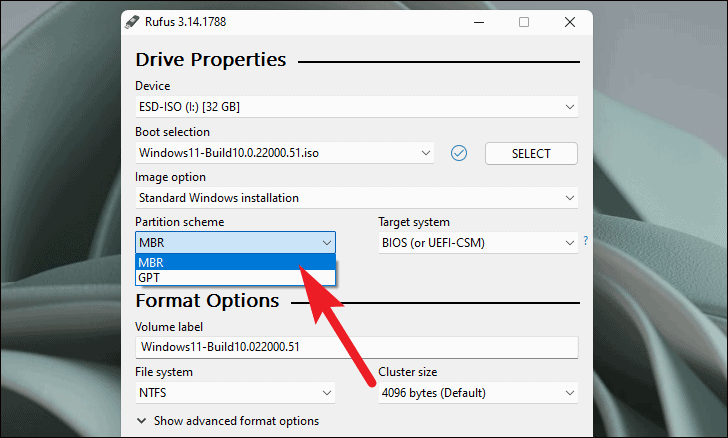
-
Rufus will automatically populate the Volume label, File system, and Cluster size fields. Click Start to begin creating the bootable USB drive.
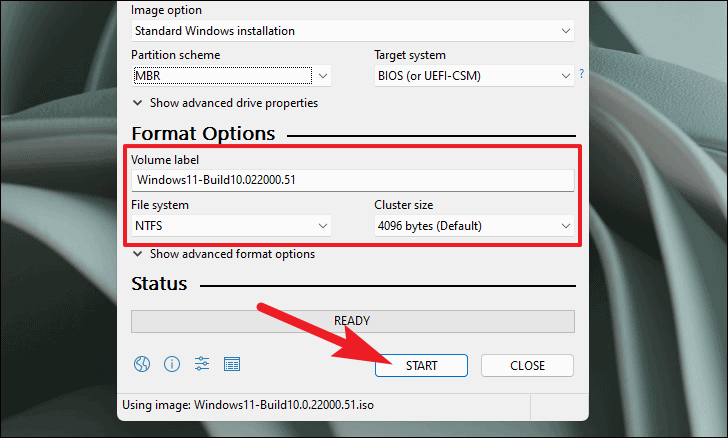
-
You’ll receive a warning that all data on the USB drive will be destroyed. Click OK to proceed.
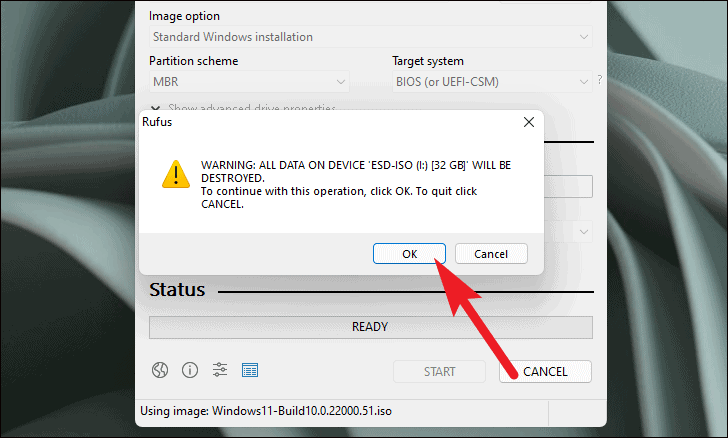
-
Wait while Rufus creates the bootable USB drive. This may take several minutes.
Install Windows 11 from the Bootable USB
-
Insert the bootable USB drive into the target computer and power it on.
-
As soon as the system starts, press the F12 key (this key might be different depending on your manufacturer) to enter the Boot Menu.
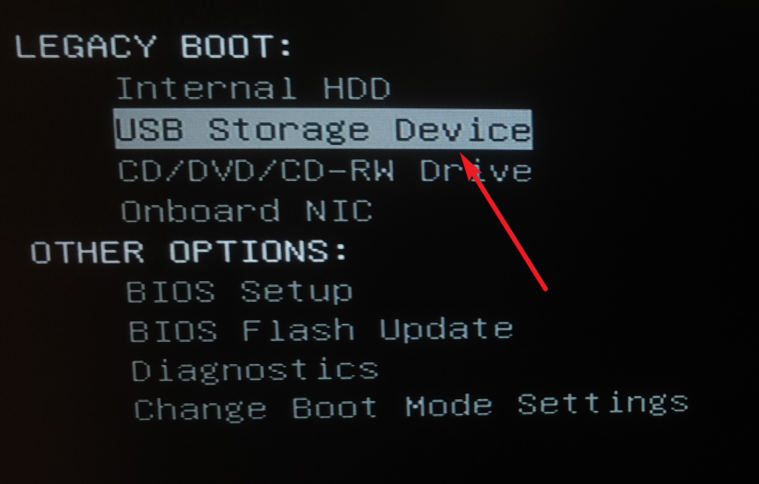
-
Select the USB Storage Device from the list of boot options and press Enter.
-
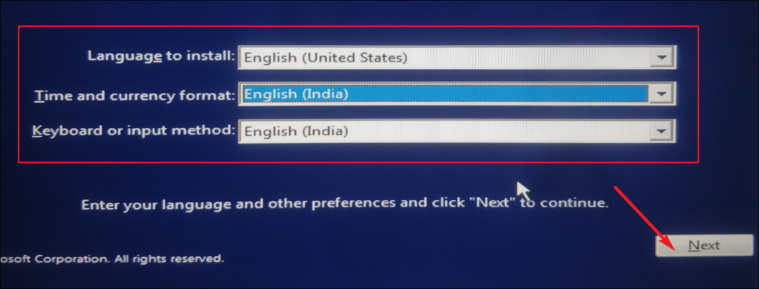
The Windows Setup will begin. Choose your Language, Time format, and Keyboard layout, then click Next.
-
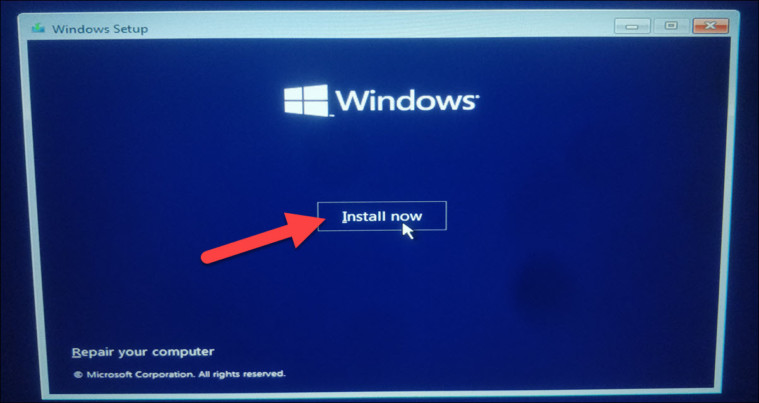
Click on Install now to proceed.
-
If you have a product key, enter it now. Otherwise, click on I don’t have a product key.
-
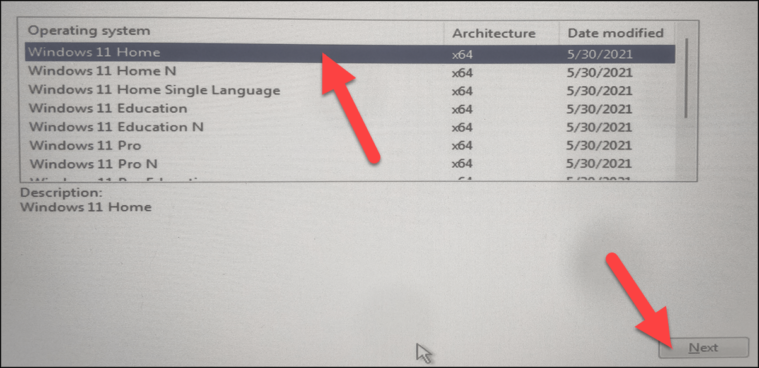
Select the edition of Windows 11 you wish to install, then click Next.
-
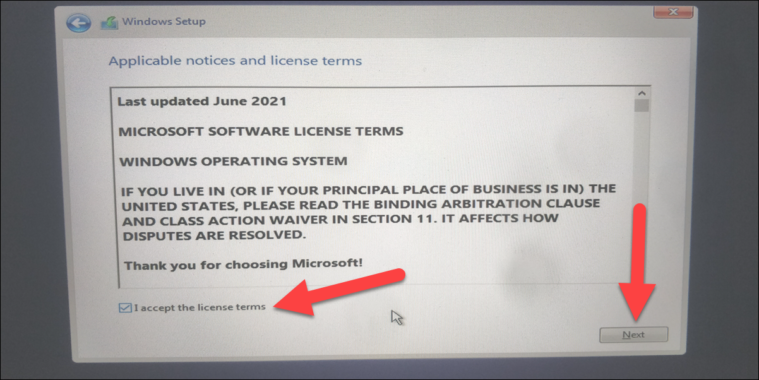
Accept the License terms by checking the box and clicking Next.
-
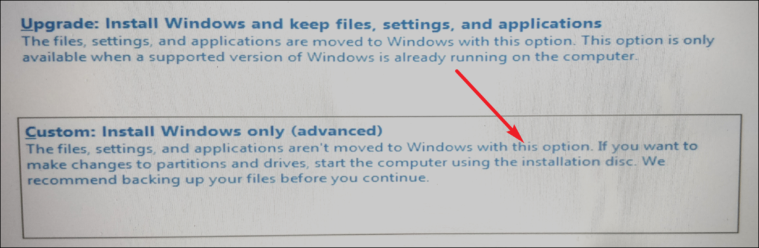
Choose the type of installation:
- Upgrade: Keeps your files, settings, and applications.
- Custom: Installs Windows only (advanced).
For a fresh installation, select Custom: Install Windows only.
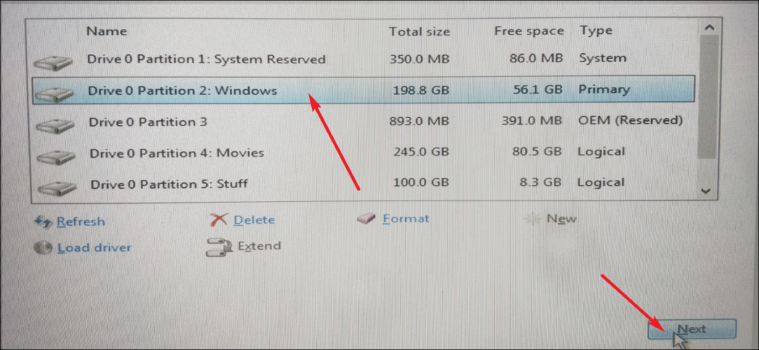
-
Select the partition where you want to install Windows 11 and click Next.
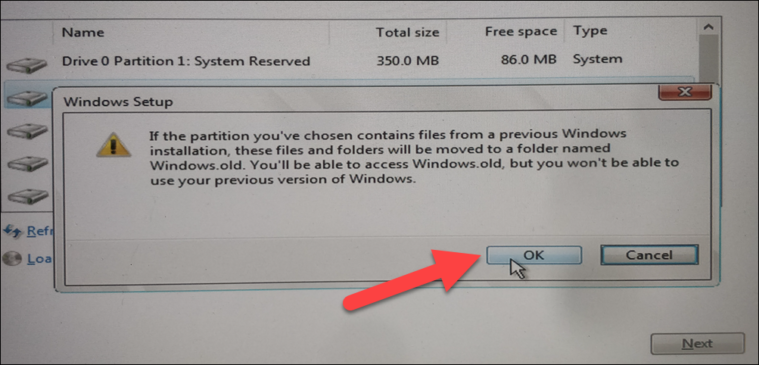
-
You may receive a warning about existing files. Confirm by clicking OK.
-
Windows will begin the installation process. This may take some time and your computer will restart several times.
Setting Up Windows 11 After Installation
After reinstalling Windows 11, you’ll need to go through the initial setup process.
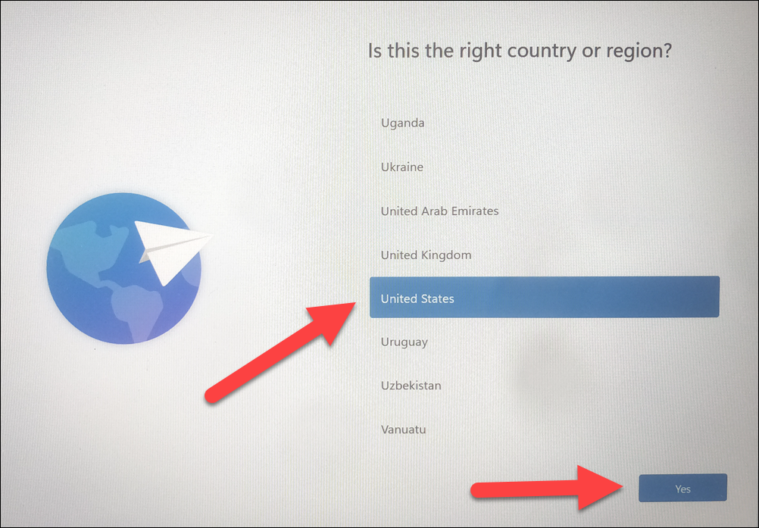
-
Choose your Country or Region from the list and click Yes.
-
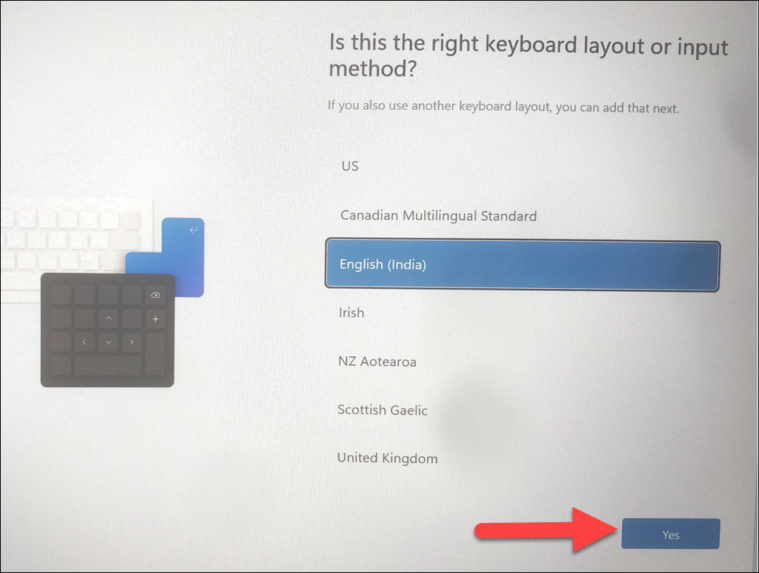
Select your Keyboard layout and click Yes.
-
If you want to add a second keyboard layout, click Add layout; otherwise, click Skip.
-
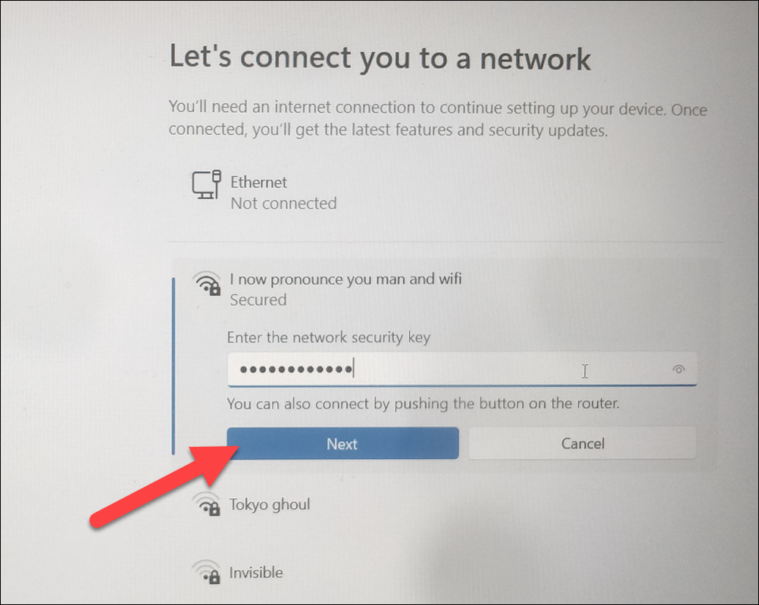
Connect to a Wi-Fi network by selecting your network, clicking Connect, and entering the password. Then click Next.
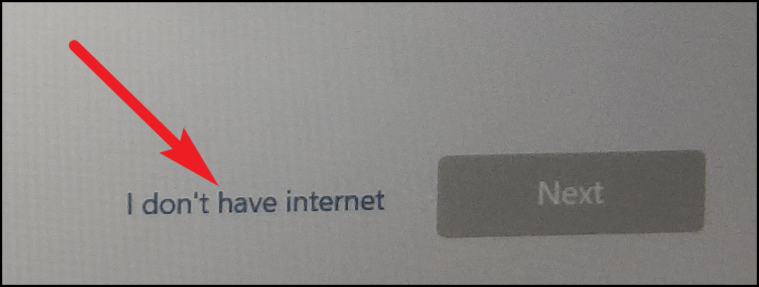
If you prefer to set up without an internet connection, click on I don’t have internet.
-
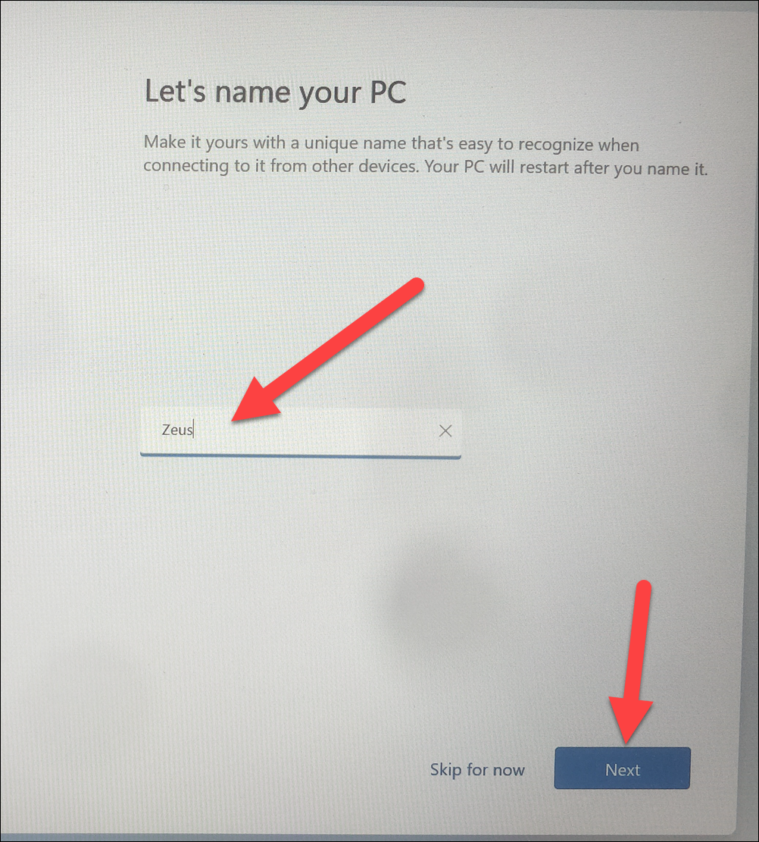
Enter a name for your PC and click Next, or click Skip for now.
-
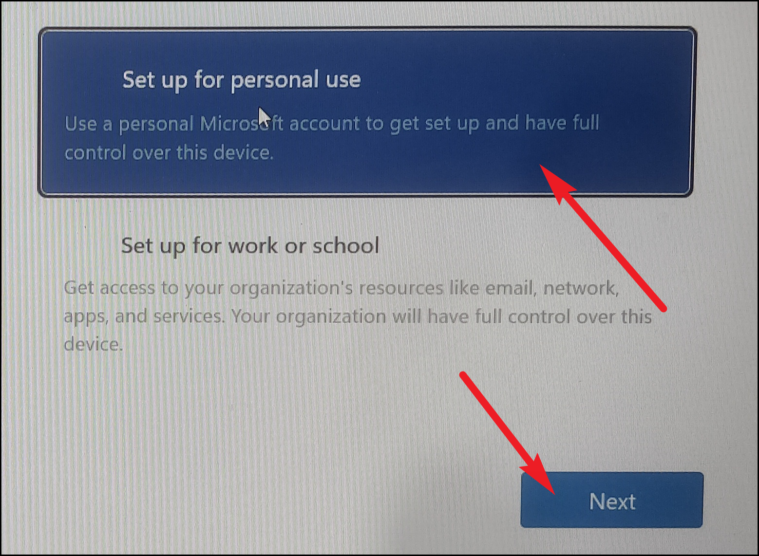
Choose Set up for personal use and click Next.
-
Sign in with your Microsoft account by entering your credentials and clicking Next.
-
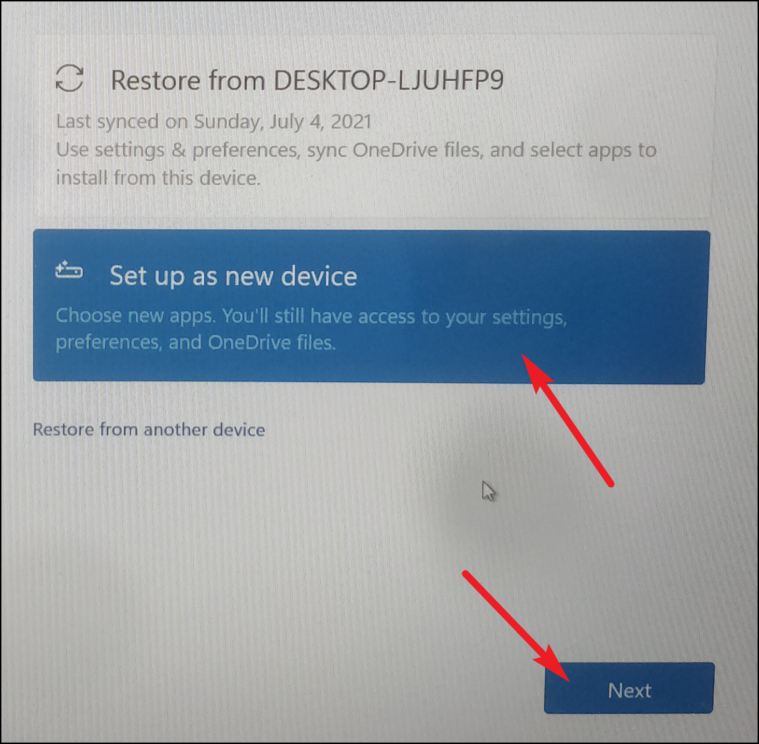
Decide whether to Restore from a previous backup or Set up as new device. Make your selection and click Next.
-
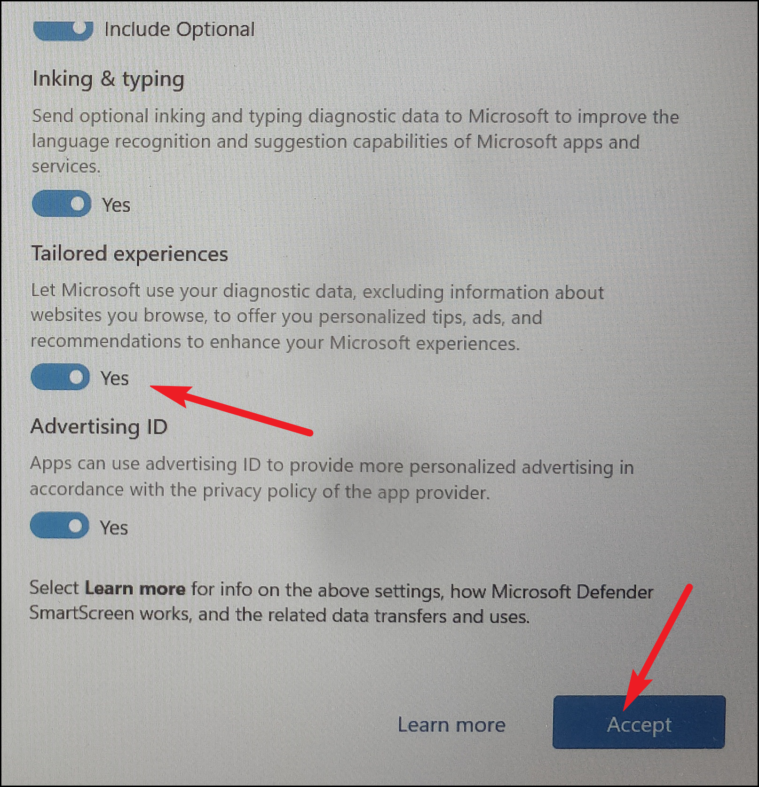
Adjust your Privacy settings by toggling options on or off, then click Accept.
-
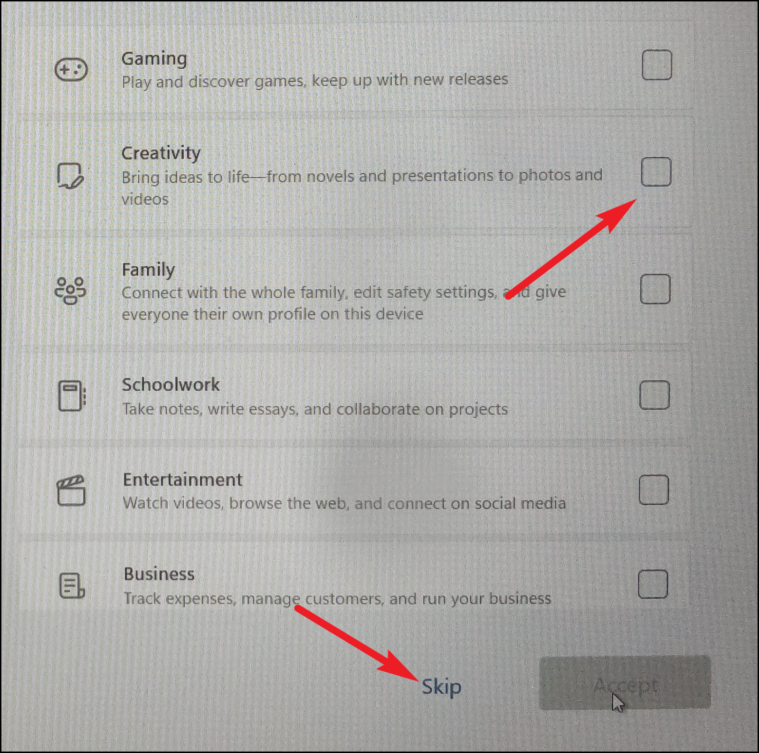
Choose any Services you want to use by selecting the checkboxes. Click Accept to continue, or Skip if you prefer not to choose any.
-
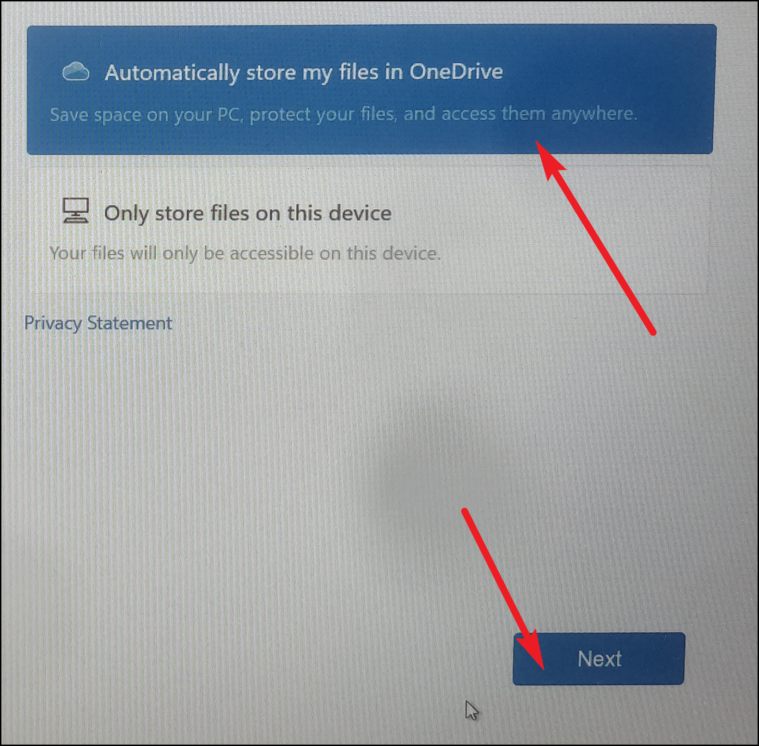
Decide whether to use OneDrive:
- Click Only store files on this device to keep files local.
- Click Automatically store my files in OneDrive to use cloud storage.
Then click Next.
-
If you’re interested in Microsoft 365, click Try for free. Otherwise, click No, thanks.
Wait while Windows completes the setup process. Your PC may restart during this time. Once finished, you’ll be taken to your new Windows 11 desktop.


