Managing your lock screen timeout settings in Windows 11 is essential for both security and convenience. By customizing how long your screen stays active when you’re not using your device, you can enhance privacy and save power. Here’s how you can adjust these settings to suit your preferences.
Adjusting the lock screen timeout through Settings
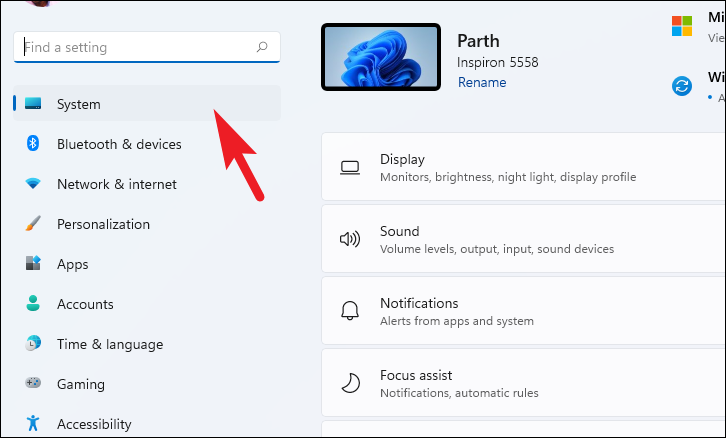
Open the
Settings app by clicking the Start menu and selecting Settings, or simply press Windows + I on your keyboard.Adjust the screen timeout settings by choosing your desired time intervals from the drop-down menus next to On battery power, turn off my screen after and When plugged in, turn off my screen after.
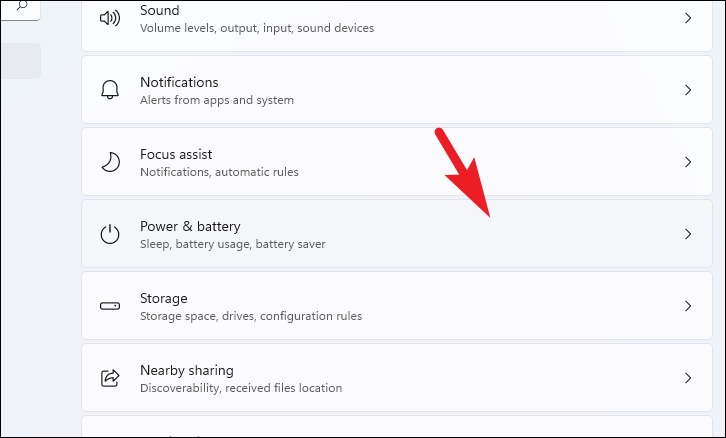
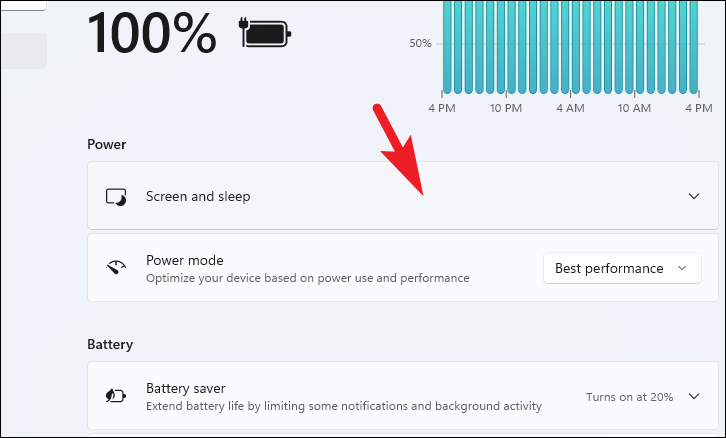
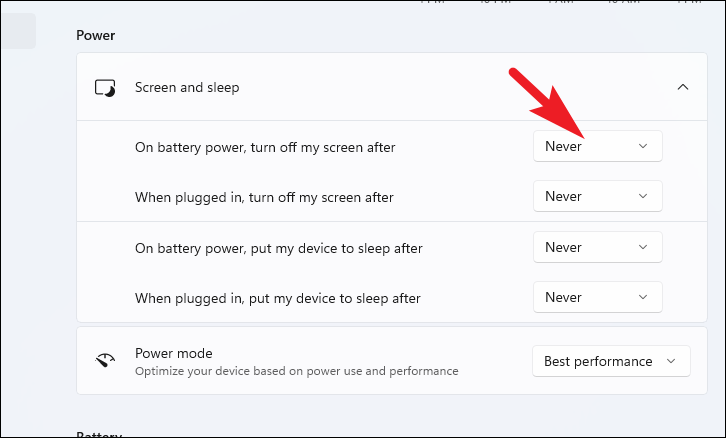
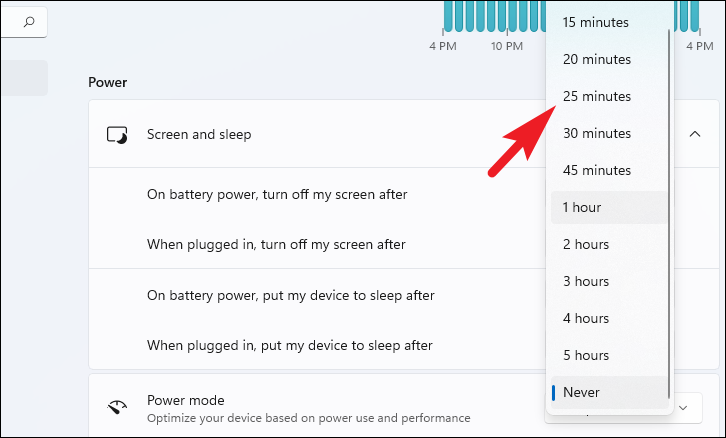
From left to right: Step 2 – Step 3 – Step 4 – Step 5
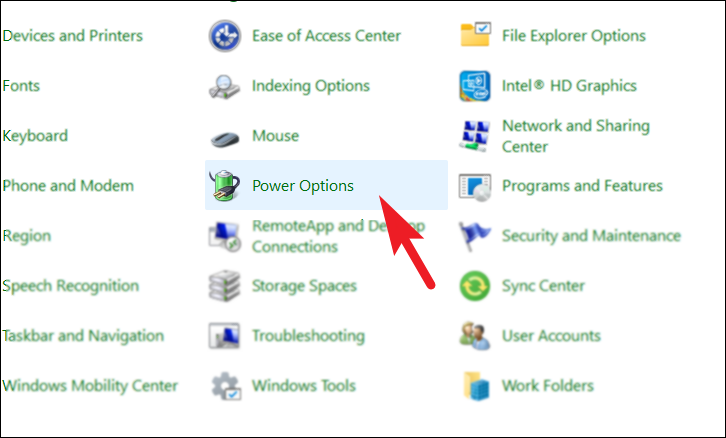
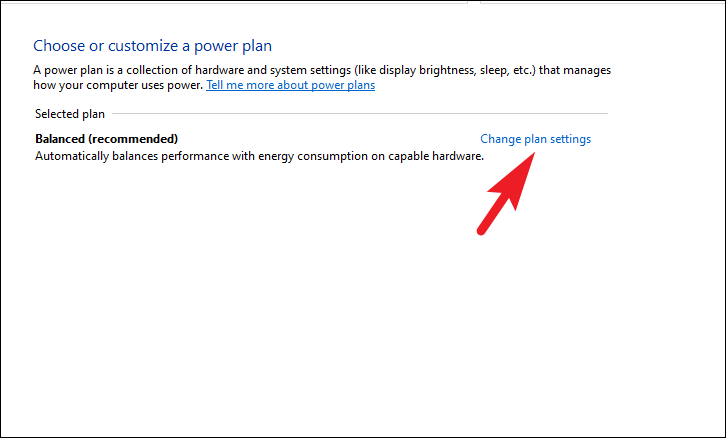
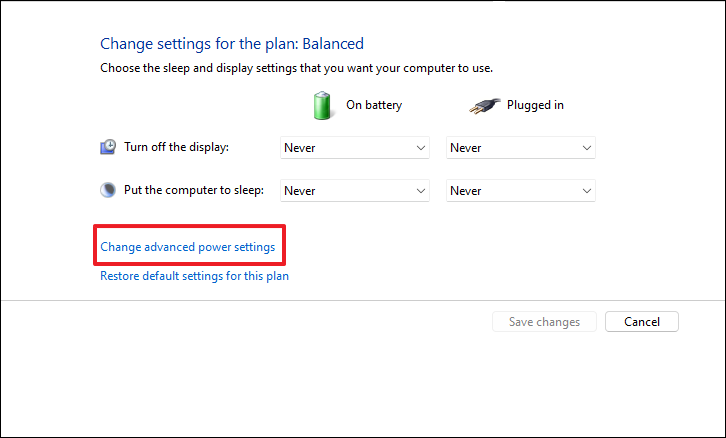
Setting a custom lock screen timeout via Control Panel
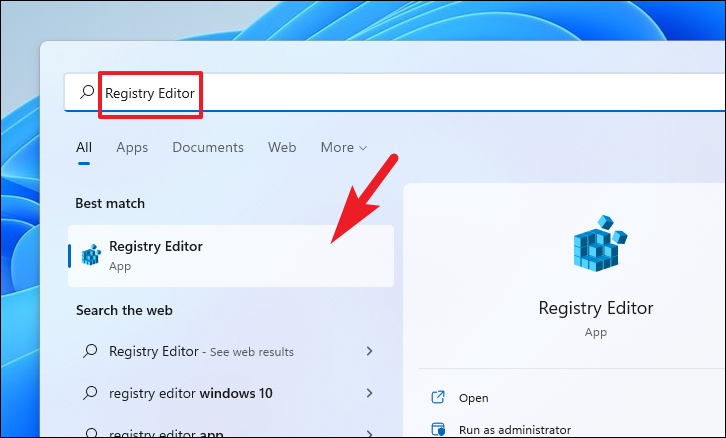
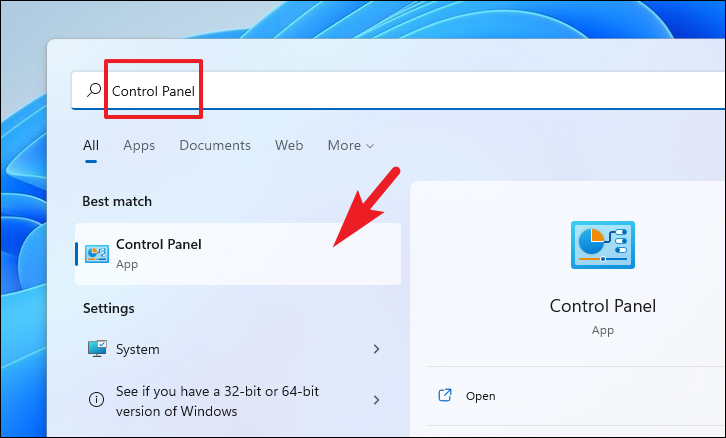
Open the
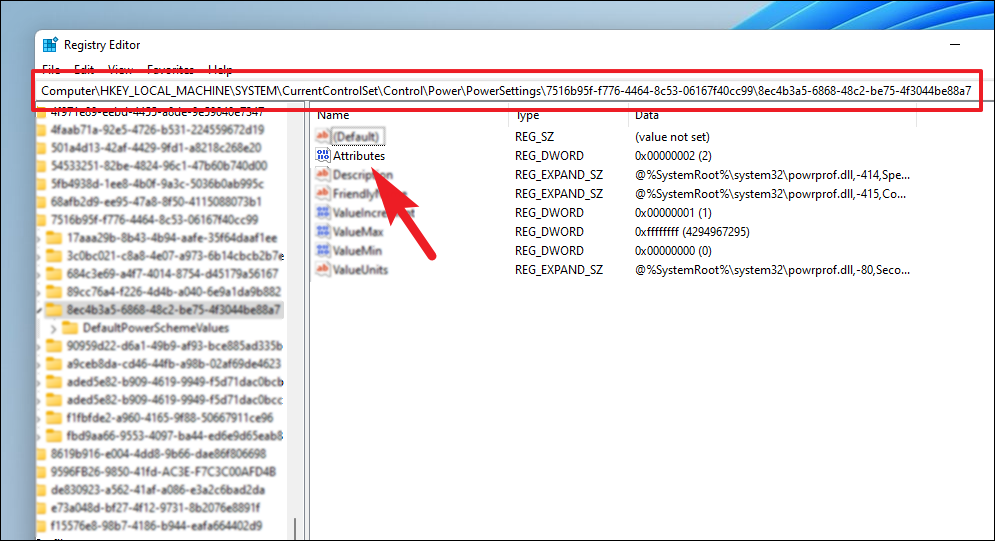
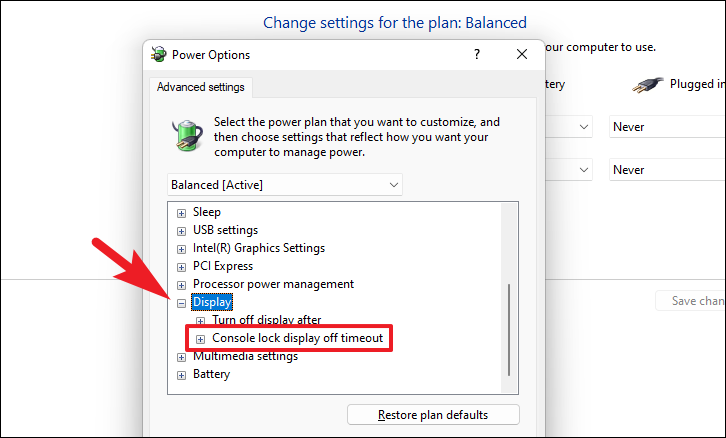
Registry Editor by typing Registry Editor into the Start menu search bar and selecting it from the results.In the Registry Editor, navigate to the following path:
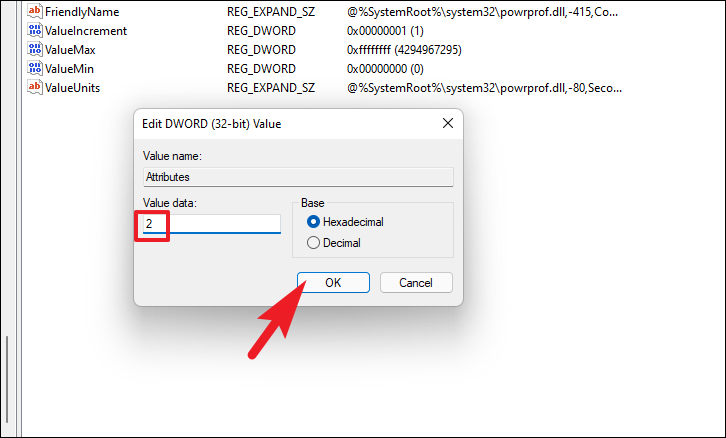
Computer\HKEY_LOCAL_MACHINE\SYSTEM\CurrentControlSet\Control\Power\PowerSettings\7516b95f-f776-4464-8c53-06167f40cc99\8ec4b3a5-6868-48c2-be75-4f3044be88a7.Double-click on the Attributes key in the right pane, change its value data from
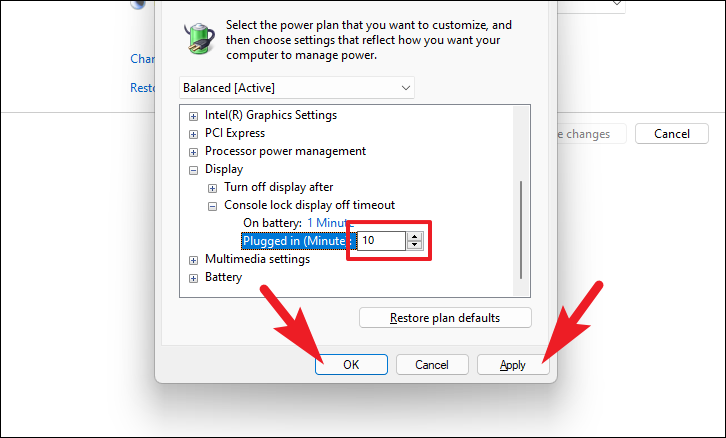
1 to 2, and click OK.Set your preferred time (in minutes) for both On battery and Plugged in options, then click Apply and OK to save the changes.
From left to right: Step 1 – Step 2 – Step 3 – Step 4 – Step 5 – Step 6 – Step 7 – Step 8 – Step 9
By following these steps, you can customize your Windows 11 lock screen timeout settings to enhance your device’s security and efficiency.


