Encountering the ‘INACCESSIBLE_BOOT_DEVICE’ error on your Windows 11 PC can prevent your system from booting properly, leaving you unable to access your files and applications. This error indicates that Windows has lost access to the system partition during the startup process. Thankfully, there are several solutions you can try to resolve this issue.
Common causes of the ‘INACCESSIBLE_BOOT_DEVICE’ error
This error can occur due to various reasons, making it difficult to identify the exact cause. Common factors include damaged or disconnected hard drives or solid-state drives, corrupted or damaged system files, conflicts between drivers, and outdated graphics or SATA drivers.
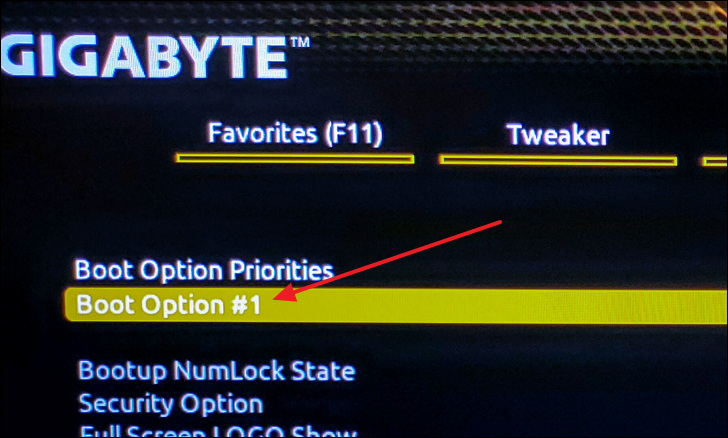
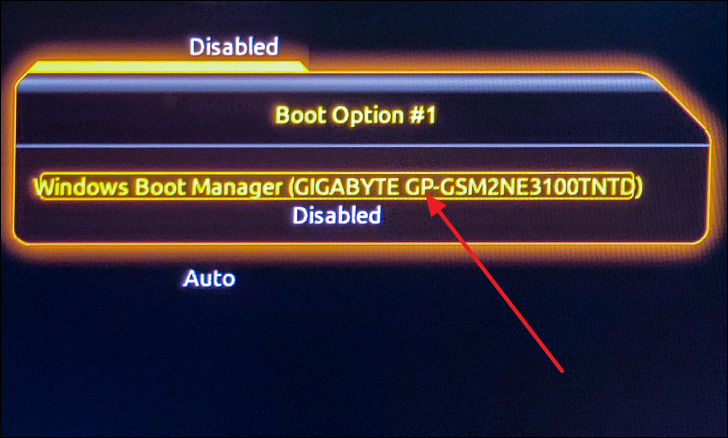
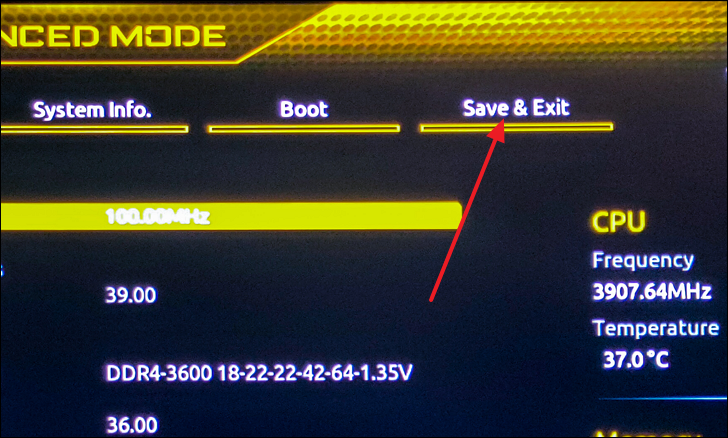
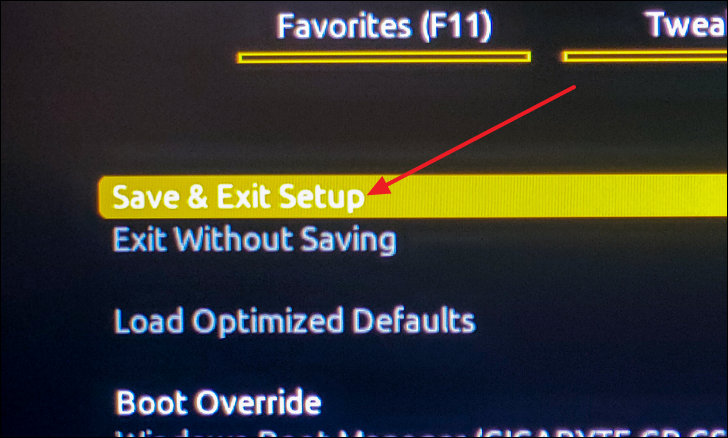
Set the proper boot device in BIOS
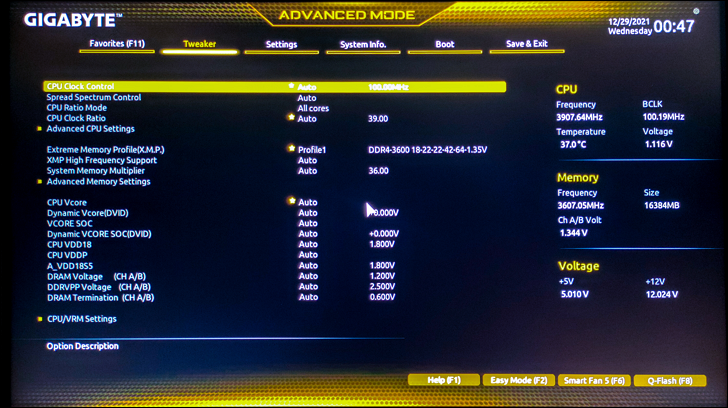
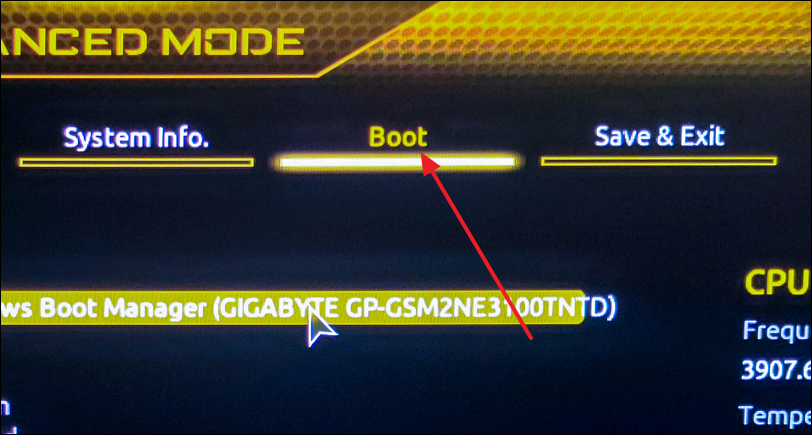
Incorrect boot settings in the BIOS can lead to the ‘INACCESSIBLE_BOOT_DEVICE’ error. Ensuring that your computer is set to boot from the correct drive may resolve the problem.
DEL, F2, or the key specified by your PC manufacturer to access the BIOS setup menu.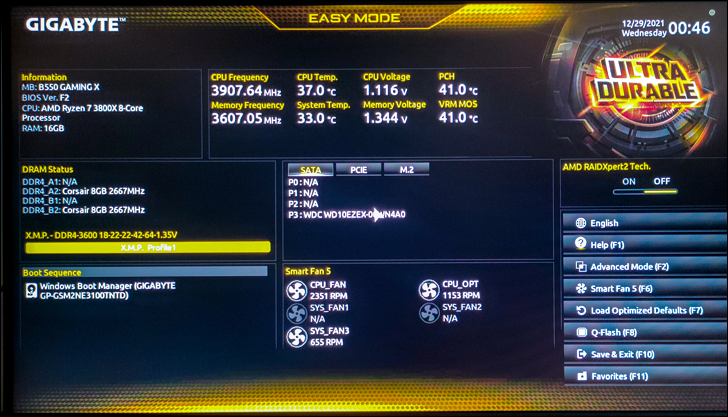
Check your boot drive connection
Loose or faulty connections between your boot drive and the motherboard can cause startup issues. Verifying these connections can help fix the error.
Disconnect external drives
Sometimes, external storage devices can interfere with the boot process. Removing them can help your system boot correctly.
Run Check Disk on system drive
Running a disk check can identify and repair errors on your hard drive that may be causing the boot issue.
Terminal (Admin).chkdsk /r C: and press Enter. This command will schedule a disk check on your C: drive the next time you restart your computer.chkdsk /r C: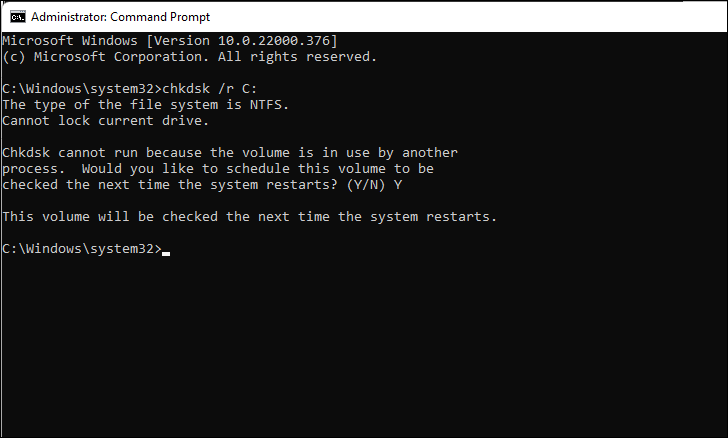
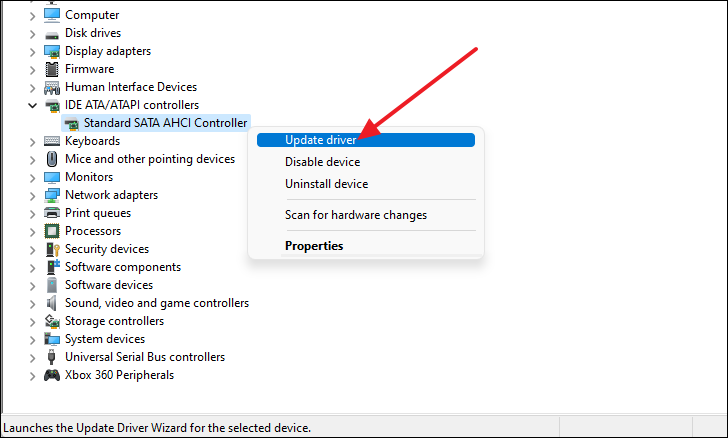
Update SATA adapter drivers
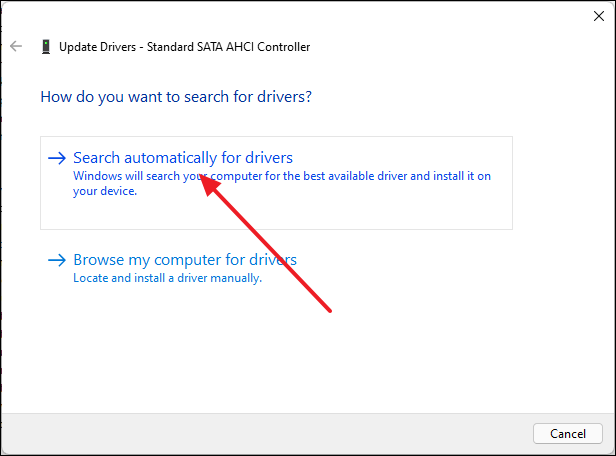
Outdated or corrupt SATA drivers can prevent Windows from accessing your boot drive. Updating these drivers may fix the problem.
Search automatically for drivers and follow the on-screen instructions to complete the update.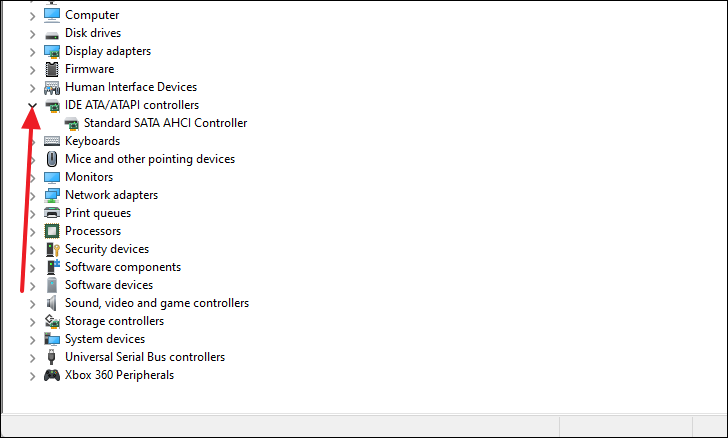
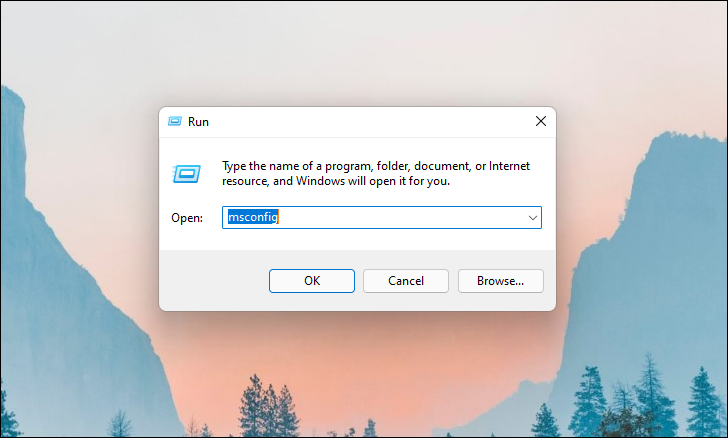
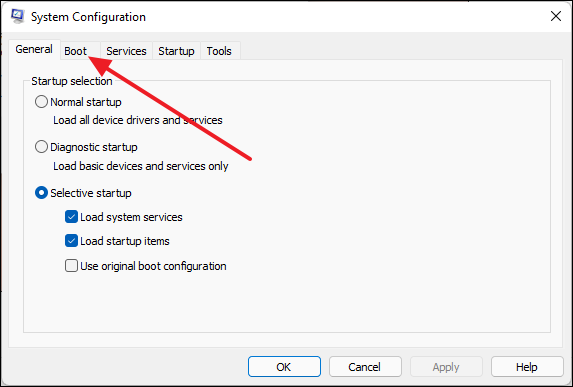
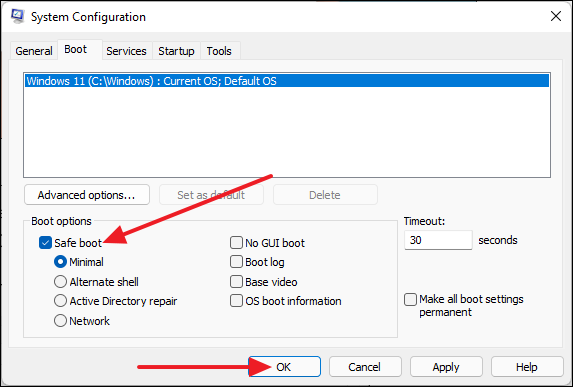
Enter Safe Mode via System Configuration
Booting into Safe Mode can help you troubleshoot the issue by starting Windows with minimal drivers and services.
Run System File Checker (SFC) scan
The System File Checker tool scans for and repairs corrupted system files that might be causing the error.
Terminal (Admin).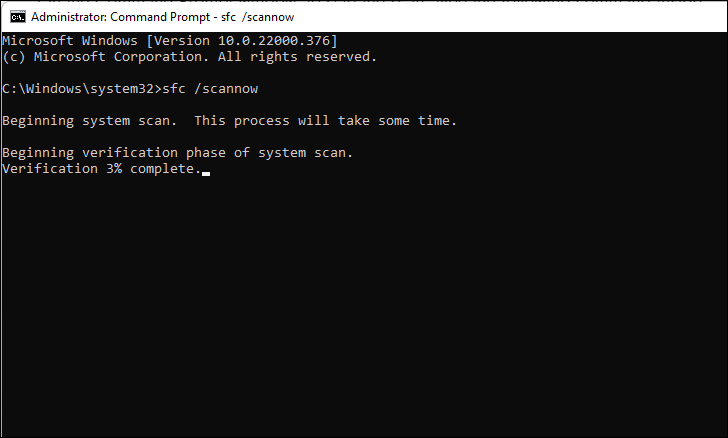
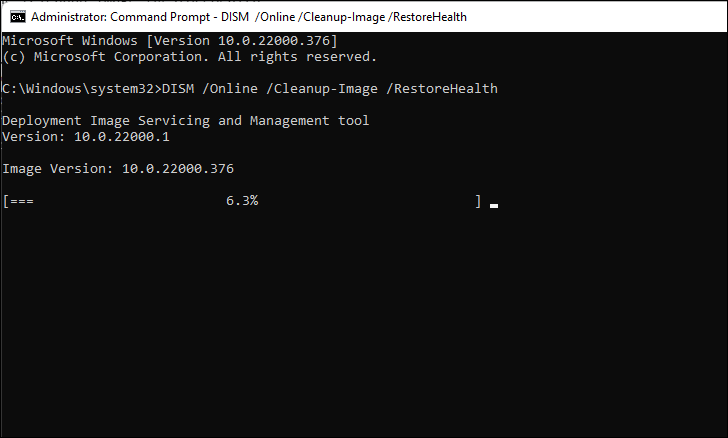
Perform a DISM scan
The Deployment Image Servicing and Management (DISM) tool can fix Windows corruption errors by downloading fresh files from Windows Update.
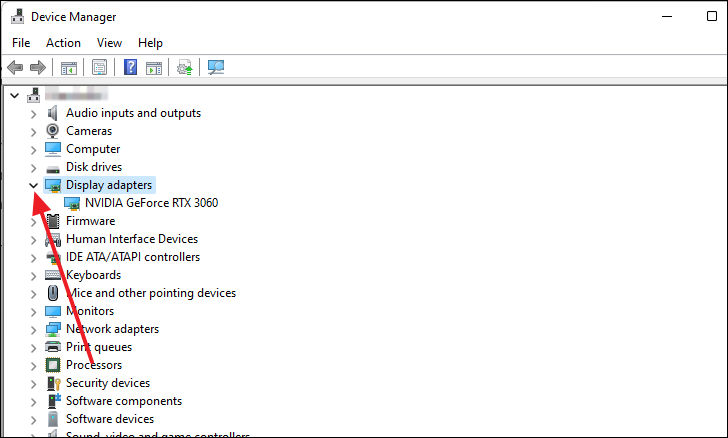
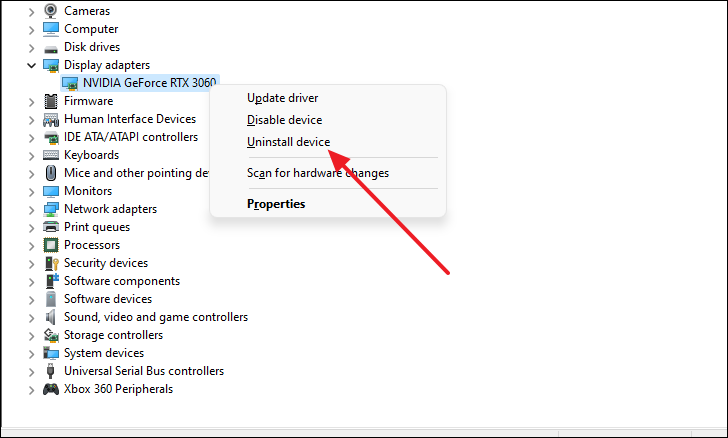
Reinstall the graphics driver
Conflicts with the graphics driver can sometimes cause boot issues. Reinstalling the driver may help.
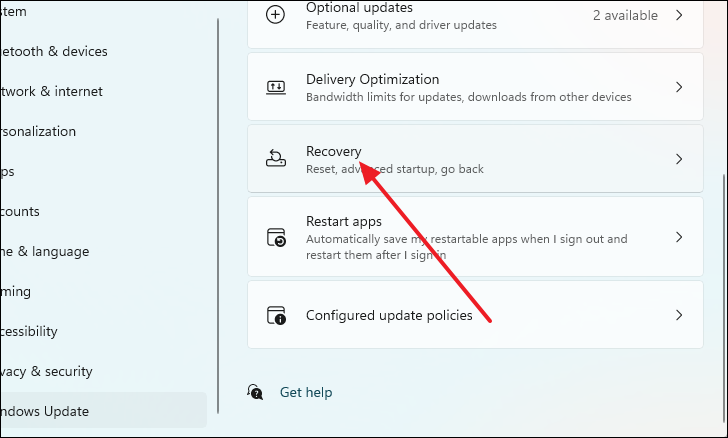
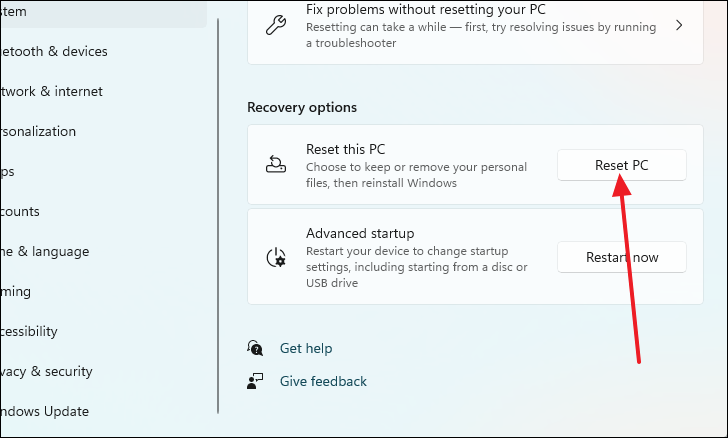
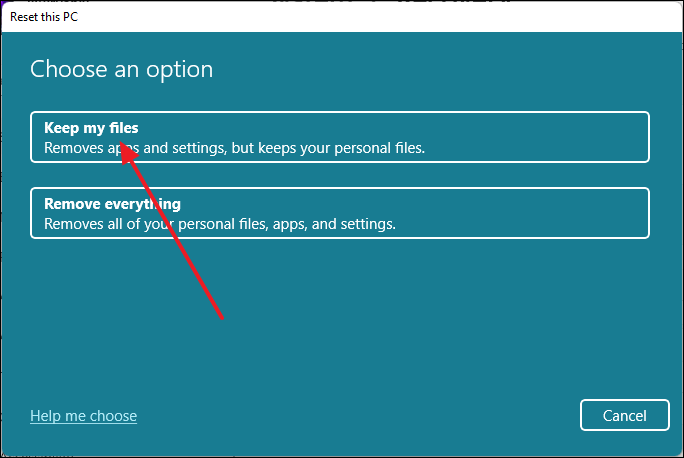
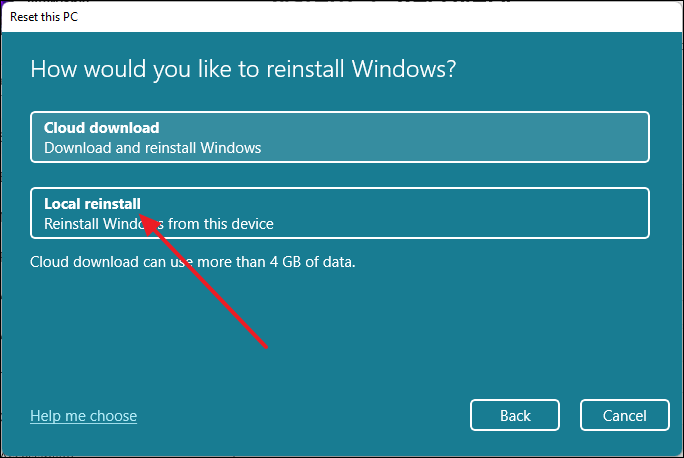
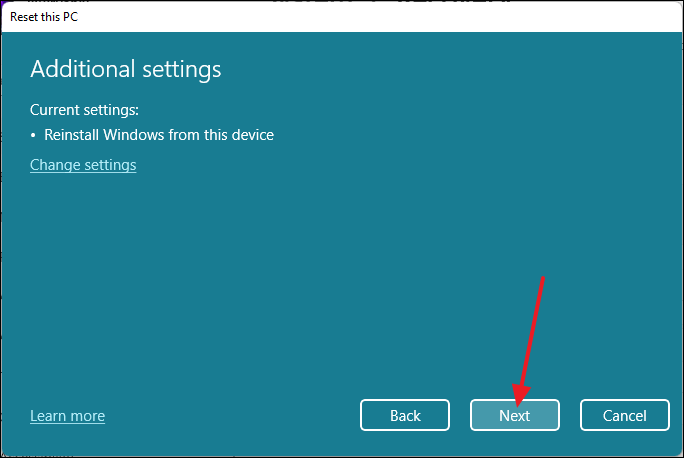
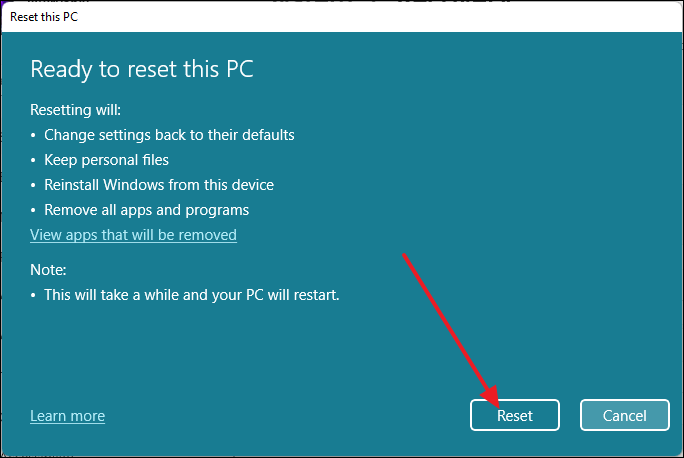
Reset Windows 11
If none of the above methods work, resetting Windows 11 may resolve the error by reinstalling the operating system.
By following these solutions, you should be able to resolve the ‘INACCESSIBLE_BOOT_DEVICE’ error on your Windows 11 PC. Regular system maintenance and keeping your drivers up to date can help prevent such issues in the future.


