Code Vein 2 lets you lock in a character at the start, then revisit that look later once the game opens up access to the hub facilities.
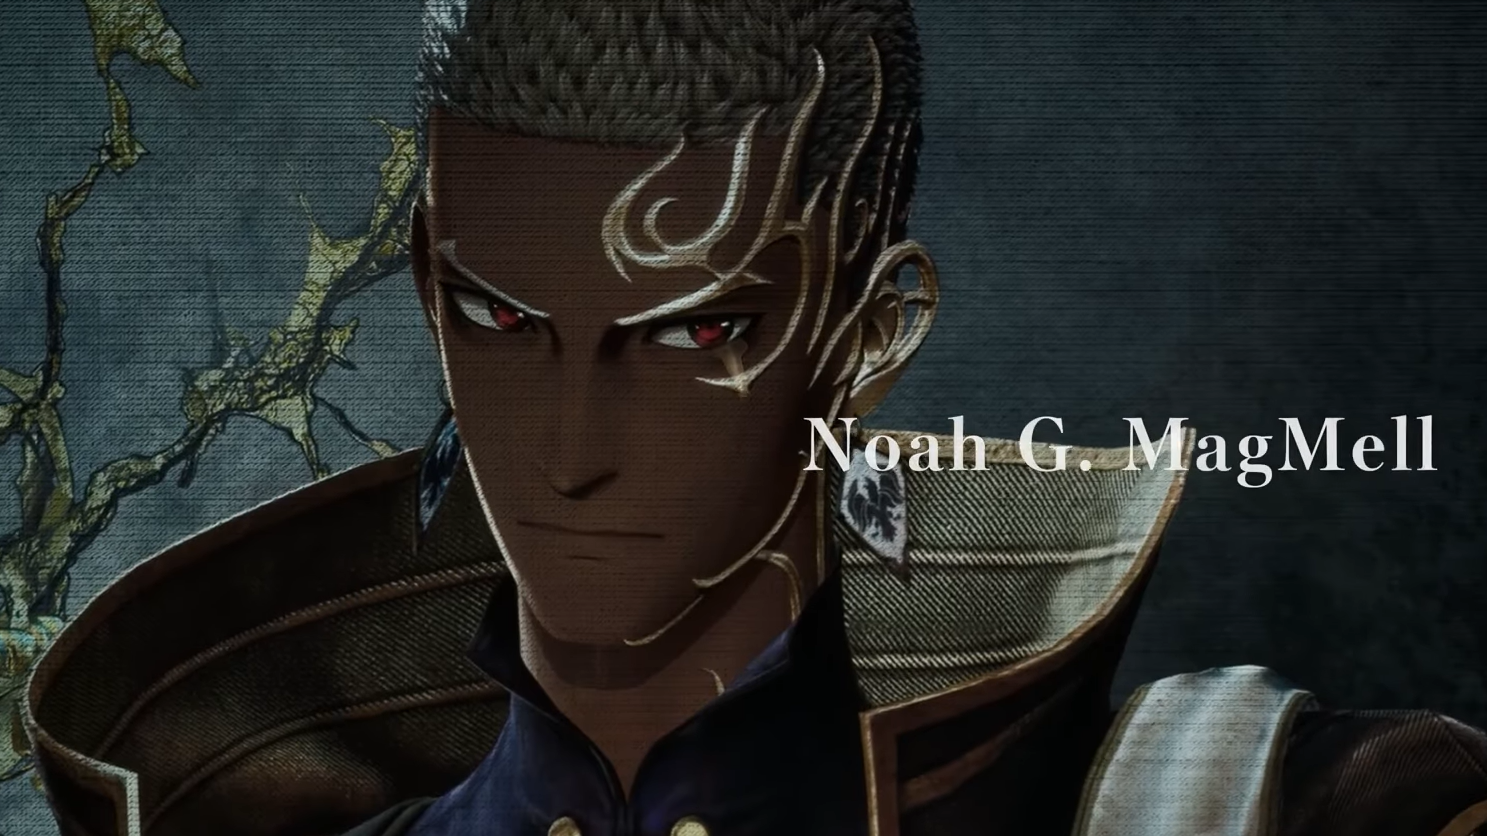
Quick answer: Reach the MagMell building in the tutorial (after meeting Noah), then use the mirrors in the room behind the blue doorway curtain to change your appearance.
When changing your appearance becomes available
After you confirm your character during the opening creation flow, the game moves into the tutorial section. Appearance changes become available once you progress far enough to meet Noah and make it to the main institute on MagMell island, where you can freely explore the MagMell building after the cutscenes.
Change appearance at the MagMell building mirrors
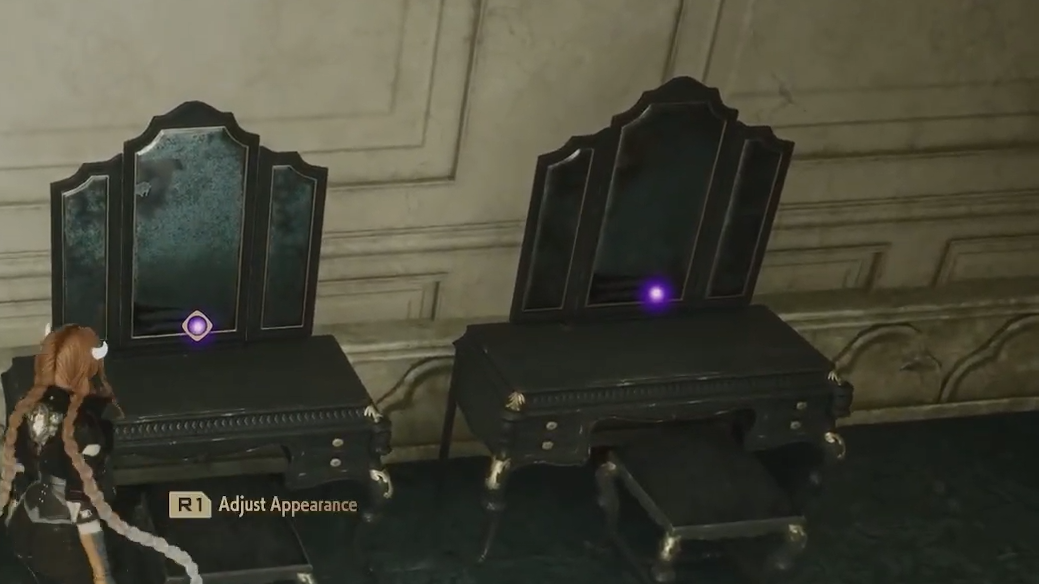
How you’ll know it worked
It worked if the mirror interaction opens the appearance interface and your character preview updates to the new look you selected or edited.
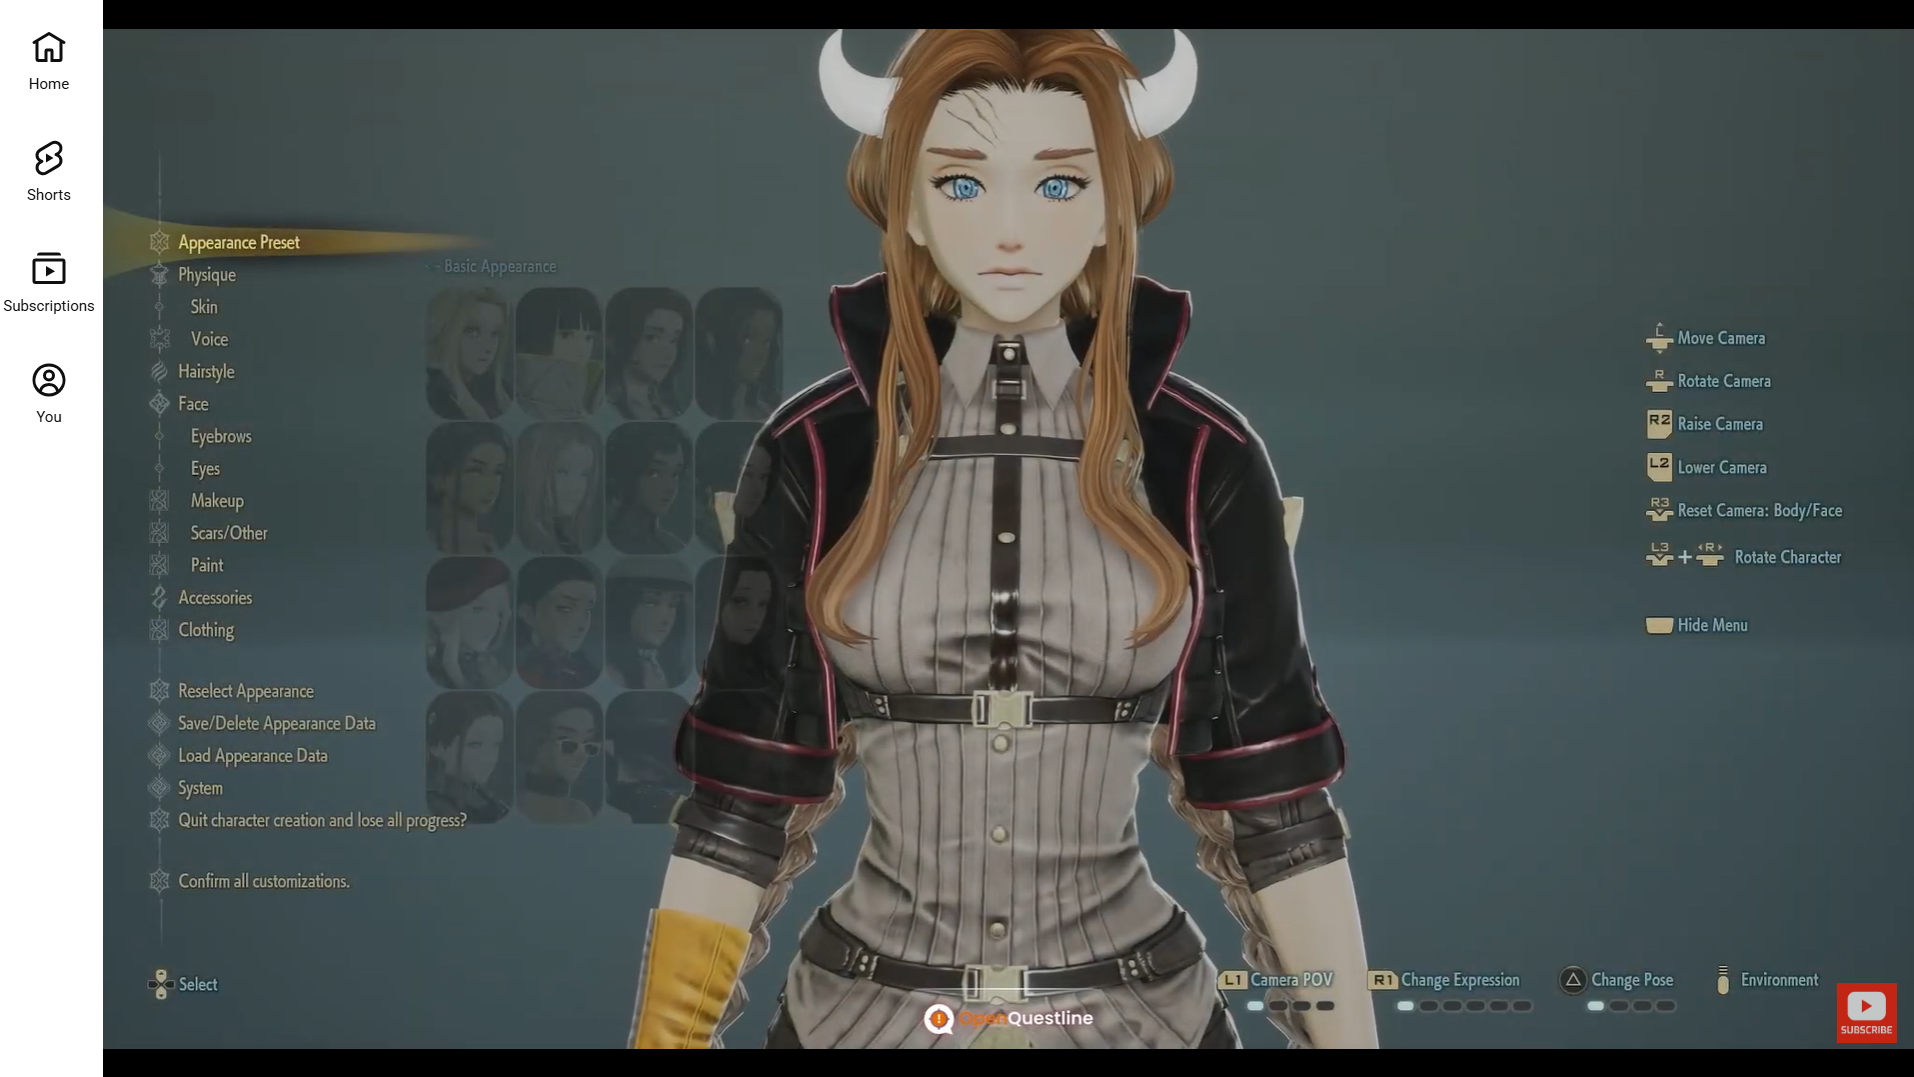
What stays permanent from initial character creation
Some parts of your initial setup may be permanent after confirmation. The character creator flags Gender, Physique, Face, and Voice as choices that can become locked in, so treat the confirmation screen as a final review.
If your saved appearances disappear
If previously customized appearances seem to be missing, check the Dresser near the Hot Springs area in Magmell Institute. On PS5 and Xbox Series X|S, also confirm you’re using the same console profile you used when creating the character in the demo.
Related limits that affect changing appearance
You can save up to 64 appearances and swap between them using interactable mirrors, including the mirrors near the hot springs in Magmell Institute.