
Battery drain on Windows 11 often results from certain apps using more power than necessary, causing shorter battery life and reduced device performance. Identifying these apps allows you to manage or close them, significantly improving battery usage and extending your device's runtime.
Checking Battery Usage by Apps in Windows 11
Step 1: Open the Settings app by clicking the Start menu and selecting the gear-shaped Settings icon. Alternatively, press Windows key + I to quickly open Settings.
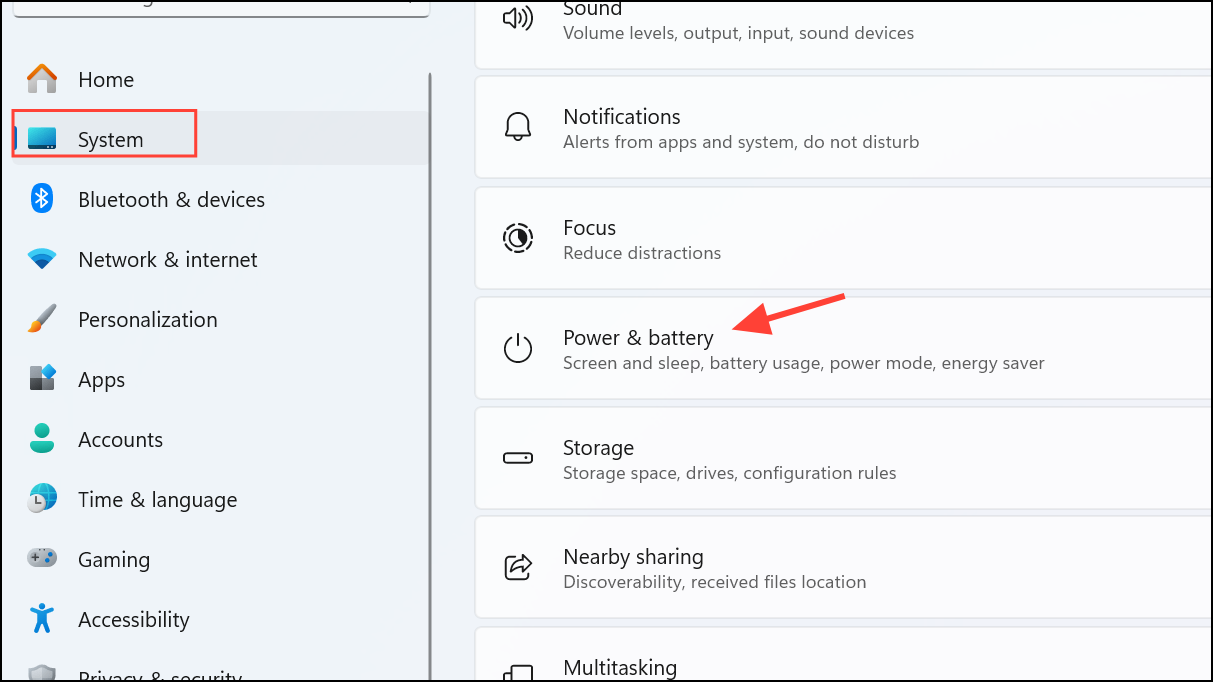
Step 2: In the Settings window, select System from the left-hand menu. From the list of options, click on Power & battery.
Step 3: Under the Power & battery settings, scroll down to the Battery section. Here, click on the Battery usage option to view detailed information about battery consumption.
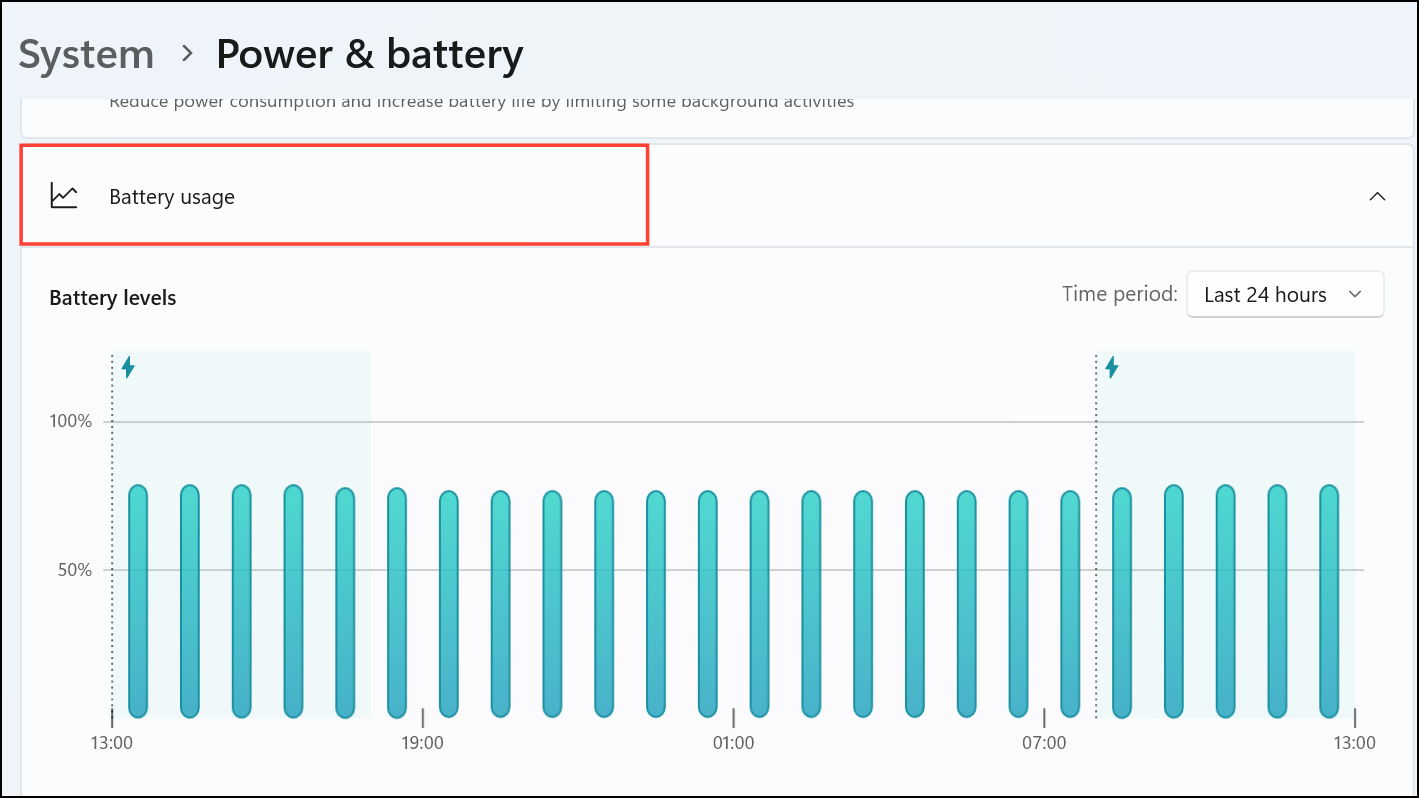
Step 4: In the Battery usage screen, you'll see a list of apps sorted by their battery consumption percentage. The apps at the top of this list are draining the most battery power. You can also select the timeframe (e.g., last 24 hours or last 7 days) from the dropdown menu to see historical battery usage data.
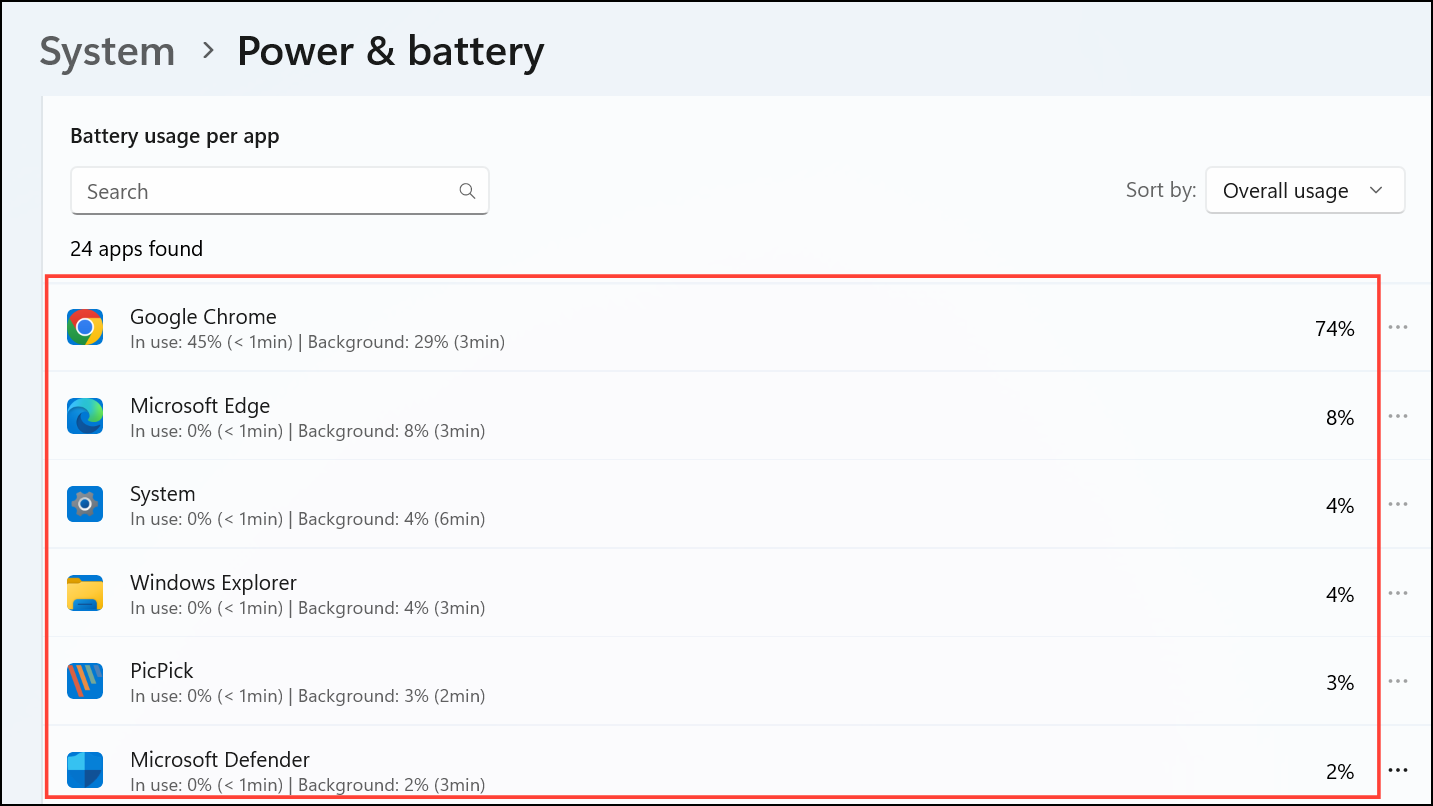
Step 5: Click on any app in the list to see additional details, such as active usage time and background activity. This information helps determine whether an app is running excessively in the background and draining battery unnecessarily.
Step 6: After identifying problematic apps, you can take action to reduce battery drain. To do this, navigate back to Settings > Apps > Installed apps.
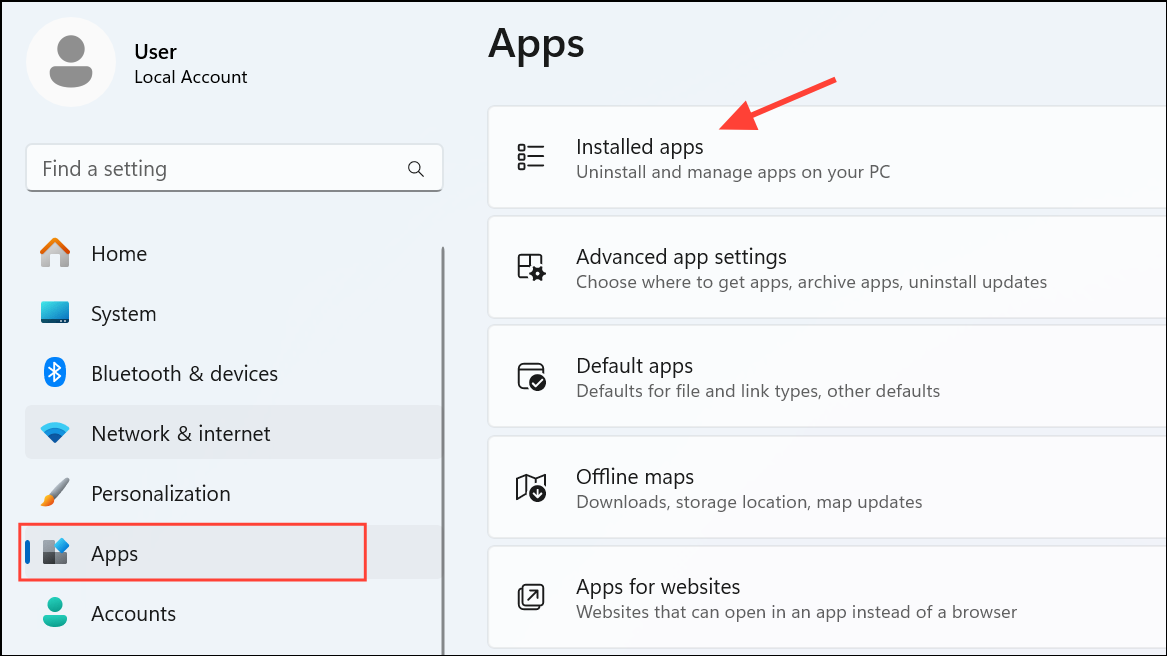
Step 7: Locate the app consuming excessive battery, click the three-dot menu next to it, and select Advanced options. Within the Advanced options, you can manage permissions, limit background activity, or even uninstall the app if it's not essential.
Alternative Method: Using Task Manager to Monitor Battery Usage
If you prefer a quicker overview of current app activity, you can use the Task Manager to identify apps consuming significant resources, indirectly indicating battery drain.
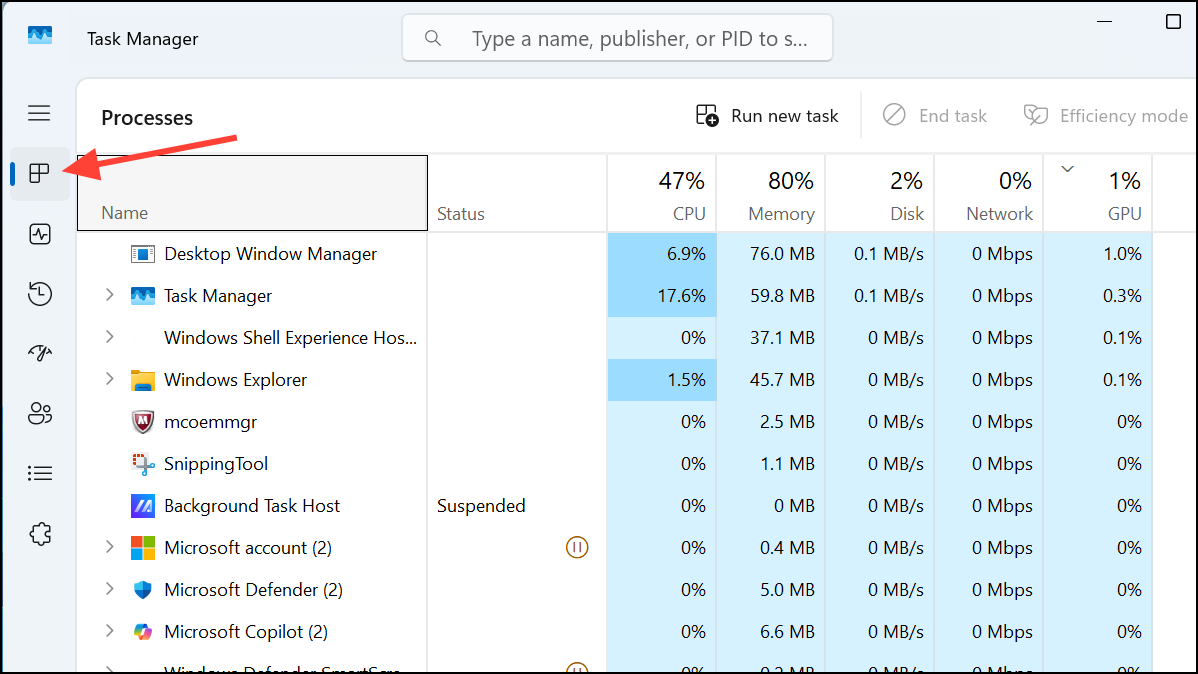
Step 1: Open Task Manager by right-clicking the Start button and selecting Task Manager or by pressing Ctrl + Shift + Esc.
Step 2: In Task Manager, click on the Processes tab. Here, you'll see a list of all running apps and background processes.
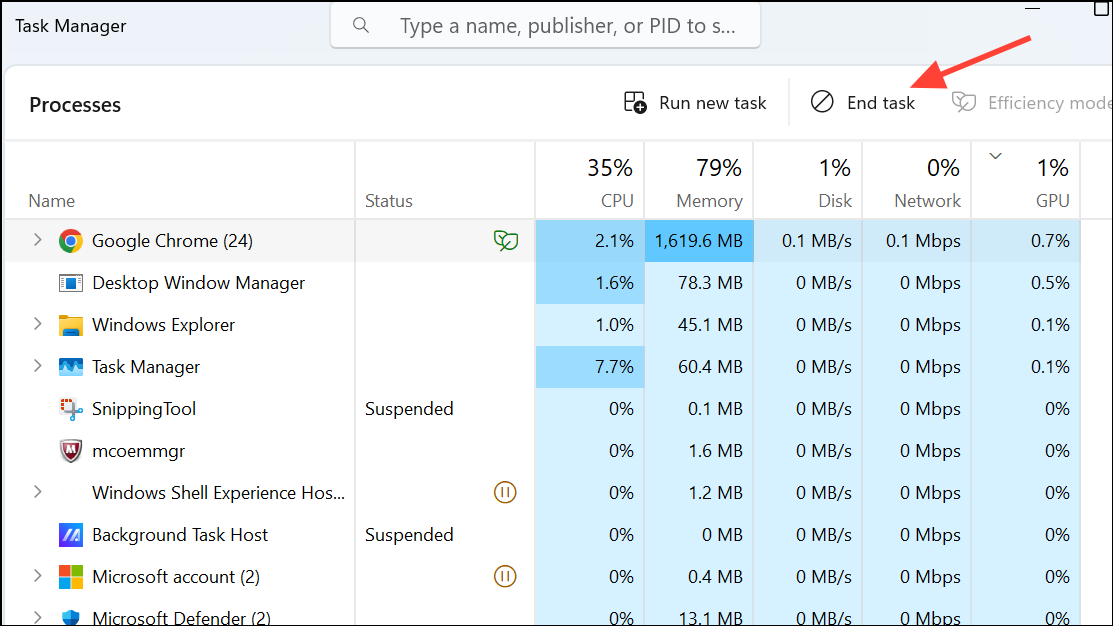
Step 3: Look at the CPU, Memory, and Power Usage columns. Apps showing high power usage or significant CPU and memory consumption are likely contributing to battery drain. You can sort by clicking on the column headers to bring the highest-consuming apps to the top.
Step 4: To close an app that's consuming excessive resources, select it from the list and click on End task near the top of the Task Manager window. Be cautious not to close essential system processes, as this may cause instability.
Tips to Reduce Battery Drain on Windows 11
- Limit background activity: Regularly review and restrict apps from running in the background via Settings.
- Adjust screen brightness: Lower brightness levels significantly reduce battery consumption.
- Enable Battery Saver mode: Windows 11 includes a Battery Saver feature that automatically reduces background activities and notifications when battery levels are low.
- Update your apps and Windows regularly: Updates often contain optimizations that reduce battery drain.
Keeping track of battery usage on your Windows 11 device helps you pinpoint and manage apps that drain your battery unnecessarily, allowing you to enjoy longer battery life and smoother performance.