
Computers these days are loaded with programs and applications. Sometimes a user might require the installation date to check the expiry date of trial or a paid subscription. Due to their large number, it is impossible to remember the installation date of these programs.
There are various ways to check the date of installation but some are more effective than others. If we were to check the installation date using the Control Panel, it wouldn’t be accurate since the date mentioned over there is the date of the last update and not the installation date. Say, a software was installed on 01-01-2020 and updated on 20-03-2020, the control panel will display the second date. So, we will use File Explorer to check the installation date.
Checking the Installation Date
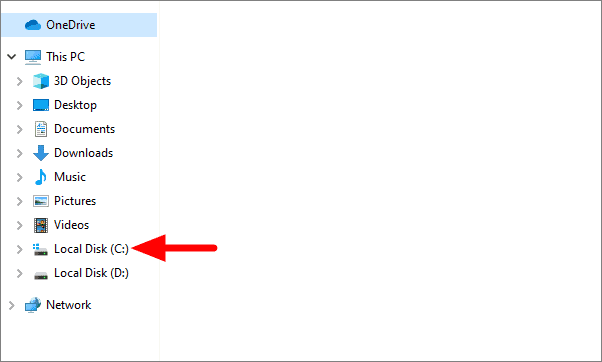
Press WINDOWS + E to open File Explorer. Then, click on ‘This PC’ on the left.

Select ‘Local Disk (C:)’ or ‘Windows (C:)’, whichever is the name in your system.
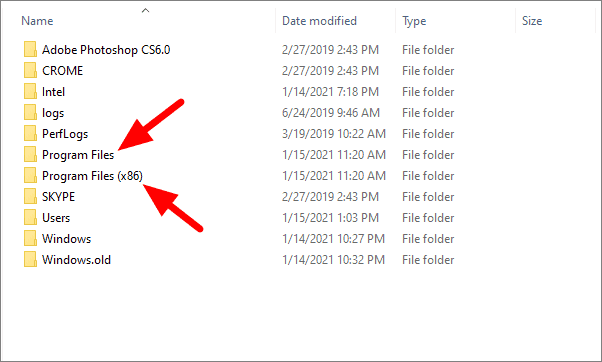
Here you will see two folders, Program Files and Program Files (x86). The first folder contains all the 64-bit apps and the second one has all the 32-bit apps. Say, we have to check the installation date of Internet Explorer, a 64-bit software, it will be available in the ‘Program Files’ folder.
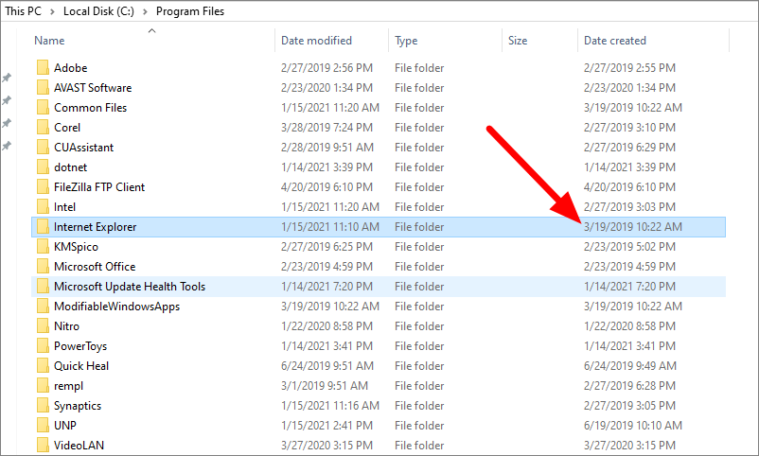
Click on the ‘Program Files’ folder, then right click on the top of any column select the tick the ‘Date Created’ option.

The installation date of the software will now be visible in the last column to the right.
This is the simplest and most effective way to check the installation date of any program or software.


