In Valor Mortis, the side quest Till Death spans all of Chapter 6, Punishment, in the drowned village of Cursed Hollow. It starts at a wedding altar after you defeat the bride, while the quest-ending item, a Red Ribbon, is waiting in the church graveyard at the chapter’s very end. Delivering the ribbon still leaves one task: wait for the wreath to bloom, then make another trip back.
Quick answer: Beat Anna, inspect the wilted wreath on the altar, take the Red Ribbon from the candlelit grave right of the church exit, weave it into the wreath, rest at a lantern, then interact with the bloomed wreath.
Till Death requirements and quest flow
Two story beats in Cursed Hollow gate the quest. Neither is optional, so you hit both by playing the chapter normally. What you can miss is the ribbon itself, because it sits off to the side right when the chapter-complete screen invites you to move on.
- Reach the village wedding and defeat Anna, the Bride Drowned in Tears, to open up the altar.
- Push on to the Village Church, pull the Claymore from the body inside, and survive the wave of enemies.
- Leave the church into the graveyard, where the ribbon is waiting.
- Have a lantern nearby to rest at once the ribbon is placed.
Valor Mortis has no in-game map, so the lantern names (Eerie View and Village Church) are your only real landmarks for this quest.
Start Till Death at the Eerie View wedding altar
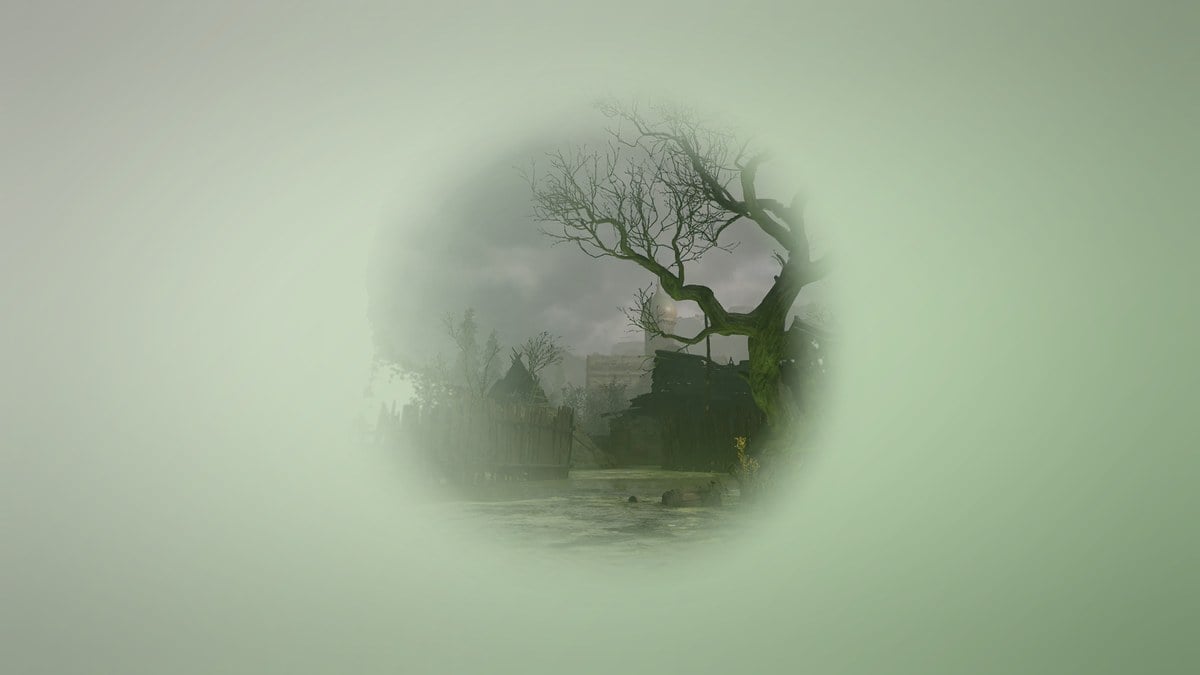
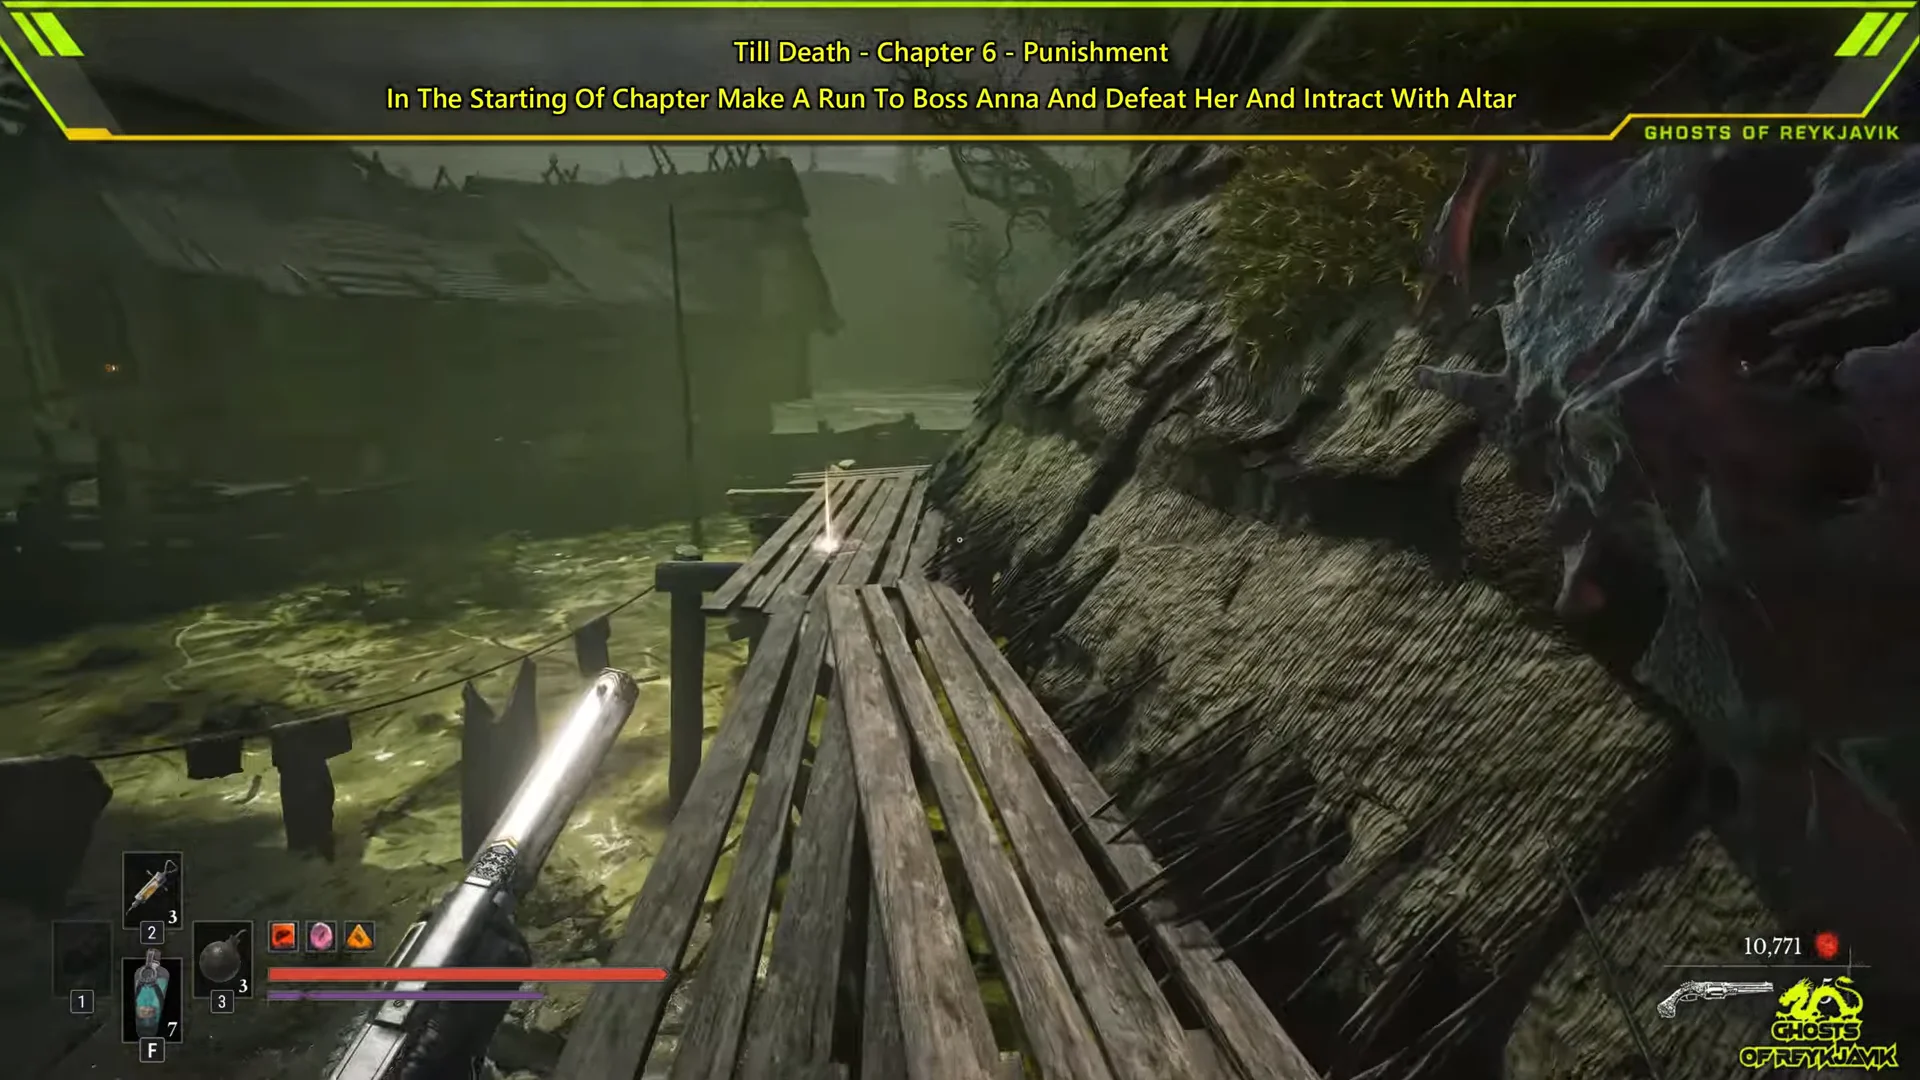
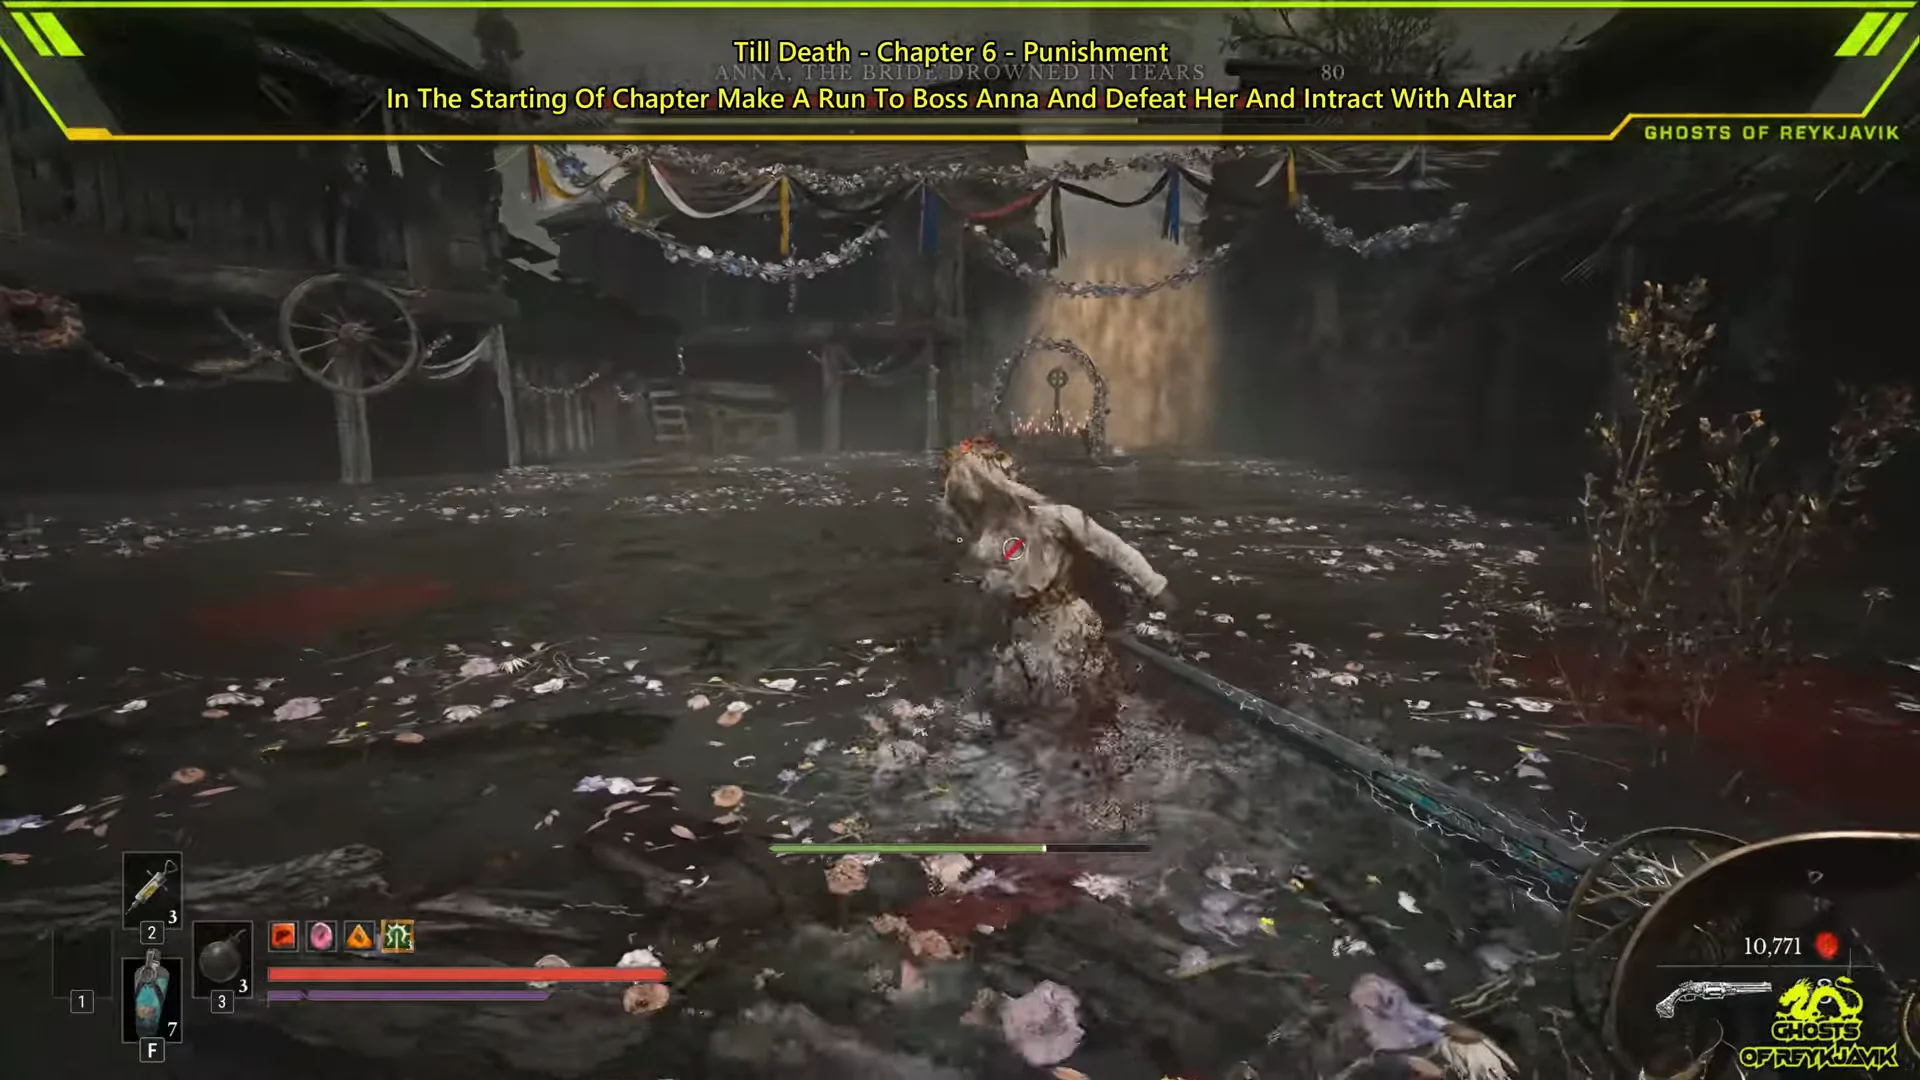
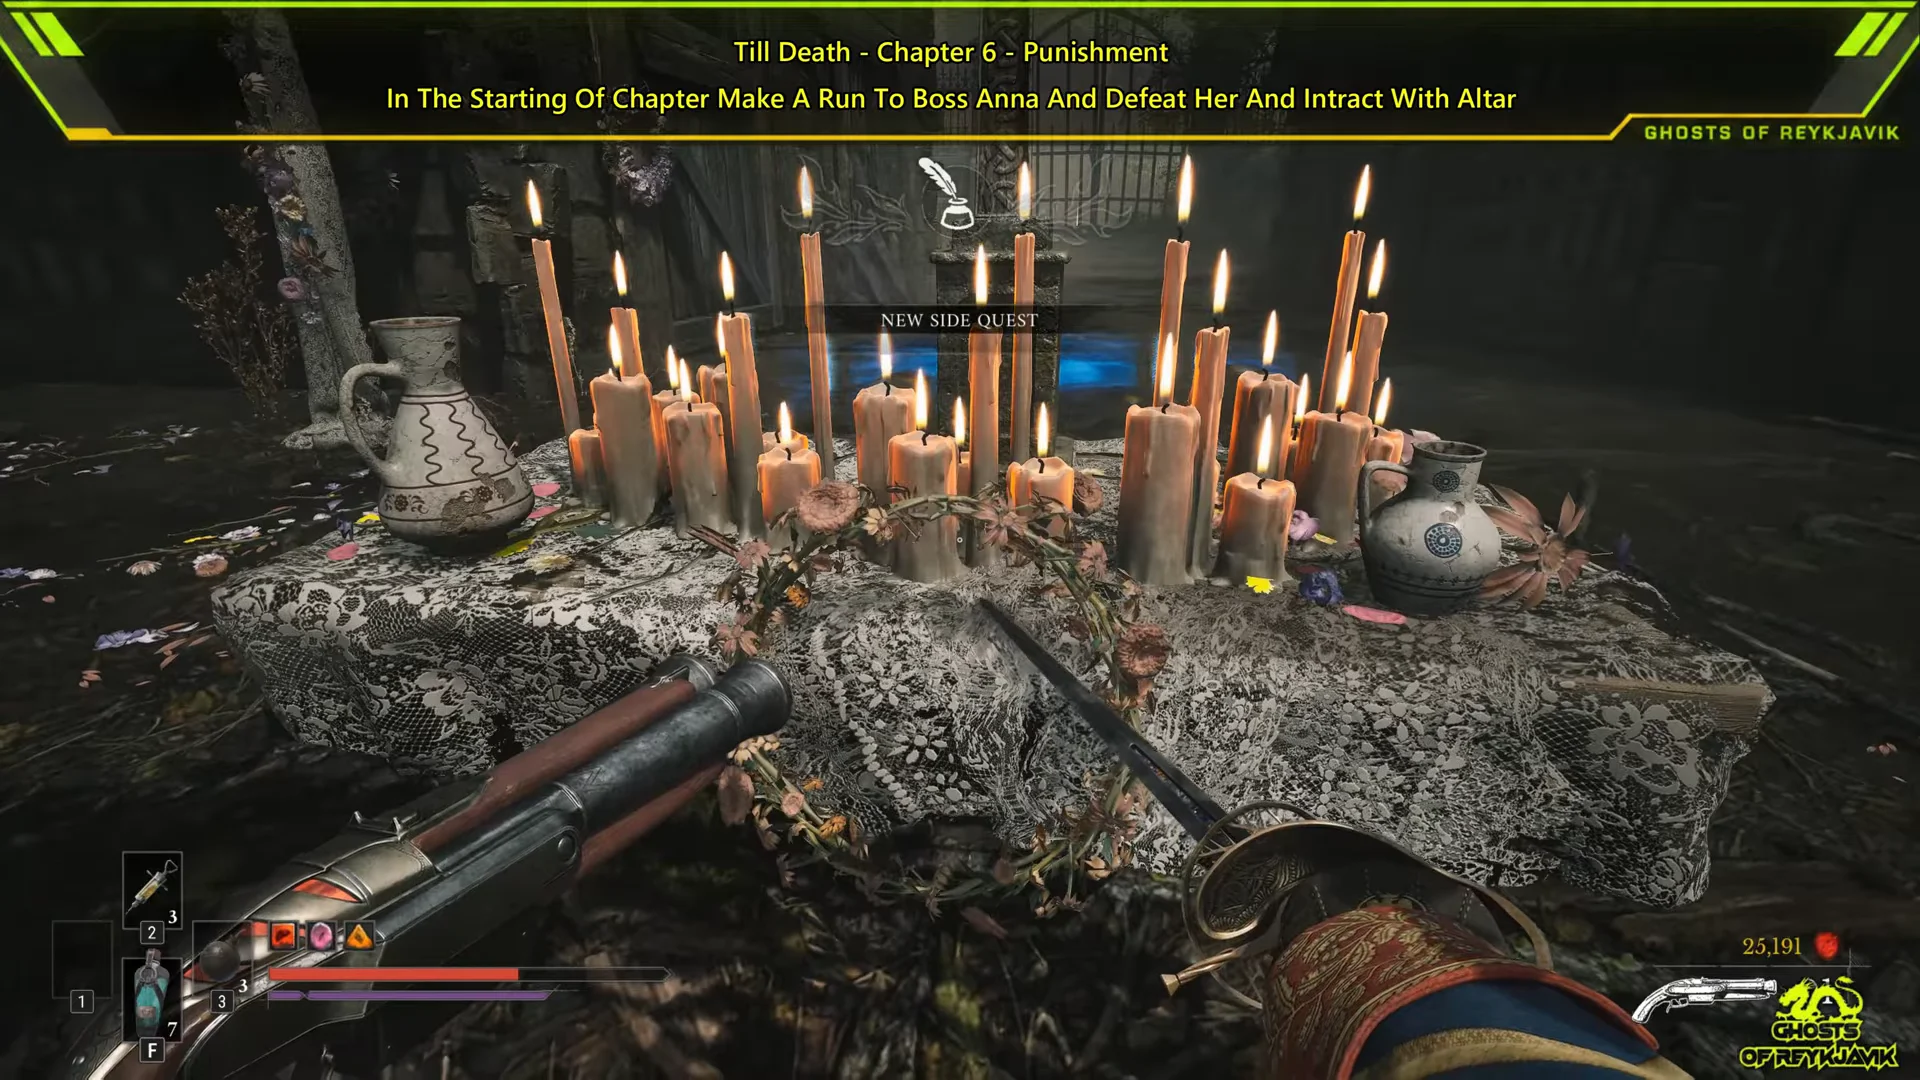
“It’s my lucky charm, mother! I shan’t be wed without it.”
Red Ribbon location in the Village Church graveyard
The chapel is a long way from the altar, and you reach it at the end of the chapter. Keep playing until the path to the church opens up.
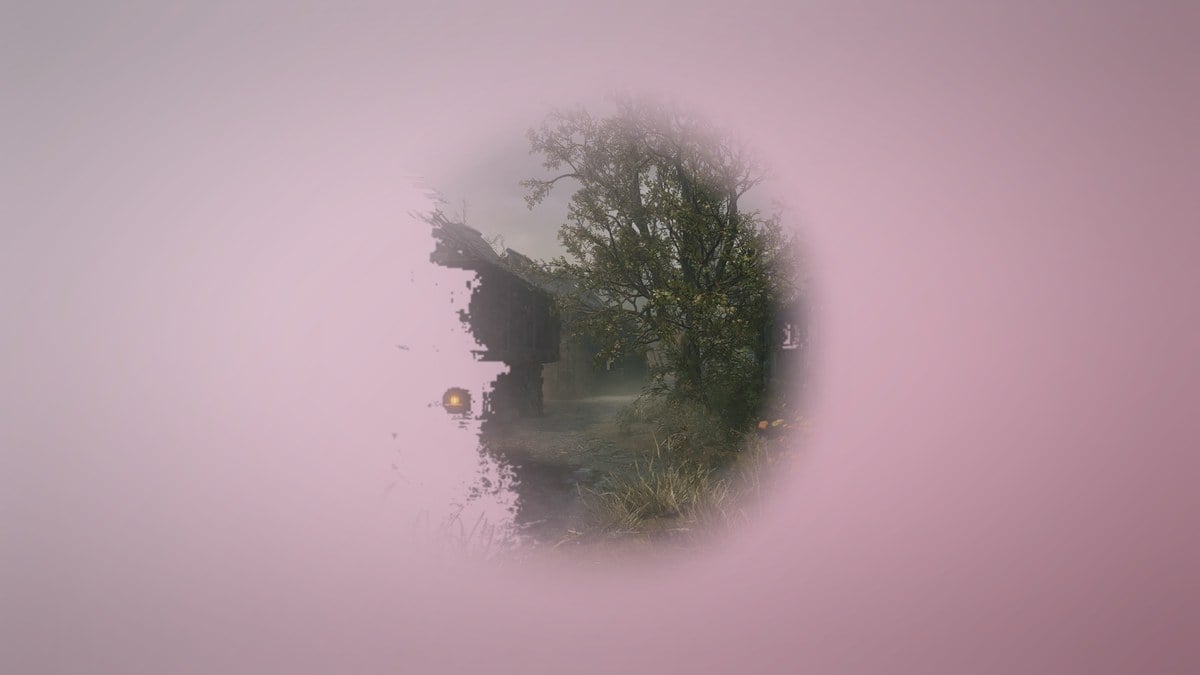
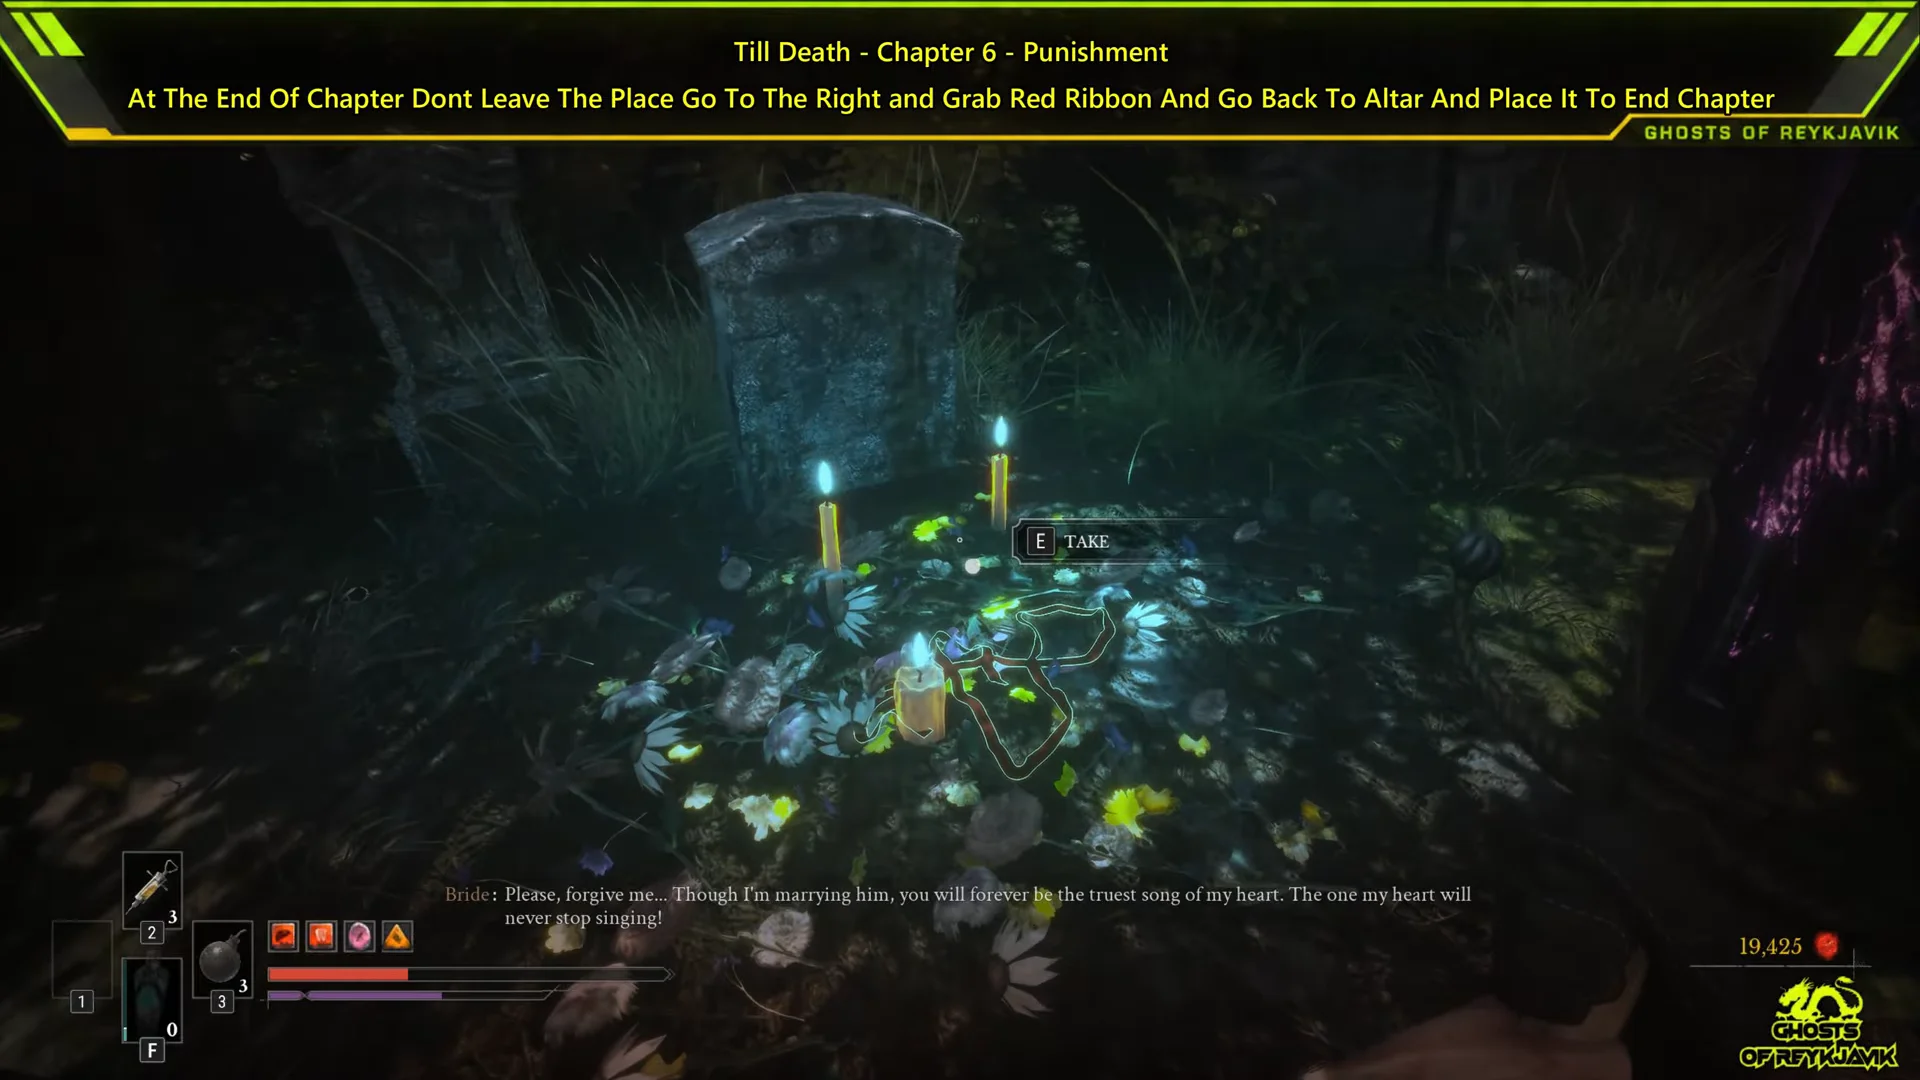
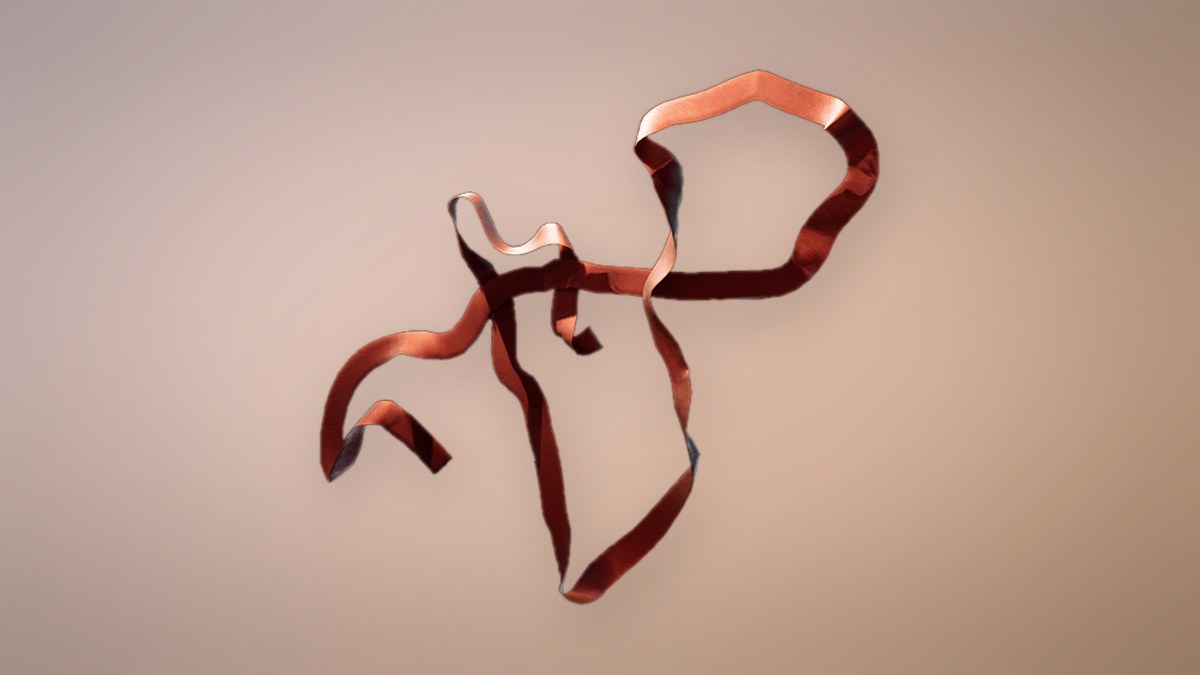
The game describes the quest item Red Ribbon as red fabric worn with age. Its former owner was the man she lost before her engagement, and she wished to have it braided into her wedding wreath.
Getting the Red Ribbon back to the wreath
There are three ways back to the altar. Pick whichever is closest to where you are standing.
| Starting point | Route to the altar |
|---|---|
| Village Church lantern | Walk forward, take the second left |
| Eerie View lantern | Ladder shortcut over the rooftops, drop to the street |
| Graveyard, on foot | Back through the chapel, then the village walkway |
Fast travel works from any lantern through its Travel option. The route from Eerie View involves climbing a ladder, crossing the rooftops, and dropping back into the village street just short of the altar.
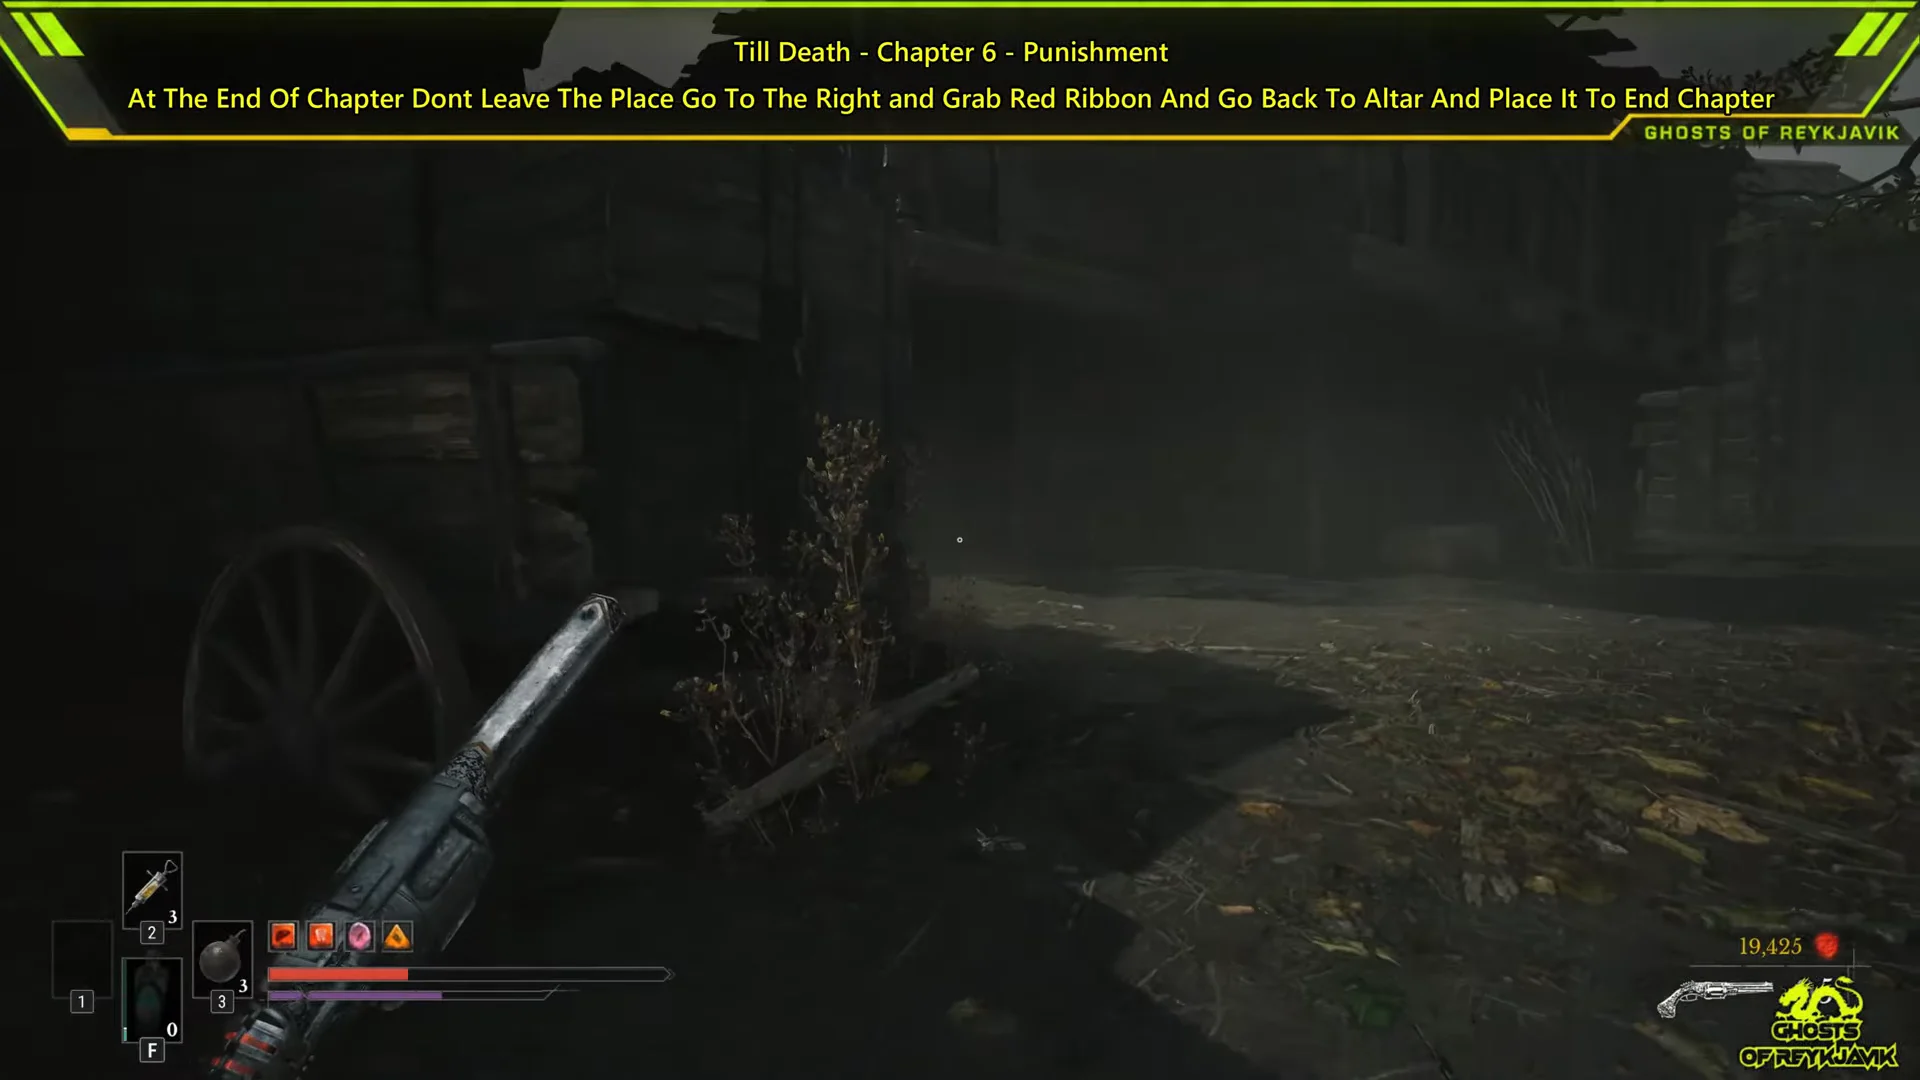
Use the altar to interact with the wreath and thread the ribbon through it. William remarks that this is where the bride would have wanted it; you then receive the Tomorrow’s Promise amber and see a +2,000 notification. This does not close the quest. The journal still asks why it feels unfinished and suggests that certain things require time.
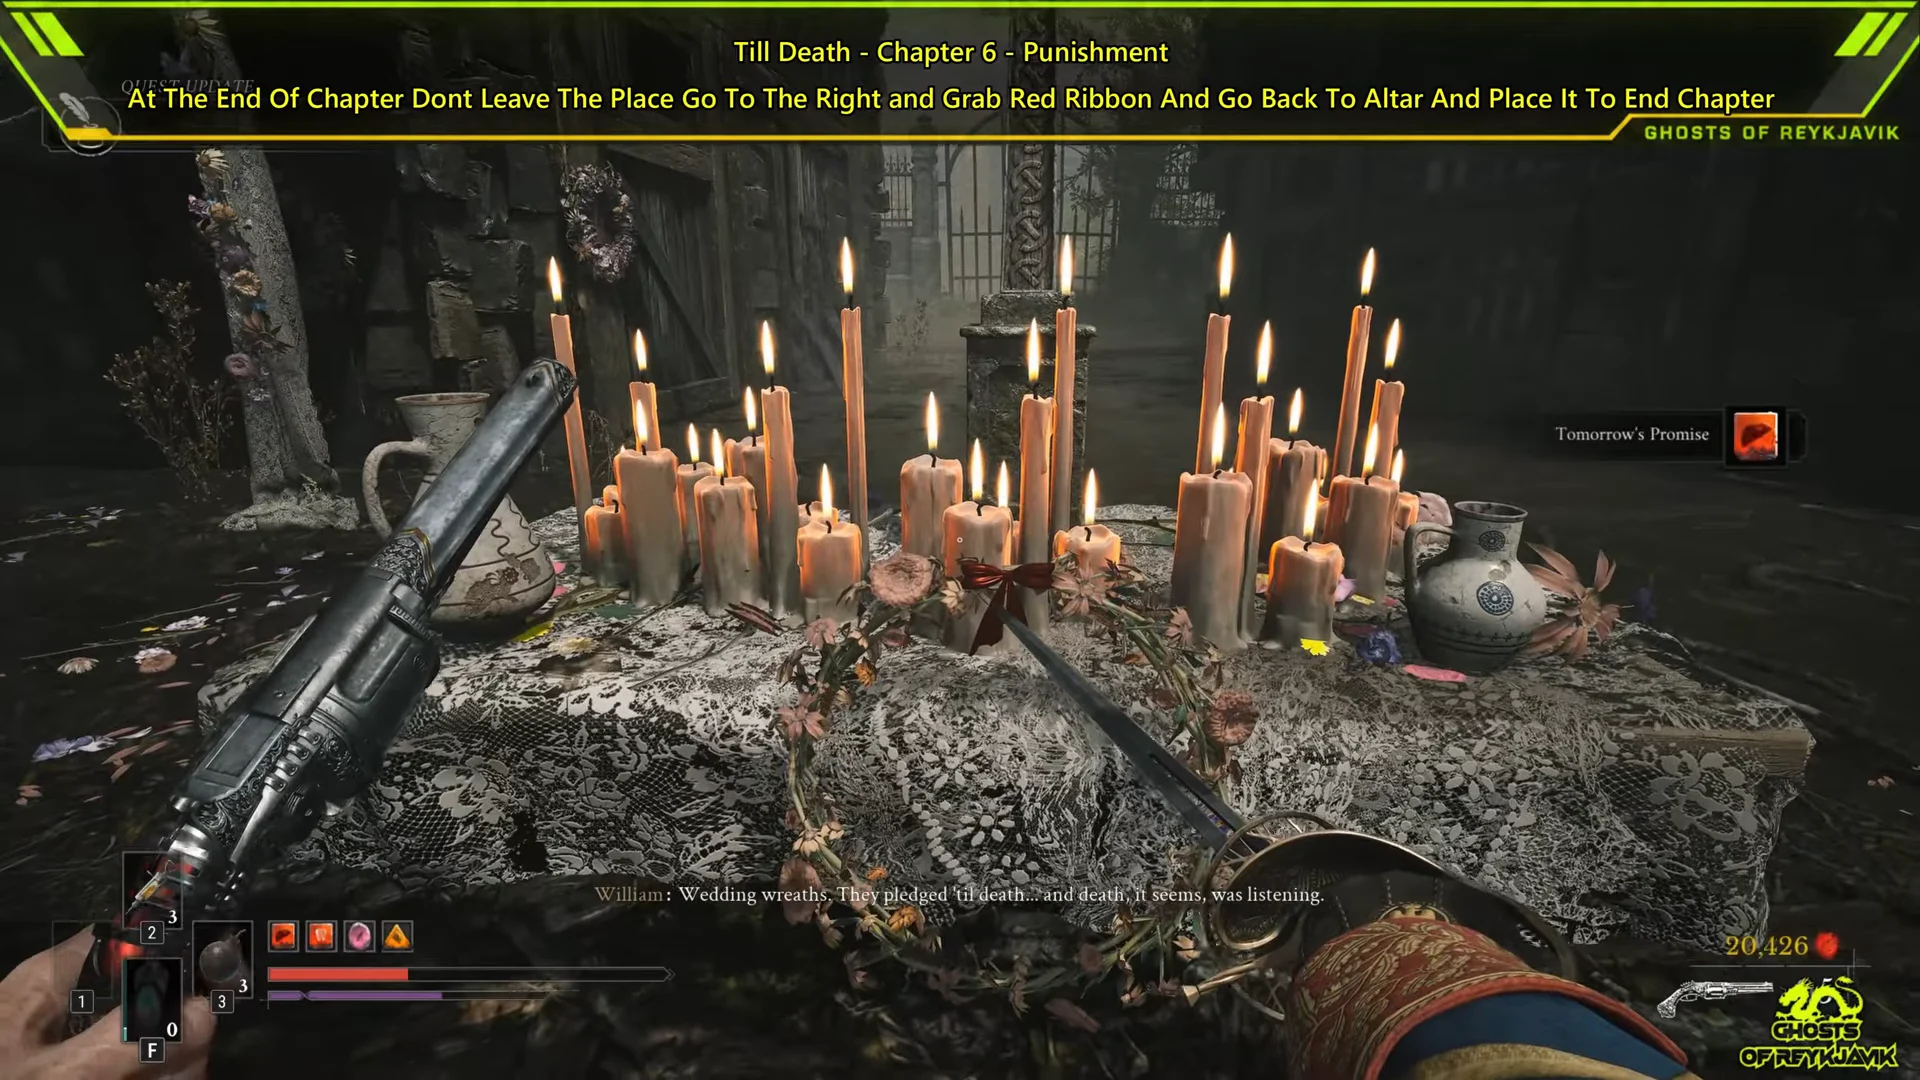
Finish Till Death: rest, then return to the bloomed wreath
The time skip the quest is waiting on is just an area reload. Resting at a lantern is the easiest way to do it.
You know it worked when three things happen together. The wreath has changed from withered to fully bloomed, a “Quest Complete” banner appears after the interaction, and Remnant’s Return lands in your inventory. If the wreath still looks dead, you haven’t reloaded the area since placing the ribbon. Rest once more and come back. Using the surrender option in the pause menu reloads the zone the same way.
Till Death can’t be missed. The wreath stays on the altar and the ribbon stays on the grave, so you can return to Cursed Hollow later and finish it.
Till Death rewards: Tomorrow’s Promise and Remnant’s Return
| Reward | Type | When you get it | Limit |
|---|---|---|---|
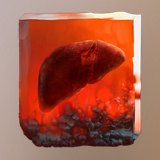 Tomorrow’s Promise | Amber | Placing the ribbon | Rank 3 max |
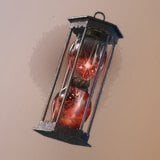 Remnant’s Return | Consumable | Interacting with the bloomed wreath | 99 carried |
Tomorrow’s Promise amber
Tomorrow’s Promise changes the Ferrofluid Flask so its Health recovery happens gradually over 10 seconds rather than all at once. Its healing factor rises by rank: rank 1 gives 1.1, rank 2 gives 1.2, and rank 3 gives 1.3. Using another flask before the current effect ends won’t add to the effect or extend its duration; it resets the 10-second countdown.
If you already own Tomorrow’s Promise from the Lullaby side quest, Till Death raises it to rank 2 instead of giving you a duplicate. The slower heal suits careful, defensive play and exploration chip damage. It works against you when you need Health back immediately in the middle of a fight.
Remnant’s Return consumable
Remnant’s Return pulls back the Catalysts you dropped on death automatically, so you skip the run back to your corpse. It’s not exclusive to this quest. Louis’s Laboratoire stocks it from Chapter 5, and it also turns up in chests, in the world, and from one enemy type.
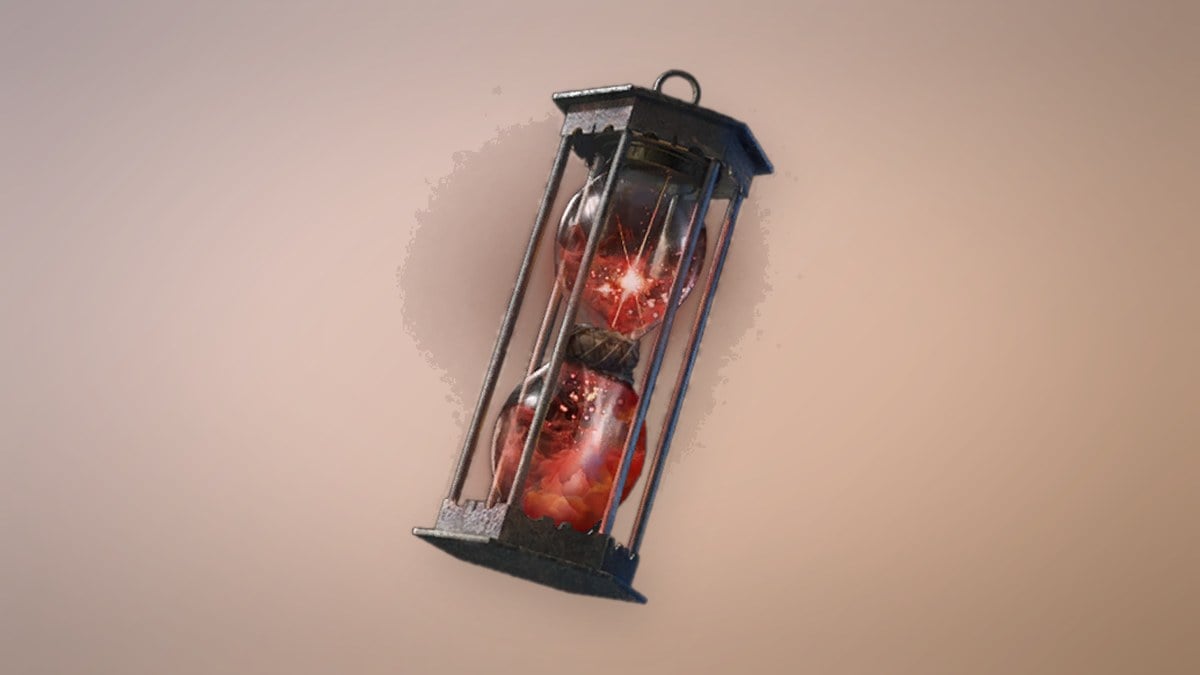
| Remnant’s Return | Value |
|---|---|
| Max carried | 99 |
| Buy price | 1,000 |
| Sell price | 500 |
| Shop | Louis’s Laboratoire, 4 in stock from Chapter 5 (Crime) |
| Chests | Fortress, Napoleon’s Prison |
| Enemy drop | Eternal Guardsman, 4% |
| In the world | City of Orphans (3), Caverns, Vale of Wrath, Cursed Hollow, University, Fortress |
| From conversations | 4 |
Ferrofluid Flask values for a Tomorrow’s Promise build
Tomorrow’s Promise multiplies whatever your flask already heals, so its value depends on how far you’ve upgraded the flask at the lantern (Upgrade Ferrofluid Flask). A base flask heals 50. You can carry up to 5 flasks, and each Empty Ferrofluid Flask you find adds one more charge. Lucjan sells Ferrofluid Flasks later in the story at 1,000 each, with 3 in stock.
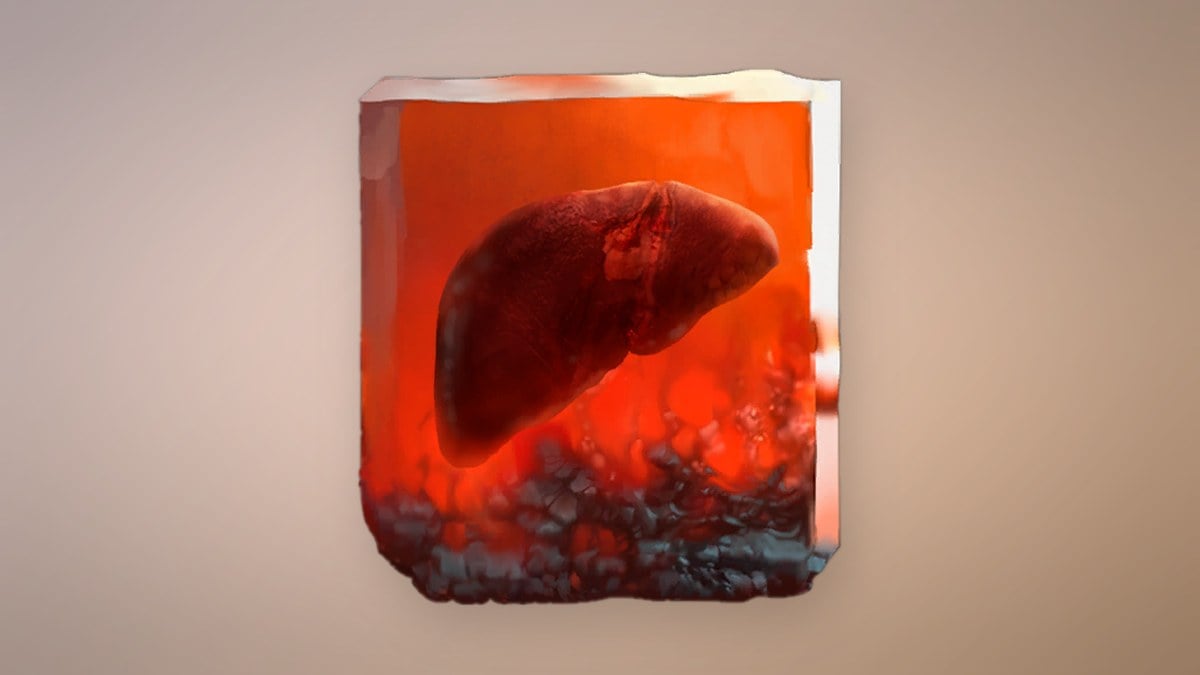
| Potency upgrade | Healing | Power Upgrades needed |
|---|---|---|
| Base | 50 | — |
| 1 | 60 | 1 |
| 2 | 70 | 2 |
| 3 | 80 | 2 |
| 4 | 90 | 2 |
| 5 | 100 | 3 |
| 6 | 110 | 3 |
| 7 | 120 | 3 |
| 8 | 130 | 4 |
| 9 | 140 | 4 |
Each step uses Ferrofluid Flask Power Upgrade materials. They cost $3,000 at Louis’s Laboratoire, which has 1 in stock at the start, another from Chapter 5, and another from Chapter 9. Cursed Hollow chests hold 2 of them, and two conversations also hand them out.
Cursed Hollow pickups along the Till Death route
The run from the chapter start to Anna passes several loot beams worth grabbing, including a Cleansing Vial and Special Ammunition. These are the ones with fixed values in the game.
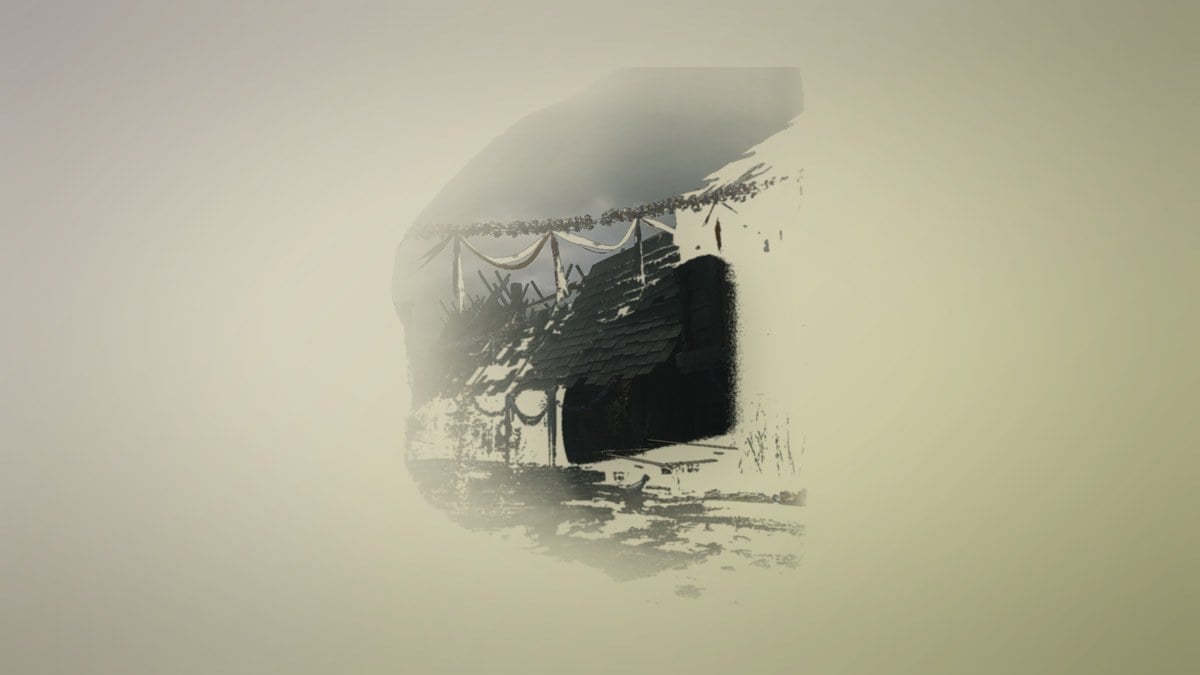
| Item | What it does | Found in Cursed Hollow | Sell price |
|---|---|---|---|
 Legendary Catalyst Clot | Grants 1,000 Catalysts | 10 | 1,000 |
 Pistol Cartridges | Refills 5 Pistol rounds | 2 | 100 |
 Crude Transmutation Material | Upgrades Transmutations | 1 | — |
Legendary Catalyst Clots stack to 99 and are an easy level-up boost if you’re struggling with Anna. You can carry only 3 Pistol Cartridges at a time. Crude Transmutation Material goes toward level 2 of the Fire, Stasis, and Shield Transmutations, two per upgrade.