
Windows 11 boot failures often occur after system updates, hardware changes, or corrupted system files. Quick Machine Recovery (QMR) can automatically detect and correct these startup issues, significantly reducing downtime and manual troubleshooting effort. Configuring QMR to auto-fix boot failures ensures your Windows 11 device reliably restarts and remains operational without user intervention.
Method 1: Configure Quick Machine Recovery Through Windows Recovery Environment (WinRE)
Step 1: Access the Windows Recovery Environment (WinRE). To do this, restart your computer and interrupt the boot process three consecutive times by pressing and holding the power button until the device shuts off. On the third restart, Windows will automatically enter repair mode.
Step 2: In the WinRE screen, select "Troubleshoot," then choose "Advanced options," and finally click on "Command Prompt." This opens a command-line interface where you can configure Quick Machine Recovery.
Step 3: In the Command Prompt window, type the following command to enable Quick Machine Recovery:
bcdedit /set {default} recoveryenabled Yes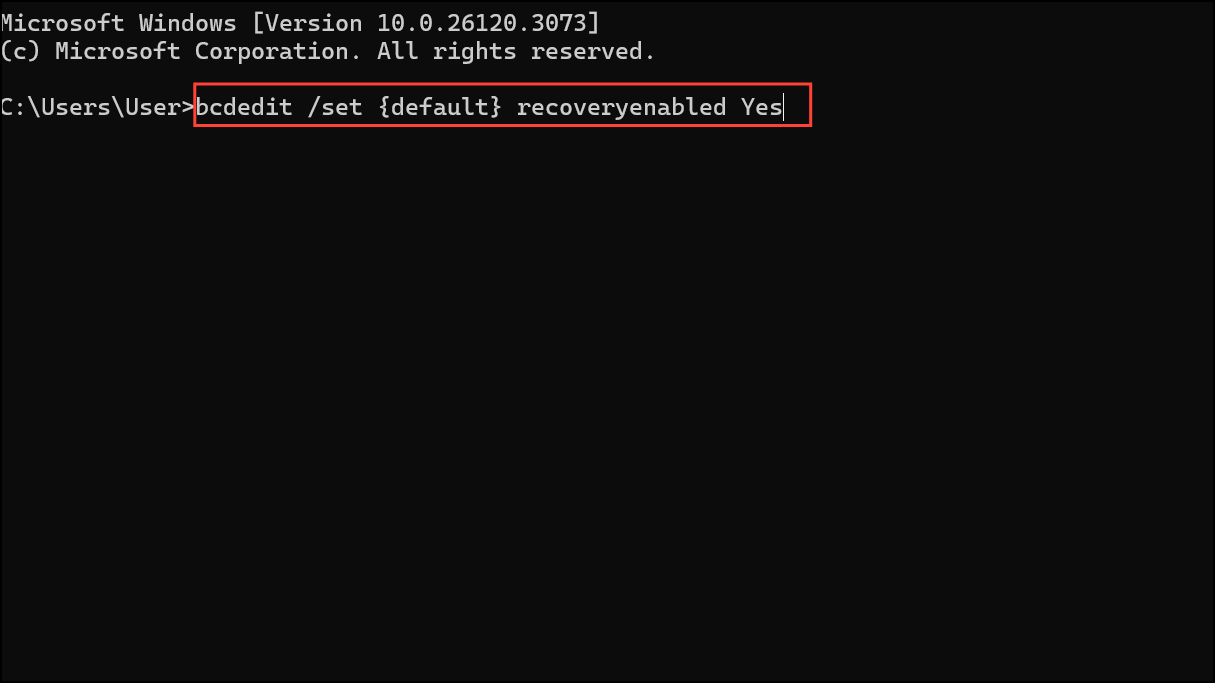
Press Enter to execute the command. This command instructs Windows to automatically initiate recovery procedures when boot failures are detected.
Step 4: Next, configure the automatic repair functionality by typing the following command:
bcdedit /set {default} bootstatuspolicy AutomaticRepair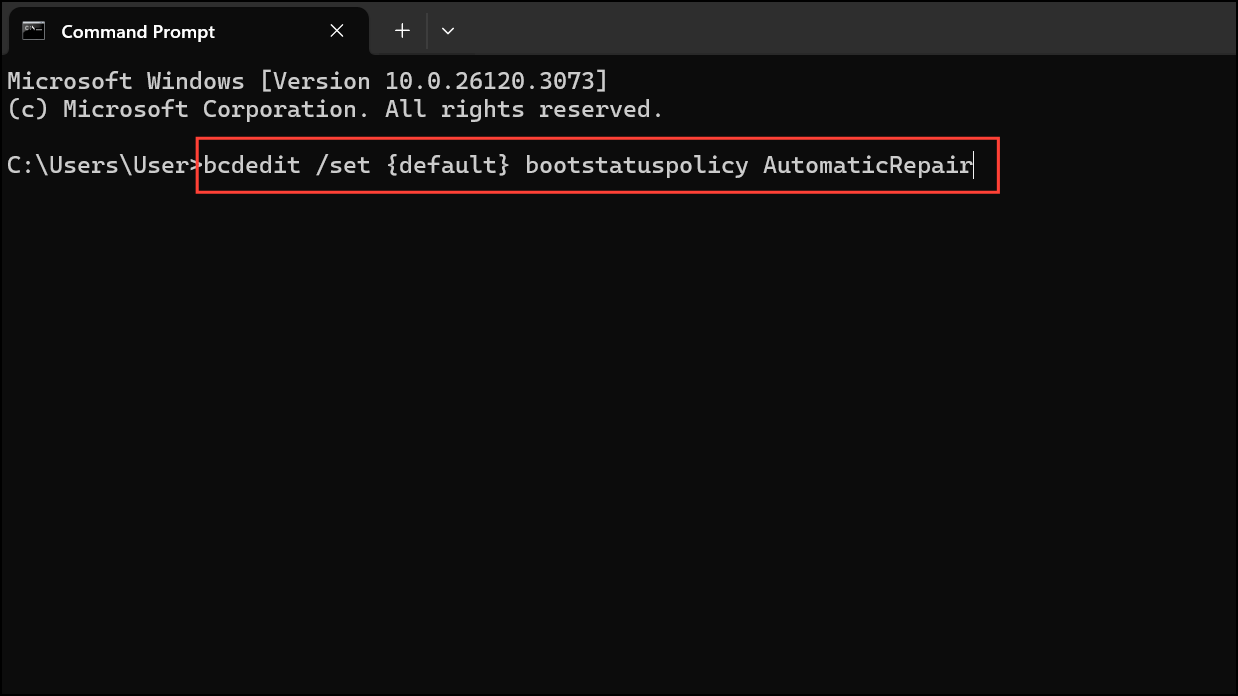
Press Enter. This setting ensures Windows 11 automatically attempts repairs whenever boot issues arise.
Step 5: After completing these commands, type exit and press Enter to close Command Prompt. Select "Continue" to reboot your system normally. Quick Machine Recovery is now configured to auto-fix boot failures.
Method 2: Enable Quick Machine Recovery from Within Windows 11 Settings
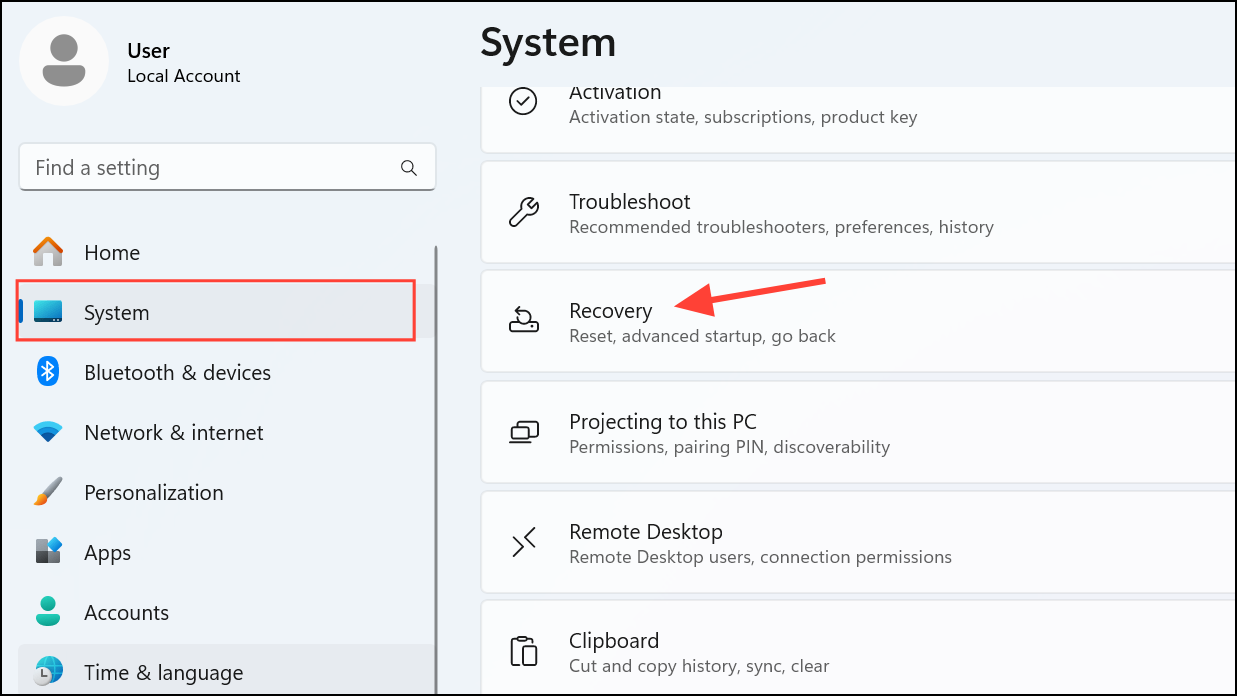
Step 1: Click the Start button and select "Settings." In the Settings window, navigate to "System," then choose "Recovery."
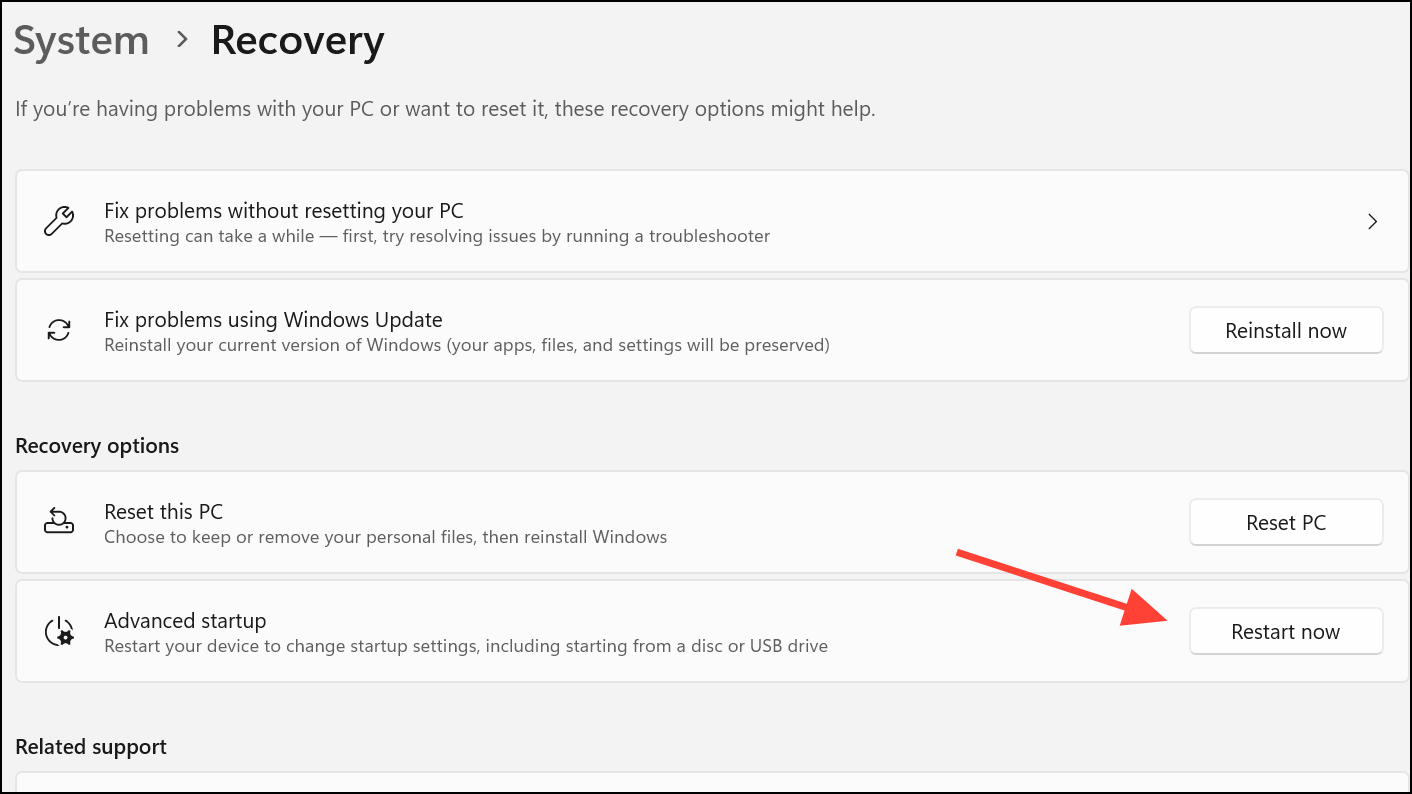
Step 2: Under the Recovery options, locate the "Advanced startup" section and click "Restart now." Confirm your choice when prompted. Your system will reboot into the advanced startup options.
Step 3: Once in the advanced startup menu, click on "Troubleshoot," then select "Advanced options," and finally choose "Startup Repair." Windows will automatically run diagnostics and configure Quick Machine Recovery to handle future boot failures.
Step 4: Allow the process to complete and restart your device normally. From this point forward, Windows 11 will automatically invoke Quick Machine Recovery to address boot-related issues.
Method 3: Using Group Policy Editor to Automate Boot Failure Recovery
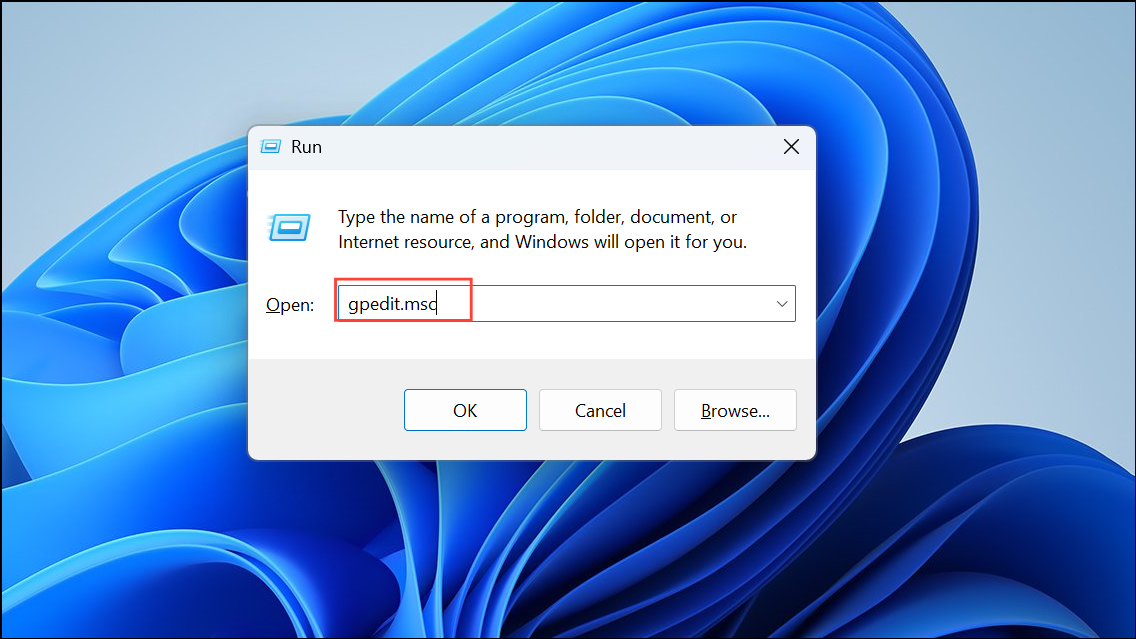
Step 1: Press Win + R to open the Run dialog, type gpedit.msc, and press Enter to launch the Local Group Policy Editor.
Step 2: In the Group Policy Editor, navigate to "Computer Configuration" > "Administrative Templates" > "System" > "Troubleshooting and Diagnostics" > "Windows Boot Performance Diagnostics."
Step 3: Double-click on "Configure Scenario Execution Level" and set it to "Enabled." From the dropdown menu, select "Detection, troubleshooting and resolution." Click "Apply" and then "OK" to save these settings.
Step 4: Close the Group Policy Editor and restart your computer. Windows 11 will now automatically detect, troubleshoot, and resolve boot issues through Quick Machine Recovery.
With Quick Machine Recovery configured, your Windows 11 system can automatically fix boot problems, reducing downtime and ensuring smoother system operations. Regularly check your system logs to confirm recovery actions and stay informed about your device's health.