Wi-Fi connectivity is crucial for accessing the internet on your Windows 11 device. Whether you’re setting up a new computer or reconnecting after a network change, knowing how to connect to a Wi-Fi network is essential. Here are several methods to help you connect your Windows 11 PC to a Wi-Fi network.
Connect to Wi-Fi from the Taskbar
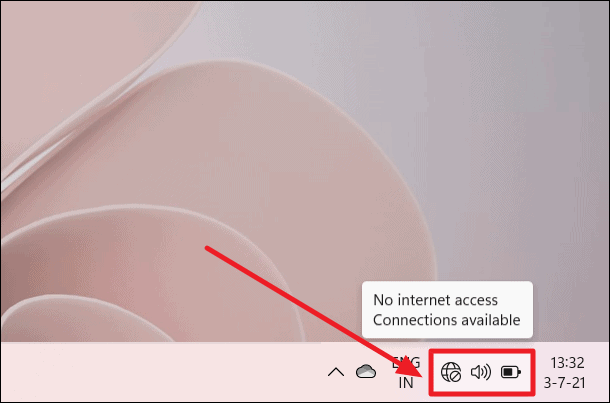
The quickest way to connect to a Wi-Fi network is directly from the taskbar. Windows 11 has streamlined this process by grouping Wi-Fi, Volume, and Battery icons into one section.
- Click on the network, volume, or battery icon located at the bottom right corner of the taskbar to open the Quick Settings menu.
- In the Quick Settings menu, click on the right-facing arrow next to the Wi-Fi icon.
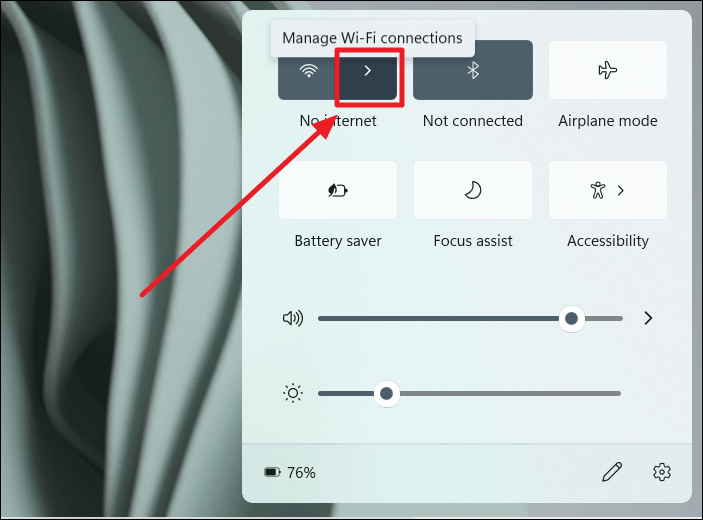
- Ensure the Wi-Fi toggle is switched to On.
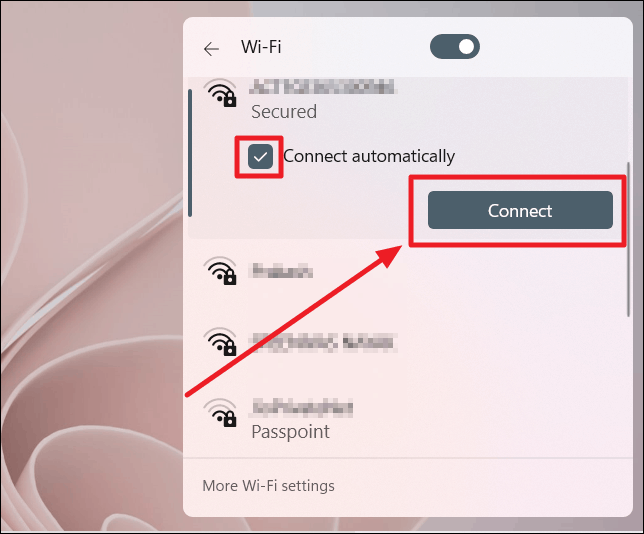
- Select the Wi-Fi network you want to connect to from the list of available networks.
- Check the box next to Connect automatically if you want your device to connect to this network whenever it’s in range.
- Click on Connect.
- Enter the network security key (password) when prompted and click Next.
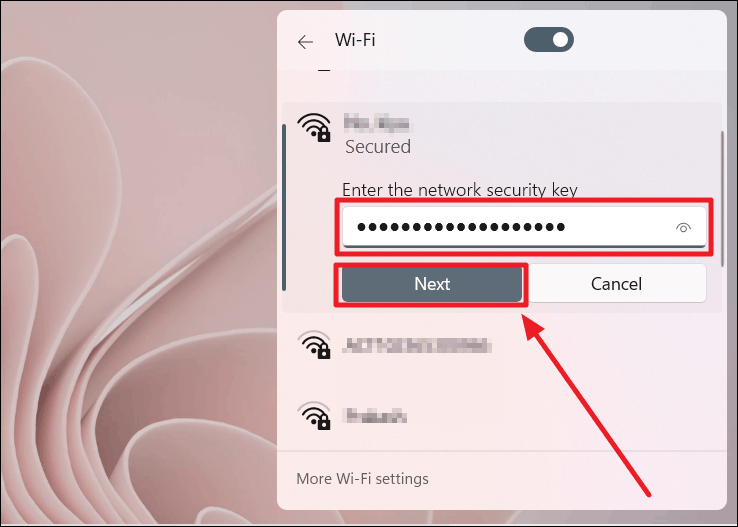
Your device will now connect to the selected Wi-Fi network.
Connect to Wi-Fi from Windows Settings
You can also connect to a Wi-Fi network through the Windows Settings app.
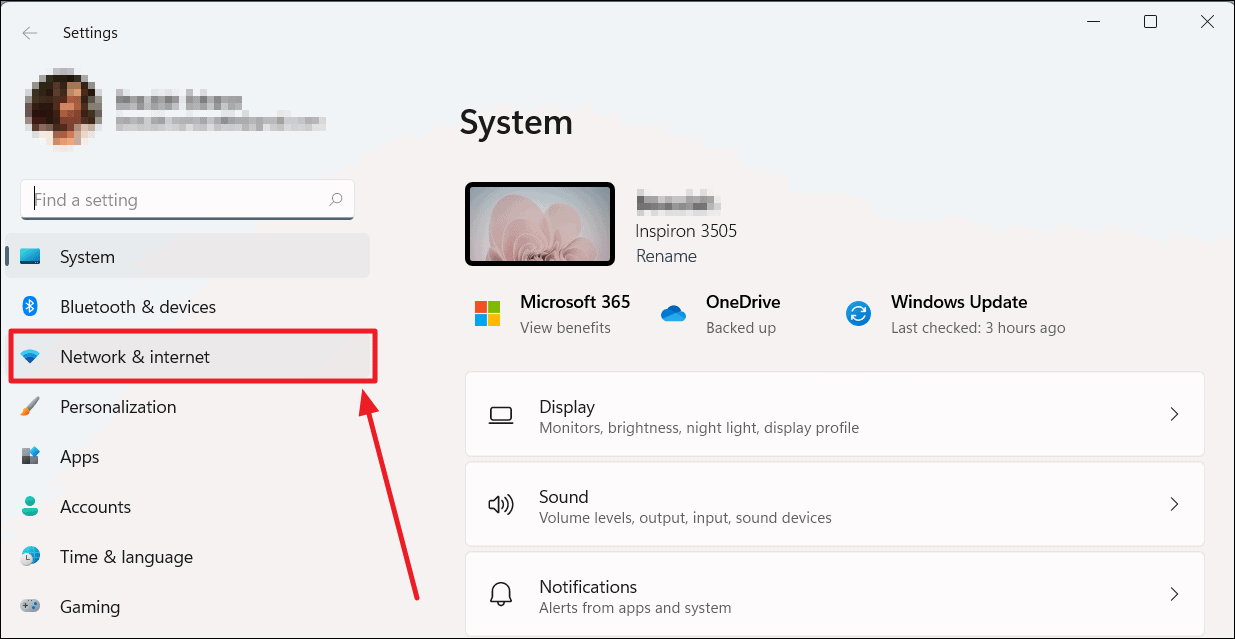
- Press Windows key + I to open Settings.
- Click on Network & Internet from the left pane.
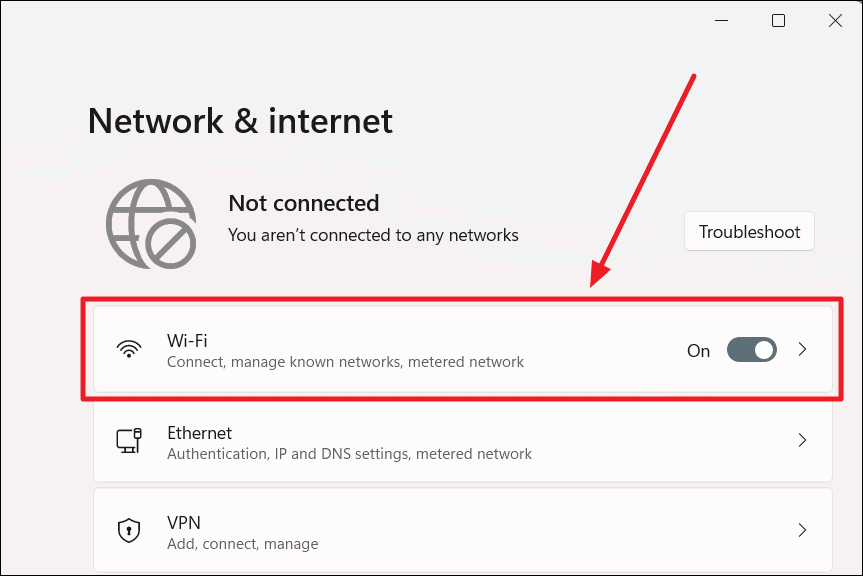
- Select Wi-Fi and ensure the Wi-Fi toggle is turned on.
- Click on Show available networks.
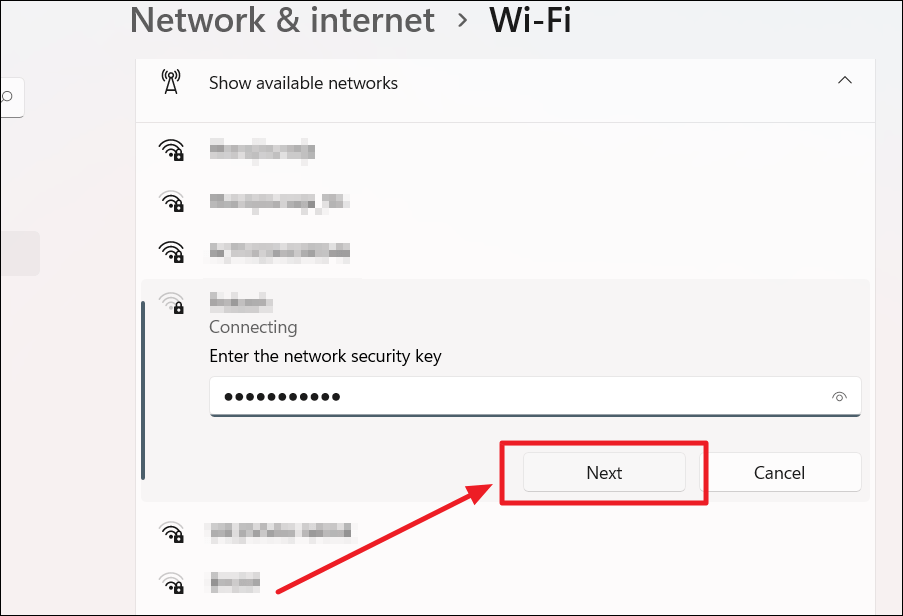
- Choose your preferred network from the list.
- Check Connect automatically if desired, then click Connect.
- Enter the network password and click Next to connect.
Connect to Wi-Fi Using Command Prompt
If you’re comfortable with command-line tools, you can connect to a Wi-Fi network using Command Prompt.
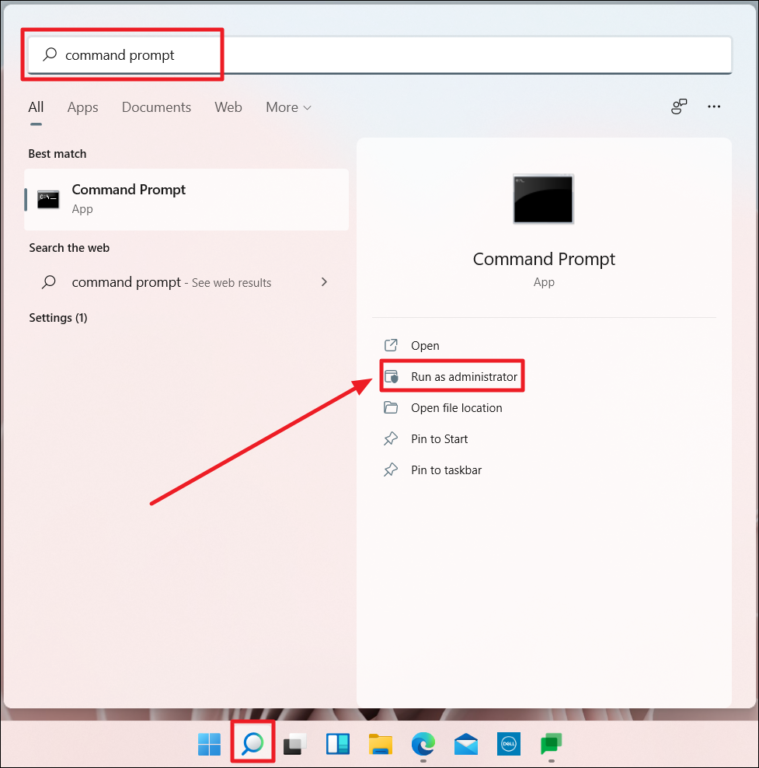
- Click on the Search icon in the taskbar, type Command Prompt, and select Run as administrator.
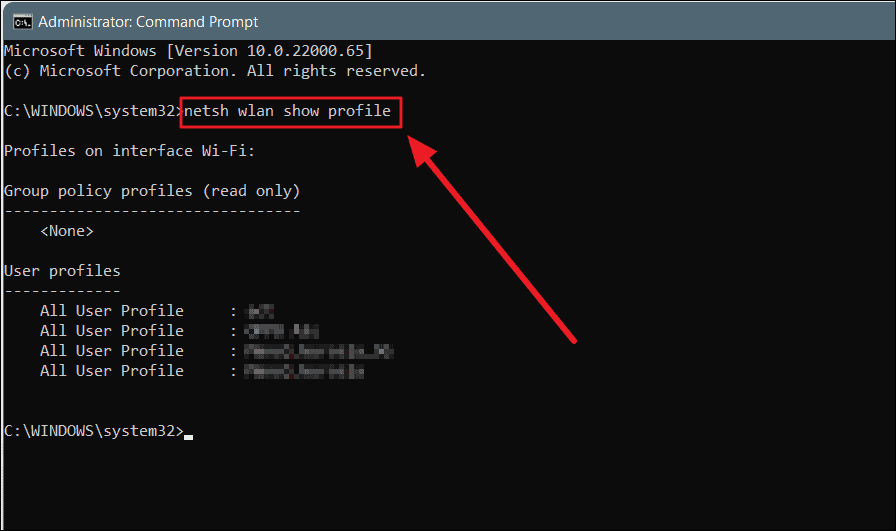
- In the Command Prompt window, type
netsh wlan show profilesand press Enter to display saved Wi-Fi networks.
- To connect to a specific network, type
netsh wlan connect name=<NetworkName>and press Enter.
netsh wlan connect name=YourNetworkName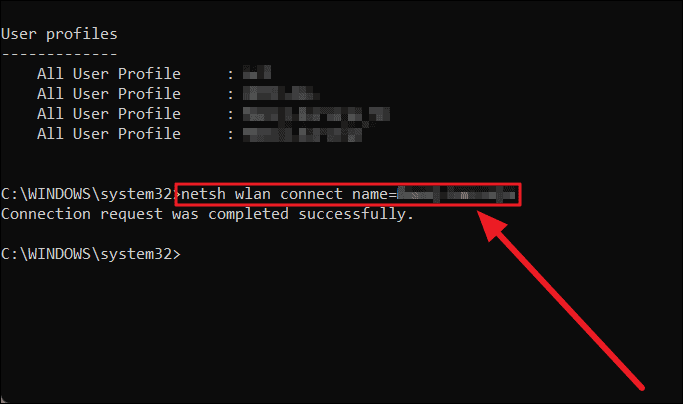
You should now be connected to the Wi-Fi network. Note that this method works for networks you’ve connected to previously.
Manually Connect to a Hidden Wi-Fi Network
If your Wi-Fi network doesn’t appear in the list of available networks, it might be hidden. You can manually connect to it by following these steps:
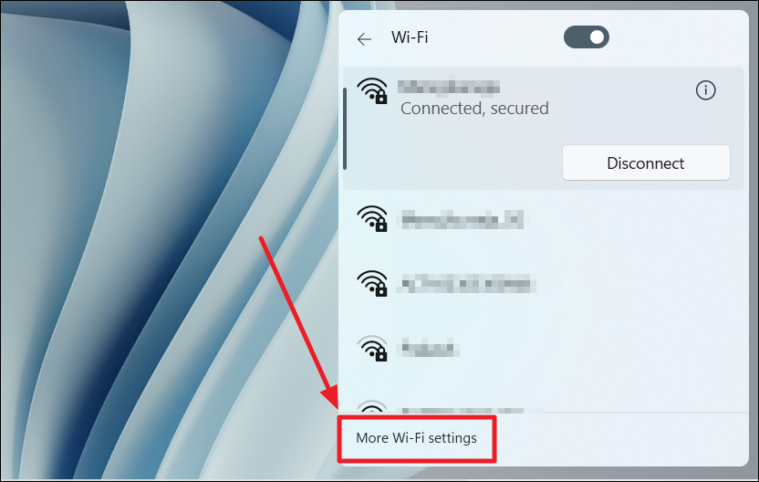
- Click on the network icon in the taskbar to open Quick Settings.
- Click the right-facing arrow next to the Wi-Fi icon.
- At the bottom, click on More Wi-Fi settings.
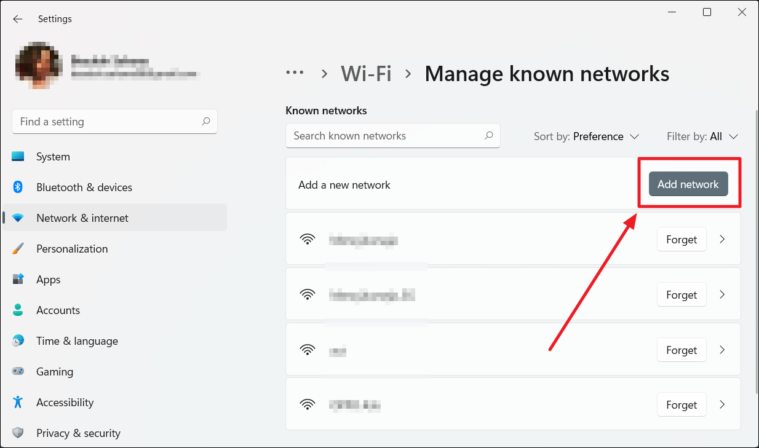
- In the Settings window, select Manage known networks.
- Click on Add network.
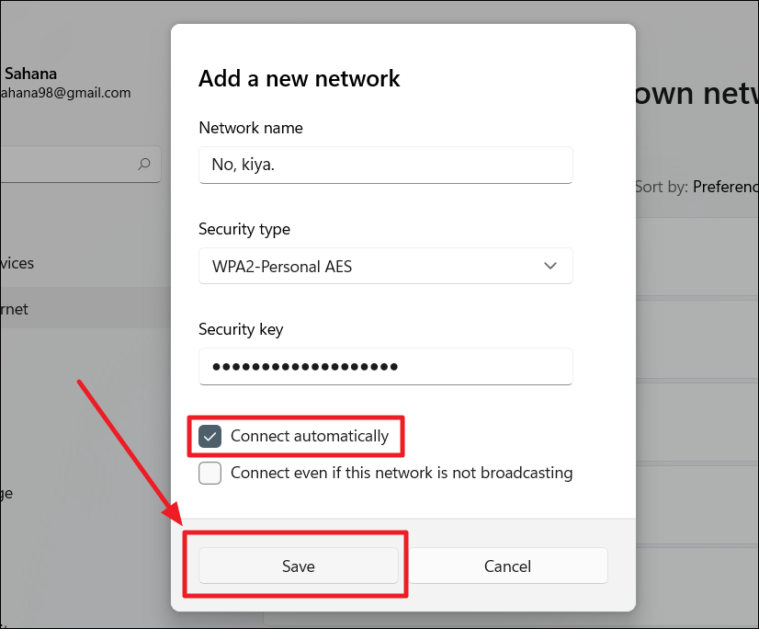
- Enter the Network name, choose the Security type, and enter the Security key.
- Check Connect automatically if you prefer, then click Save.
Your device will now connect to the hidden Wi-Fi network and remember it for future use.
Manually Connect to a Hidden Wi-Fi Network from Control Panel
You can also add a hidden network through the Control Panel.
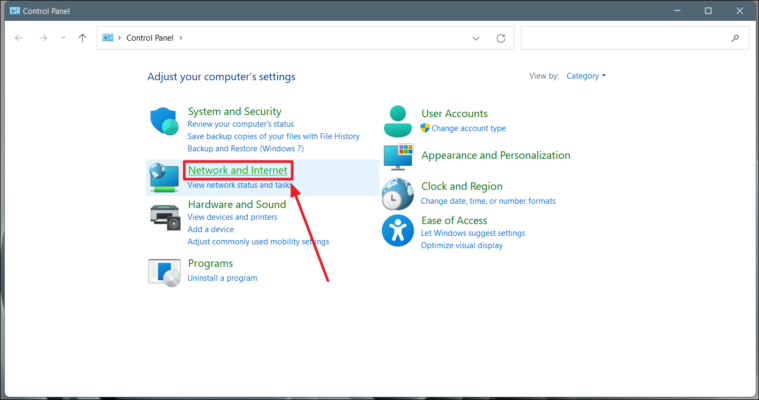
- Press Windows key + R to open the Run dialog box, type
control panel, and press Enter. - Click on Network and Internet, then select Network and Sharing Center.
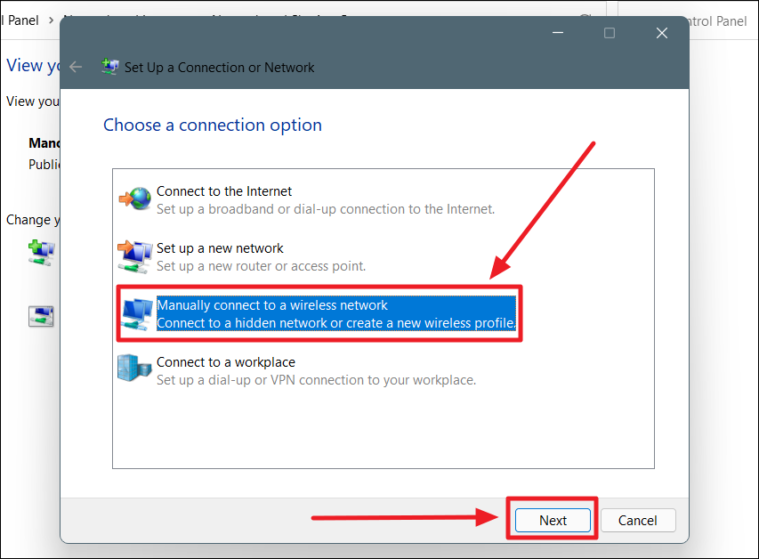
- Click on Set up a new connection or network.
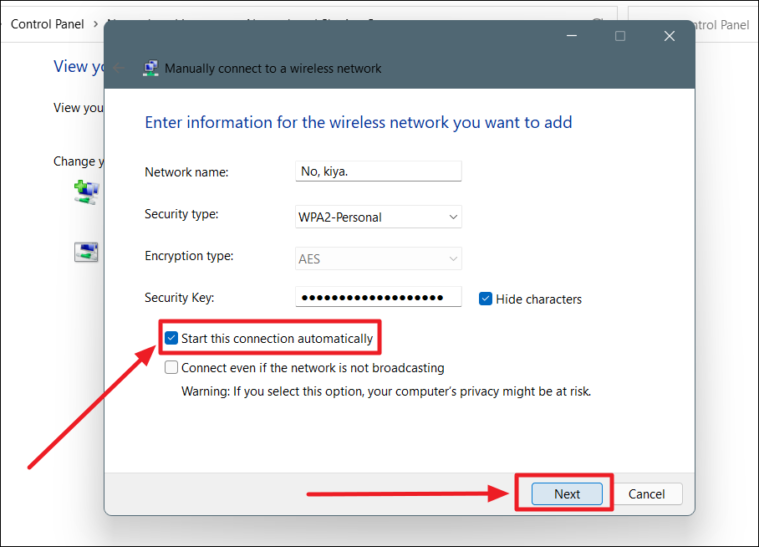
- Select Manually connect to a wireless network and click Next.
- Enter the Network name, choose the Security type, and enter the Security key.
- Check Start this connection automatically and click Next.
- Click on Close after the network is added.
Your device will now automatically connect to the hidden network when it’s in range.
Forget a Wi-Fi Network on Windows 11
If you no longer wish to connect to a specific Wi-Fi network, you can forget it from your device.
- Click on the network icon in the taskbar and select the right-facing arrow next to the Wi-Fi icon.
- Click on More Wi-Fi settings.
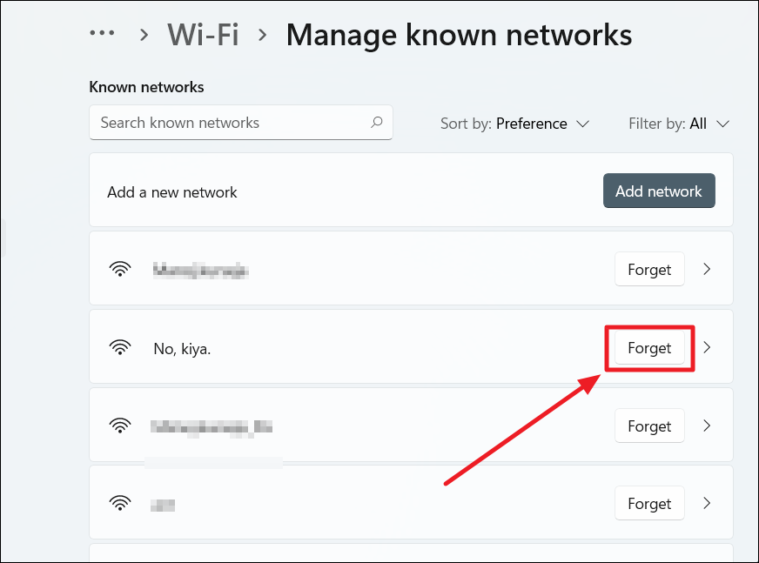
- Select Manage known networks.
- Find the network you want to remove and click on Forget.
The network will be removed from your list, and your device will no longer connect to it automatically.
Troubleshooting Wi-Fi Connection Issues
If you’re unable to connect to a Wi-Fi network, try the following fixes:
Fix 1: Reset Network Settings
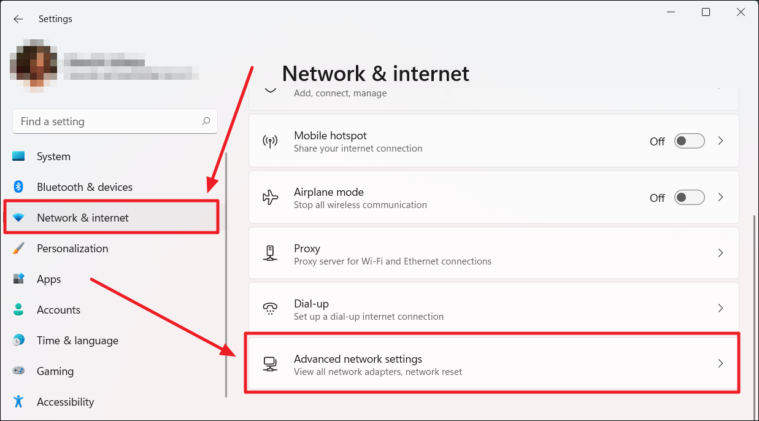
- Press Windows key + I to open Settings.
- Go to Network & Internet and select Advanced network settings.
- Under More settings, click on Network reset.
- Click on Reset now and confirm by clicking Yes.
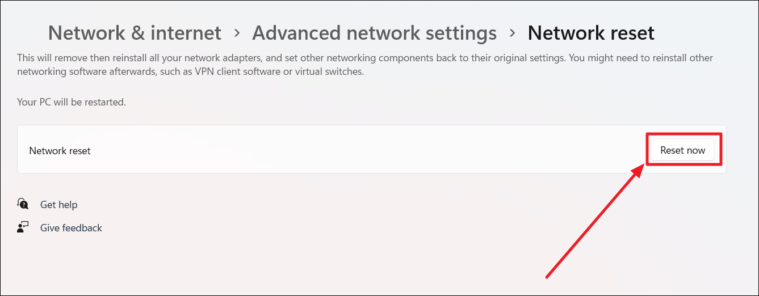
- Your PC will restart. After rebooting, reconnect to your Wi-Fi network.
Fix 2: Update Wireless Network Adapter Driver
- Press Windows key + X and select Device Manager.
- Expand the Network adapters section.
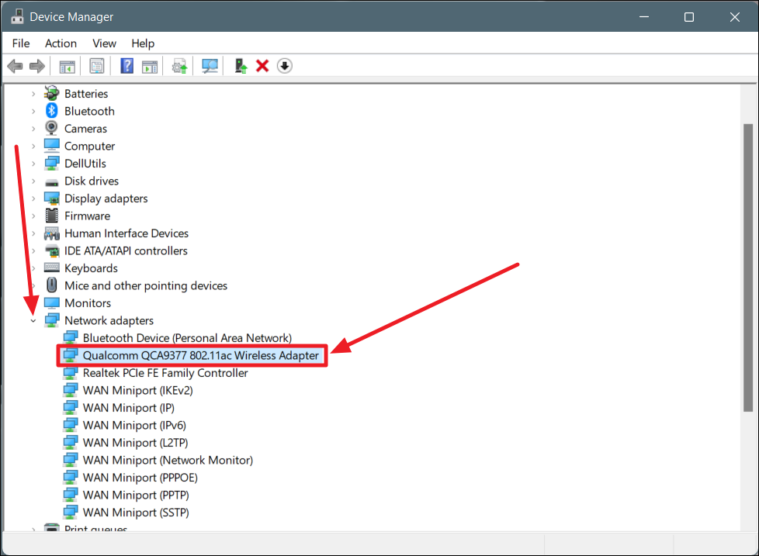
- Right-click on your wireless adapter and select Update driver.
- Choose Search automatically for drivers.
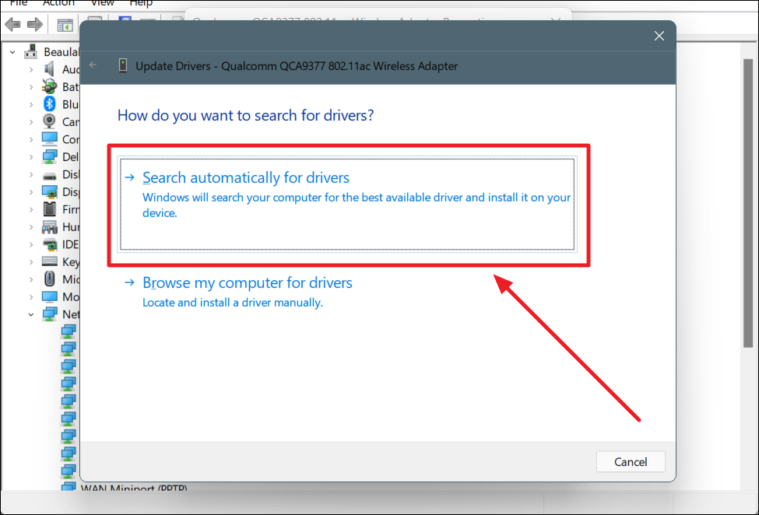
- If updates are found, follow the on-screen instructions to install them.
- Restart your computer and try connecting to the Wi-Fi network again.
Fix 3: Start WLAN AutoConfig Service
- Press Windows key + R, type
services.msc, and press Enter. - Scroll down and find WLAN AutoConfig.
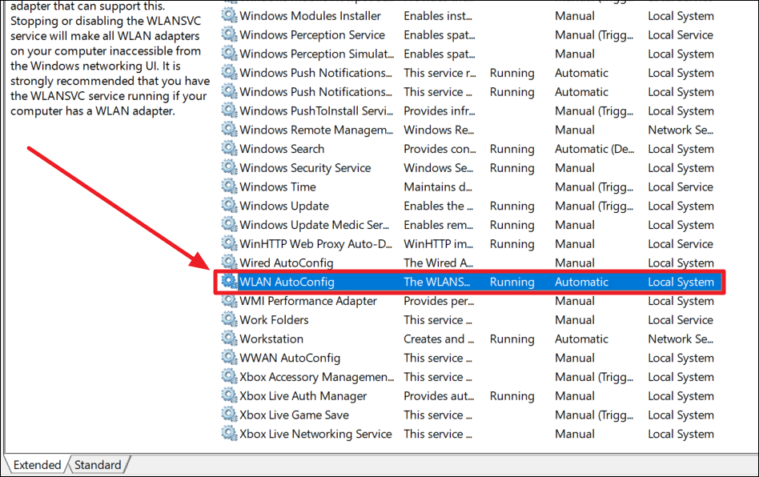
- Double-click on it, set the Startup type to Automatic, and click on Start.
- Click Apply and then OK.
This ensures that your system automatically detects and connects to available Wi-Fi networks.
By following these methods, you should be able to connect to a Wi-Fi network on your Windows 11 device effortlessly. Staying connected is essential, and Windows 11 offers multiple ways to ensure you can access your networks whenever needed.


