
Microsoft Lists is a new Microsoft 365 app that makes it incredibly easy to manage and track any information using collaborative lists. And its integration with Microsoft Teams makes it even more powerful. You can add it as a tab in any team channel and collaborate with your team members to work efficiently.
Users can create a new list straight from Microsoft Teams after adding it as a tab in the channel. You can create new lists from scratch, use one of the templates, or import data from an excel table or an existing list from Microsoft Teams to use the rules and structure of the list.
But you cannot import personal lists from your Microsoft Lists home. Neither can you add Lists in Microsoft Teams as a personal app and create personal lists. To use Microsoft Lists to create a personal list and stay on top of everything, you need to use the standalone app.
Creating a New List
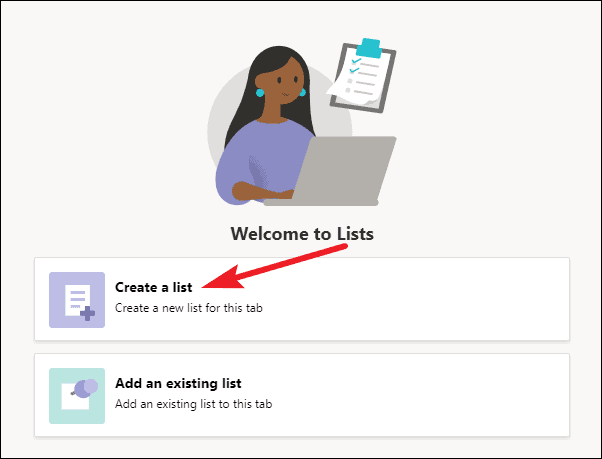
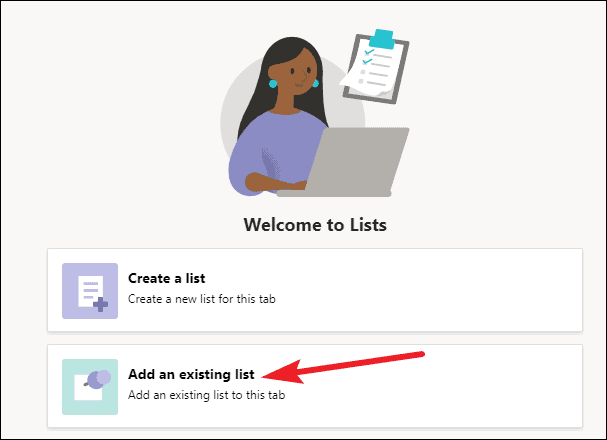
After you have added the Lists app as a tab in the channel, you can create a new list. Click on the ‘Lists’ tab. The tab will have two options: ‘Create a list’, or ‘Add an existing list’. Click on the former.
Creating a List from the scratch
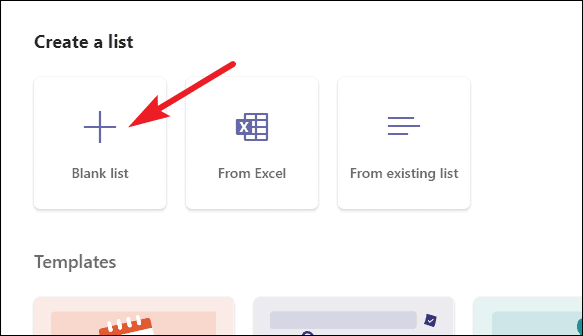
If you want to create a list from scratch, select the option ‘Blank List’. When you select a blank list, you need to create everything in the list yourself, even the number and names of the columns.
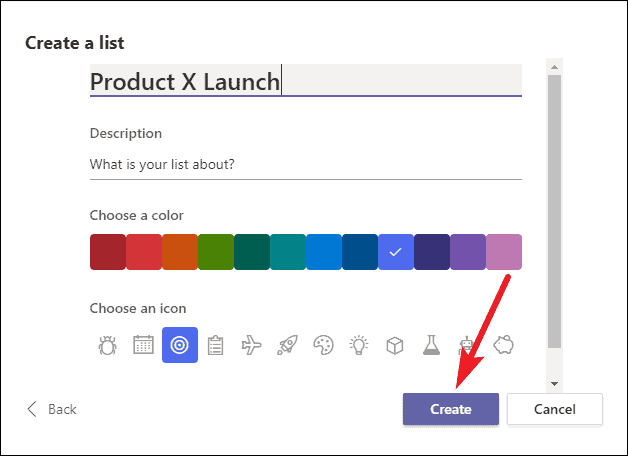
Enter a name for the list, a description if you want, select the color and icon, and click on the ‘Create’ button. The tab will start showing an empty list where you can add columns and list items.
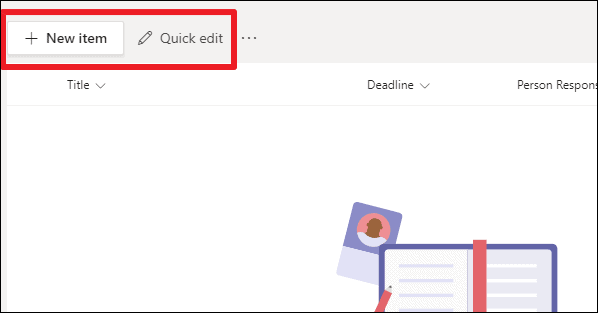
You can enter the ‘Quick Edit’ mode to enter information in the list like a table, or you can add individual entries in the list by clicking the ‘New Item’ button.
You can also define rules for the columns in your lists straight from Microsoft Teams. Defining rules allows you to format the list conditionally so that the entire columns or rows in the list appear or disappear only when they meet certain conditions.
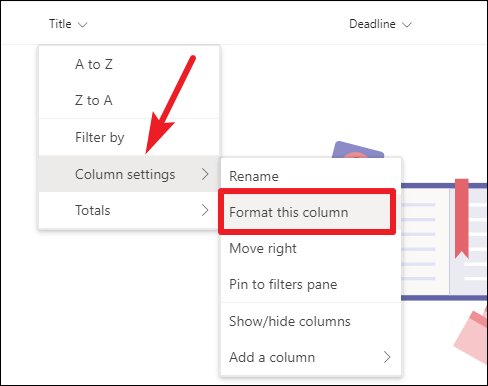
To define a rule for a column, click on the arrow next to the column name and go to ‘Column Settings’ from the menu. Then select ‘Format this column’ from the submenu.
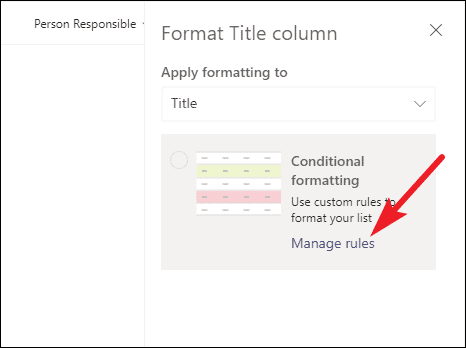
Then click on ‘Manage Rules’ under conditional formatting to define rules for the column.
Creating a List Using Templates
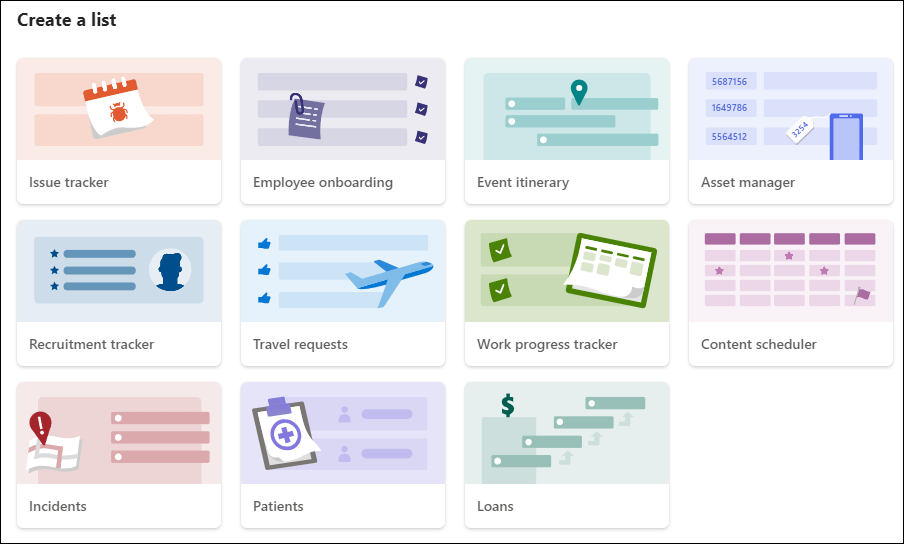
You can use a template to create a list in Teams. There are 8 general, and 3 industry-specific templates. There are general templates for Issue tracking, Employee onboarding, Event Itinerary, Asset management, Recruitment tracking, Travel requests, Work progress tracking, and Content Scheduler. Then, the 3 industry-specific templates include templates for Patients, Incidents, and Loans.
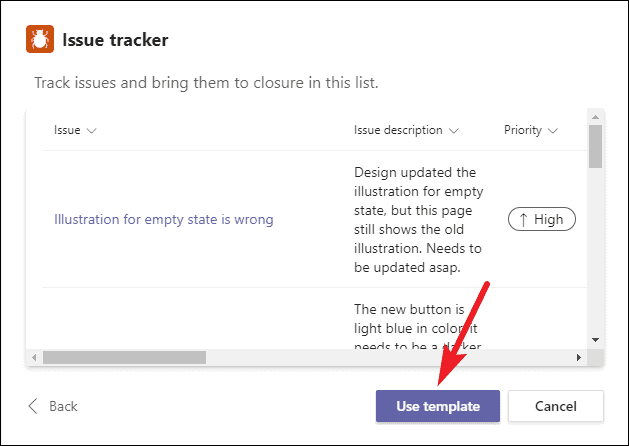
After clicking a ‘Create a List’ button, select the template you want to use. The preview of all the elements it contains will open. If you think it’s the right choice for you, click on the ‘Use Template’ button.
Using a template reduces the time you need to spend on a list as the basic structure you might need is already there. You can rename or delete any columns you don’t. Or you can simply start entering the items in the list in their respective column types.
Adding an Existing List
Apart from creating new lists and adding them as tabs in your team channels, you can also add existing lists to Microsoft Teams. But you can only add lists from other teams or channels in Microsoft Teams, and not your personal lists from your Microsoft Lists app home.
Click on the ‘Add an existing list’ option after adding Lists as a tab.
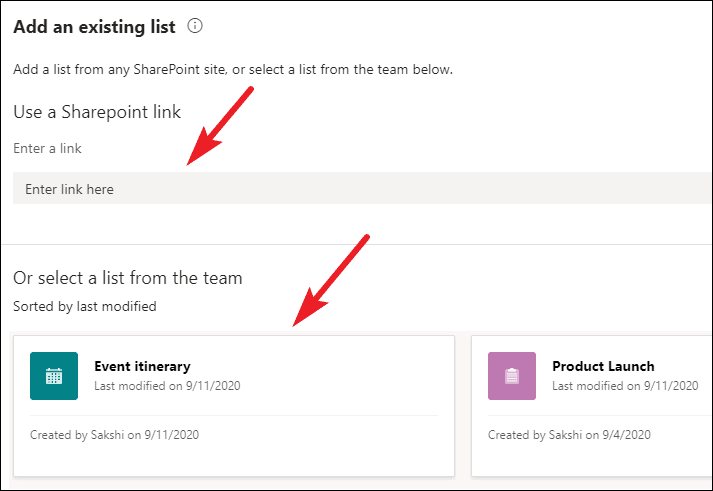
All your existing lists will be displayed on the screen to select from. Click on the list you want to use to add it to the channel. You can also add an existing list from your SharePoint site by pasting to link to the site in the textbox.
Once you select the list, its contents will appear in the tab. And you can edit it however you want.
Microsoft Lists are a powerful new tool in your Microsoft Teams arsenal. And with features like conditional formatting, templates, etc., they are sure to be a huge hit with everyone.