
Windows 11 requires a user account to access and use your PC. While Microsoft encourages using a Microsoft account, you may prefer to create a local account in certain situations. Local accounts can be useful for shared computers, school labs, or businesses that don’t need Microsoft account integration. This guide covers multiple methods to create a local account on Windows 11.
Create a local account from Settings
One of the easiest ways to add a local account is through the Windows Settings:
- Open Settings by pressing Windows key + I
- Click on “Accounts” in the left sidebar
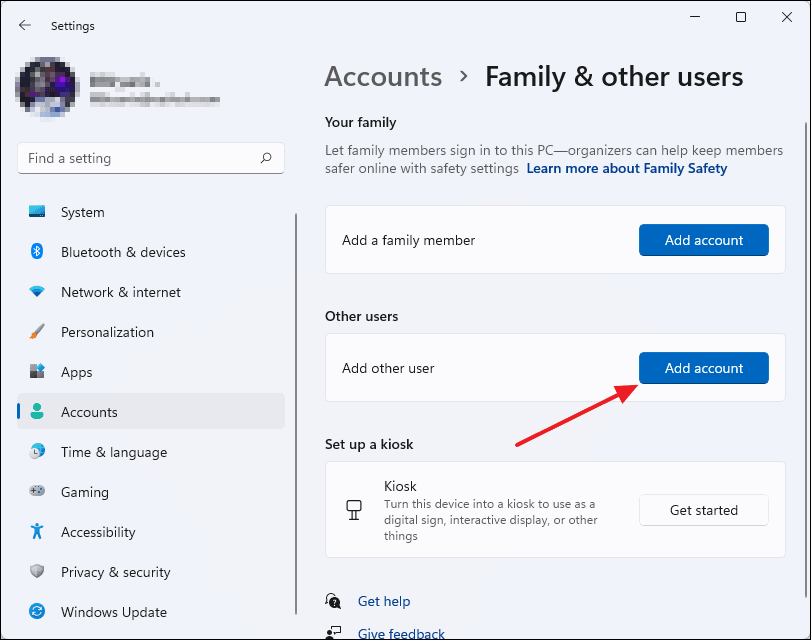
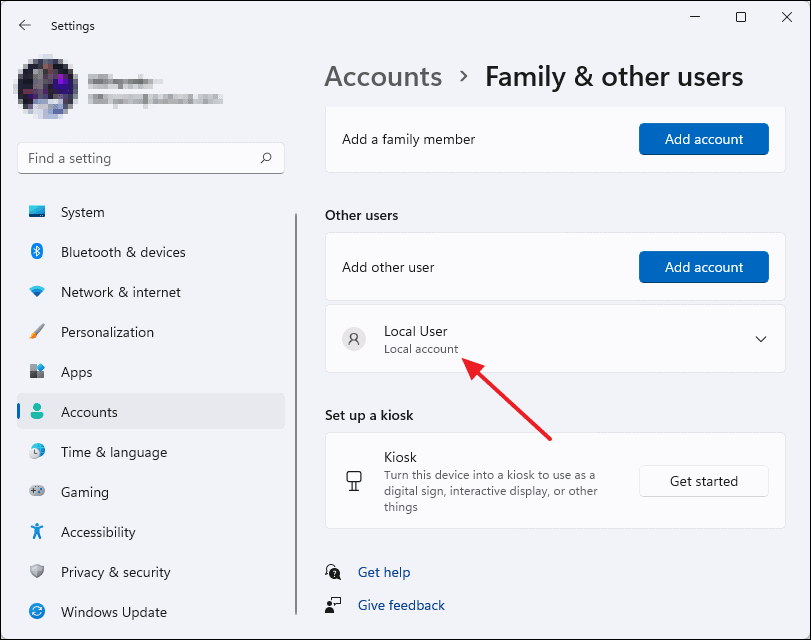
- Select “Family & other users” on the right
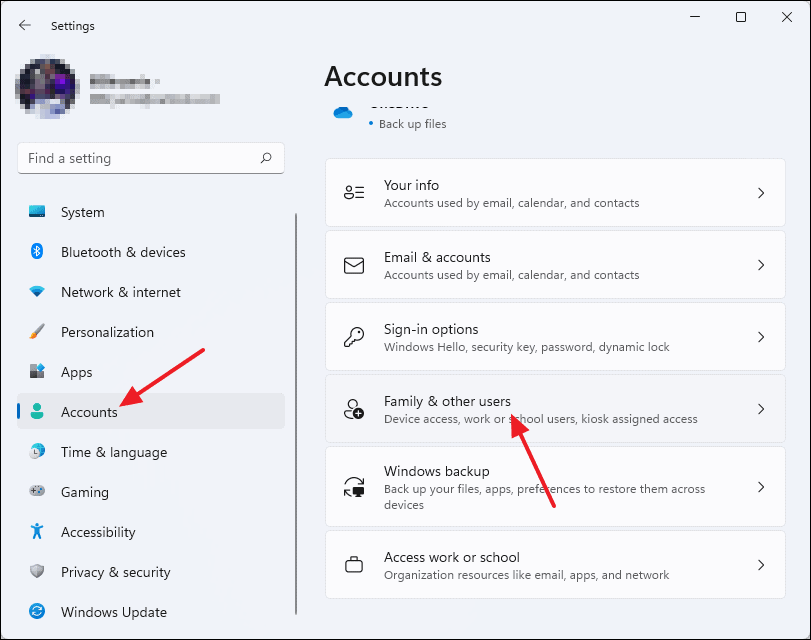
- Under “Other users”, click “Add account”
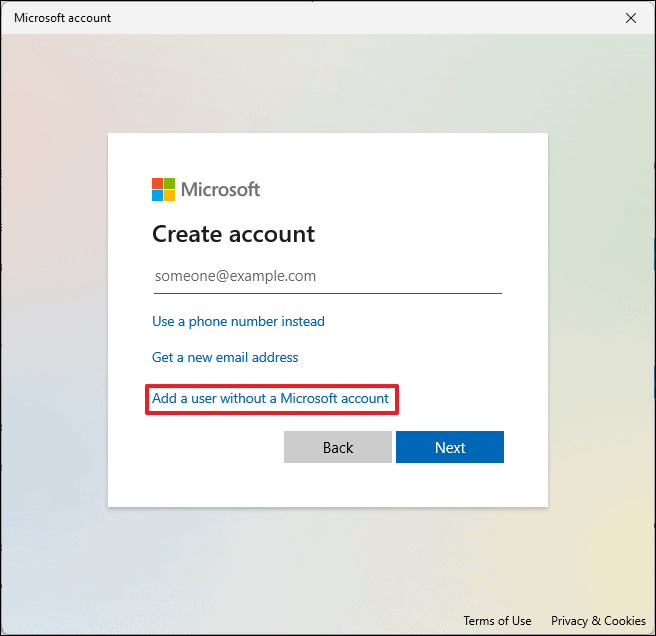
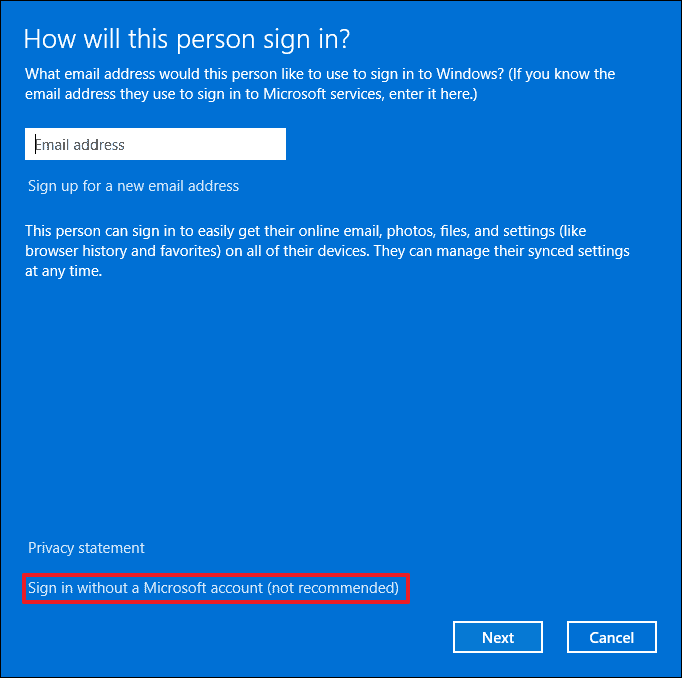
- On the “Microsoft account” window, select “I don’t have this person’s sign-in information”

- On the next screen, choose “Add a user without a Microsoft account”
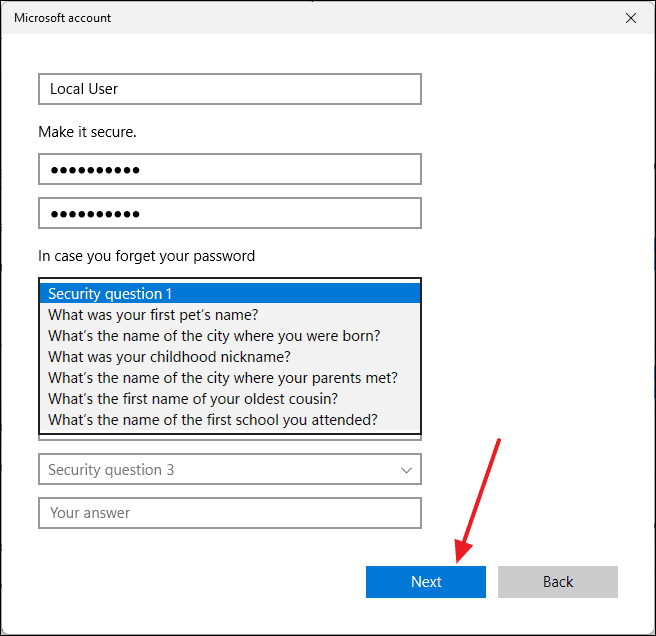
- Enter a username and password for the local account

- Set up security questions and click “Next”
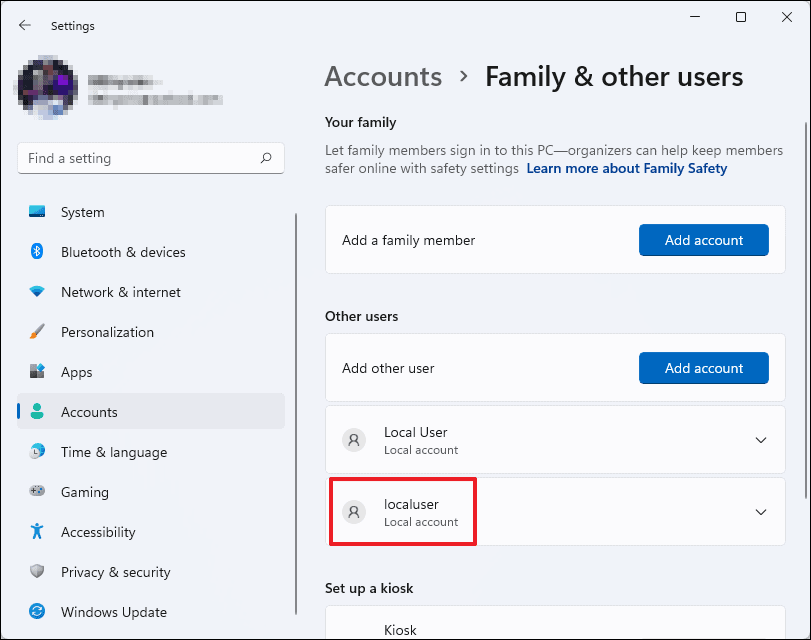
The new local account will now appear under “Other users”.
Create a local account using Command Prompt
For a quicker method, you can use Command Prompt:
- Search for “CMD” in the Start menu
- Right-click Command Prompt and select “Run as administrator”
- In the Command Prompt window, enter:
net user username password /add
Replace “username” and “password” with your desired credentials.
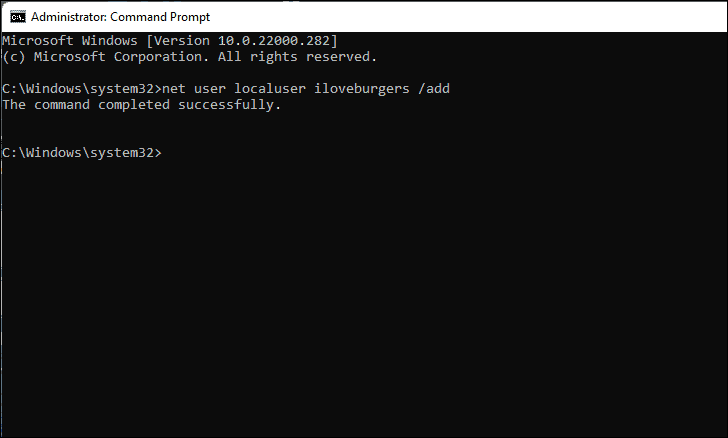
- Press Enter to create the account
You’ll see “The command completed successfully” if it worked. You can verify the new account in Settings > Accounts > Family & other users.
Create a local account with Computer Management
Another option is to use the Computer Management tool:
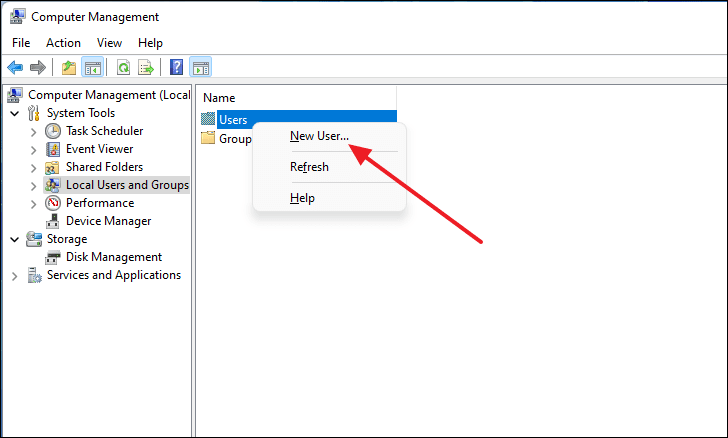
- Search for “Computer Management” in the Start menu and open it
- Expand “Local Users and Groups” in the left sidebar
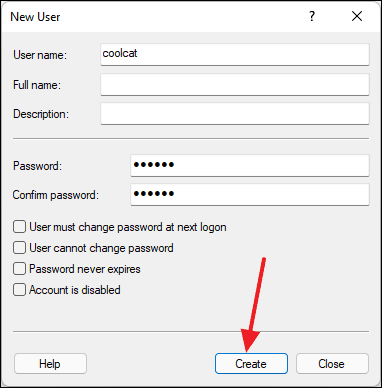
- Right-click on “Users” and select “New User”
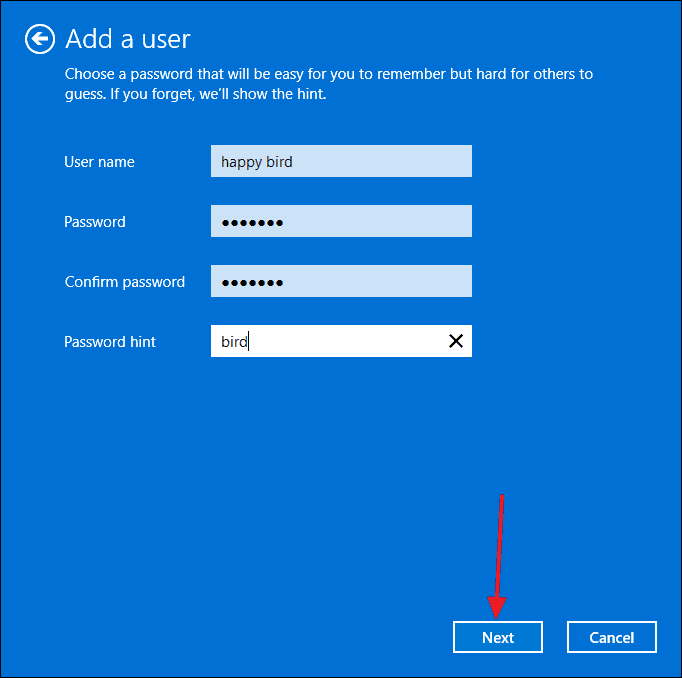
- Enter the username and password for the new account
- Uncheck all boxes under “Confirm password”
- Click “Create” to add the account
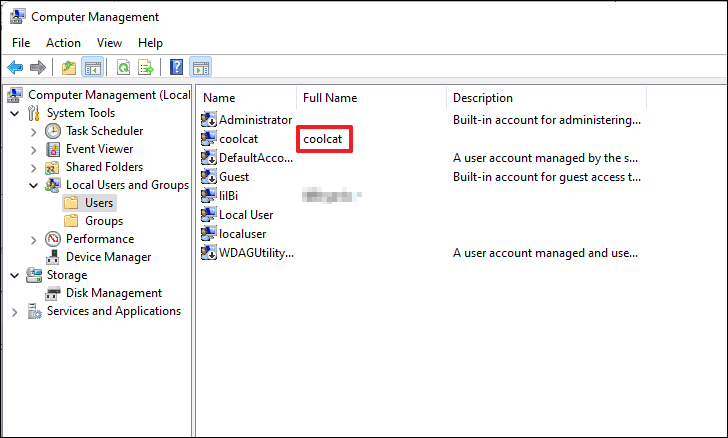
The new local account will appear in the Users list.
Create a local account with netplwiz
You can also use the netplwiz command:
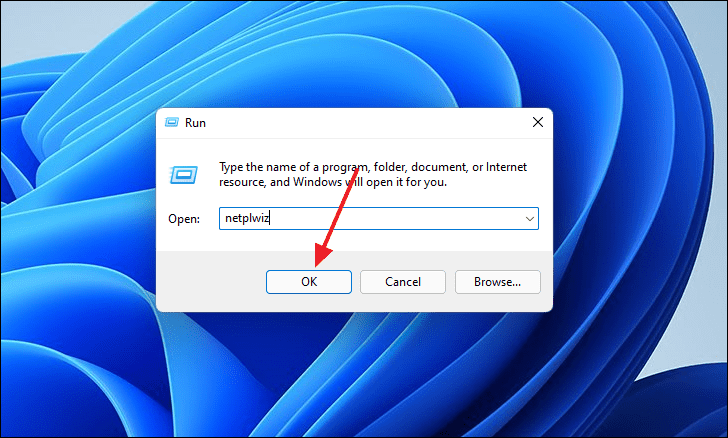
- Press Windows key + R to open the Run dialog
- Type “netplwiz” and press Enter
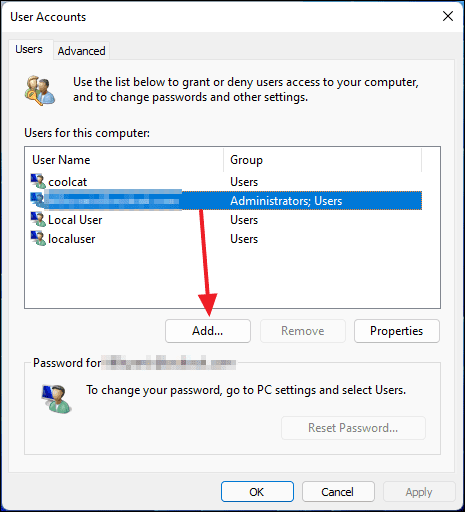
- In the User Accounts window, click “Add”
- Select “Sign in without a Microsoft account”
- Choose “Local account”

- Enter the username and password for the new account
- Click “Next” and then “Finish” to complete the process
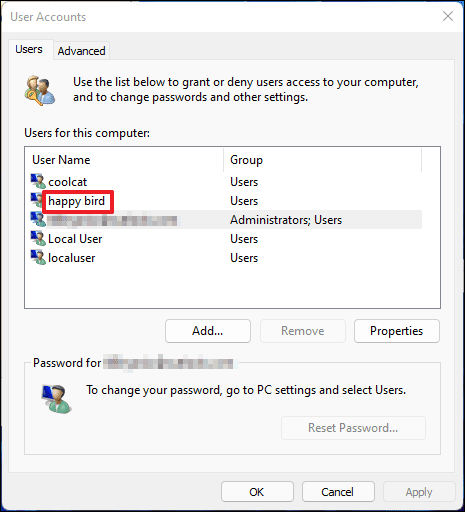
The new local account will be listed in the User Accounts window.
Convert a Microsoft account to a local account
If you’re currently using a Microsoft account, you can convert it to a local account:
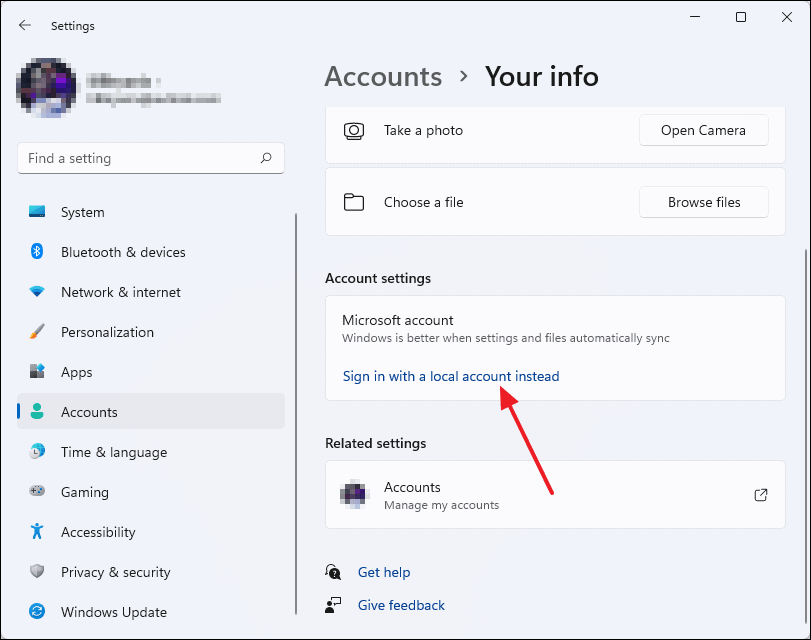
- Go to Settings > Accounts > Your info
- Click “Sign in with a local account instead”
- Confirm your identity by entering your PIN
- Set up a new username and password for the local account
- Click “Sign out and finish” to complete the conversion
Remove a local account
To remove a local account:
- Go to Settings > Accounts > Family & other users
- Select the account you want to remove
- Click “Remove”
- Confirm by clicking “Delete account and data”

Note that you need administrator privileges to remove an account.
Grant administrator access to a local account
To give a local account administrator privileges:
- Go to Settings > Accounts > Family & other users
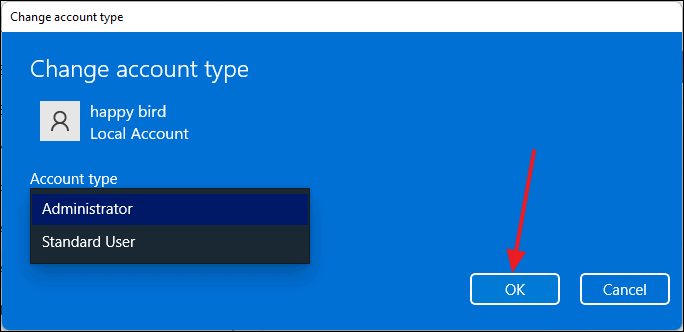
- Select the account and click “Change account type”
- Choose “Administrator” from the dropdown menu
- Click “OK” to apply the change
Remember to limit the number of administrator accounts for better security.


