Mac ran into startup problems or keeps crashing? Make a bootable USB using your Windows 11 computer and revive your Mac.
Mac ran into startup problems or keeps crashing? Make a bootable USB using your Windows 11 computer and revive your Mac.
by Parth Sawhney
Creating a macOS bootable USB drive using a Windows 11 PC can be a lifesaver when your Mac encounters issues that prevent it from starting up properly. This guide provides detailed instructions to help you build a bootable USB drive, allowing you to restore or reinstall macOS on your unresponsive Mac.
To get started, you’ll need the following:
A USB drive with at least 16 GB of storage capacity.
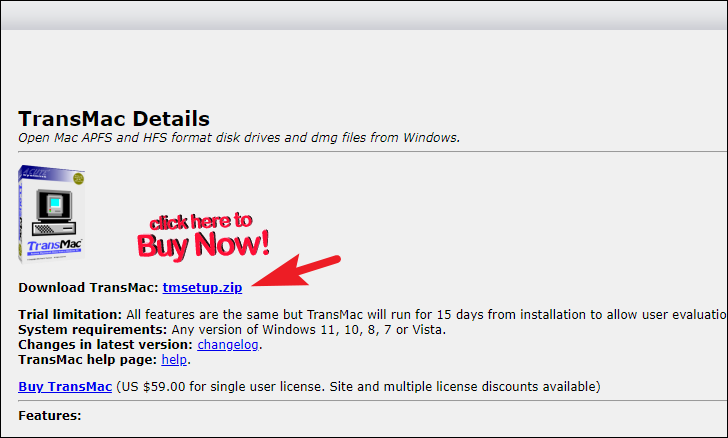
A macOS .dmg file.
If you don’t have a macOS .dmg file, you can download older versions from the Apple website at support.apple.com. Be cautious when obtaining newer versions from third-party sources, as they may contain malware or violate legal guidelines. It’s best to use official channels whenever possible.
Scroll down to find the list of available macOS versions. Right-click on the version you need and select ‘Save as’ to download the .dmg file to your desired location.
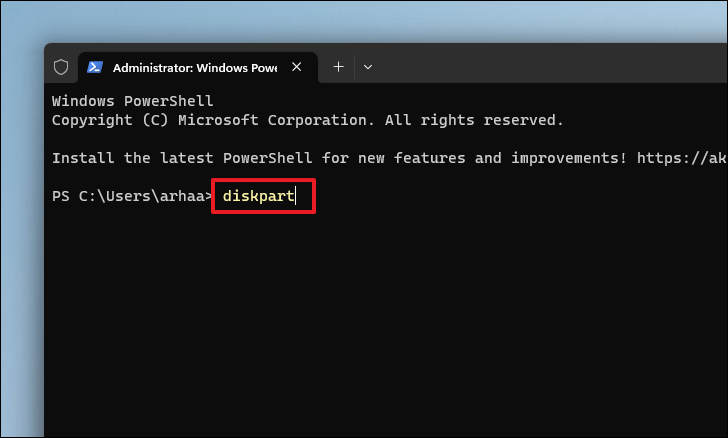
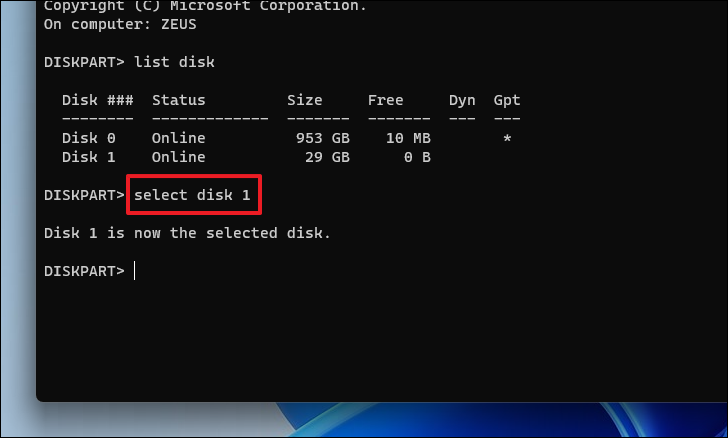
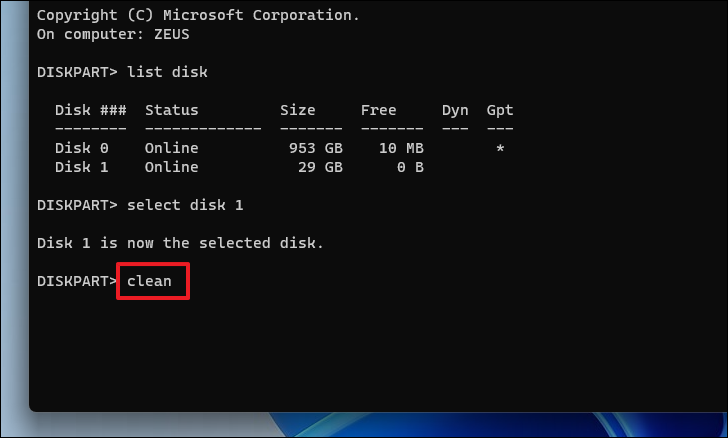
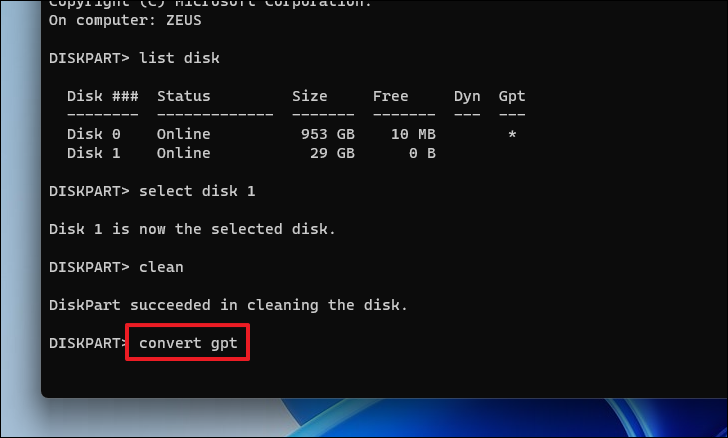
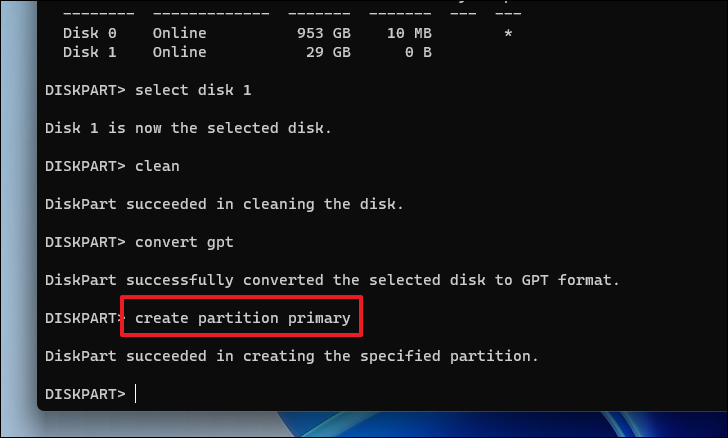
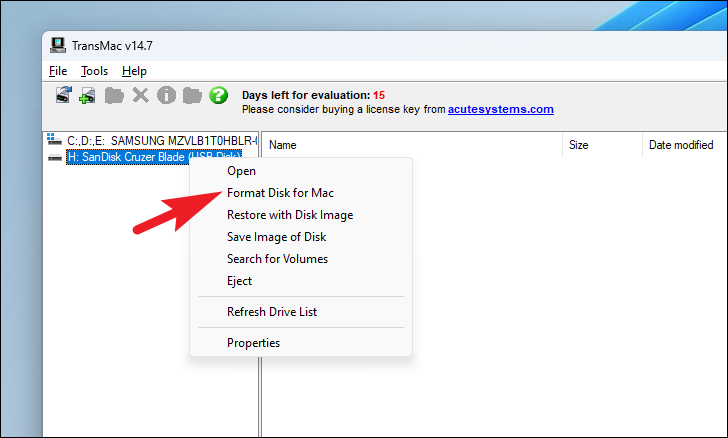
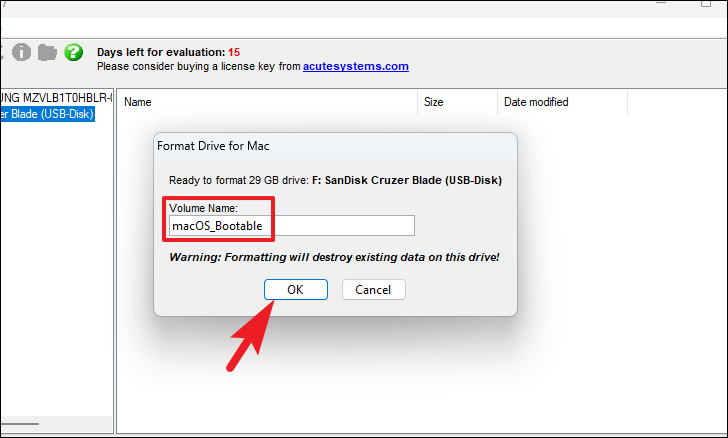
Preparing the USB drive for macOS
Before you can create the bootable USB, you need to format the USB drive and set up the correct partition scheme.
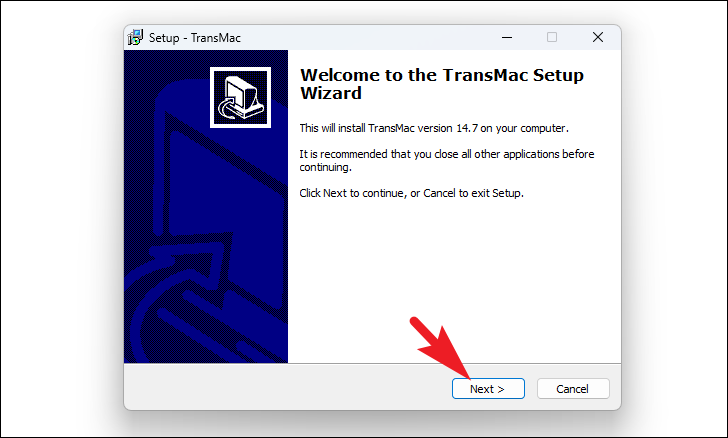
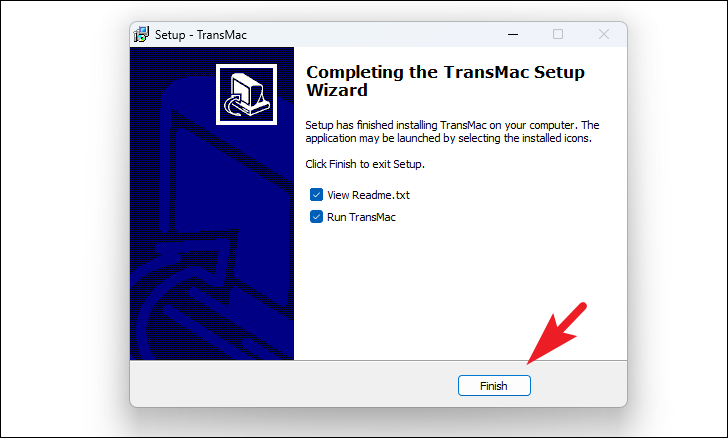
Follow the installation prompts by clicking ‘Next’. Accept the license agreement, and choose the default installation location unless you prefer a different directory.
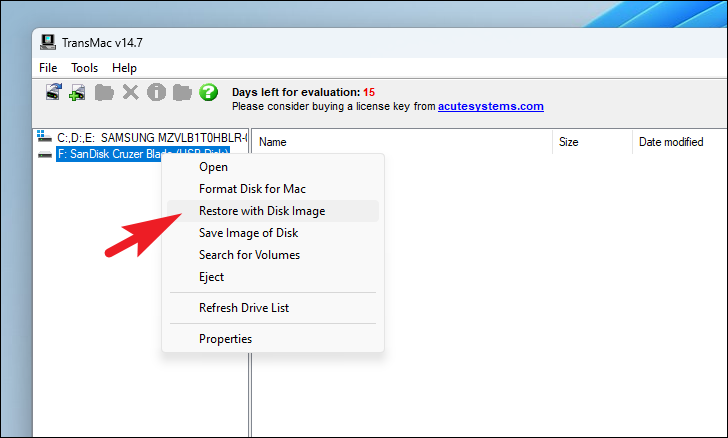
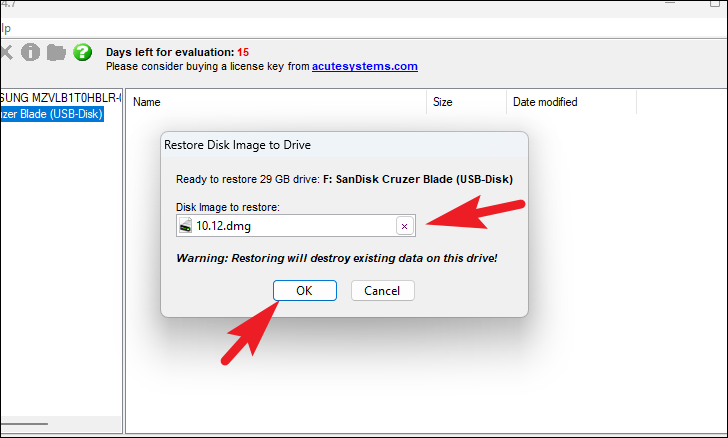
In the dialog box, click the ellipsis (…) button to browse for your macOS .dmg file. Select the file and click ‘Open’, then click ‘Yes’ to begin writing the disk image to the USB drive.
Please wait while TransMac transfers the macOS .dmg file to your USB drive. This process may take some time depending on the size of the file and the speed of your USB drive.
Booting your Mac with the newly created macOS bootable USB
When the Startup Manager appears, select the macOS bootable USB drive to begin the macOS installation or recovery process.
By following these detailed steps, you can successfully create a macOS bootable USB drive using a Windows 11 PC. This tool can be invaluable for restoring your Mac if it becomes unresponsive or encounters startup issues.