
Microsoft Loop is an all-in-one collaboration platform within Microsoft 365 that rivals Notion and Google Workspace. It’s a connected workspace where you and your team can collaborate on various tasks and projects. We have an in-depth guide about the platform that you can check out.
Microsoft Loop has three major components – workspace, pages, and components. Loop Workspace is a shared space where you and your teams work together on specific projects. It’s where you can gather and manage all the files, content, pages, and ideas related to the project. It also allows you to see what everyone is working on, react to ideas, provide feedback, and track the progress of the project.
Creating a Workspace in Microsoft Loop
You can create multiple workspaces for sharing and collaborating with others, each dedicated to different projects. Follow these steps to create a workspace in Loop:
To get started, head to the Microsoft Loop website and click the ‘Get started – It’s free’ button. Then, sign in with your Microsoft account.

When you log in for the first time, you will be taken to the default Getting Started workspace, where you can find guides, documentation, and examples to get started in Microsoft Loop.
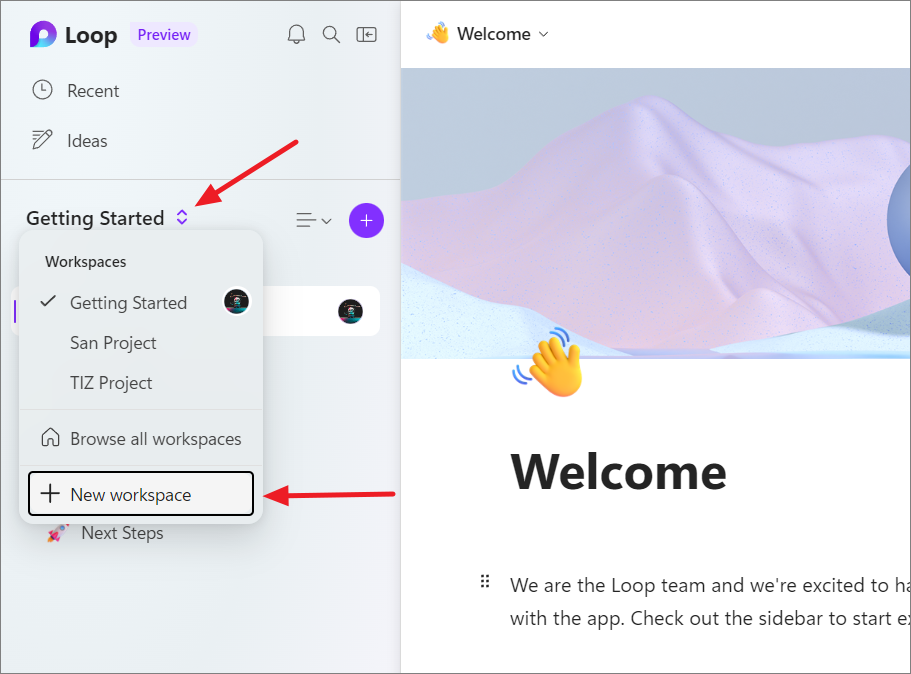
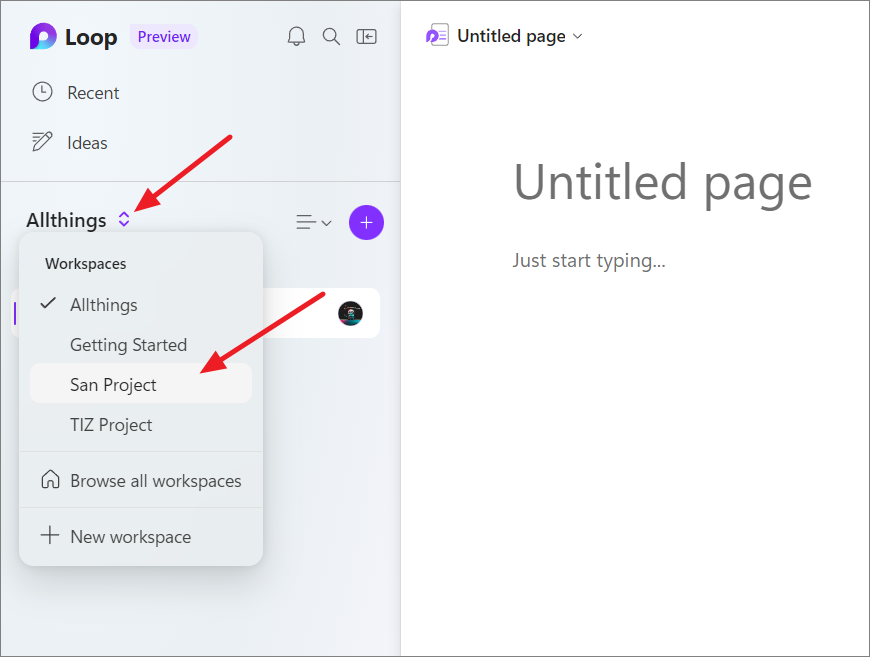
Simply click the double-sided arrow next to the name of the current workspace (Getting Started) in the left panel and select the ‘New workspace’ option.
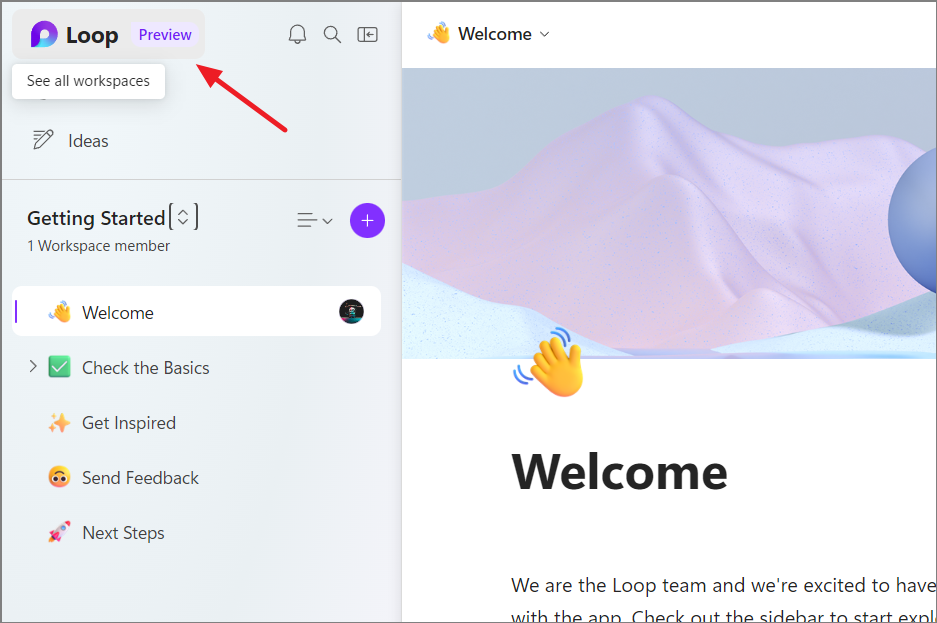
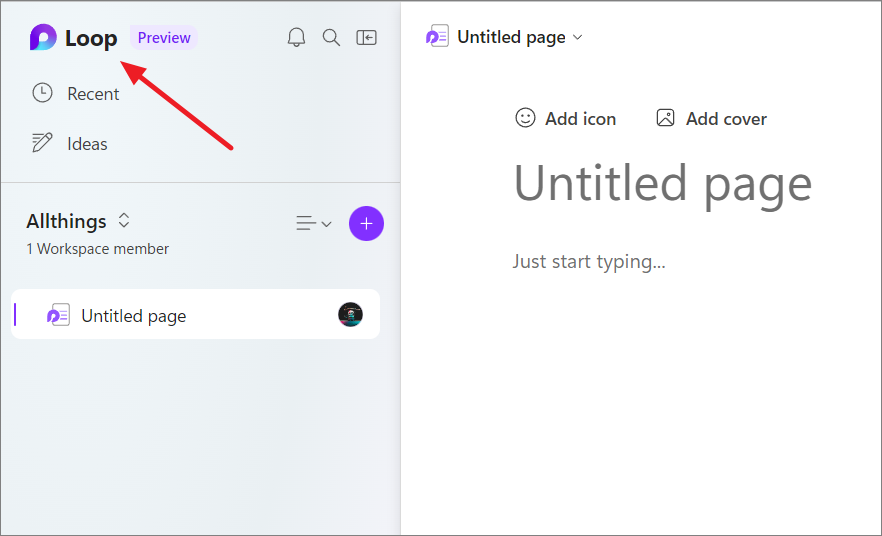
Alternatively, you can click the ‘Loop’ icon to go to the Home screen.
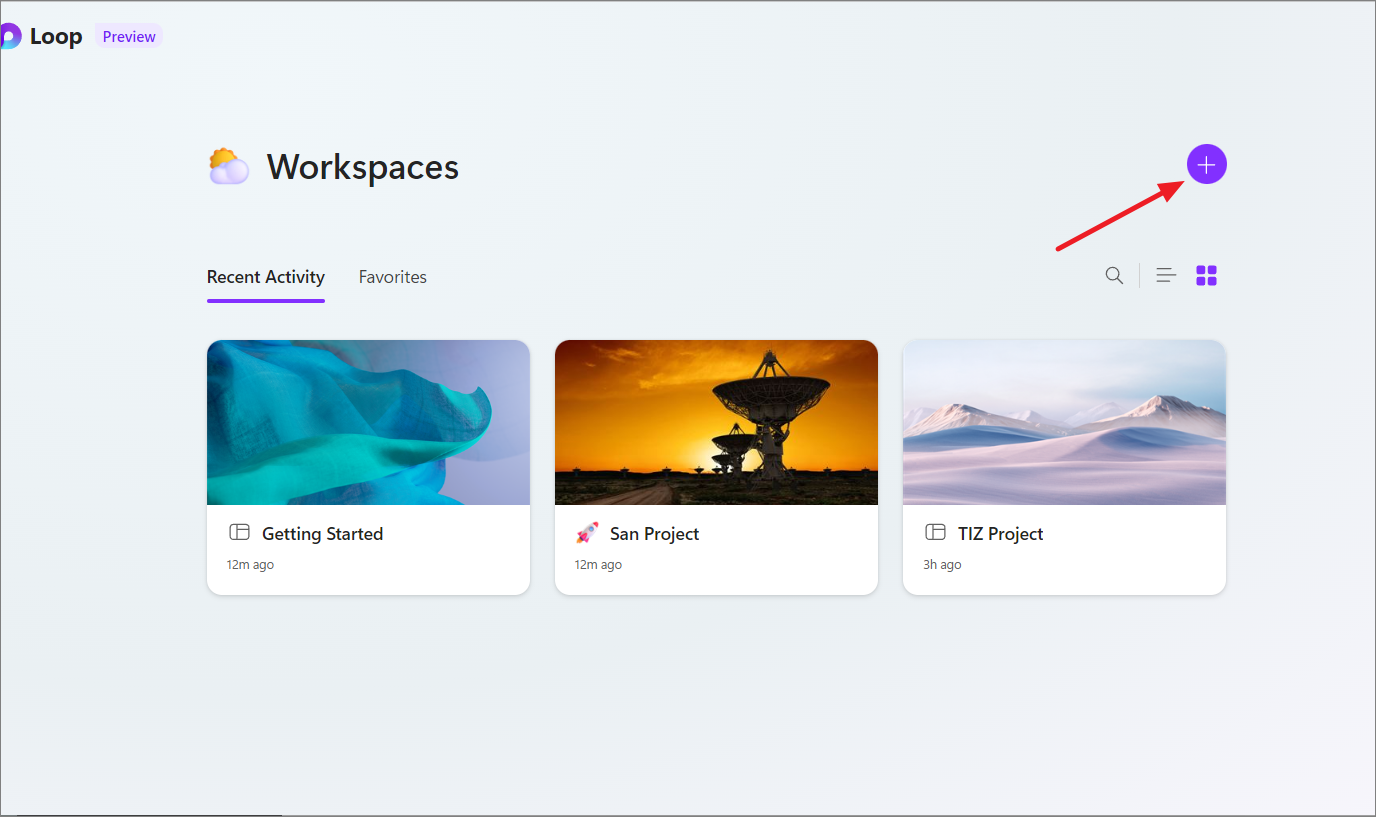
Here, you can view and manage all your workspaces. Click the ‘+’ button on the top-right corner to create a new workspace.
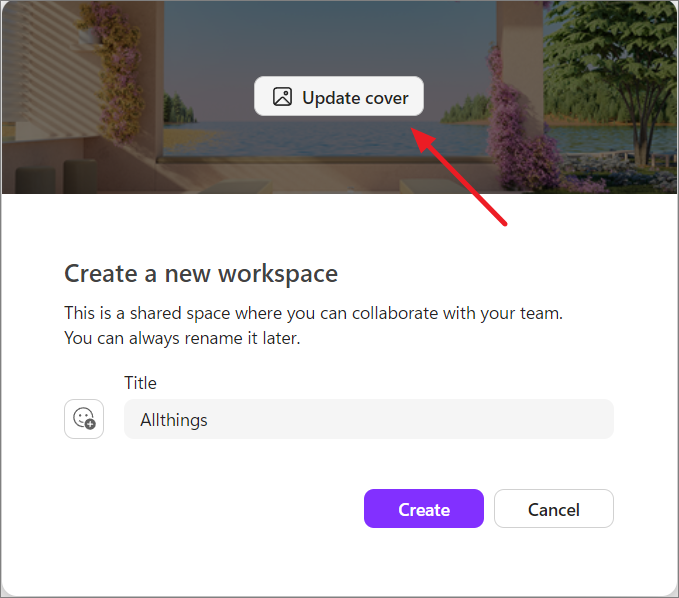
Type the name of your workspace in the text field.
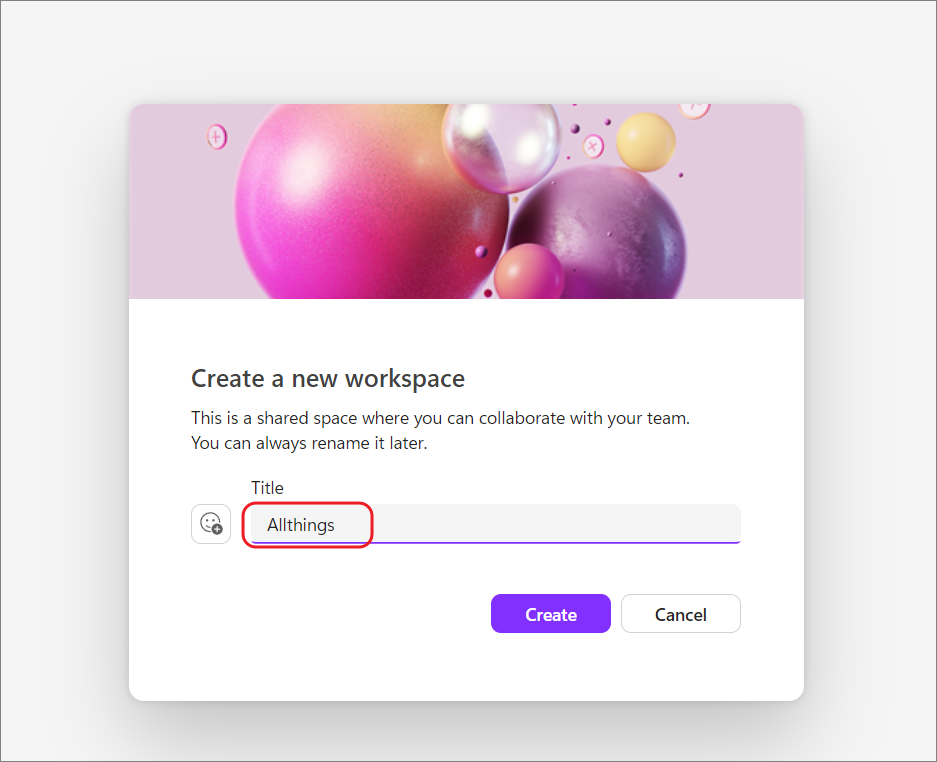
After typing the name, hover over the cover of the image and click the ‘Update cover’ to change the cover image.
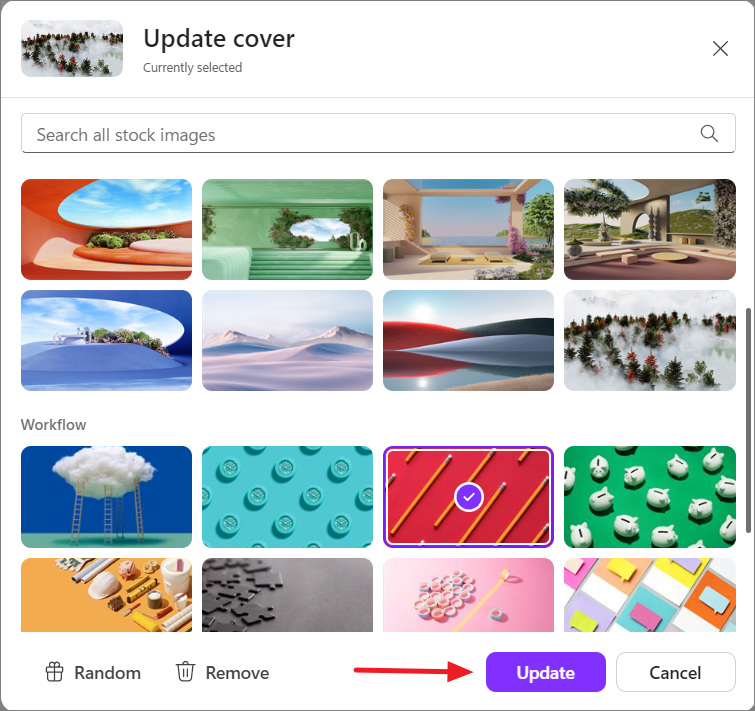
Choose your preferred cover image and click ‘Update’. You can also search for images using the search bar above. If you don’t want any cover image, click the ‘Remove’ button.
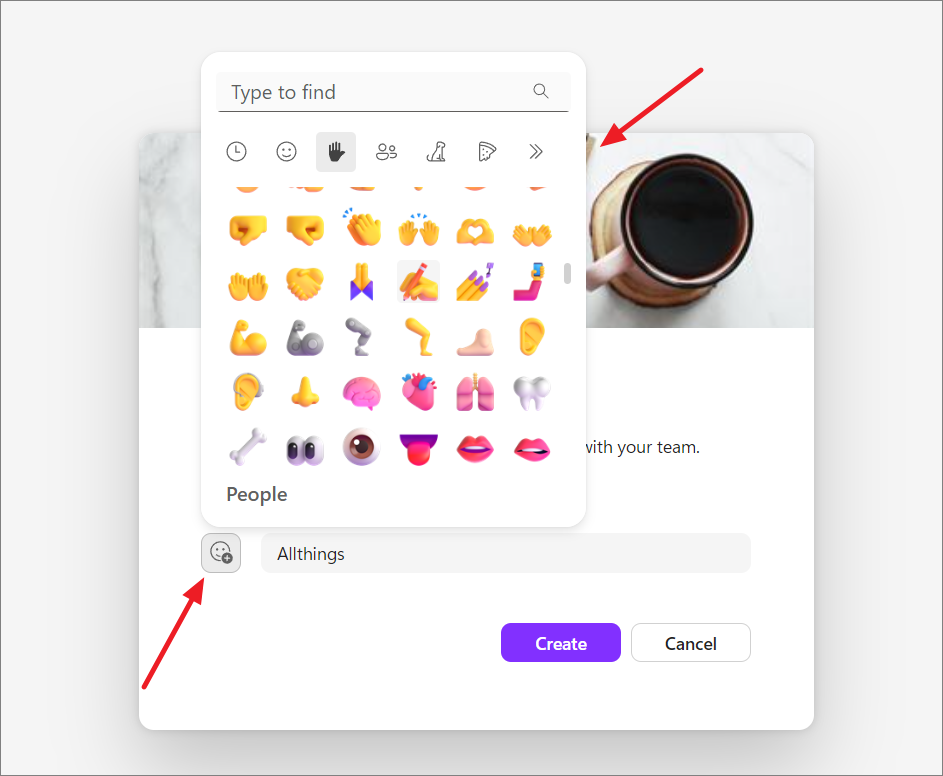
To add an emoji for this workspace, click the emoji icon with the button (+) and select your desired emoji from the menu.
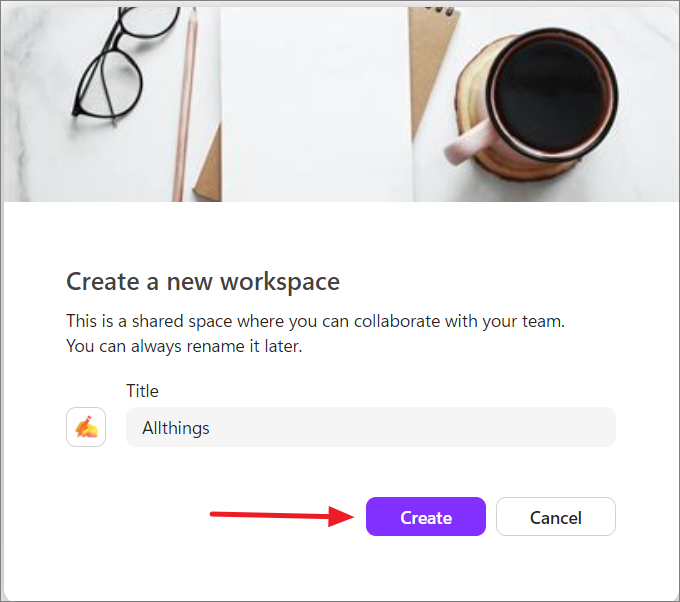
Finally, click the ‘Create’ button to create a new workspace.
To switch between workspaces, click the double-sided arrow beside the workspace name and select the workspace from the drop-down menu. Or, go to the home screen and select the workspace.
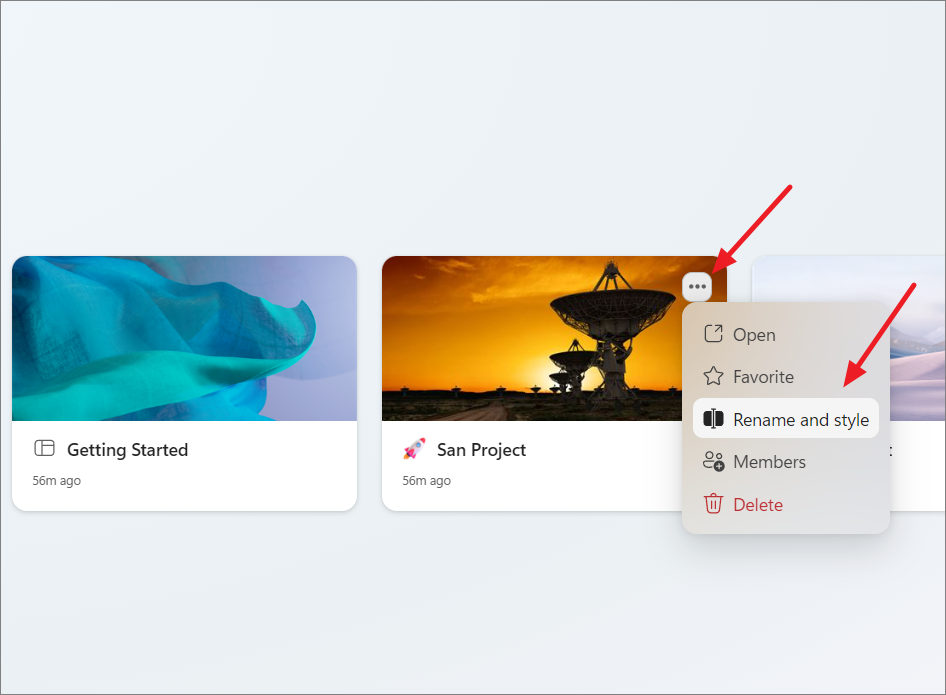
To rename or change the cover, go to the home page and click the ‘three dots’ button on the workspace icon. Then, select ‘Rename and style’.
Deleting a Workspace in Microsoft Loop
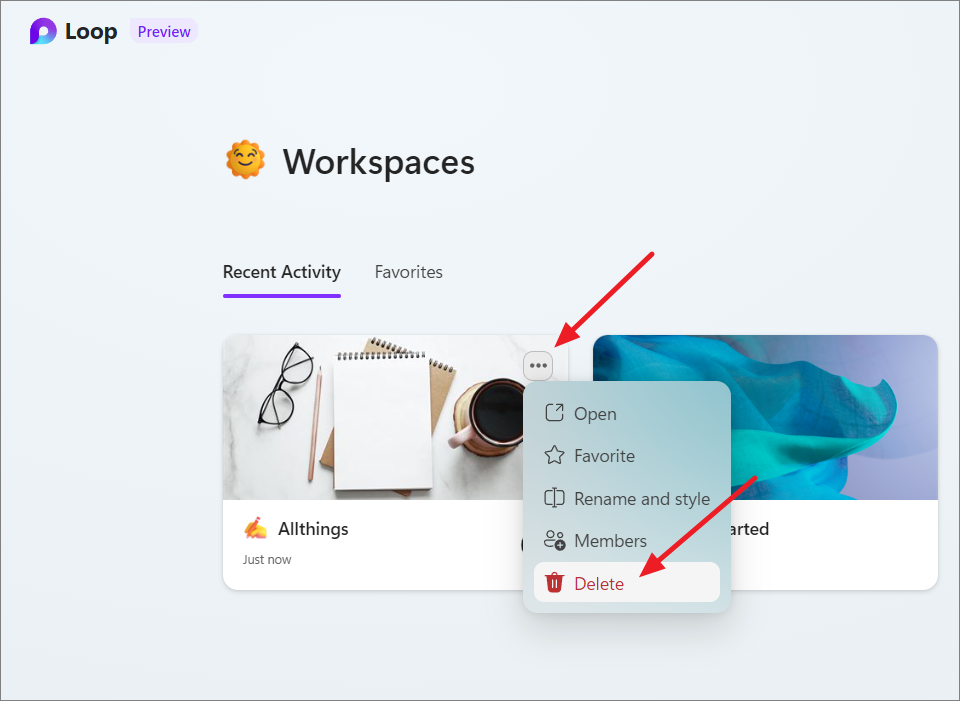
Go to the Loop home page by clicking the ‘Loop’ icon at the top left corner.
Then, hover over the workspace you want to remove and click the three dots button, then select ‘Delete’.
That’s it. Workspace is an integral part of Microsoft Loop that allows you to keep all the information related to the project in a single place. By creating separate workspaces for separate projects, you can stay on top of different projects easily.


