A practical guide to fortifying your Windows 11 PC against cyber threats and making your data safer and more secure.
A practical guide to fortifying your Windows 11 PC against cyber threats and making your data safer and more secure.
by Raj Kumar
Ensuring your Windows 11 PC is secure is vital to protect your personal data and maintain optimal system performance. While Windows 11 includes advanced security features, there are additional steps you can take to enhance your system’s defense against potential threats.
1. Enable Windows Security and Run a Virus Scan
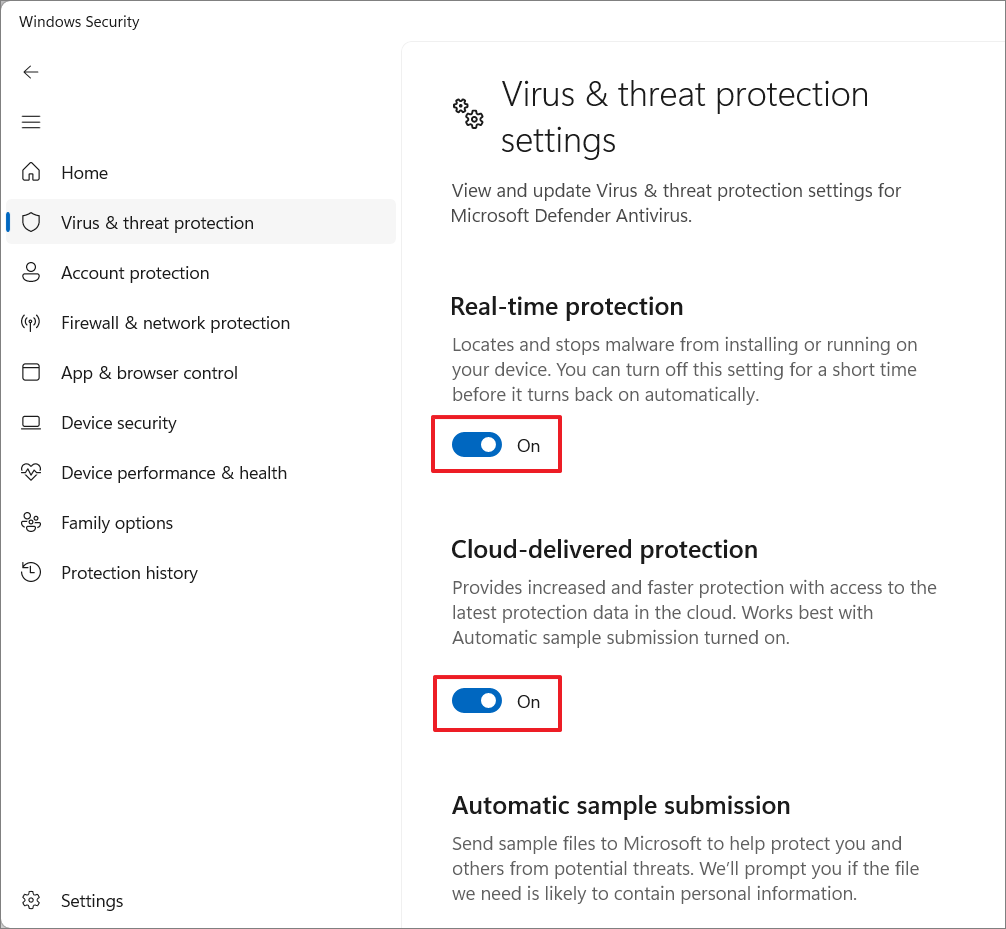
Windows Security, built into Windows 11, provides robust protection against viruses, ransomware, and spyware. Keeping it active and performing regular scans is essential for maintaining your system’s integrity.
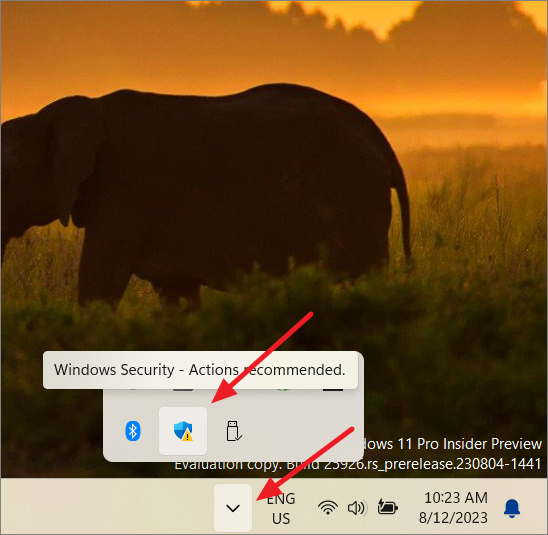
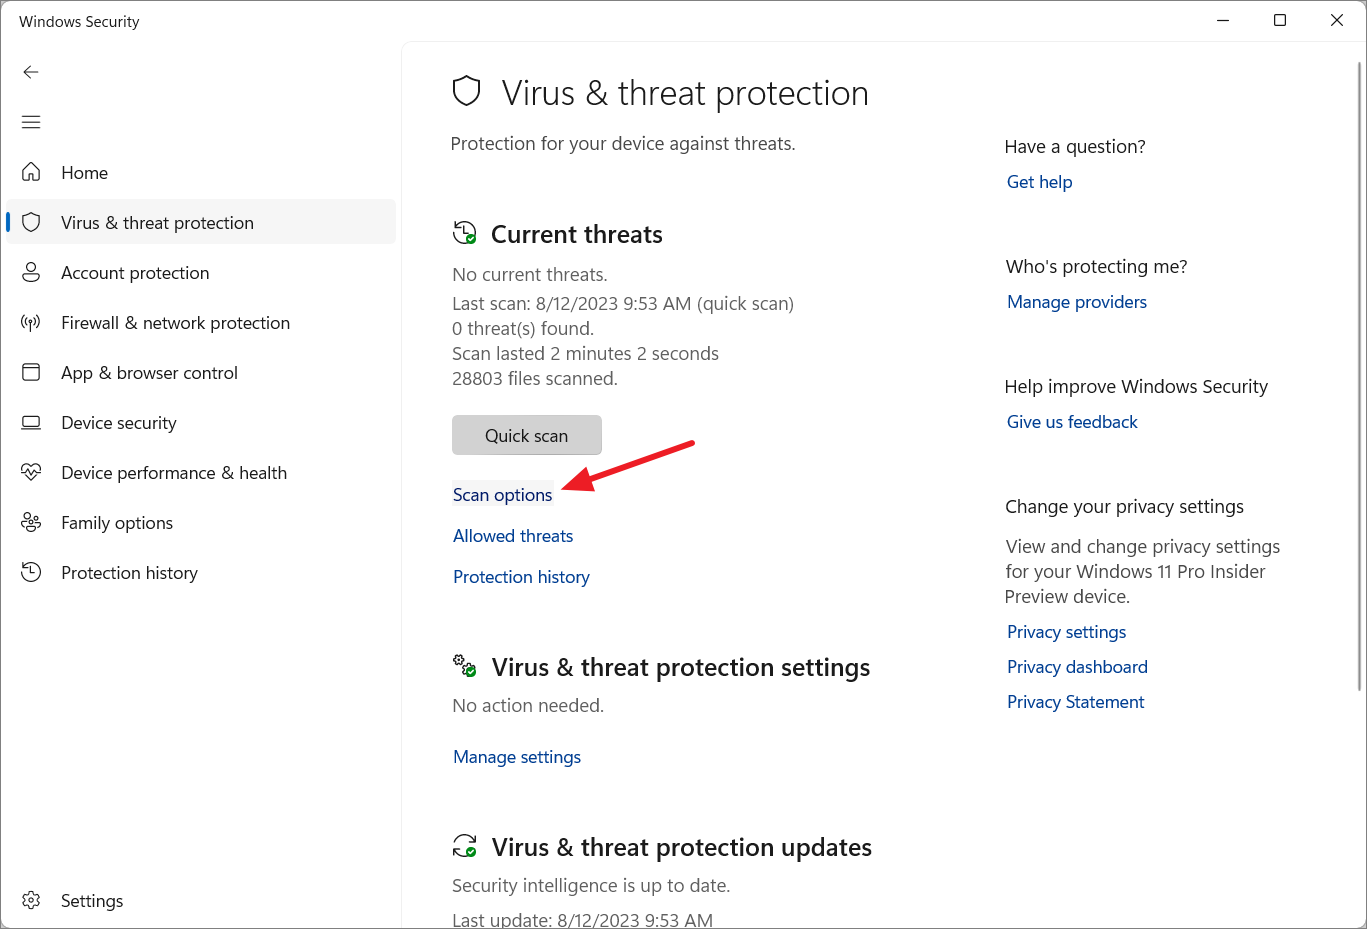
Click the ‘Hidden icons’ arrow in the taskbar corner and select the ‘Windows Security’ icon. Alternatively, search for ‘Windows Security’ in the Start menu and open it.
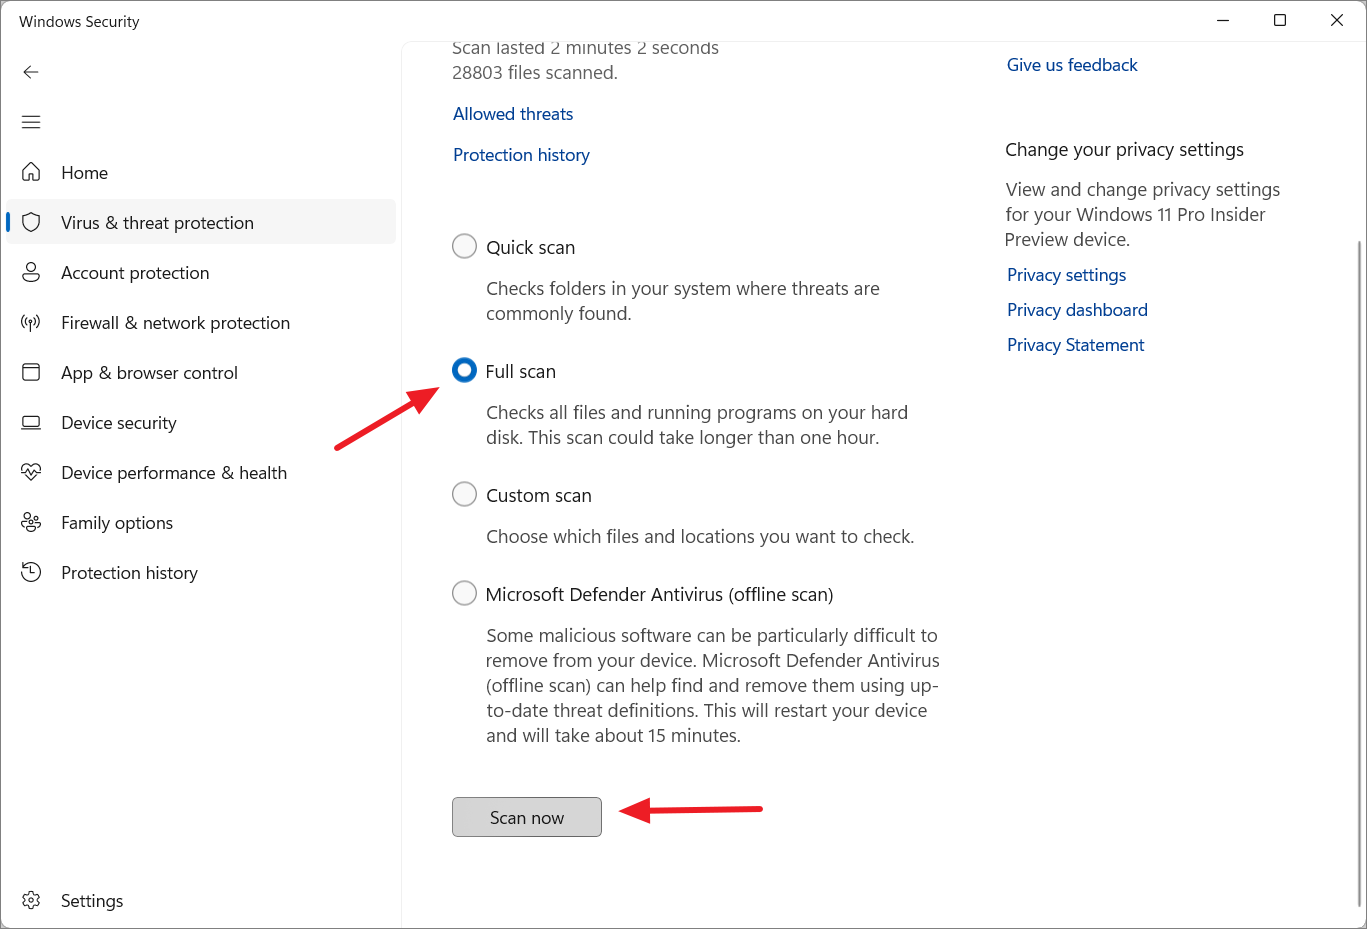
Select ‘Full scan’ and click ‘Scan now’ to begin scanning your entire system for threats.
While Windows Security offers substantial protection for most users, if you require comprehensive defense against advanced threats, consider installing reputable third-party antivirus software.
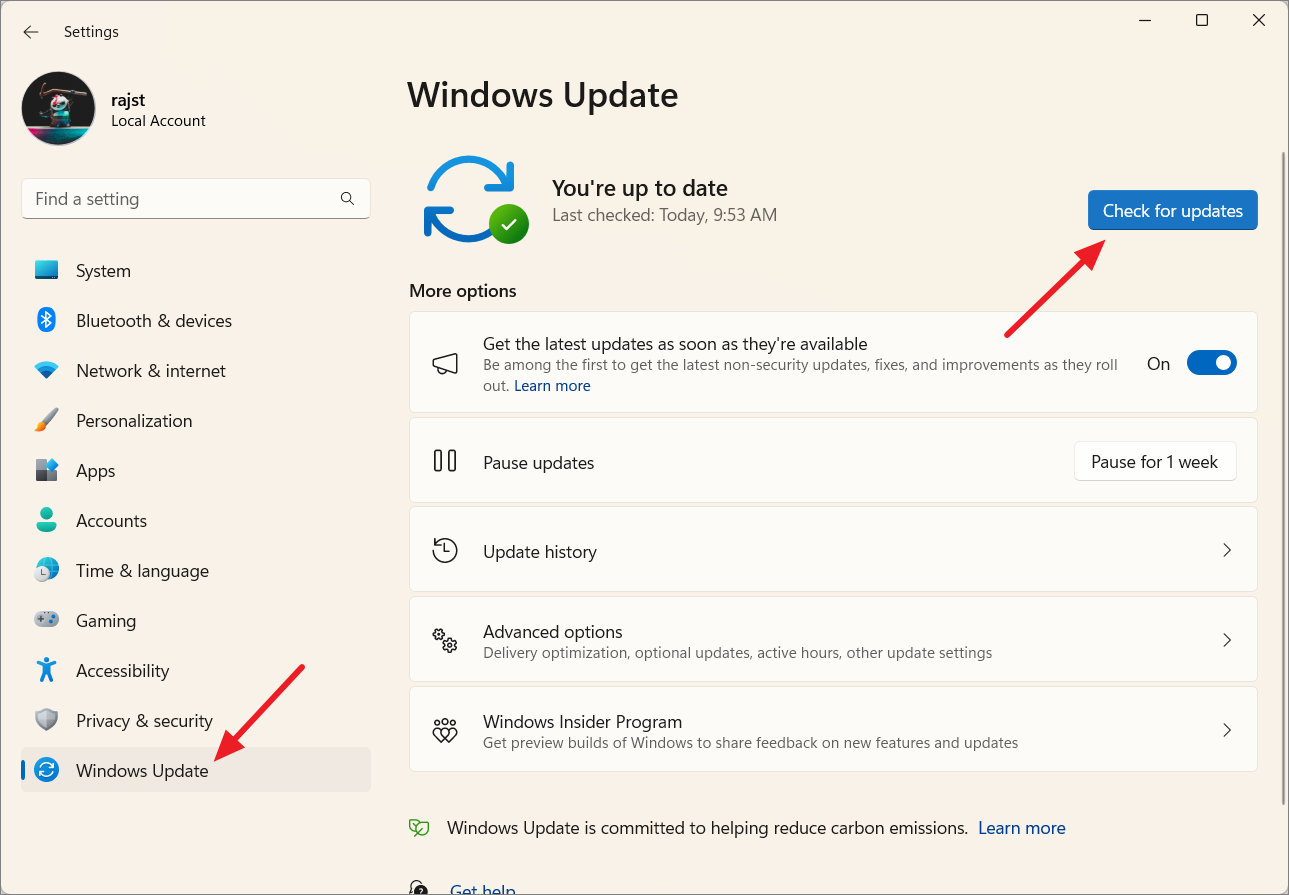
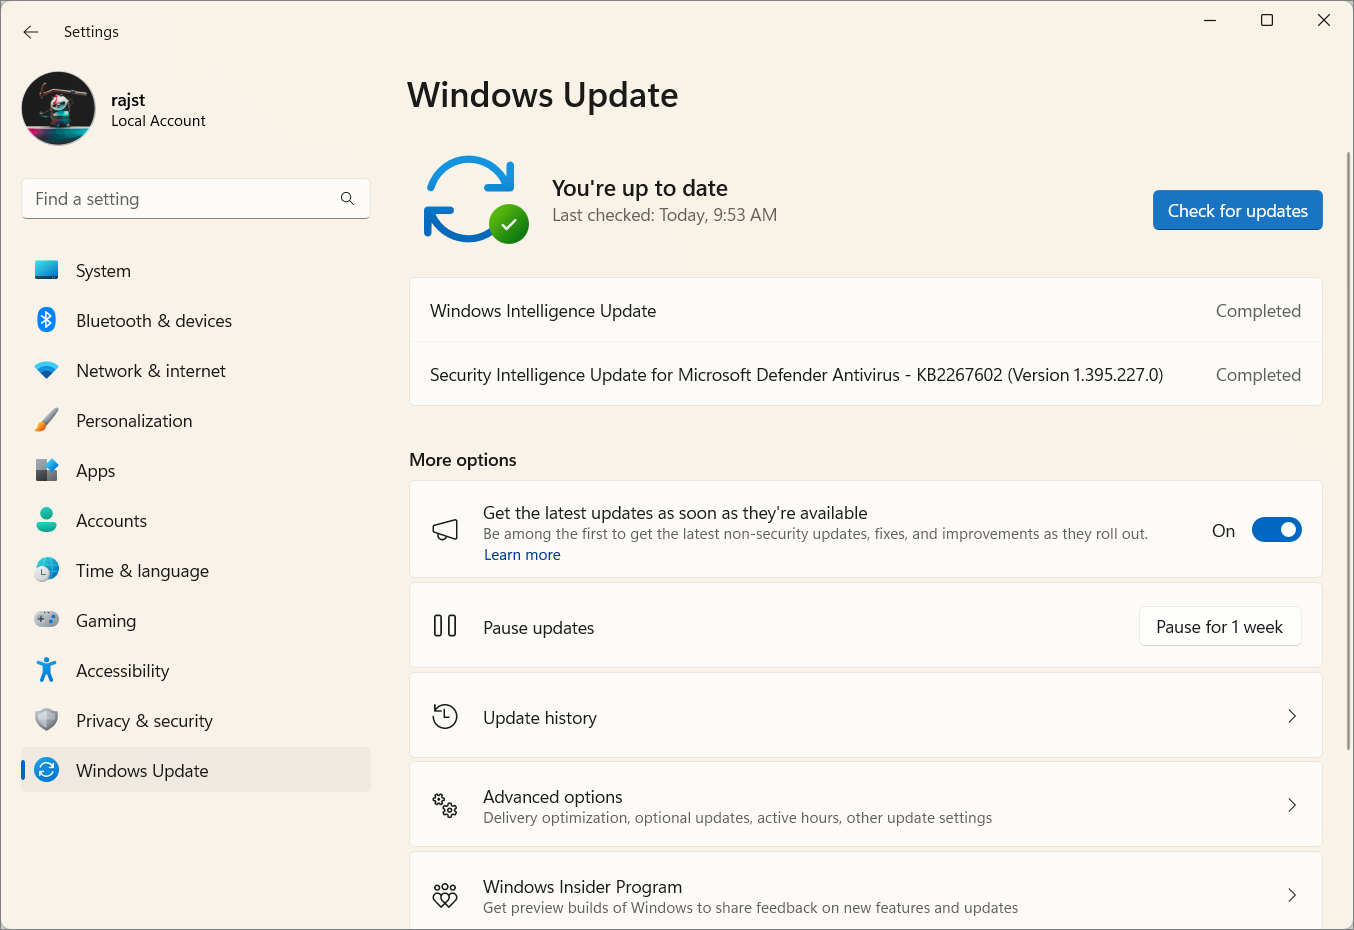
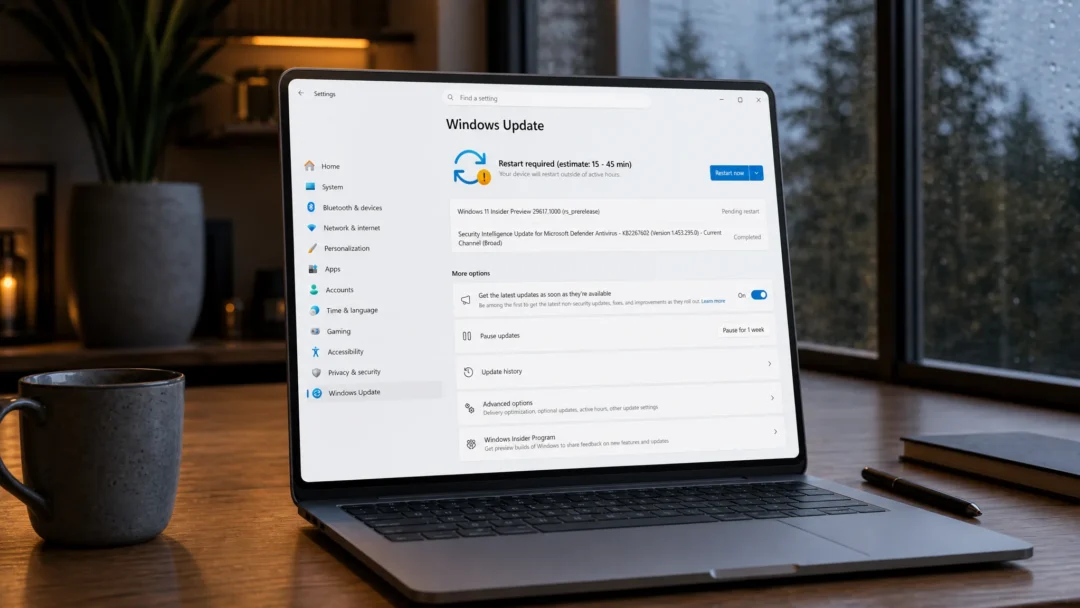
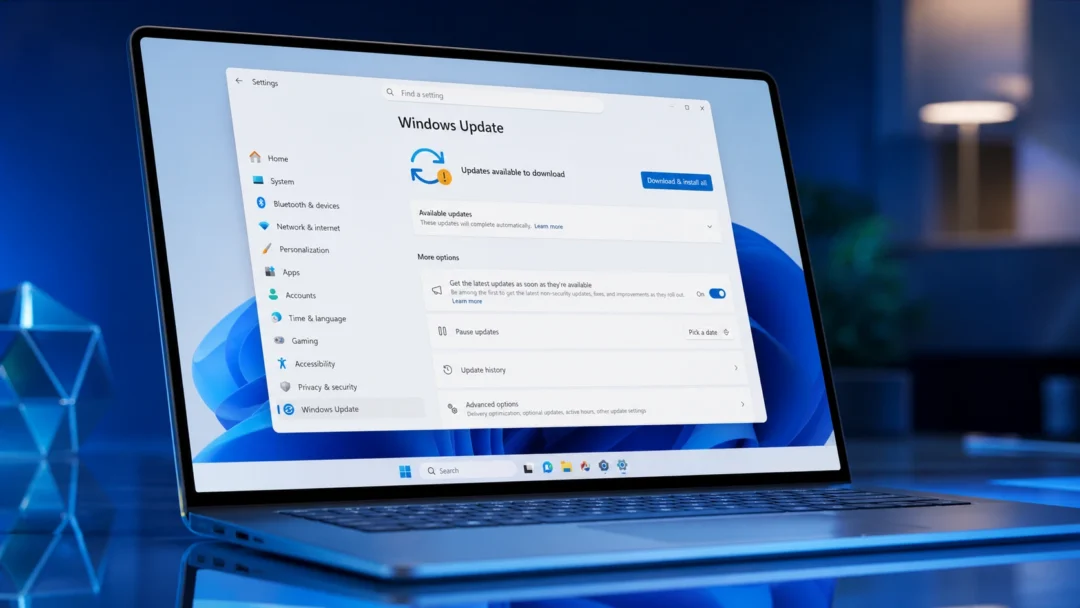
Regularly updating Windows 11 is crucial for fixing bugs, enhancing security, and improving performance. Although automatic updates are enabled by default, you can manually check for updates or install optional ones when needed.
Restart your computer if prompted to complete the update process.
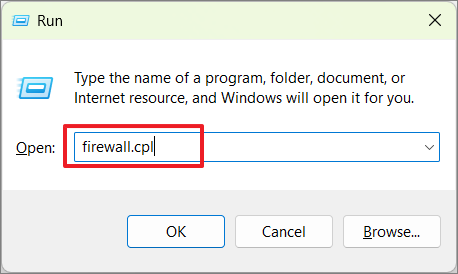
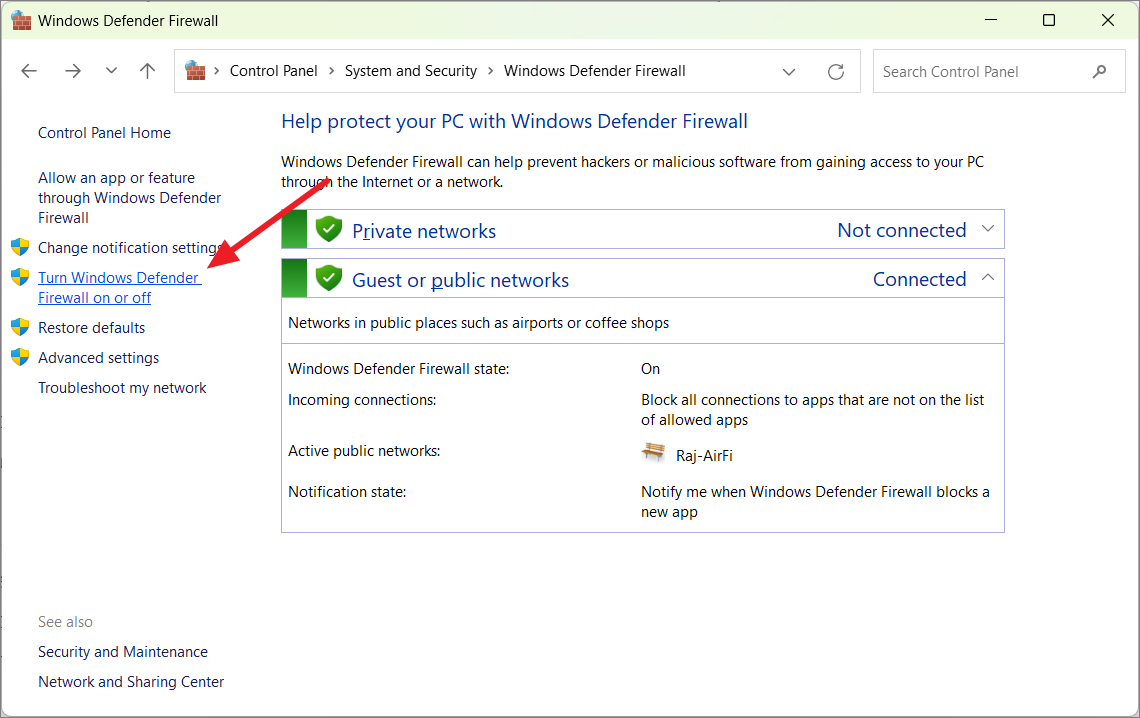
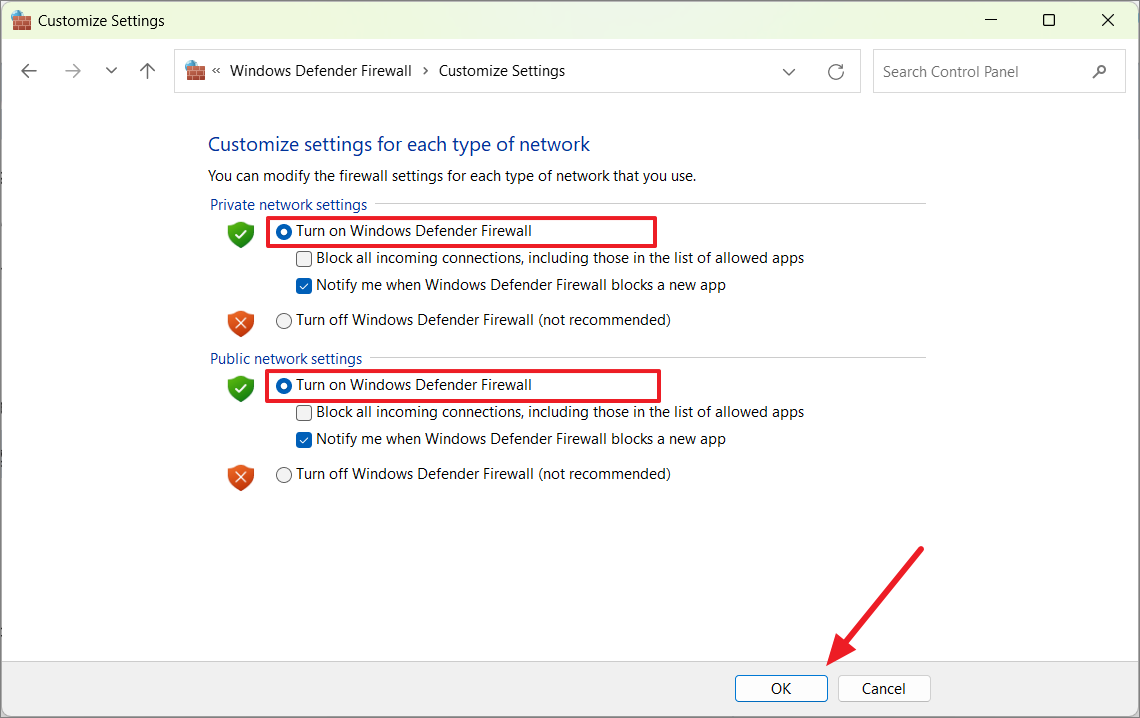
3. Enable Windows Firewall
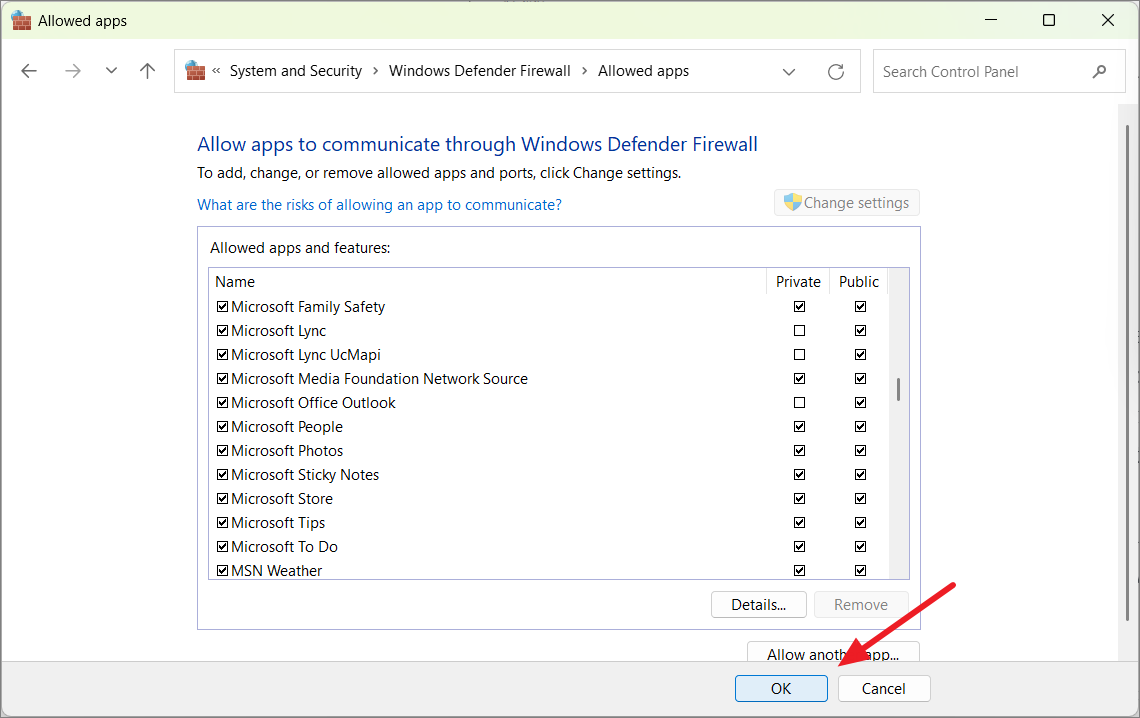
Windows Firewall monitors network traffic to block unauthorized access to your PC. Ensuring it is enabled and properly configured enhances your system’s security.
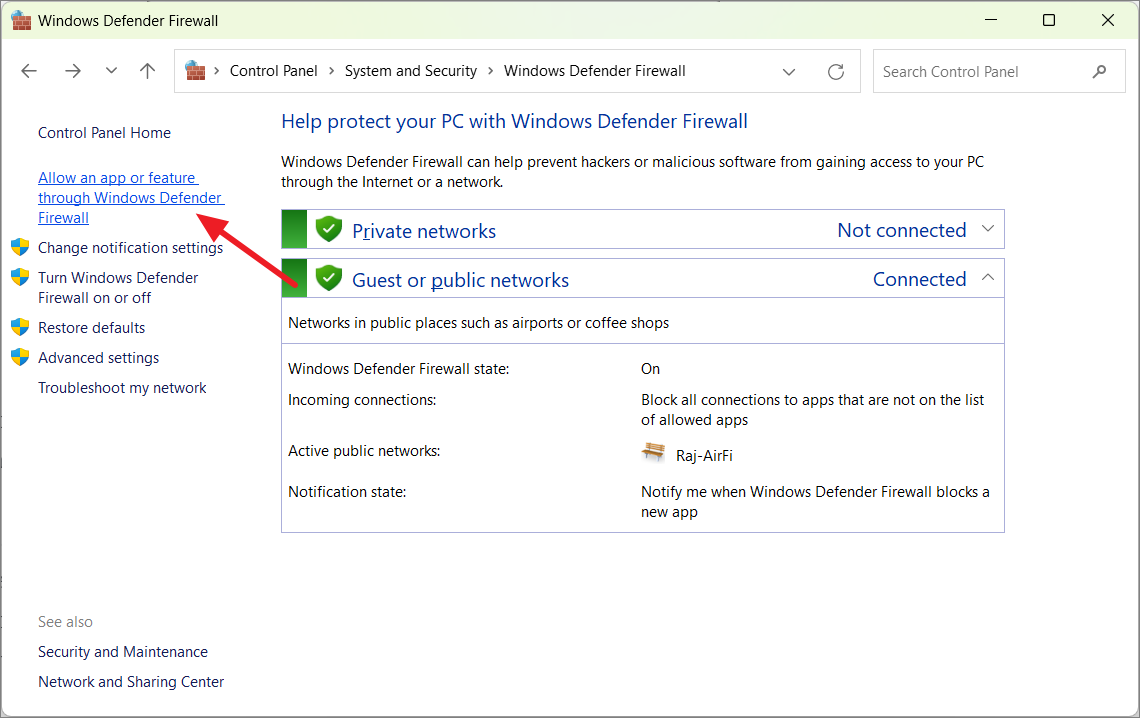
Click ‘Change settings’, then uncheck the boxes next to apps or features you do not want to allow through the firewall. After adjusting, click ‘OK’.
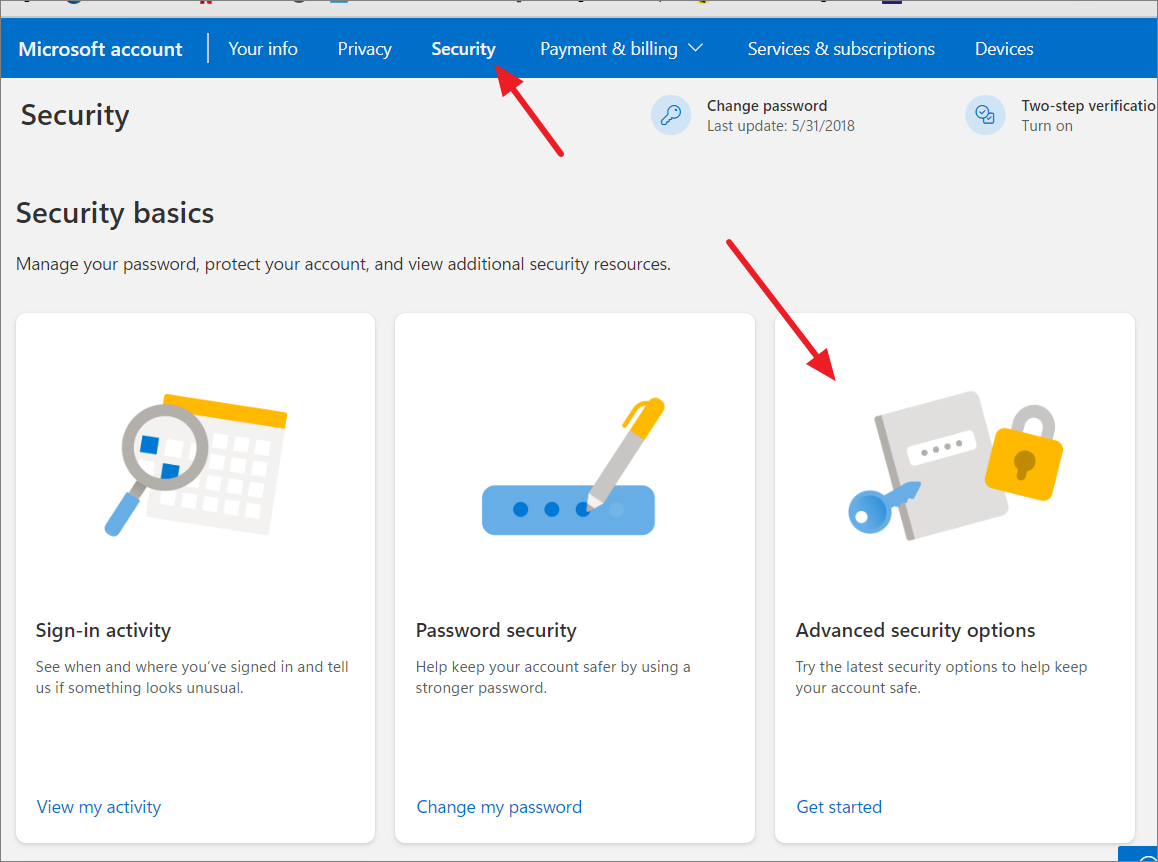
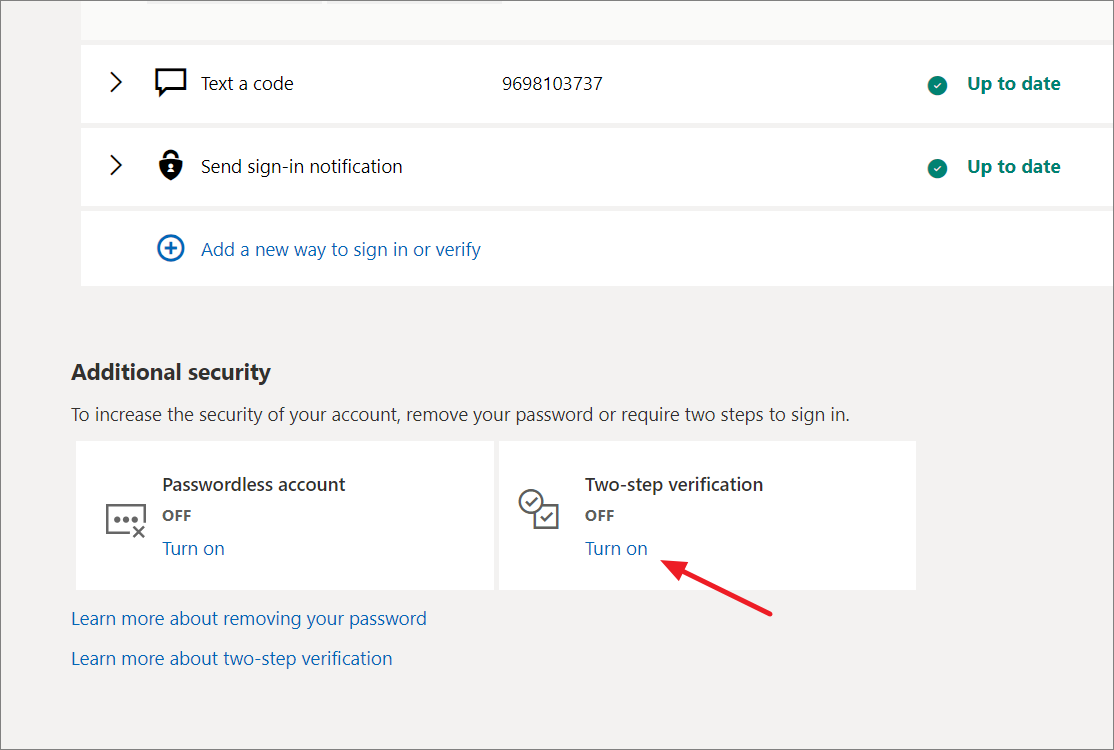
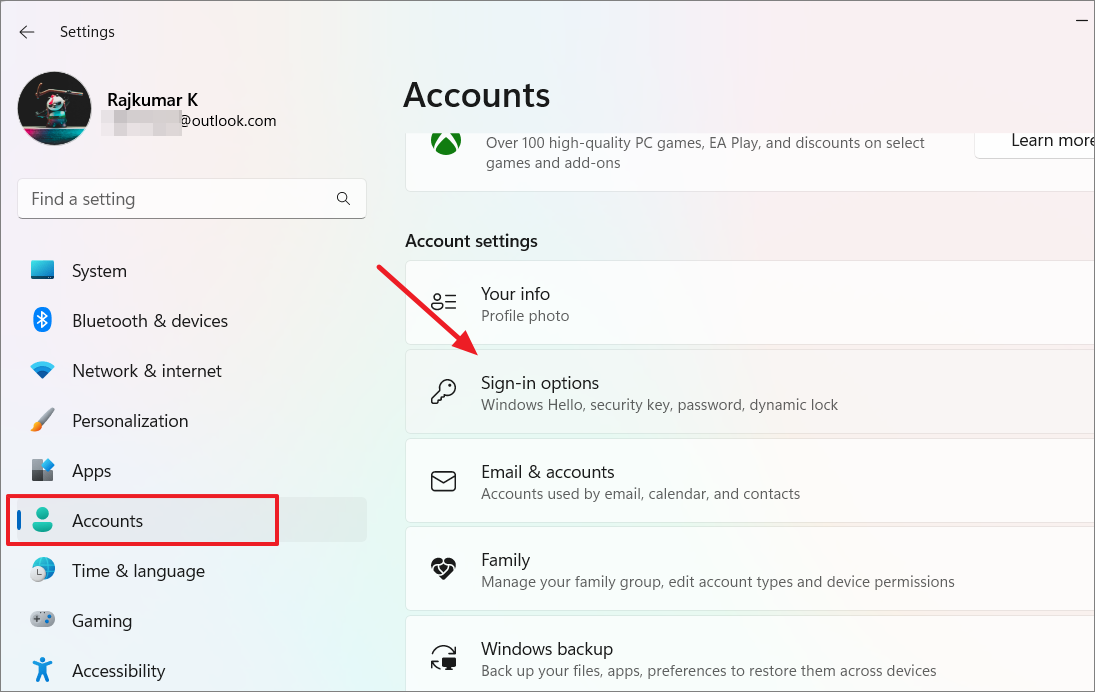
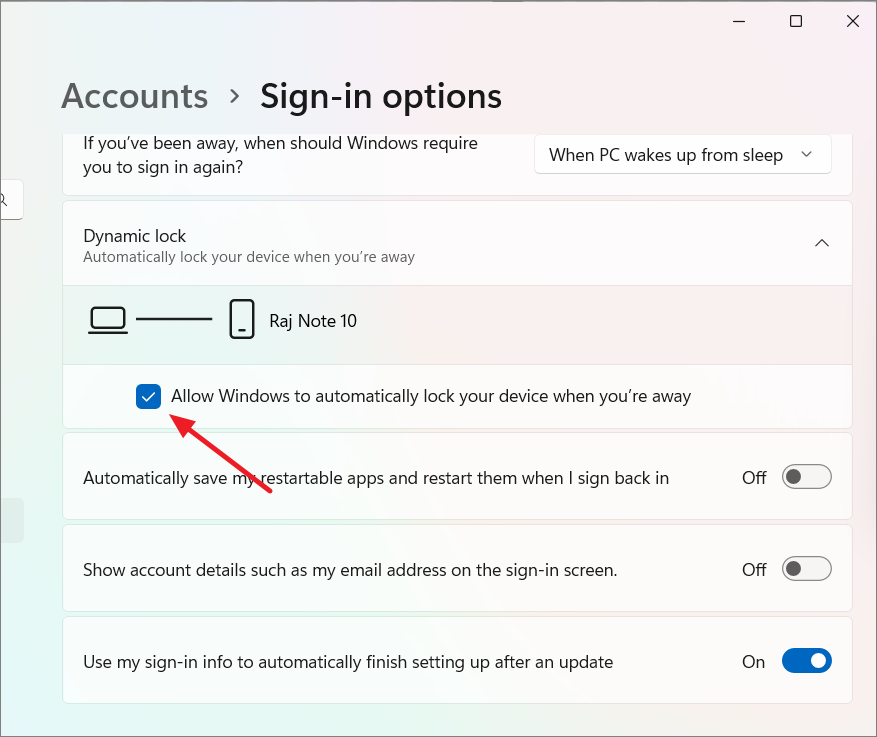
4. Enable Multi-Factor Authentication on Windows 11
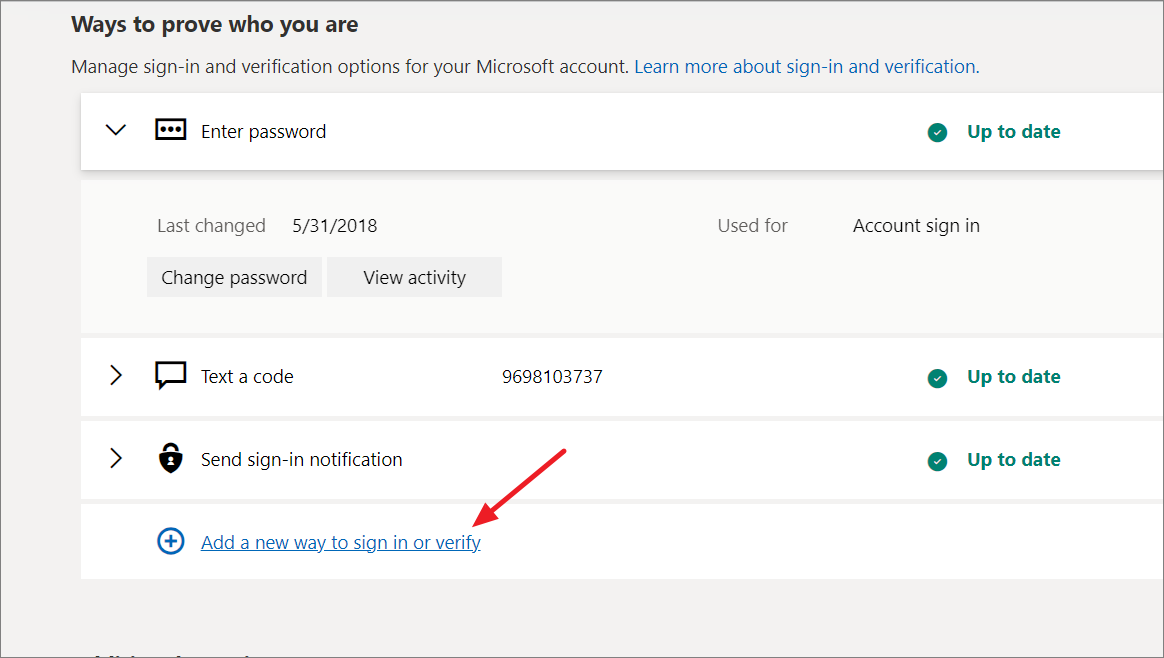
Adding Multi-Factor Authentication (MFA) to your Windows account provides an extra layer of security by requiring a second form of verification, such as a code sent to your phone.
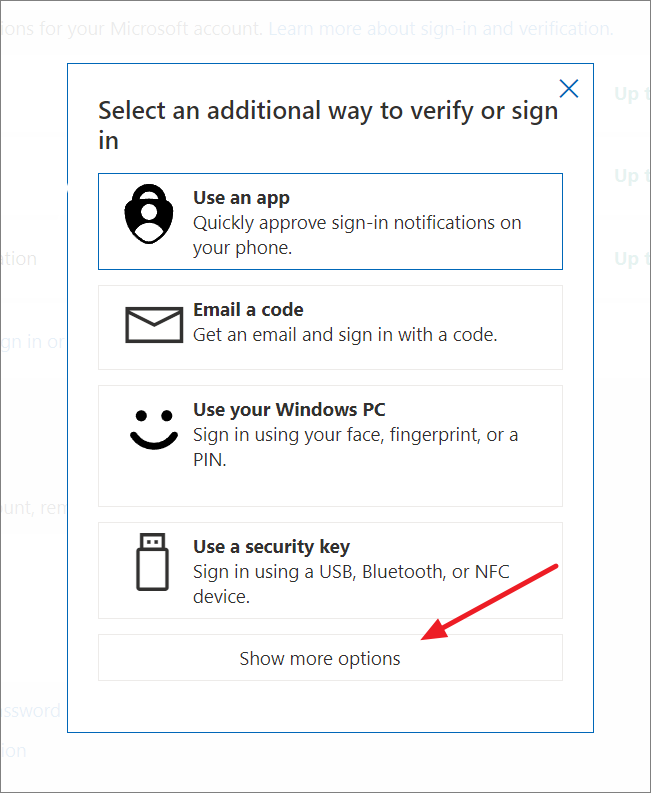
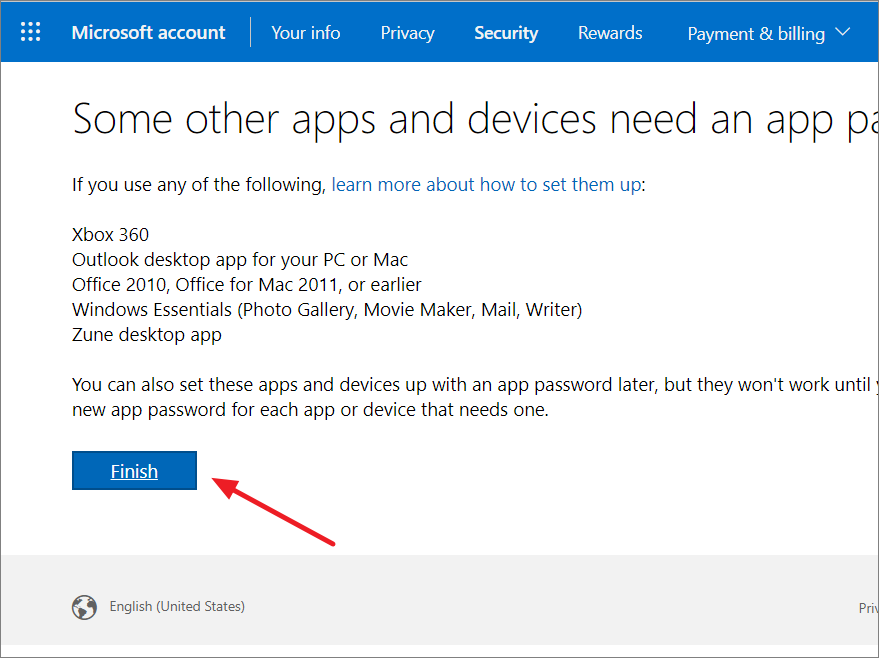
Choose your preferred verification method, such as ‘Use a different phone number’ for text codes or ‘Use an app’ for an authenticator app. Follow the prompts to set it up.
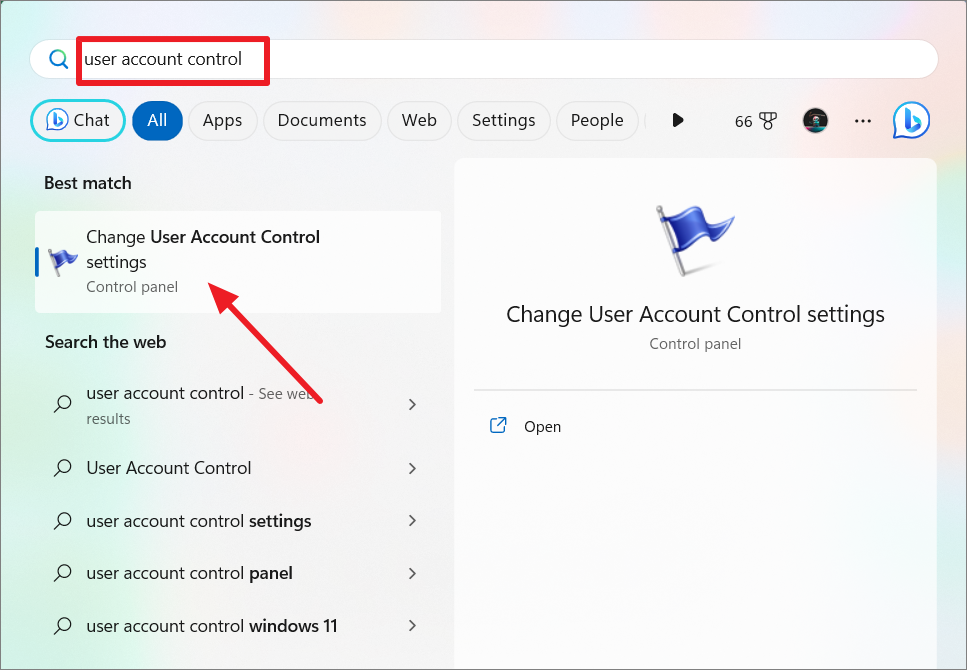
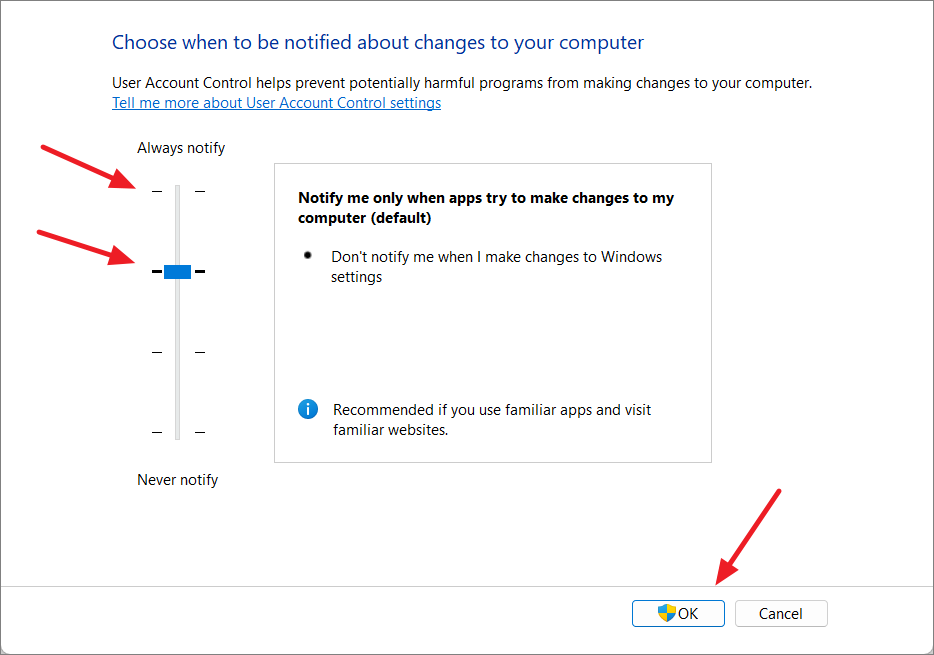
User Account Control (UAC) helps prevent unauthorized changes to your system by prompting for permission or an administrator password before allowing certain actions.
Adjust the slider to ‘Notify me only when apps try to make changes to my computer’ or ‘Always notify’, then click ‘OK’. This provides a balance between security and convenience.
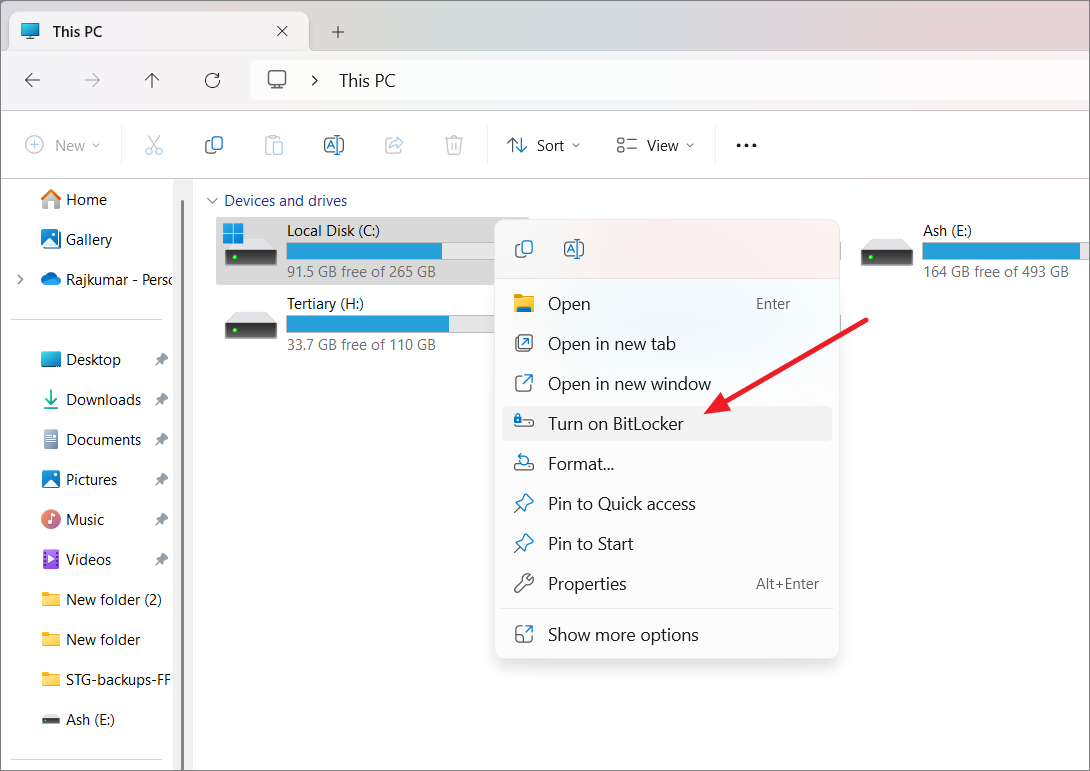
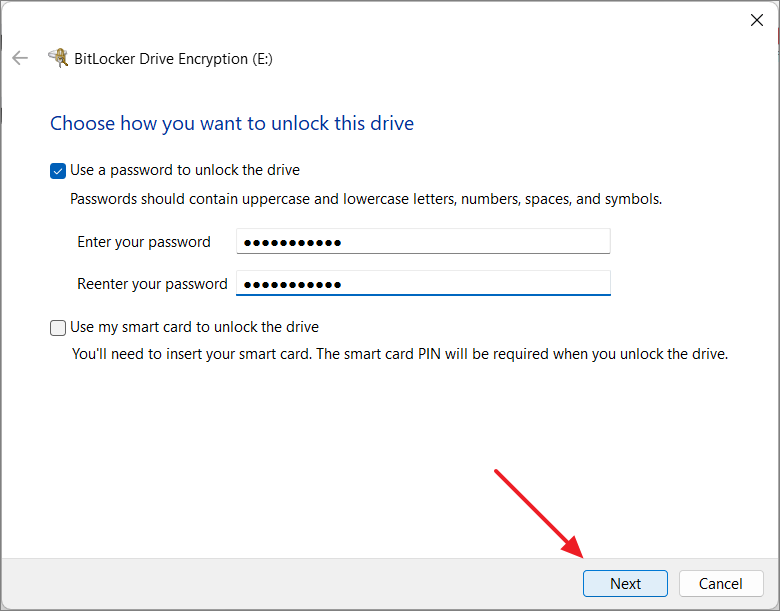
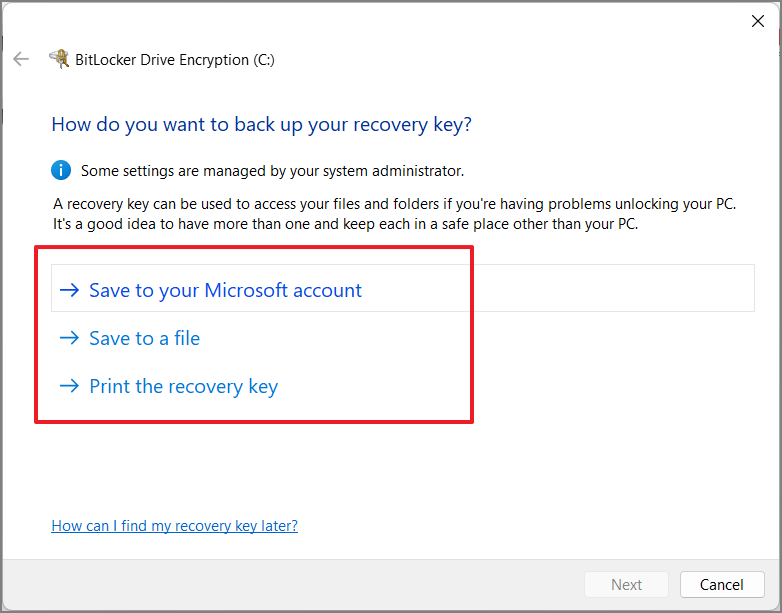
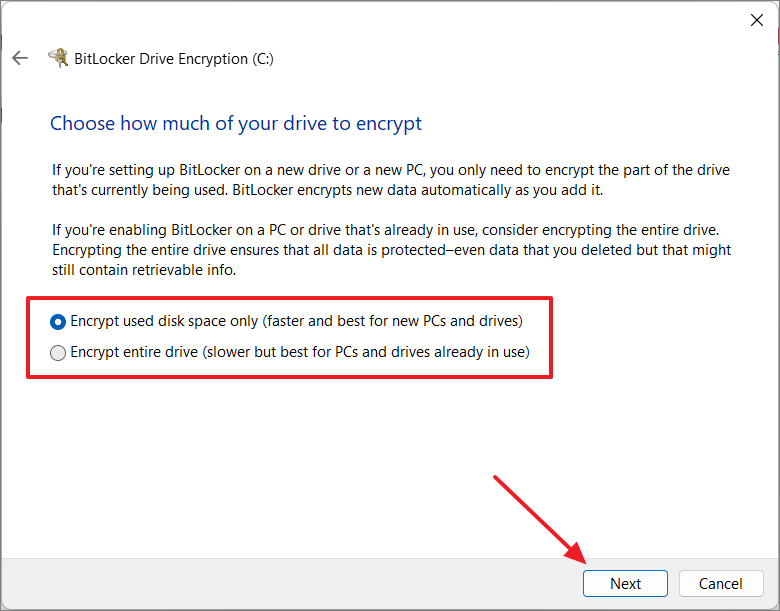
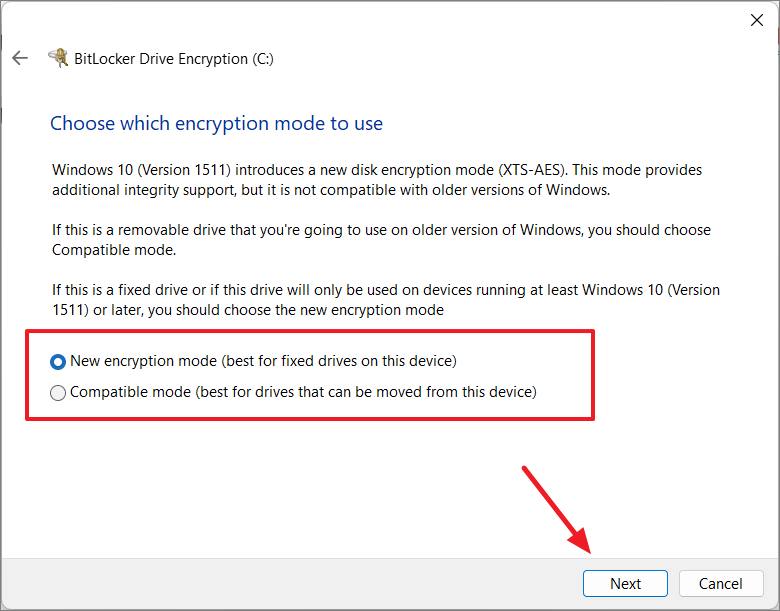
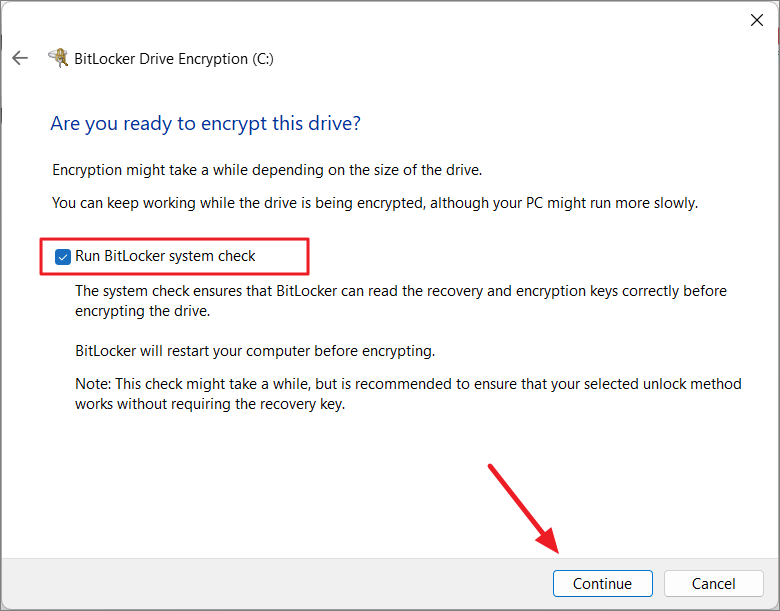
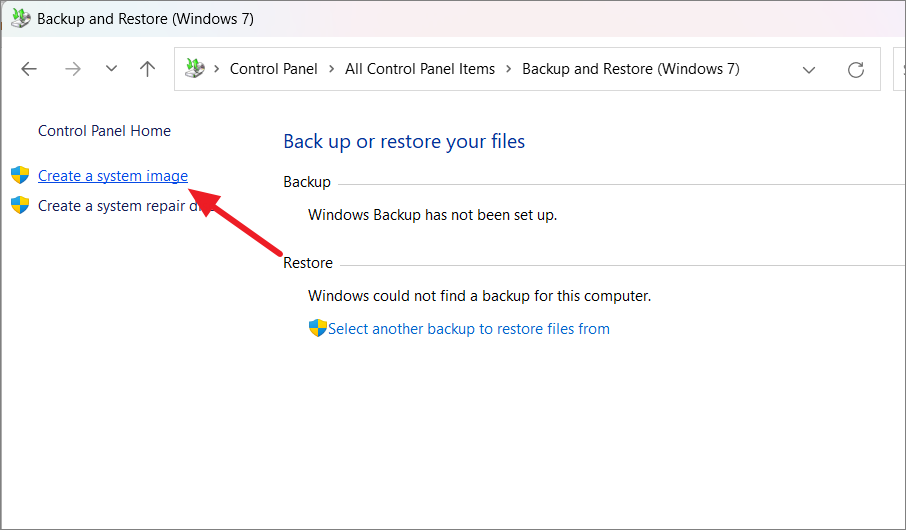
6. Enable BitLocker on Drives
BitLocker encrypts your drives to protect your data from unauthorized access, especially useful if your device is lost or stolen. Note that BitLocker is available on Windows 11 Pro and Enterprise editions.
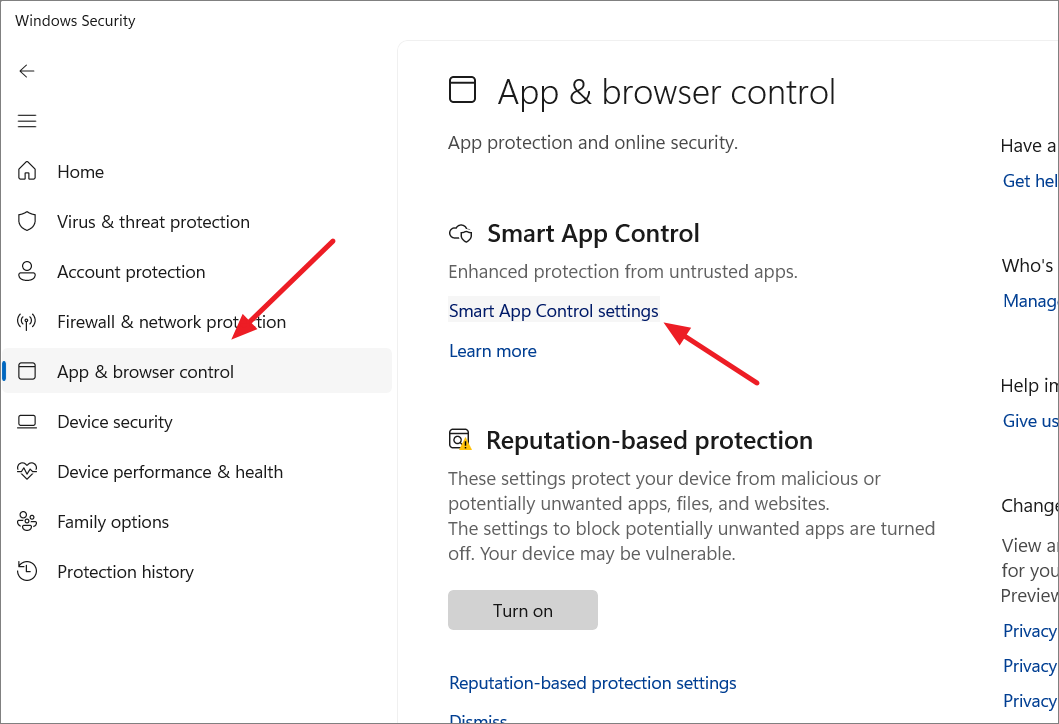
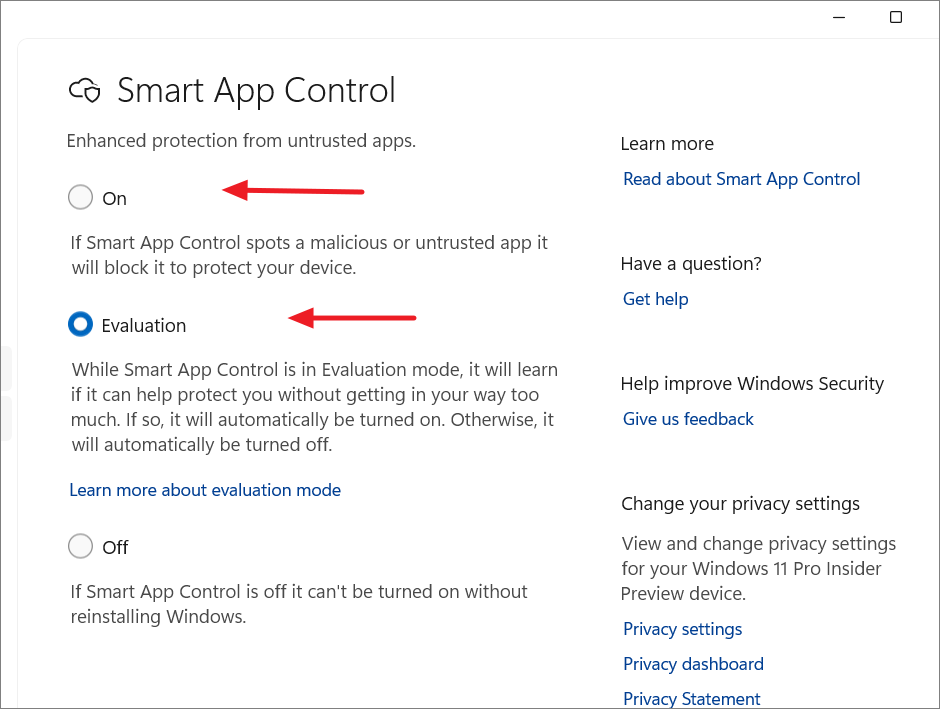
Choose ‘On’ to enable Smart App Control or ‘Evaluation’ mode to let Windows determine optimal settings based on your usage.
Note that once Smart App Control is enabled, disabling it requires a Windows reinstallation.
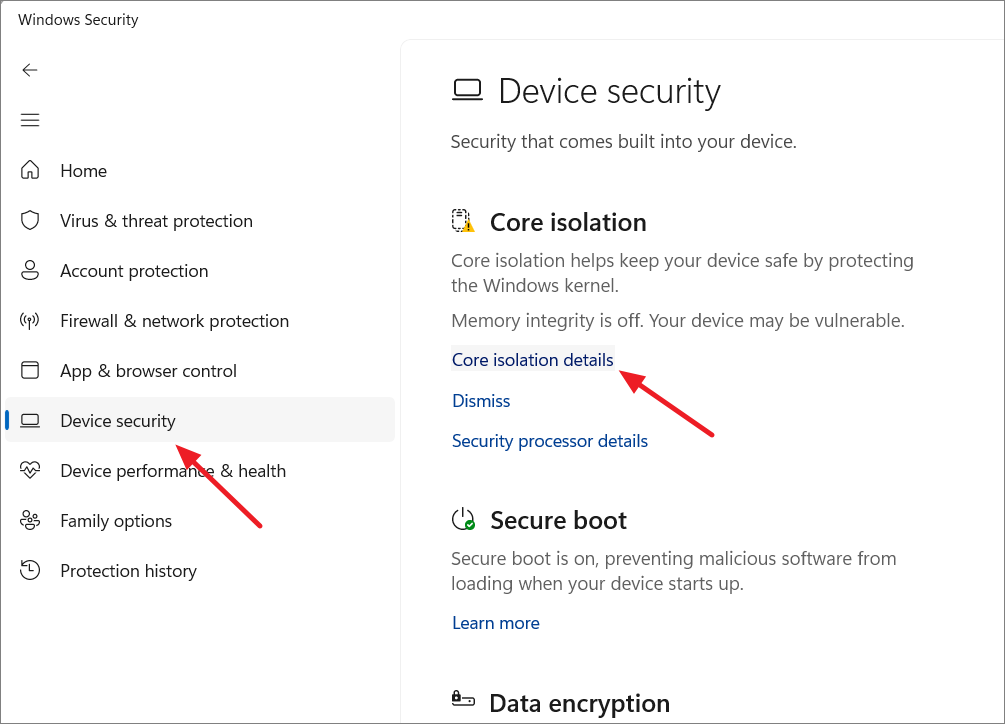
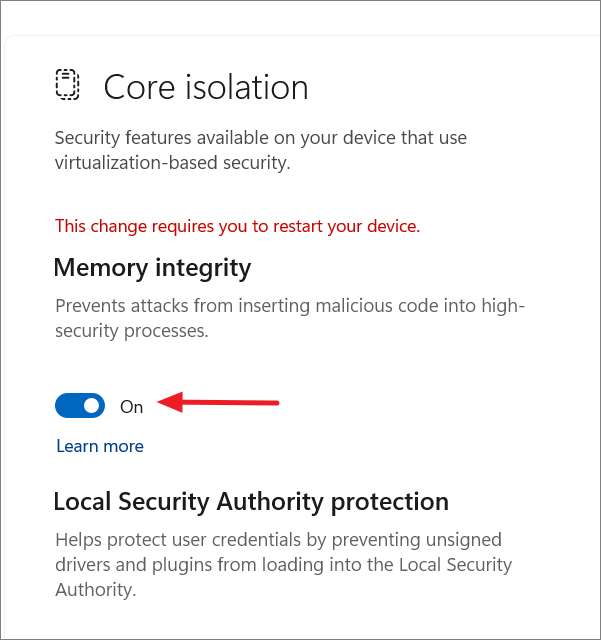
8. Enable Core Isolation
Core Isolation protects your system by isolating critical processes from software vulnerabilities. It includes ‘Memory integrity’, which prevents malicious code from accessing high-security processes.
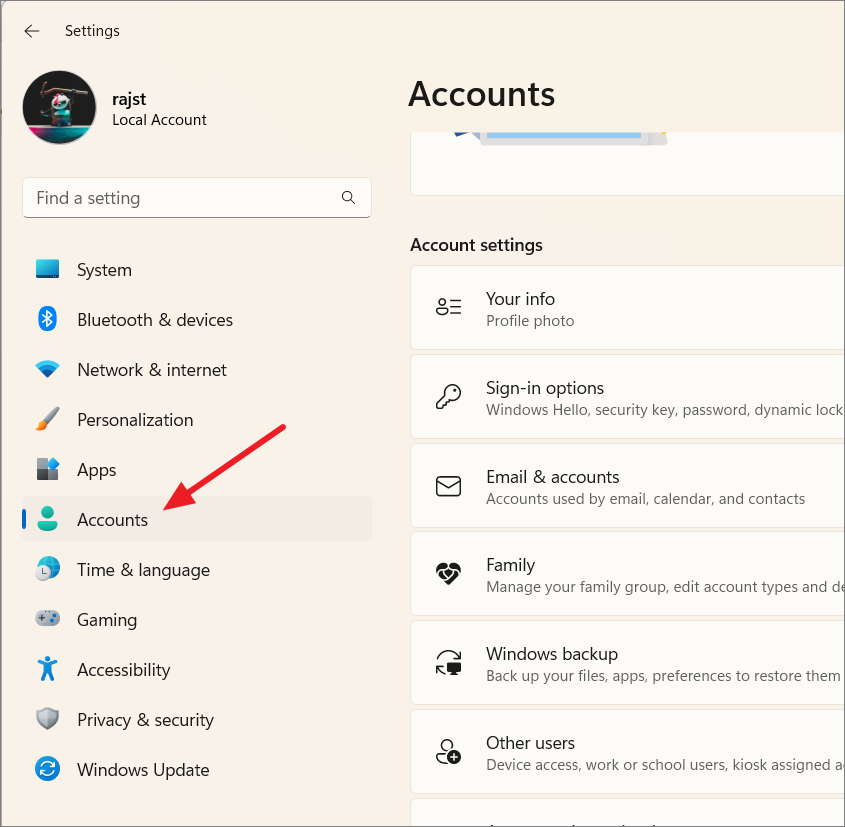
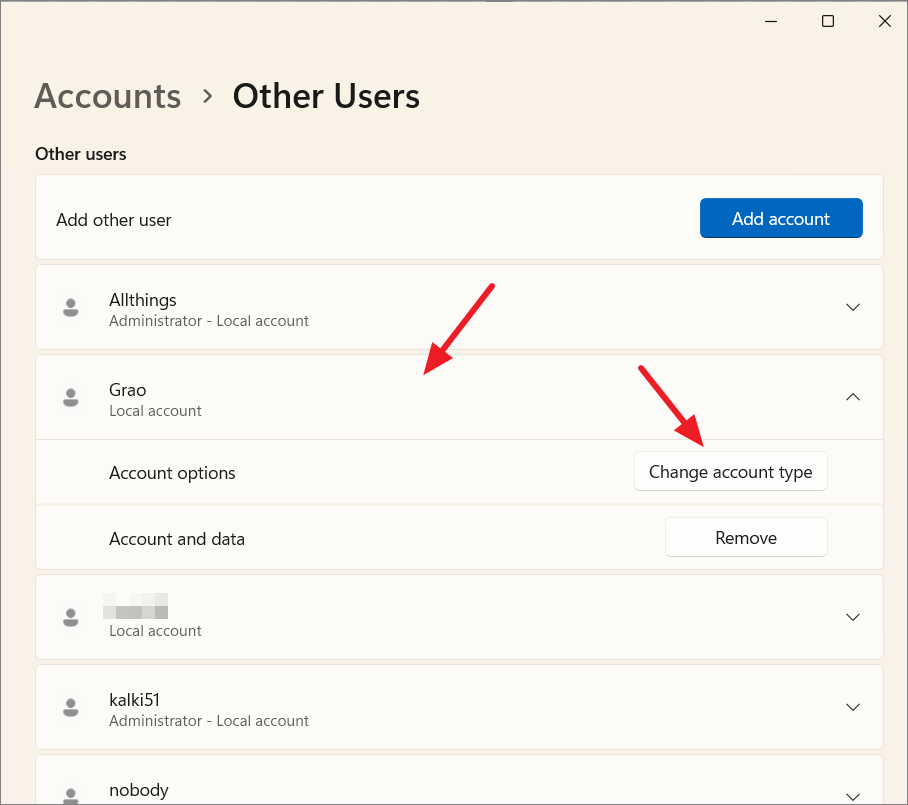
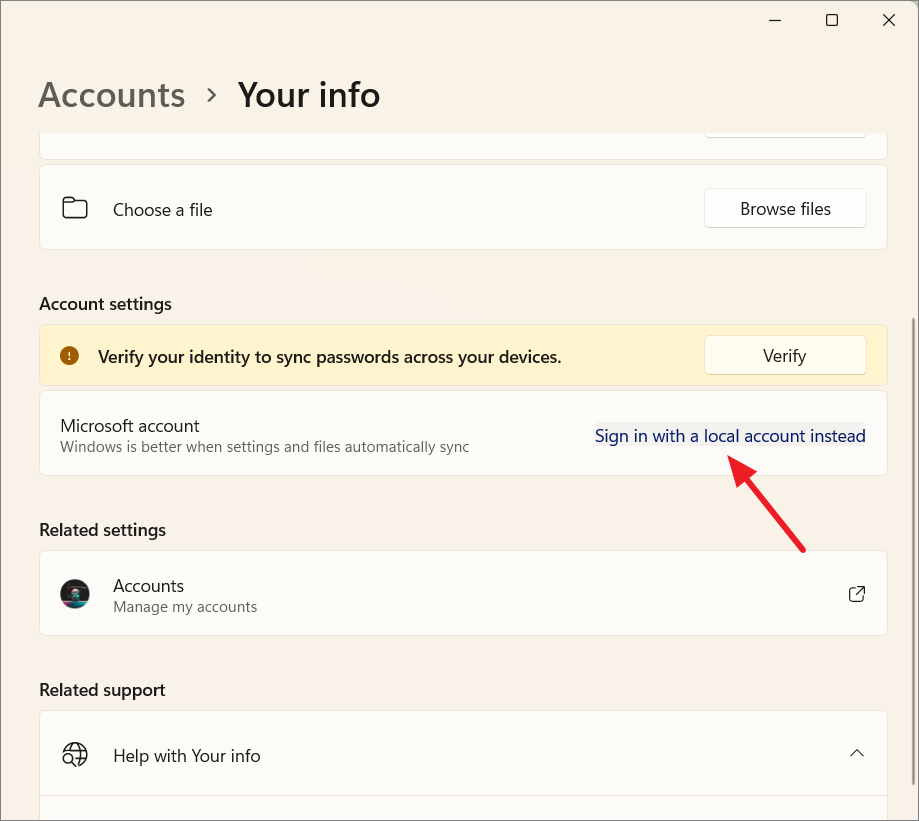
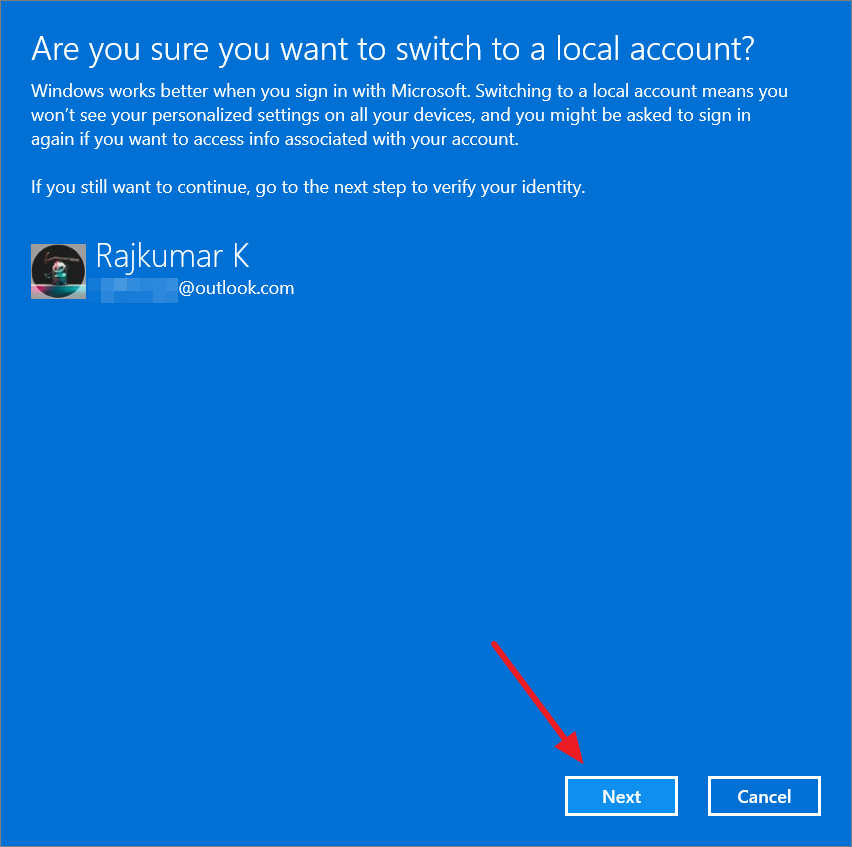
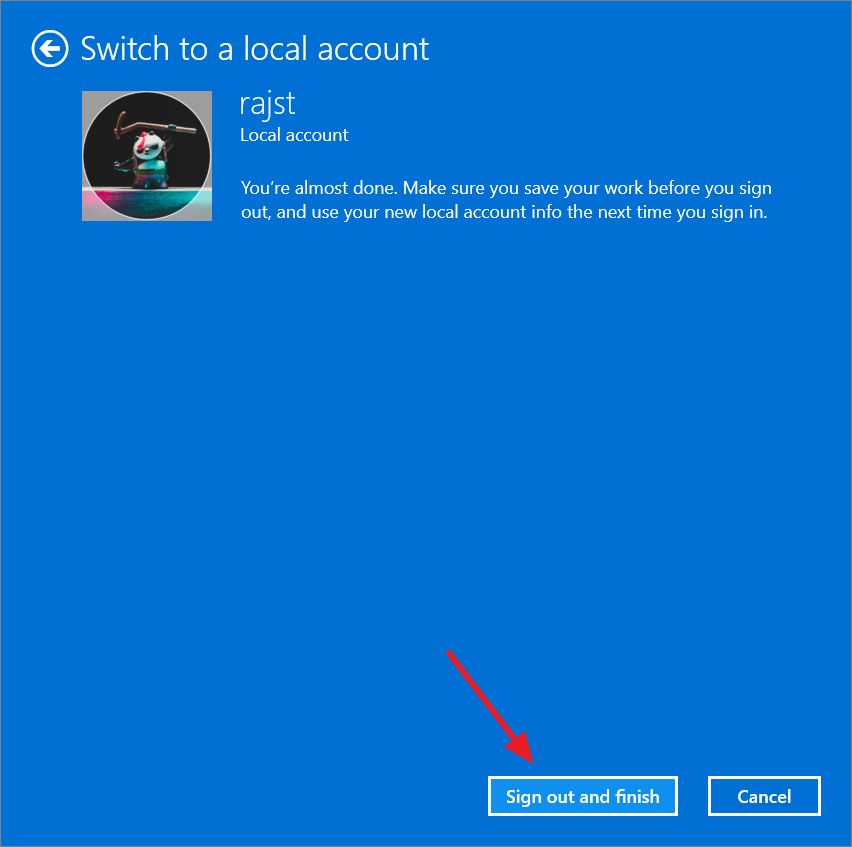
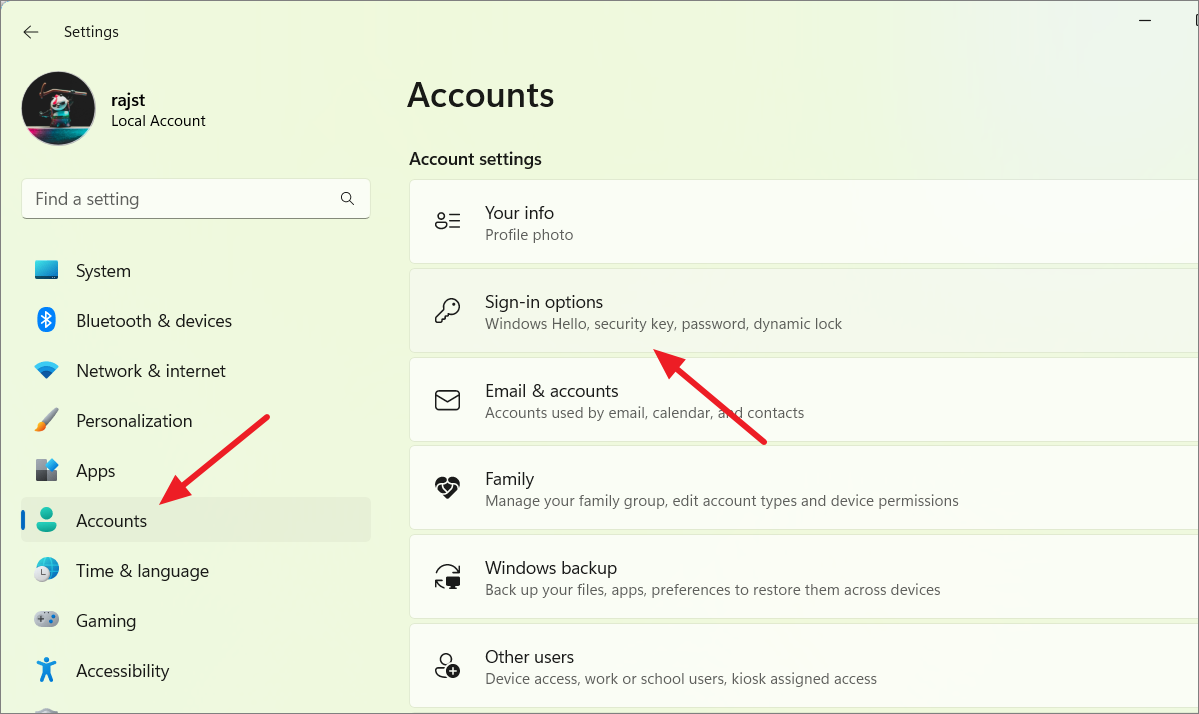
To make the local account an administrator, go to ‘Other users’, select the account, and click ‘Change account type’. Choose ‘Administrator’ and click ‘OK’.
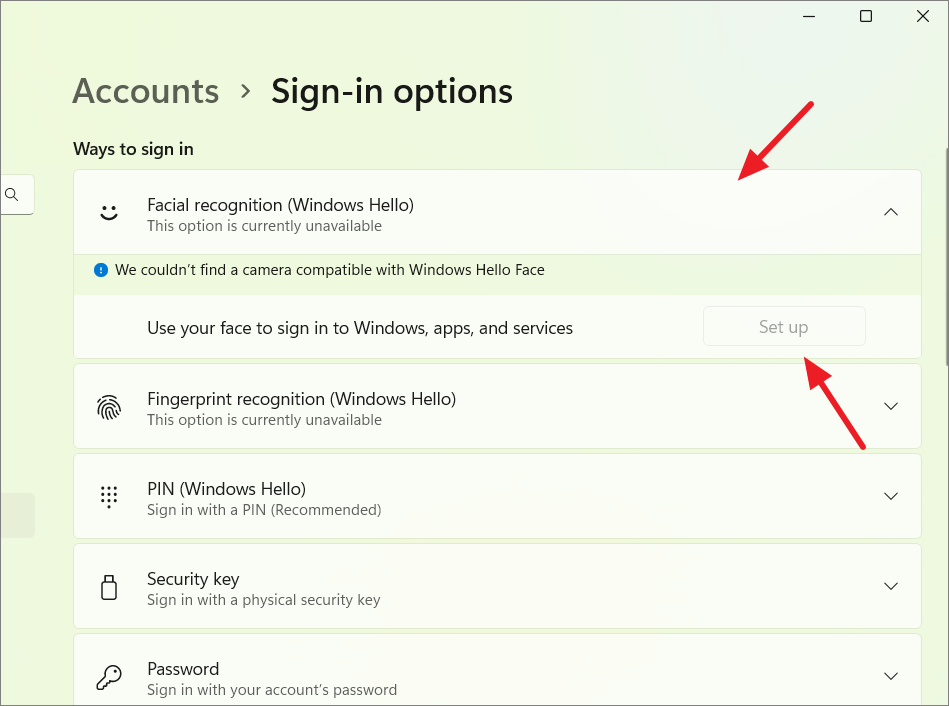
Follow the on-screen instructions to complete the setup.
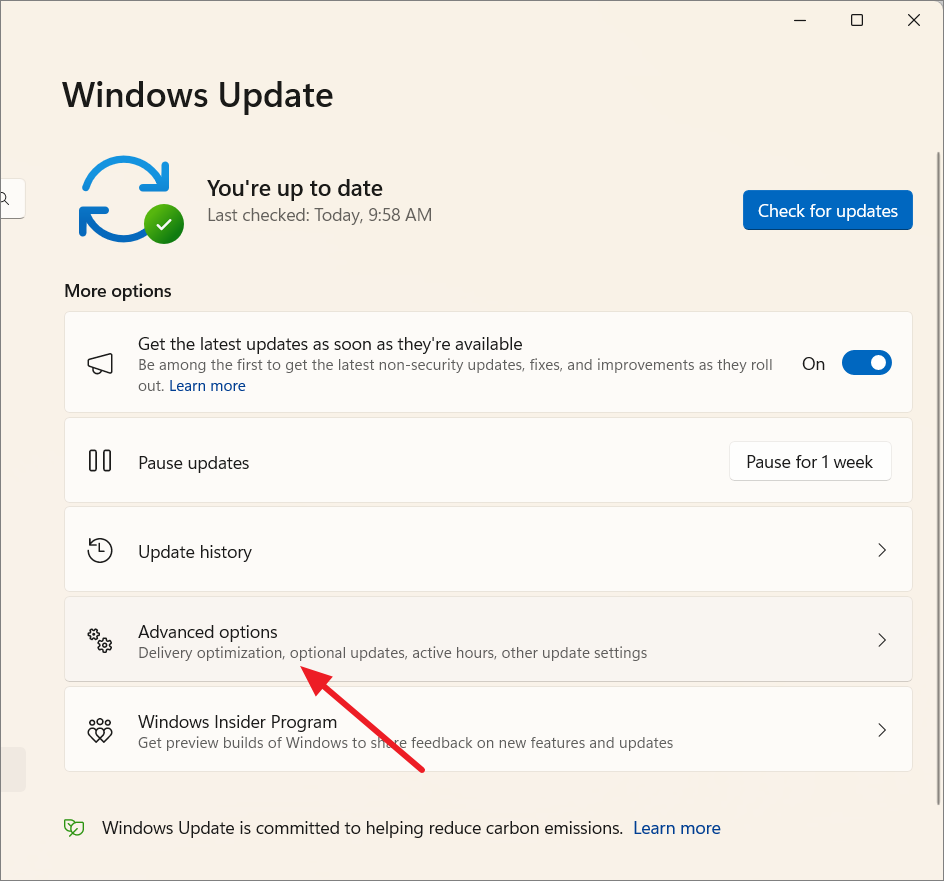
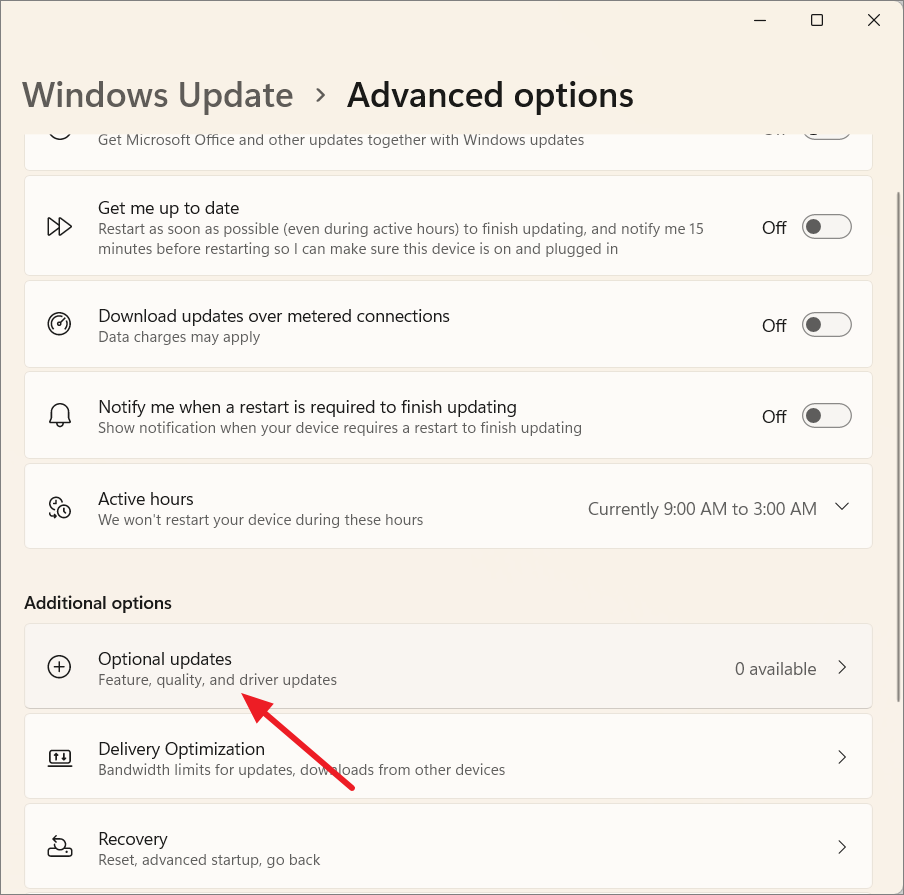
If these options are unavailable, you may need to install optional updates or drivers. Go to ‘Windows Update’ > ‘Advanced options’ > ‘Optional updates’ to check for Windows Hello updates.
12. Use a Secure Browser
Utilize a secure web browser like Microsoft Edge, Google Chrome, or Mozilla Firefox that can block pop-ups, identify malicious websites, and protect your online activities.
Always ensure you are browsing secure websites by looking for ‘https://’ at the beginning of the URL, indicating a secure connection.
13. Use a VPN Connection
A Virtual Private Network (VPN) encrypts your internet connection, protecting your data from eavesdropping and masking your IP address. This is especially important when using public Wi-Fi networks.
Choose a reputable VPN service to ensure your data remains secure and your online activities private.
14. Avoid Pirated Software
Refrain from installing pirated software, as it often contains malware or viruses that can compromise your system. Always download software from official sources or authorized distributors, and keep your applications updated to patch security vulnerabilities.
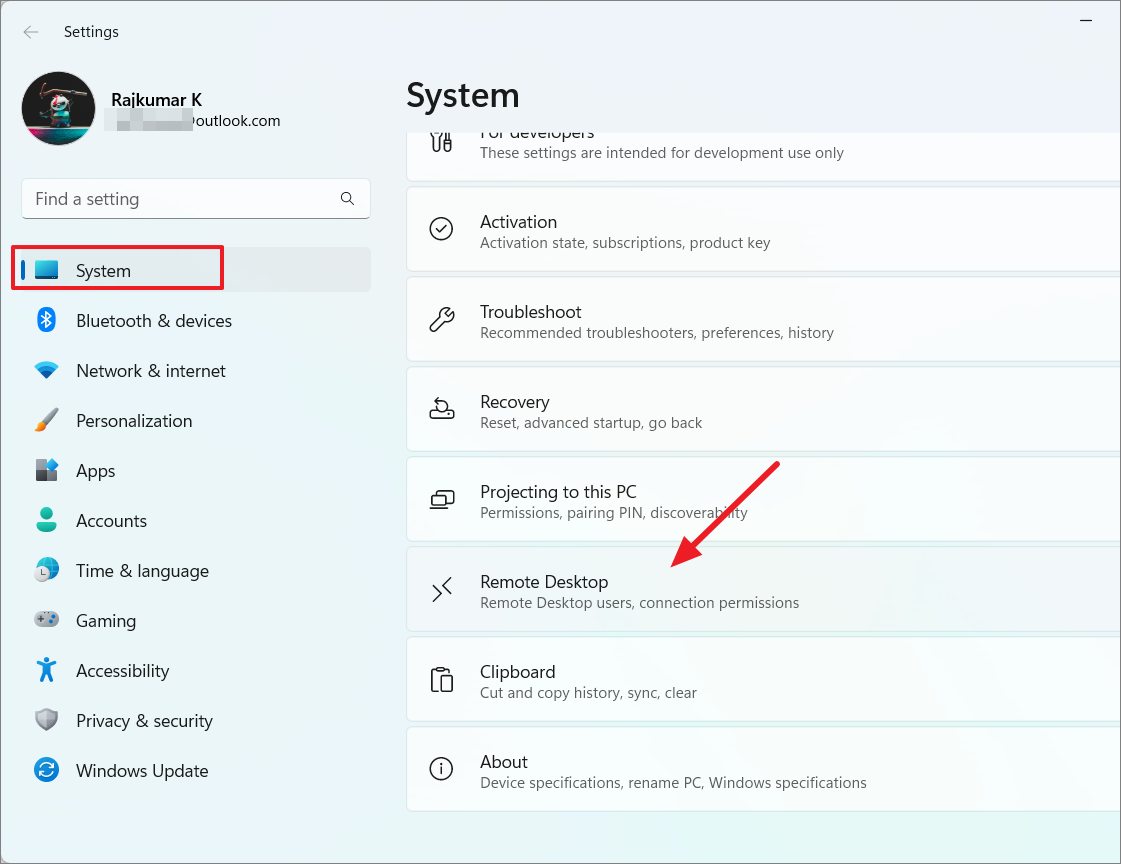
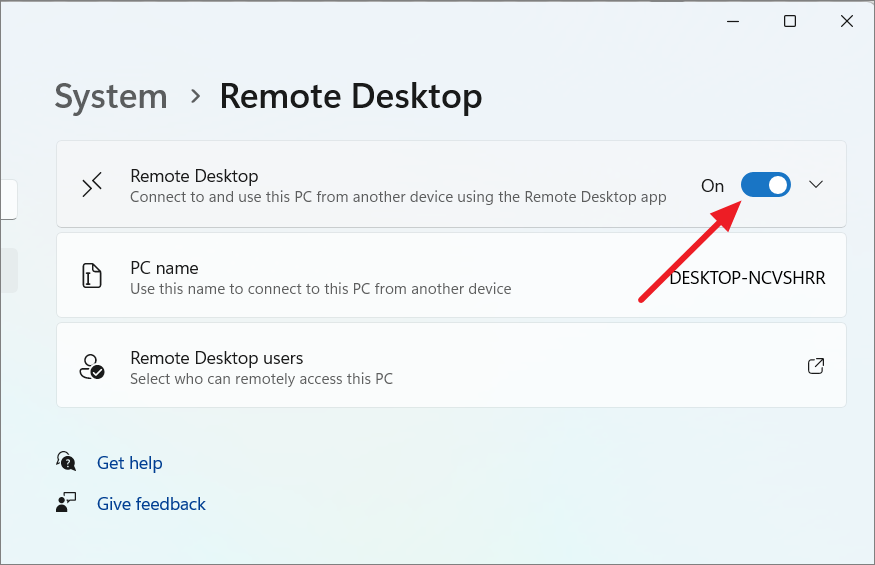
15. Disable Remote Access
Unless necessary, it’s advisable to disable Remote Desktop to prevent unauthorized access to your PC.
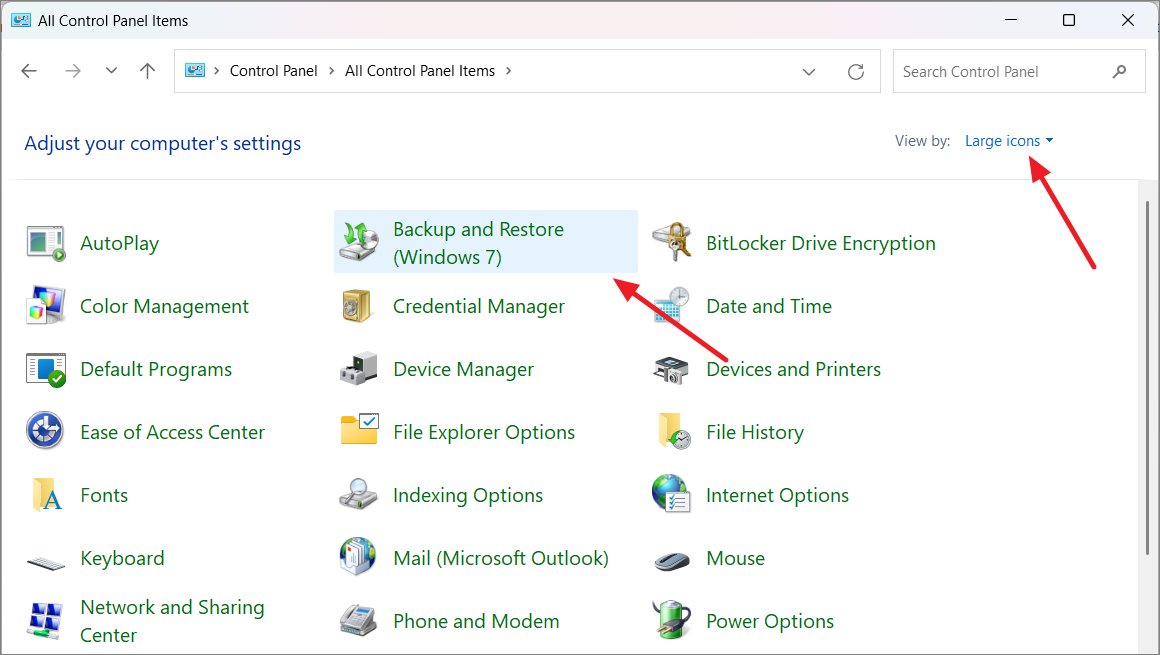
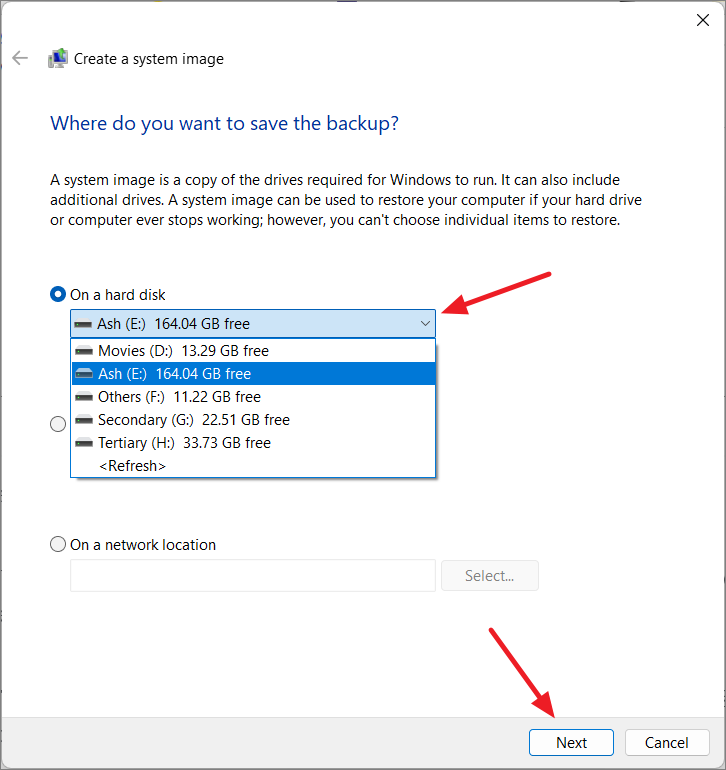
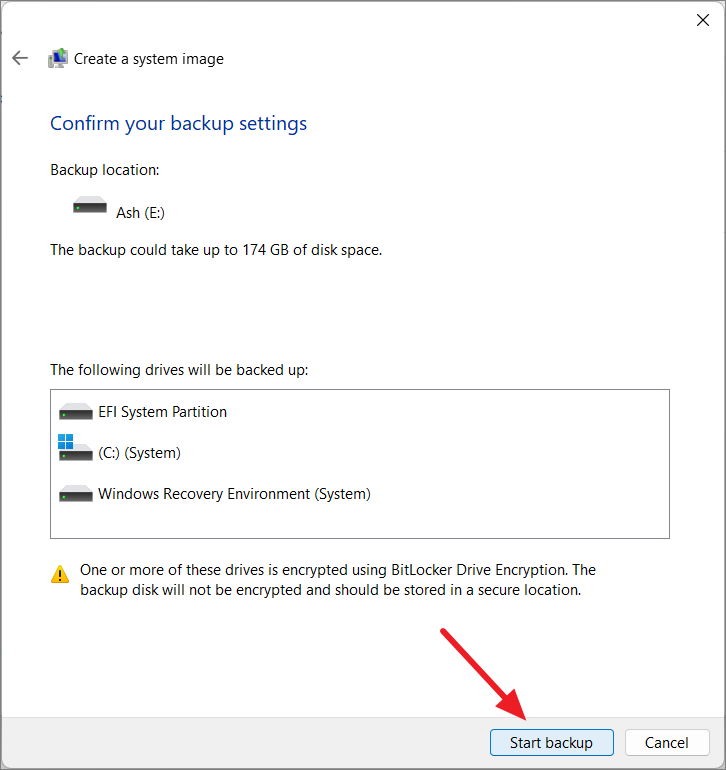
Confirm the backup settings and click ‘Start backup’.
After completion, keep the backup in a safe place and avoid modifying the backup files.
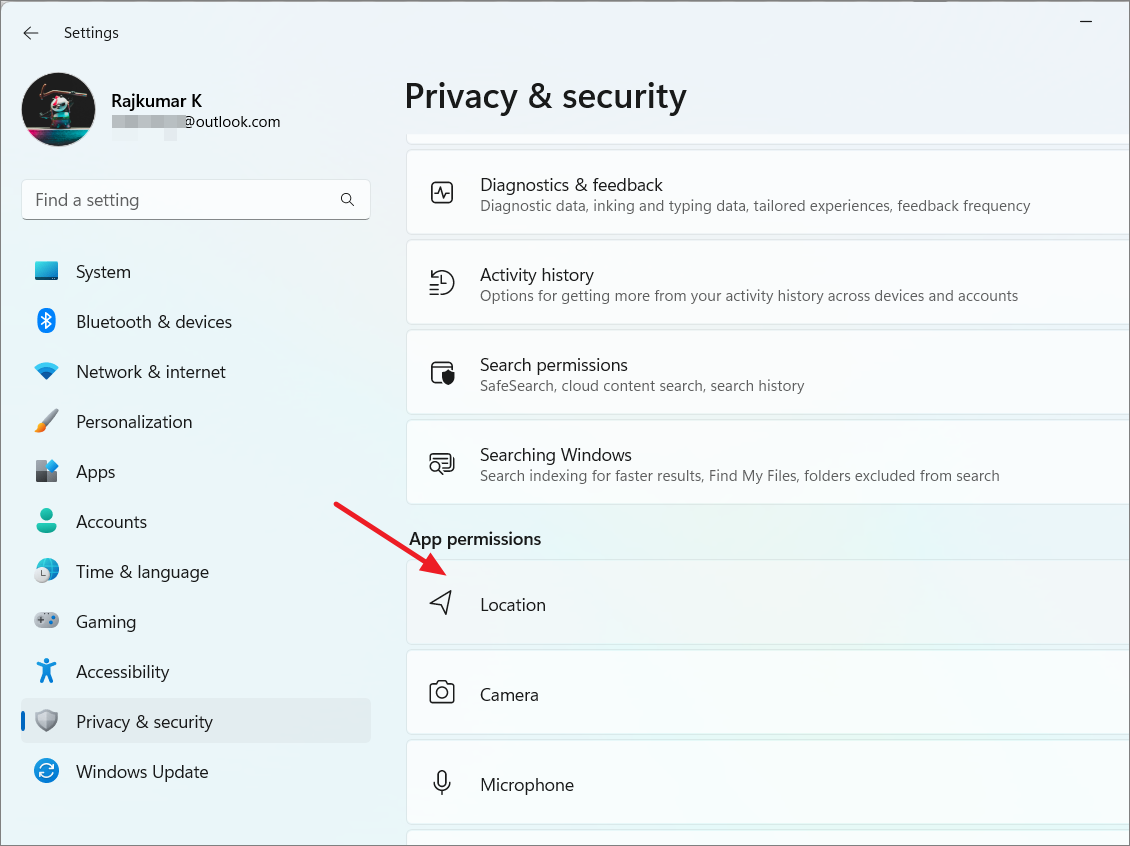
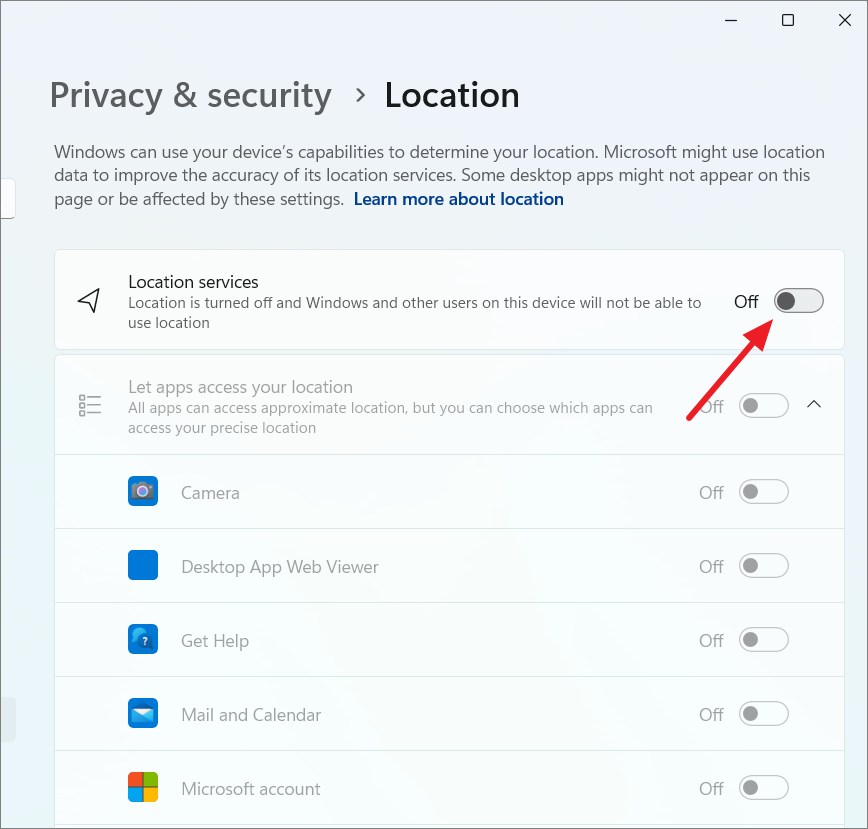
17. Protect Your Privacy in Windows 11
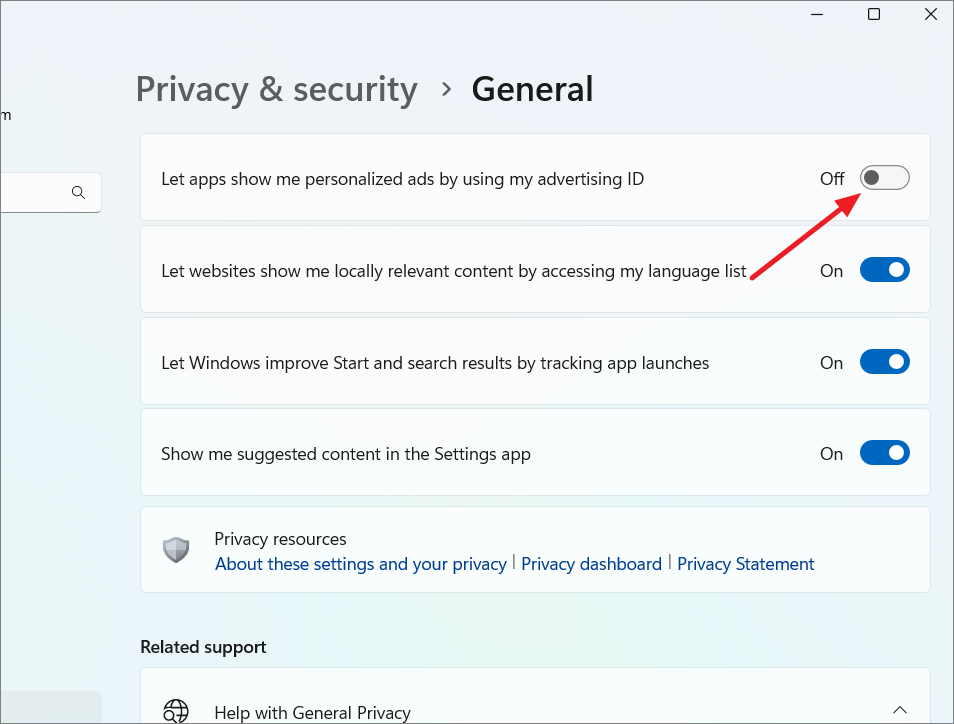
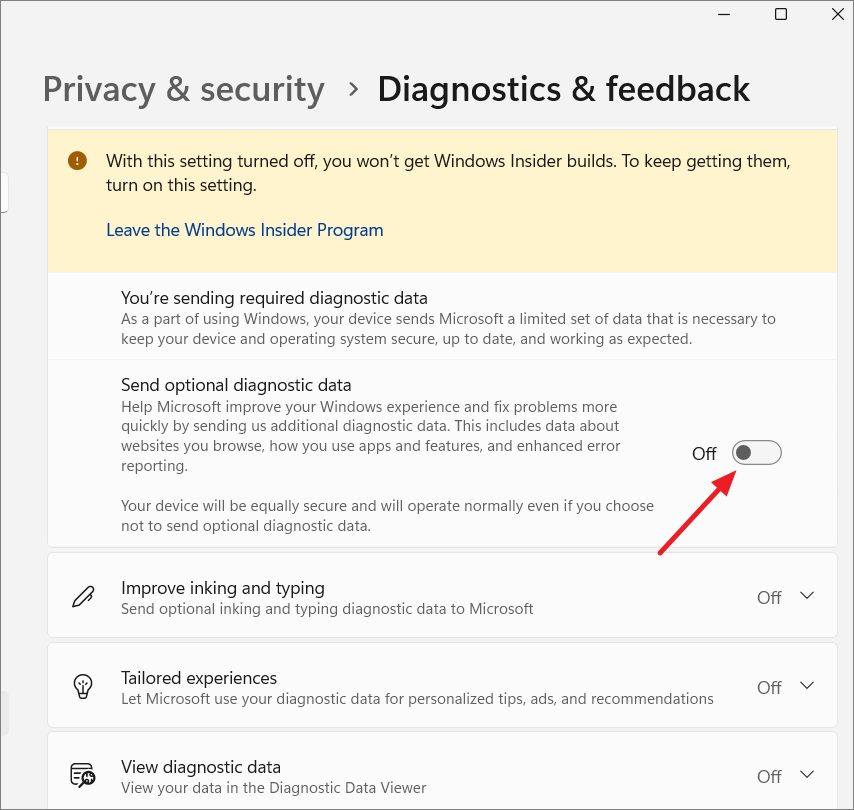
Managing your privacy settings helps control how your personal information is used. Adjust settings related to location tracking, ad tracking, diagnostics, feedback, and app permissions.
Toggle off ‘Location services’ to disable location tracking.
If you wish to keep location services on for certain features but limit app access, leave ‘Location services’ enabled and turn off ‘Let apps access your location’.
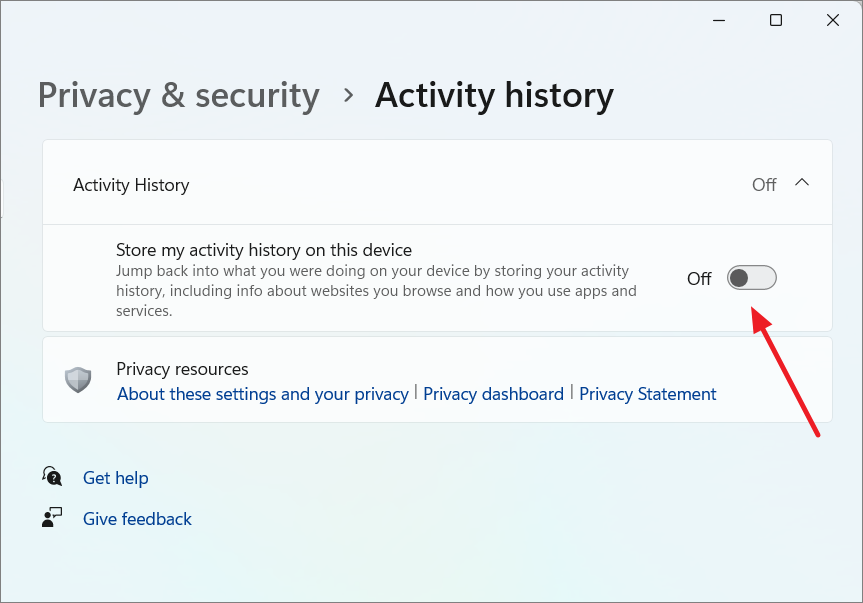
Uncheck ‘Store my activity history on this device’.
By implementing these steps, you can significantly enhance the security and privacy of your Windows 11 PC, ensuring your data remains protected and your system operates securely.