How to Fix Video Scheduler Internal Error on Windows 11
Straightforward fixes that'll solve this issue in no time.
Straightforward fixes that’ll solve this issue in no time.
by Parth Sawhney
The ‘Video Scheduler Internal Error’ is a Blue Screen of Death (BSOD) error that has been affecting Windows users since Windows 10 and continues to persist in Windows 11. This error is typically linked to issues with graphics card drivers or corrupt system files. Fortunately, there are several methods to resolve this error effectively.
Update Your Graphics Card
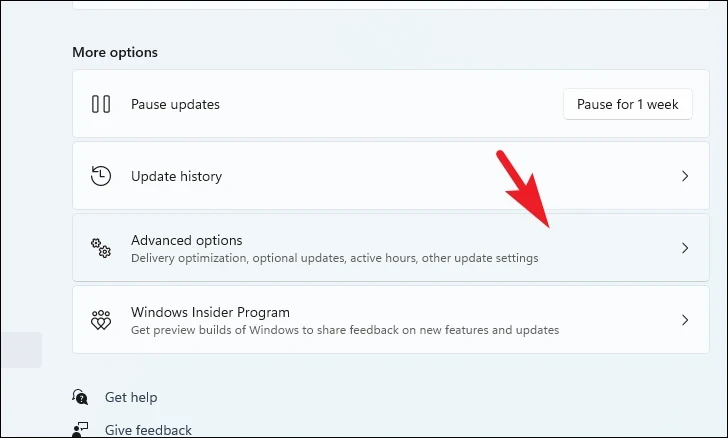
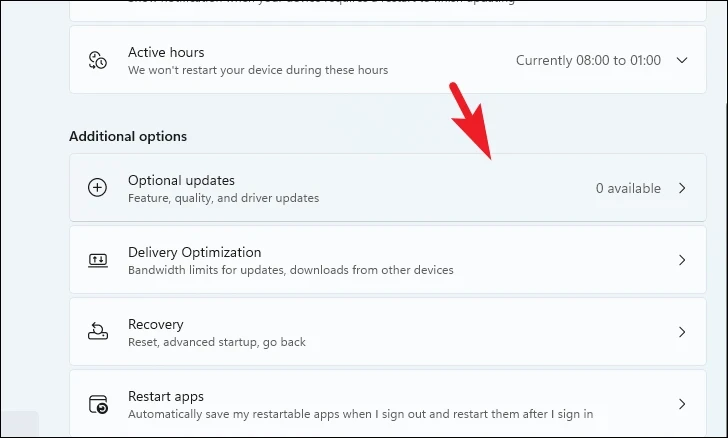
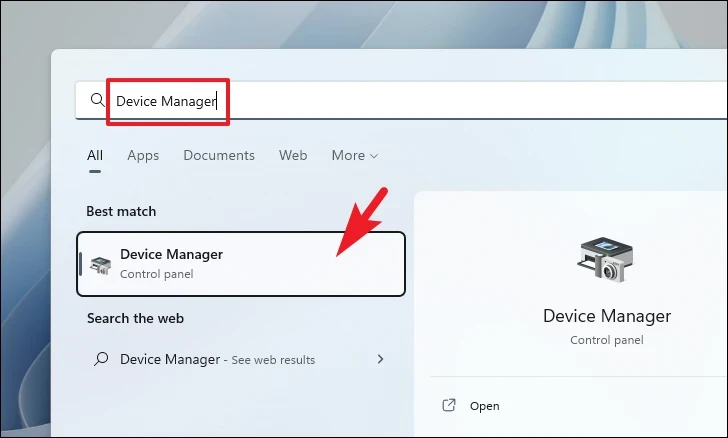
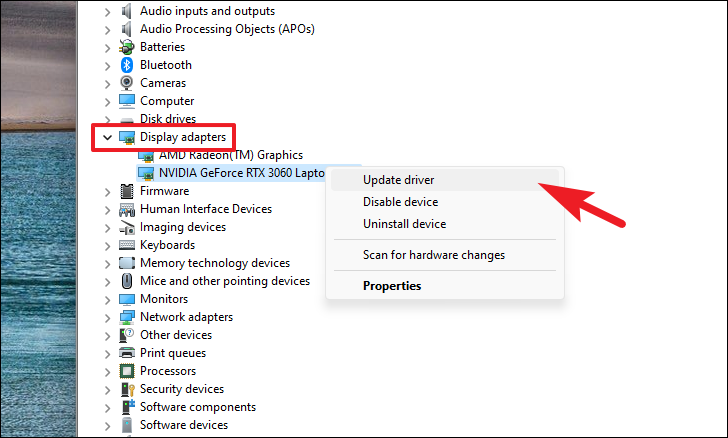
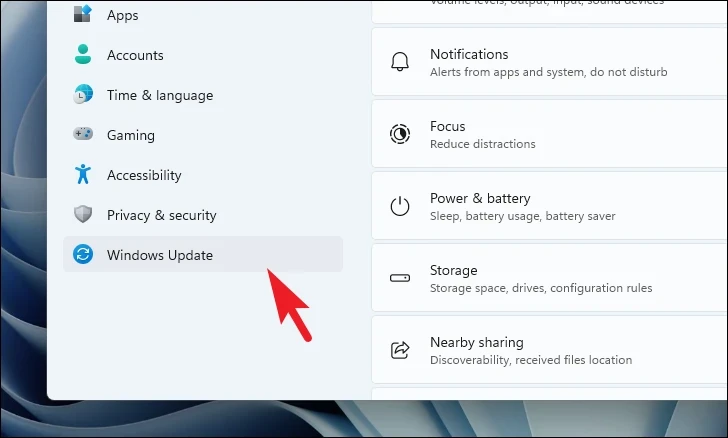
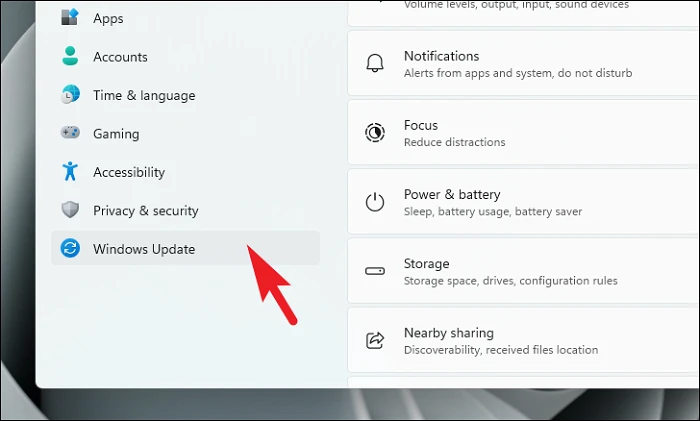
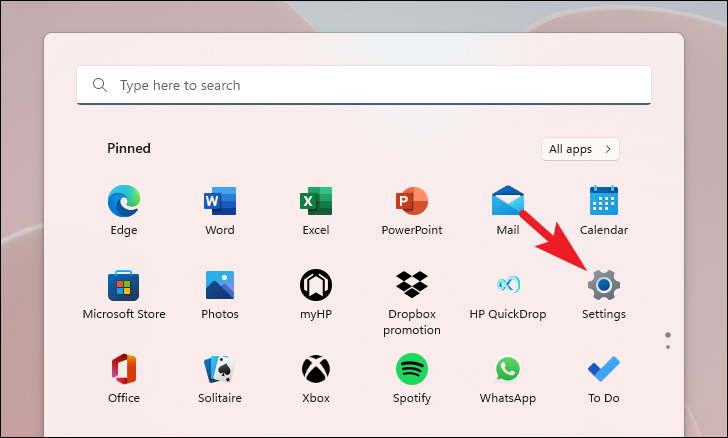
Outdated or corrupt graphics drivers are often the primary cause of the ‘Video Scheduler Internal Error’. Updating your graphics card drivers can resolve the issue. You can update the drivers using the Settings app, Device Manager, or by manually reinstalling them.
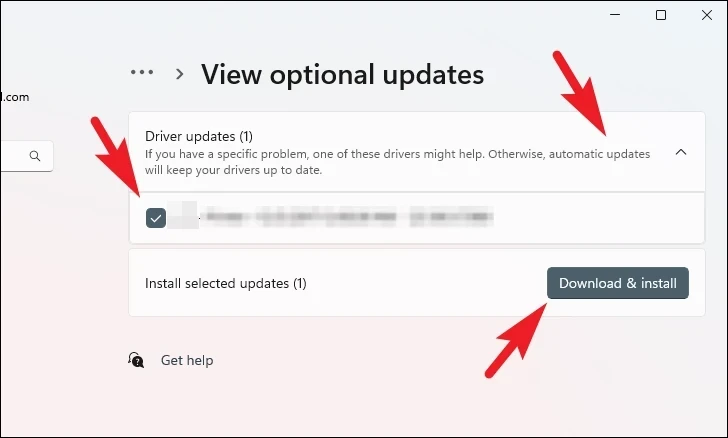
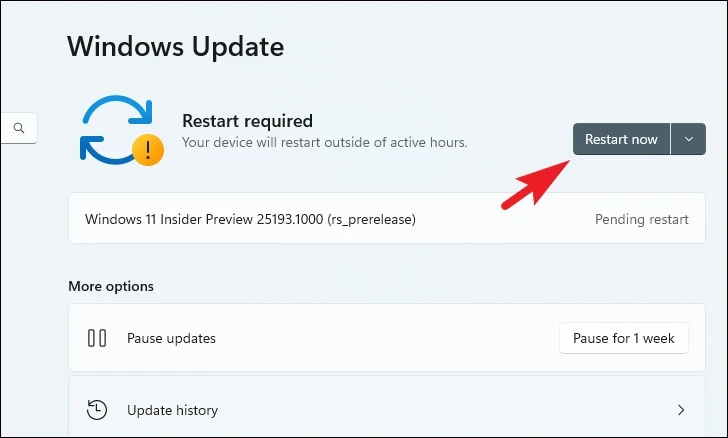
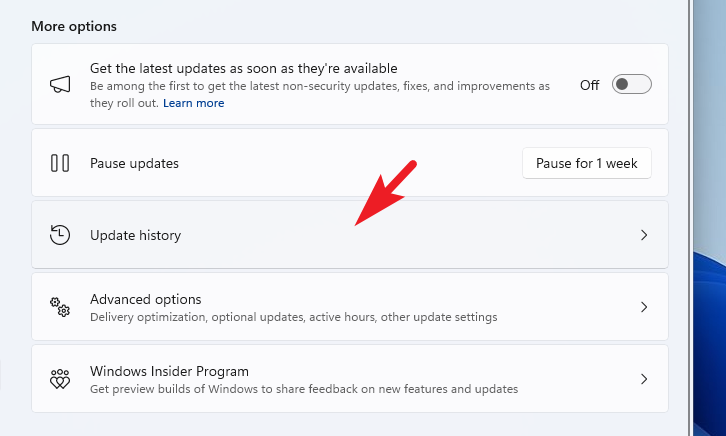
Under ‘Driver updates’, check for any available updates for your graphics card. Select the updates by clicking the checkboxes next to them, then click ‘Download & install’.
Once the updates are installed, restart your PC to apply the changes.
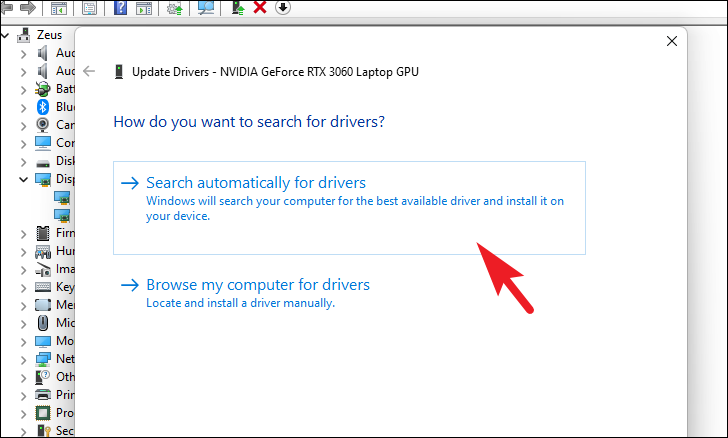
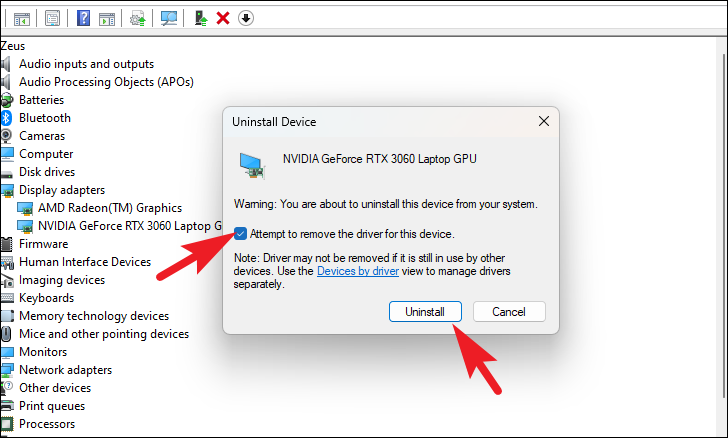
In the pop-up window, select ‘Search automatically for drivers’ to allow Windows to find and install the latest driver. If you have already downloaded the driver, choose ‘Browse my computer for drivers’ and locate the driver file.
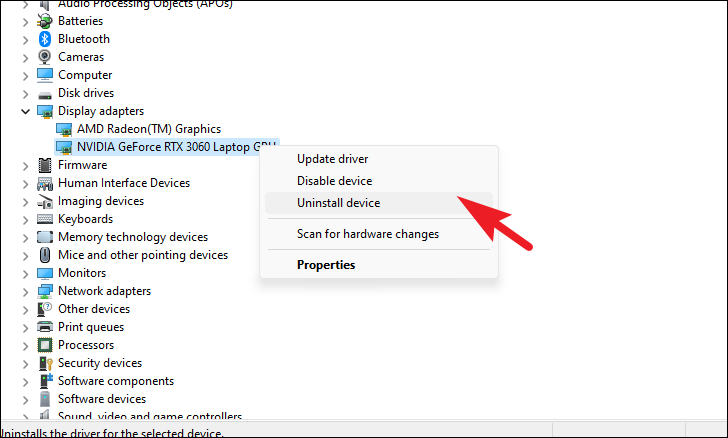
Restart your computer. Windows will attempt to reinstall the graphics driver automatically. Alternatively, you can download the latest driver from the manufacturer’s website and install it manually.
After updating or reinstalling your graphics drivers, check if the error persists.
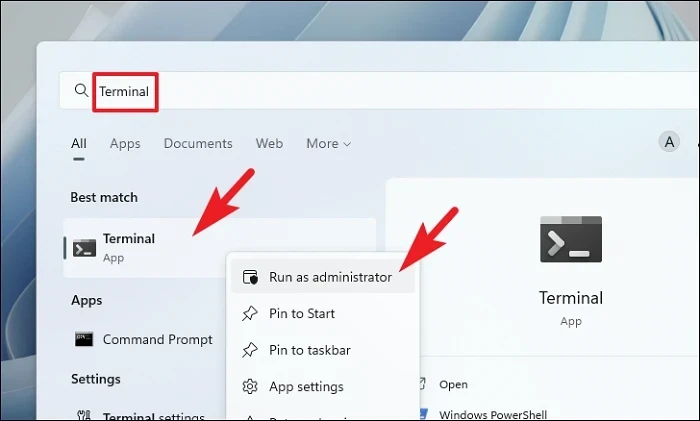
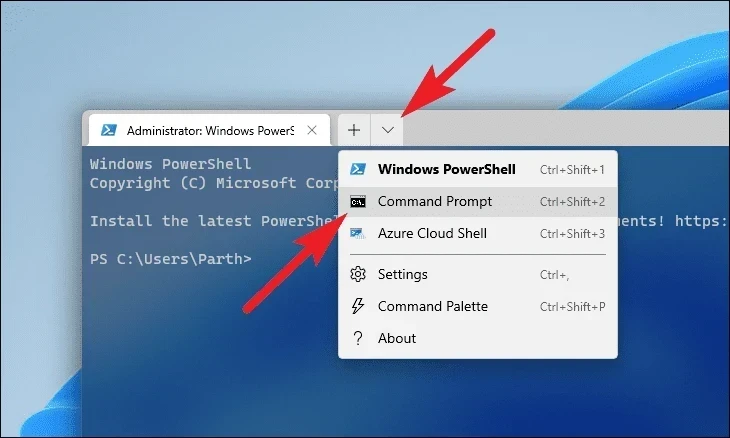
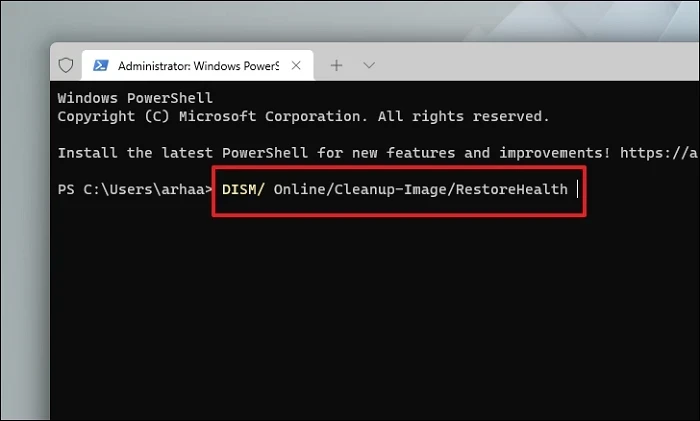
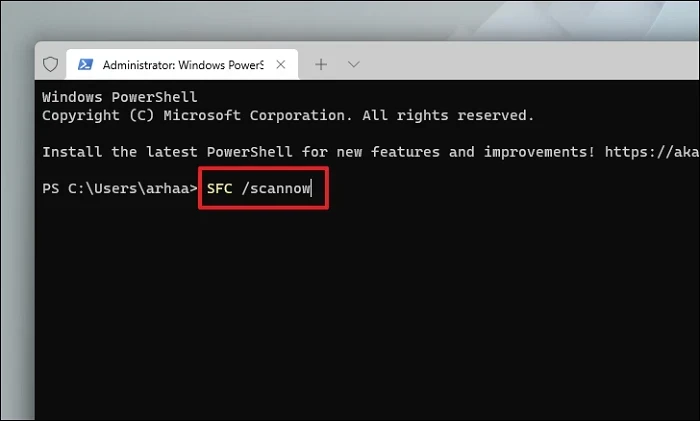
Run SFC and DISM
Corrupted system files can also cause the ‘Video Scheduler Internal Error’. Running System File Checker (SFC) and Deployment Image Servicing and Management (DISM) scans can repair these files.
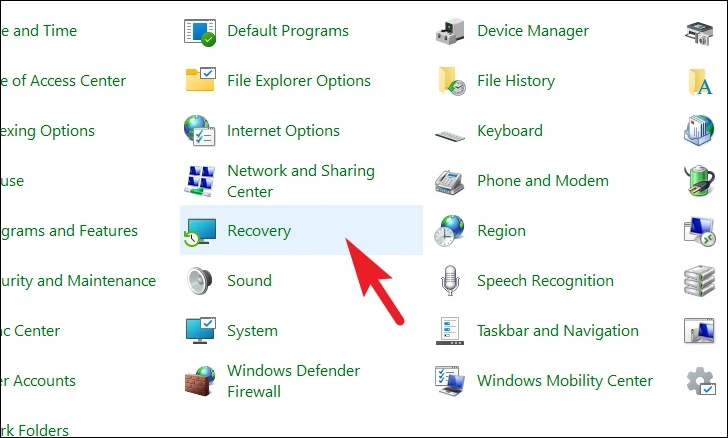
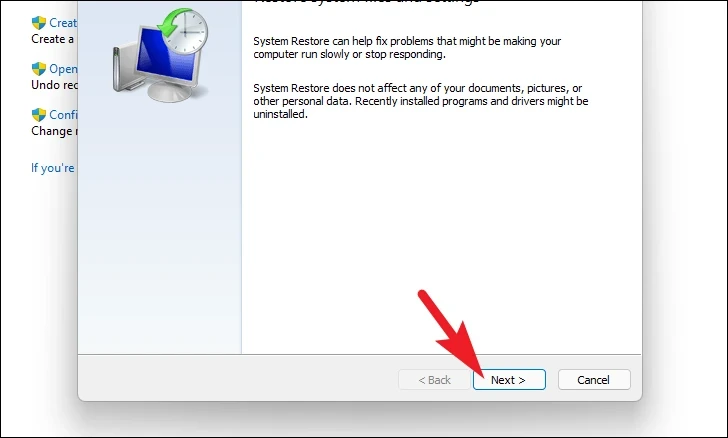
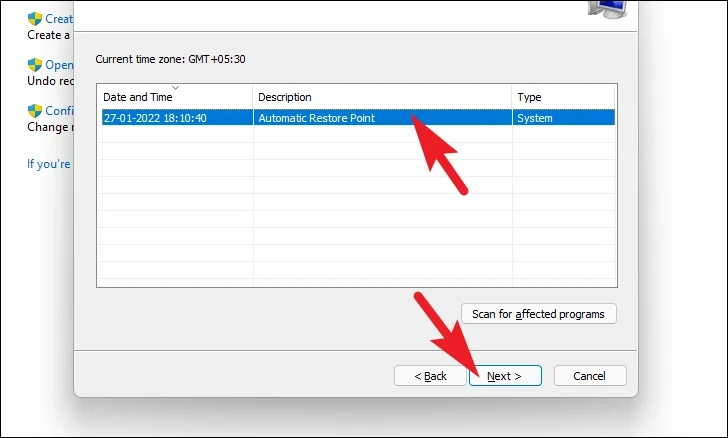
Confirm your restore point and click ‘Finish’ to start the restoration process.
Your computer will restart and restore the system to the selected point. Check if the error persists after the restoration.
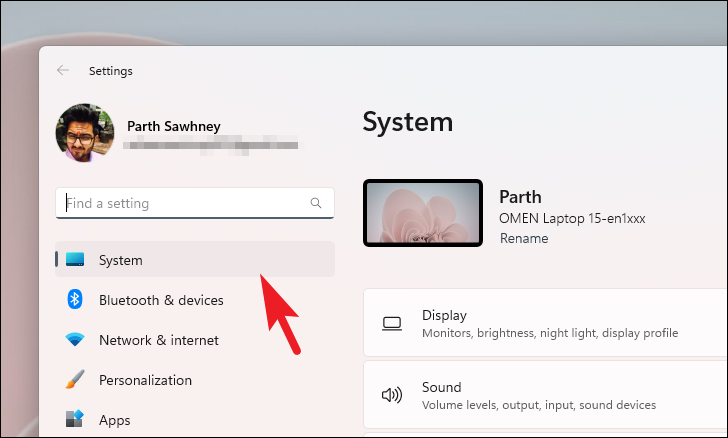
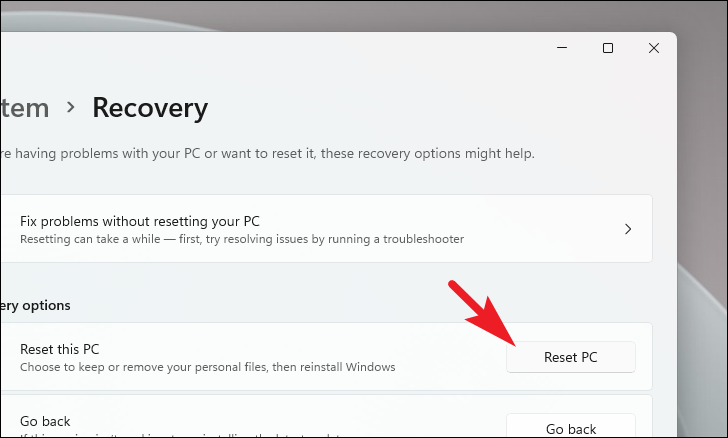
Reset Your PC
If none of the above methods work, resetting your PC might resolve the issue. You can choose to keep your personal files while resetting the system settings and removing installed applications.
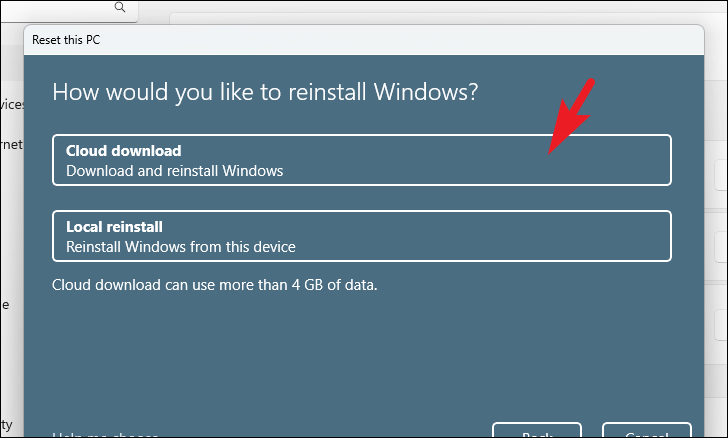
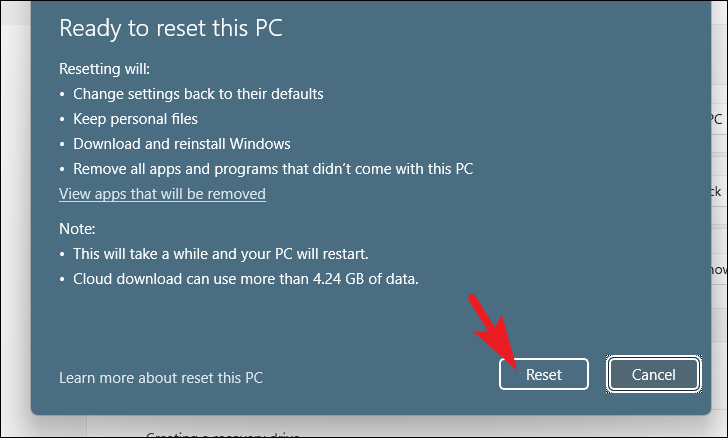
Select ‘Cloud download’ to download a fresh copy of Windows, or ‘Local reinstall’ to reinstall from your device. ‘Cloud download’ is recommended but requires an internet connection and uses more than 4GB of data.
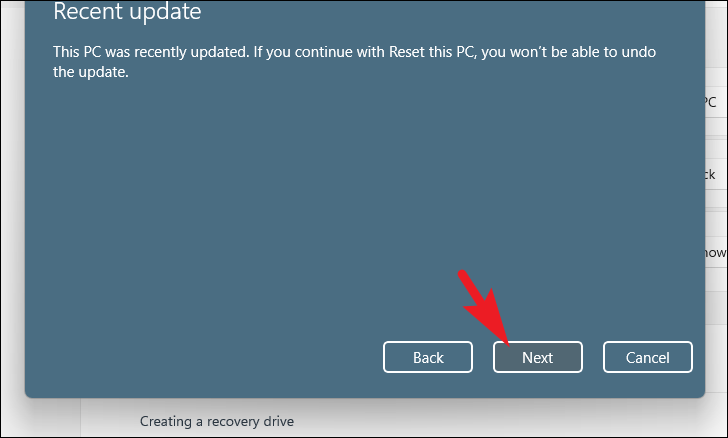
The reset process may take some time. Once completed, your PC will restart with a fresh installation of Windows.
If the ‘Video Scheduler Internal Error’ continues after trying these methods, there might be a hardware issue with your graphics card. In such cases, consider consulting a professional technician or contacting the manufacturer for assistance.