Are you eager to record your voice and listen to what a superstar you are? Or you just want to record someone else’s voice? But, you have a Mac. Not a phone that is compact and easy to use for voice recording, but a Mac. Relax. It’s super easy to record even on your Mac, using the ‘Voice Memos’ app. This app makes it very convenient to record as well as edit your voice recordings afterwards.
Here’s how you could use the ‘Voice Memos’ app on your Mac to create and edit voice recordings.
Creating Voice Recordings on Voice Memos
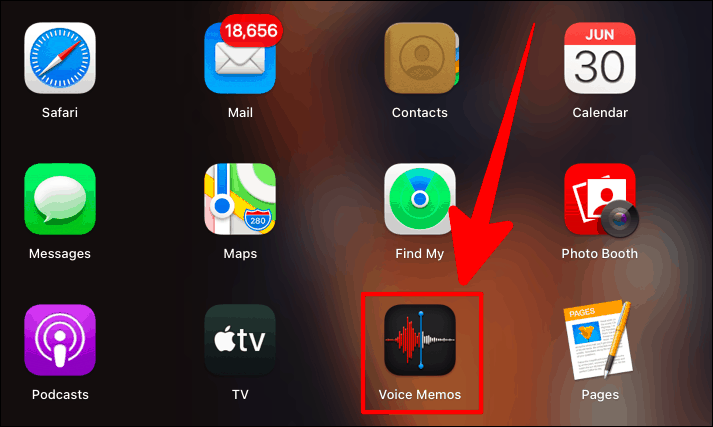
Open the ‘Voice Memos’ app on your Mac.
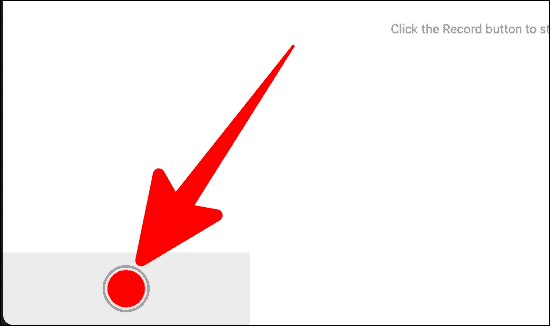
Click on the red ‘record’ button on the bottom left corner of the screen.
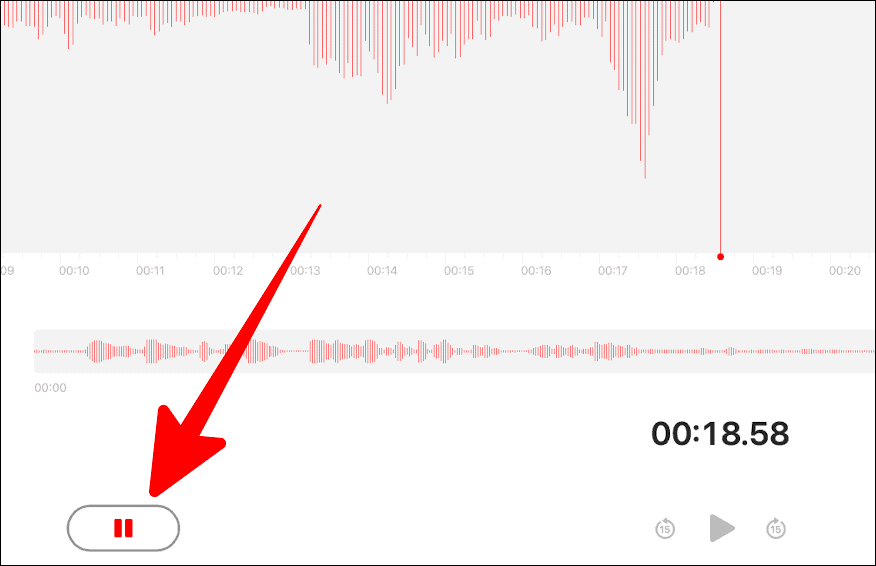
Start recording and click on the the ‘Pause’ button on the bottom left corner if you want to drink some water or just take a break from recording.
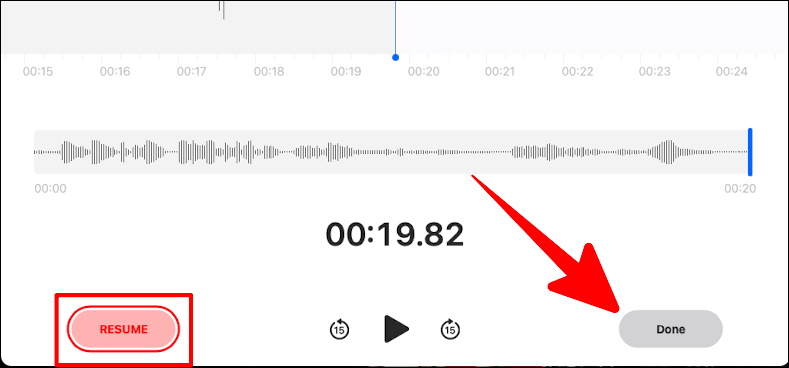
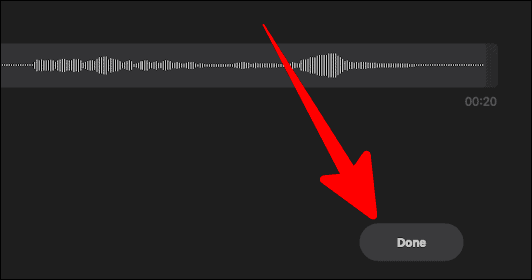
If you want to continue recording, click on the ‘Resume’ button now in place of the ‘Pause’ button. If you’re done recording, click on the ‘Done’ button on the bottom right corner of the recording window.
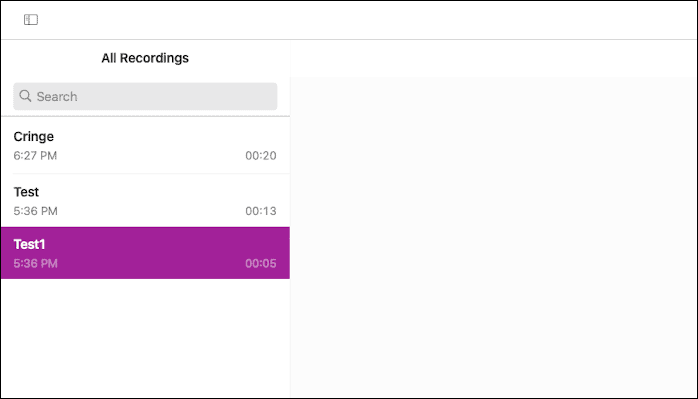
Once you’ve selected ‘Done’, your recording would be saved and it will appear in the ‘All Recordings’ section on the left side. You can rename your recordings here as well.
Editing Voice Recordings on Voice Memos
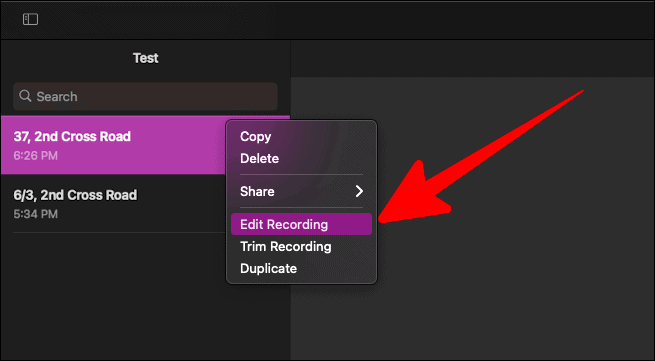
To edit recordings on your Mac, tap with two fingers on any recording and select ‘Edit Recording’ in the pop-out menu.
Replacing a Part of the Recording
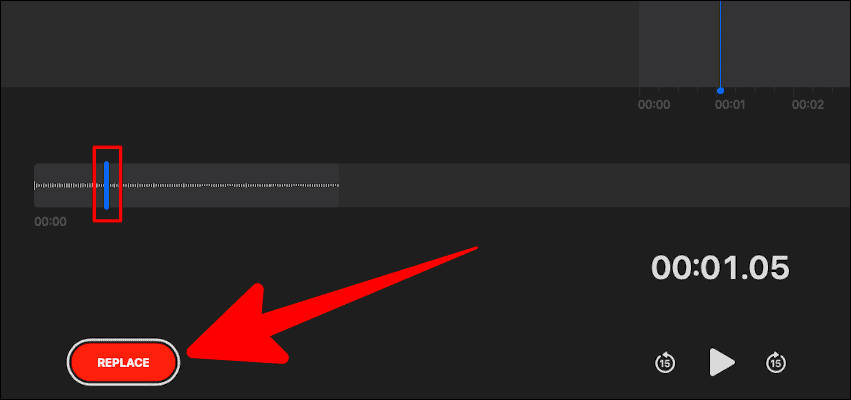
There are a couple of edits you can make on the recording edit screen. The first and most prominent one is the ‘Replace’ option. This option basically replaces any bit in your recording with a freshly recorded piece.
This means, if you messed up anywhere during the recording, you can replace that messed up bit alone and not record the entire thing again. Drag the blue line on the recording preview to the start point of the piece you want to replace and then click on ‘Replace’.
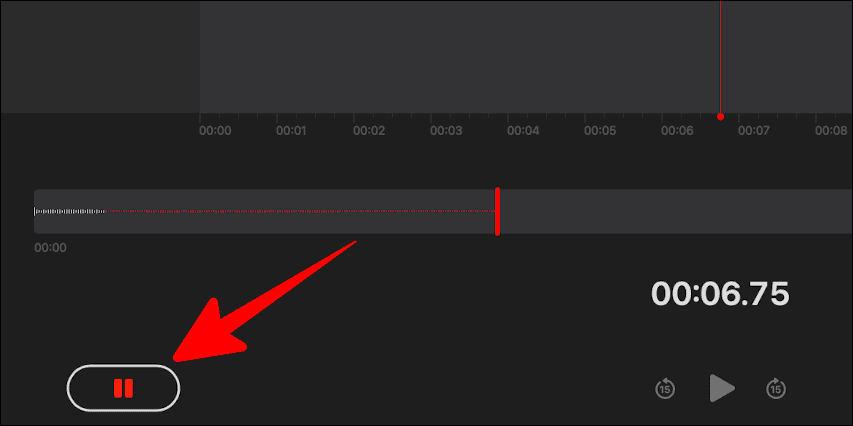
The moment you click on ‘Replace’, the recorder would resume. Ensure you are ready with the perfect piece before clicking on the replace button.
You can also pause during the second round of recording by click on the ‘Pause’ button in place of the ‘Replace’ button on the same screen.
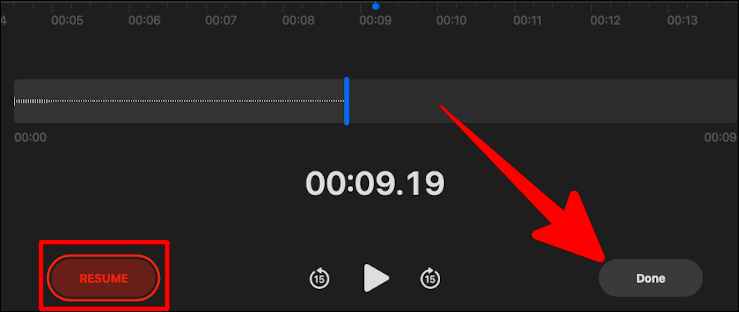
If you want to resume recording the replacement, click on the ‘Resume’ button. If not, click on ‘Done’.
Trimming a Part of the Recording
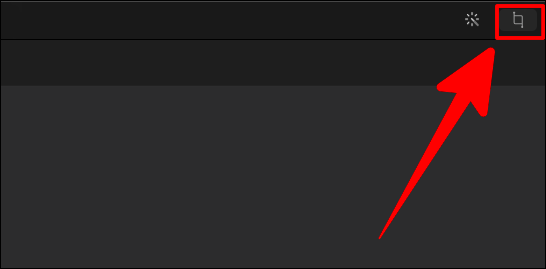
You can also trim the recording and save only the best part by using the ‘Trim’ option. To access this, click on the ‘Trim’ icon on the topmost right corner of the recording edit screen.
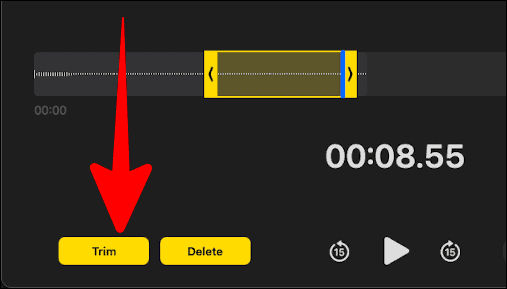
Now, drag the side handlebars to the bit that you want to save. Then, click on ‘Trim’ to remove the rest of the recording and only trim the desired portion.
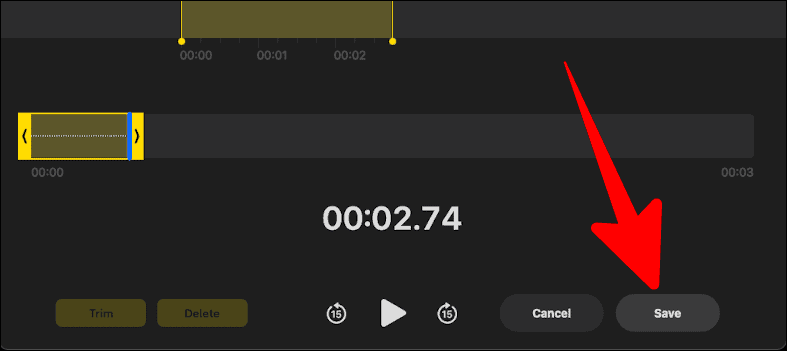
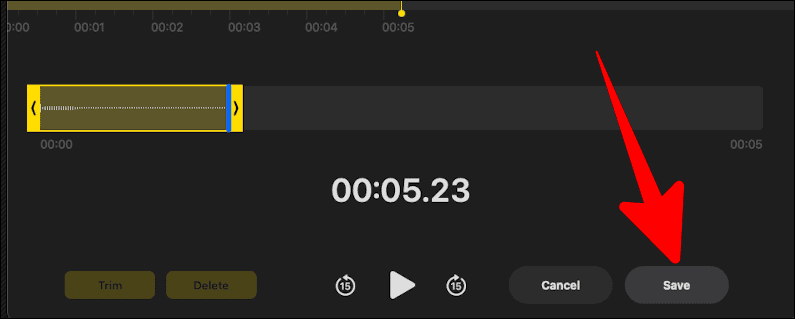
Now, only the bit of the recording that you have trimmed would remain and the rest would not exist. Click on ‘Save’ if you’ve trimmed the correct portion. If not, click on ‘Cancel’ and redo the trimming.
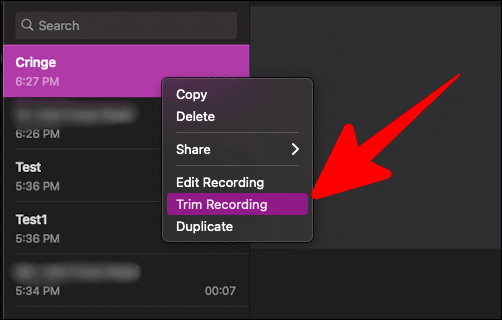
You could also access the ‘Trim Recording’ option directly from the ‘All Recordings’ page too. Tap with two fingers on any recording that you want to trim and select ‘Trim Recording’ in the dropdown.
Deleting a Part of the Recording
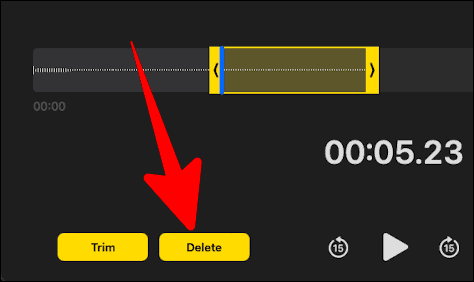
The above concept can work the other way around too. You can drag the sidebars towards the part you want to delete from the recording entirely and then click on the ‘Delete’ option.
Now, the recording would be free from that not-so-great bit. Click on ‘Save’ if you’ve done a good job here, if not, click on ‘Cancel’ and redo it.
Creating a Copy of the Same Recording
This is called the ‘Duplicate’ option. If you love the recording and you want to have a backup of the same or you want to have a copy where you could experiment edits, create a duplicate of the same recording.
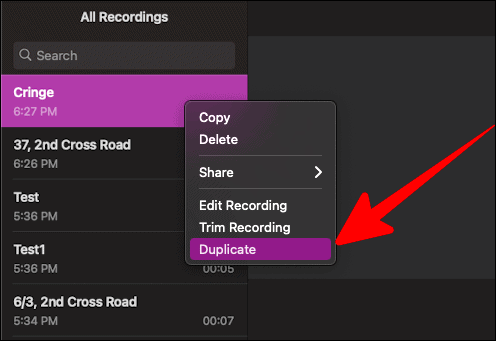
Tap the recording you want to have a duplicate of with two fingers and click on the ‘Duplicate’ option in the dropdown.
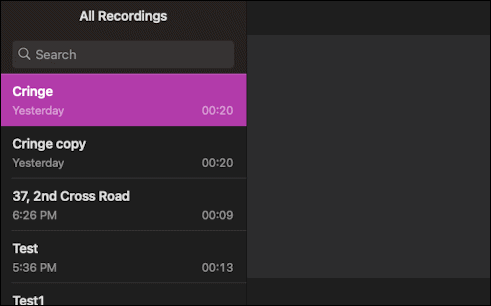
Now, you’d have a copy of the same recording.
Remove Background Noise From Your Recording
The recent macOS Big Sur update brought along a feature is one of the latest additions to the ‘Voice Memos’ app on your Mac. You can enhance your recording, remove surrounding white noise, and make the voice memo all the more smooth.
On the ‘Edit’ page itself, click on the ‘wand’ icon on the top right corner, next to the ‘trim’ icon.

Once you’ve clicked on the wand icon, it ought to turn blue. Then click on the ‘Done’ button on the bottom right corner of the screen.
It’s super convenient and easy to record and edit your recordings on Voice Memos. Happy recording!