Breakout Rooms have covered quite a journey as part of the virtual meeting experience, having gone from a rarity to becoming an essential feature. Whether you are a remote team looking to brainstorm for ideas in groups or a teacher wanting students to work on group assignments during class, breakout rooms are there for you.
Microsoft Teams, too, has added an official breakout rooms feature to their arsenal. You no longer have to make do with makeshift breakout rooms anymore. Channels disguising as breakout rooms was a clever hack, but it’s time to embrace the real thing now. Breakout Rooms feature in Microsoft Teams makes it startlingly easy to conduct and manage breakout room sessions in a meeting.
Creating Breakout Rooms
Only the meeting hosts/ organizers can create and moderate breakout rooms in Microsoft Teams.
Note: Currently, the Breakout Room functionality is only available on the desktop app for Windows and Mac systems.
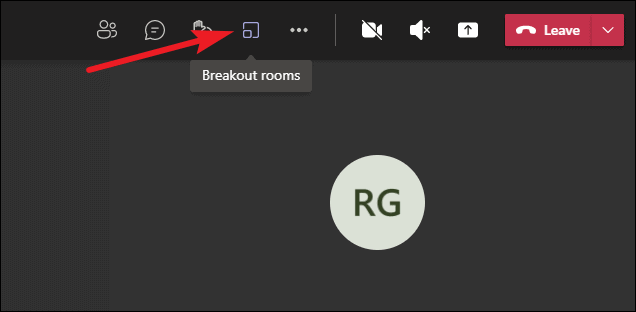
Start a meeting and go to the meeting toolbar on the top of the screen. Then, click the ‘Breakout Rooms’ option.
A small window for creating breakout rooms will appear. First, select the number of rooms you want to have from the drop-down menu. You can have a maximum of 50 breakout rooms in Teams.
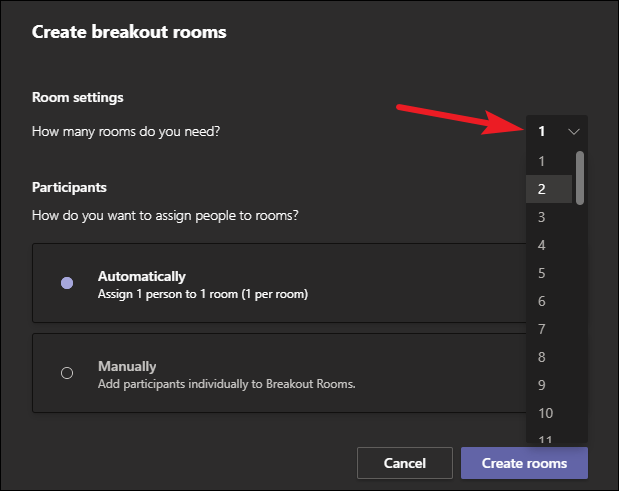
Then, select whether you want to automatically assign attendees to breakout rooms or manually. If you select automatically, Teams will evenly divide the participants to the breakout rooms at random. To illustrate, if there are 6 participants other than you and 3 breakout rooms, it’ll assign 2 people to each room.
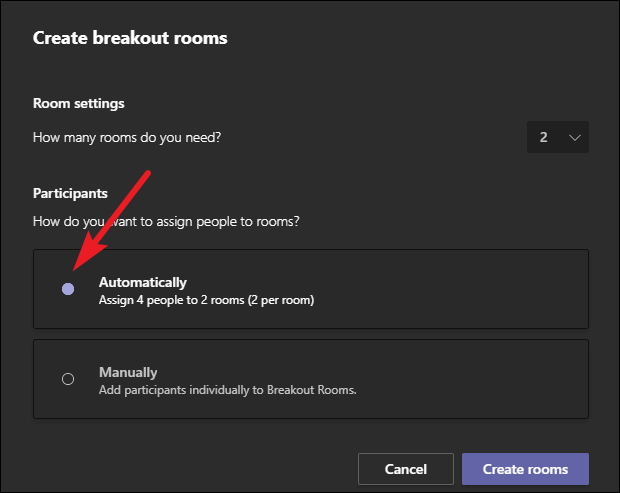
If you choose manually, you’d have to individually assign each attendee to a breakout room.
Note: This is the only time you can choose to automatically assign people to breakout rooms. Once you choose manually, the only way you get a do-over is by recreating the rooms from scratch. But if you choose to assign people automatically, you can still manually assign them from one room to other.
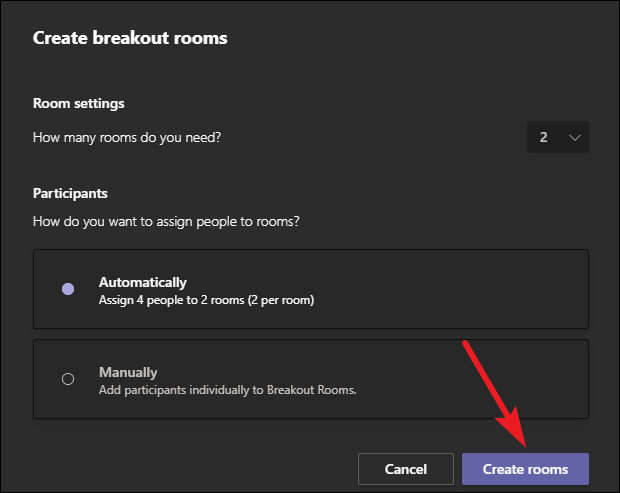
Finally, click ‘Create Rooms’.
Assigning People Manually
When you choose to assign people automatically, there’s nothing else left to do but start using the rooms. But when you choose otherwise, i.e., manually, the task of assigning people to rooms is still left before you can use the rooms.
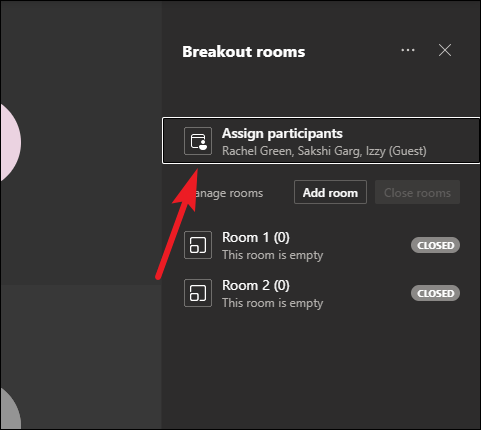
The breakout room panel will appear on the right side of the screen. Click the option ‘Assign Participants’.
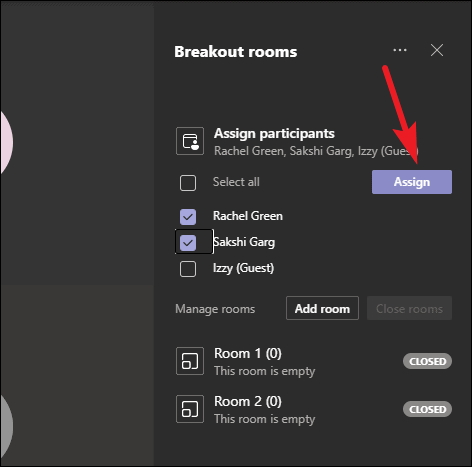
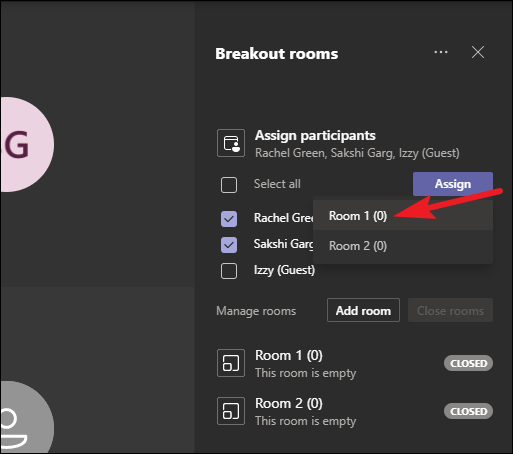
The list of attendees available to assign will appear underneath the option. Select all the participants you want to assign to the same room and click the ‘Assign’ button.
Note: People who join the meeting using PTSN or Teams devices cannot be assigned to breakout rooms currently. You can use the main meeting as a breakout room for them.
The list of rooms will appear. Select the room for the people you have selected, and they’ll be assigned to that room. Repeat the above steps until all participants are assigned to their respective rooms.
Using Breakout Rooms
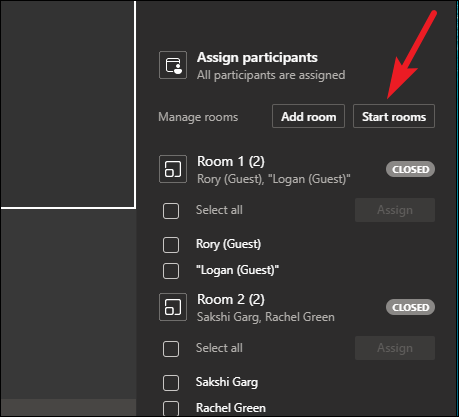
Whenever you’re ready to move participants to the rooms, click the ‘Start Rooms’ option. This’ll automatically move all the participants to their assigned rooms.
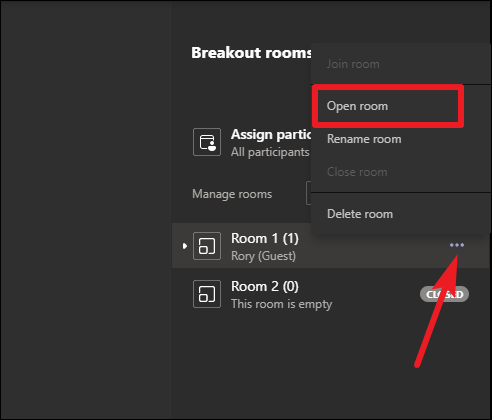
You can also start rooms individually. Go to that room and hover on it. The ‘More Options’ icon (three-dot menu) will appear; click on it. Then, select ‘Open Room’ from the menu.
You can open and close the breakout rooms as many times as you want during the course of a meeting.
Joining a Breakout Room
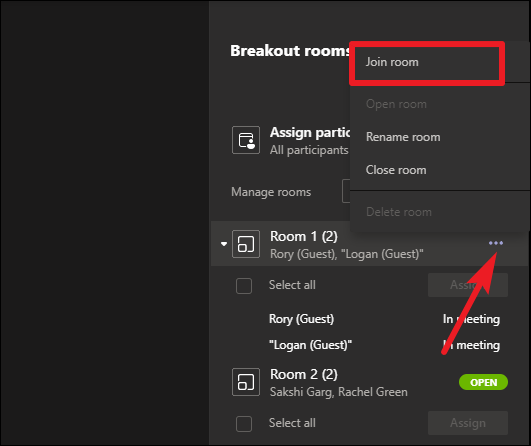
The meeting host is not part of any breakout room, but they can join any room at any time they want. To join a room and interact with the participants, click the ‘More Options’ icon next to that room and select ‘Join Room’ from the menu.
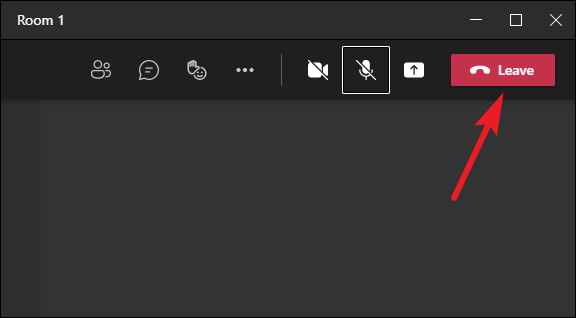
To return to the meeting, click the ‘Leave’ button. It’ll automatically return you to the meeting.
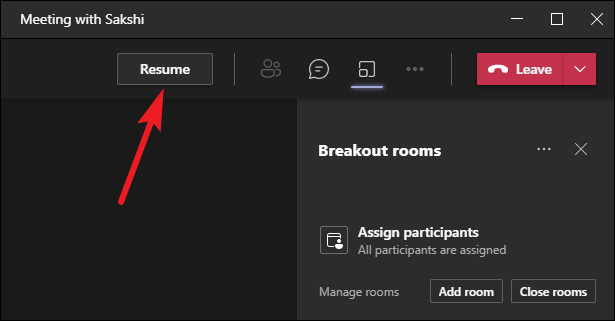
Every time you return to the main meeting from a breakout room, the meeting is on hold. It’s true for both the organizer and the participants. Click the ‘Resume’ button to continue the meeting from your end. You can jump between all the breakout rooms similarly.
Renaming a Room
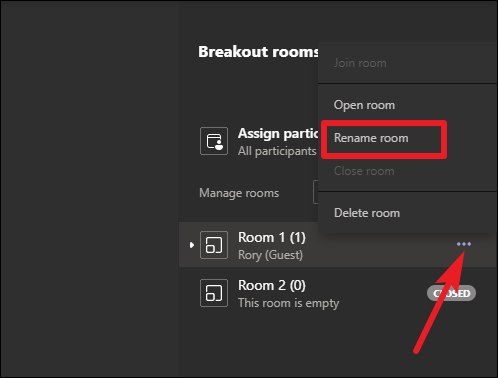
There are a few default settings in Microsoft Rooms for Breakout Rooms that you can change. One of them being the names for the rooms. By default, the rooms are named Room 1, Room 2, and so forth. To rename a room, go to ‘More options’ and select ‘Rename Room’ from the menu.
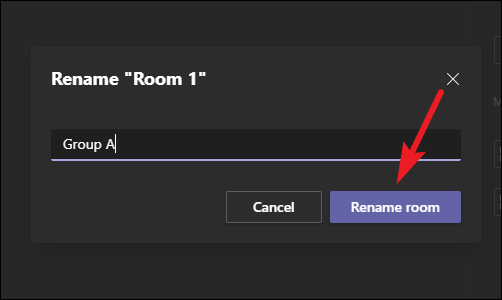
Then, enter the new name and click ‘Rename Room’ to save the changes. Renaming the rooms to something more recognizable makes it easier to moderate them.
Sending an Announcement to the Rooms
As the moderator, you can send announcements to the breakout rooms, such as, give time updates, share discussion prompts, ideas, useful resources, etc.
Go to ‘More Options’ at the top of ‘Breakout Rooms’ and select ‘Make an announcement’ from the menu.
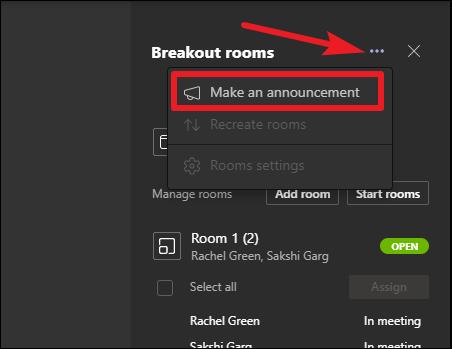
Then type your message and click the ‘Send’ button.

Participants in the breakout rooms will be able to read the announcement from the chat. Breakout Rooms chat is also available after the meeting in your main Teams chat list.
Closing the Rooms
You can close all the rooms at once, or close individual rooms.
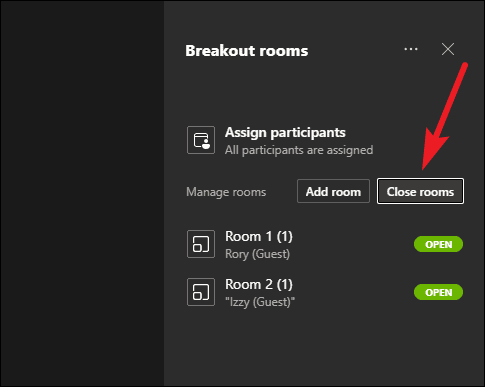
Click ‘Close Rooms’ to simultaneously close all the breakout rooms.
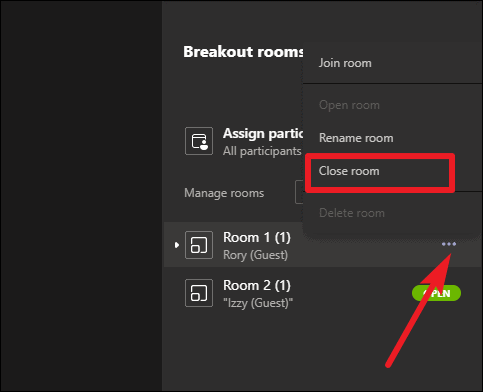
To close a single room, go to the room and click on ‘More Options’. Then select ‘Close Room’ from the menu.
After returning to the main meeting, everyone needs to resume the meeting from hold.
Note: If you want to end the main meeting, it’s important to close the breakout rooms first. If you don’t, the breakout rooms meeting will continue going on.
Additional Settings
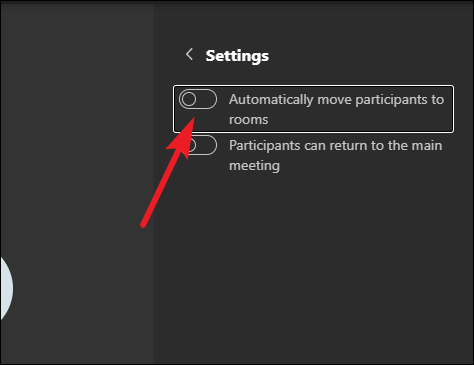
Turning Off Automatic Entry to Rooms: By default, the breakout rooms in Microsoft Teams are so configured that as soon as you start a room, the participants are automatically moved to the room. But if you don’t want automatic entry, you can turn this setting off. When the setting is off, participants instead get a message asking them to join the breakout room when you open it. They then decide when to join the room by clicking the ‘Join’ button.
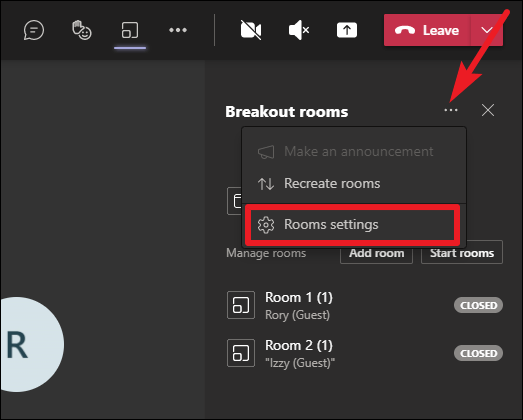
To turn off this setting, go to the Breakout Rooms panel and click on ‘More Options’. Then, select ‘Rooms Settings’ from the menu. You can access room settings only when the rooms are closed.
Then, turn off the toggle for ‘Automatically move people into rooms’.
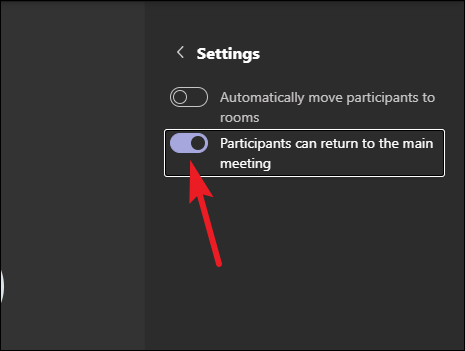
Allow Participants to Return to Main Meeting: The default configuration in Microsoft Teams prevents the participants from returning to the main meeting of their own accord. They can only join the larger meeting when you, i.e., the meeting host, close the breakout room. To give them the option to leave the breakout room, turn this setting on.
Go to the ‘More Options’ icon and select ‘Rooms Settings’. Then, turn on the toggle for ‘Participants can return to the main meeting’. Doing so will add a ‘Leave’ button to the breakout room for the participants, just like the host has.
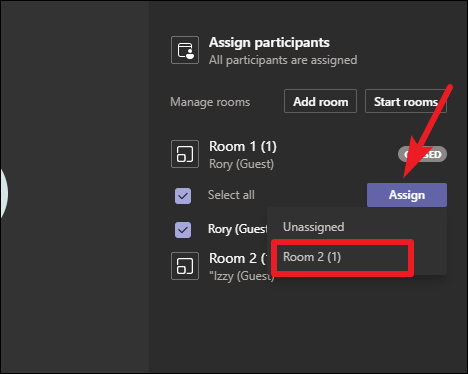
Move People Around: To move someone from one breakout room to another, go to the room the person is currently in and click it. The list of all participants in the room will appear.
Select the name(s) of people you want to move, and click the ‘Assign’ button. Then, either select another room to move them into or select ‘Unassigned’ to move them out of breakout rooms completely.
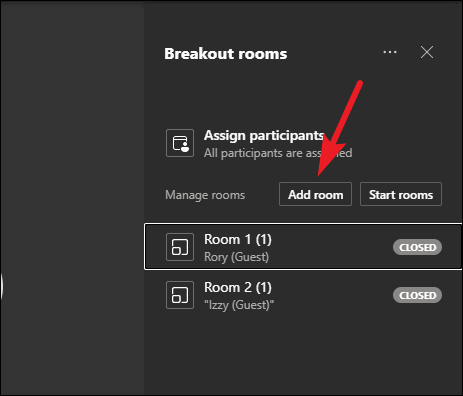
Add and Delete Rooms: You can also add more rooms or delete current rooms at an point during the meeting.
To add a room, go to the breakout room panel and click the ‘Add Room’ option. A new room will be created instantly.
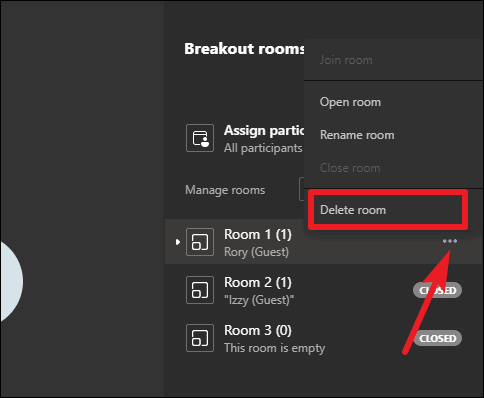
To delete a room, go to the room and click ‘More Options’. Then select ‘Delete Room’ from the menu.
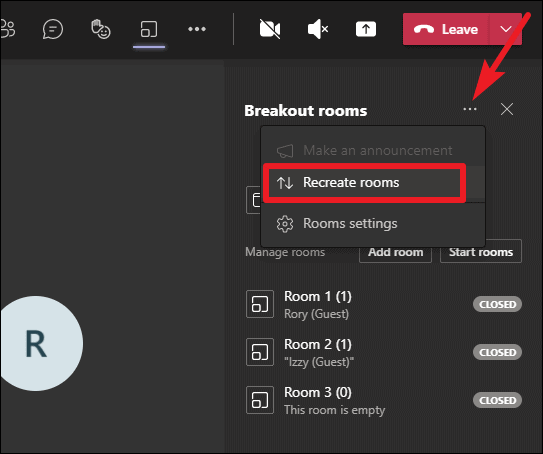
Recreate the Rooms: At any point if you want to scrap the existing breakout rooms entirely and start from scratch, that too is possible. Go to ‘More Options’ at the top of the breakout rooms panel, and then select ‘Recreate Rooms’ from the menu. The existing rooms will be deleted, and the window to create rooms will appear again.
It can be hard to have open or meaningful discussions in large meetings, especially when creativity is needed. Breakout Rooms help people brainstorm efficiently in smaller groups.