
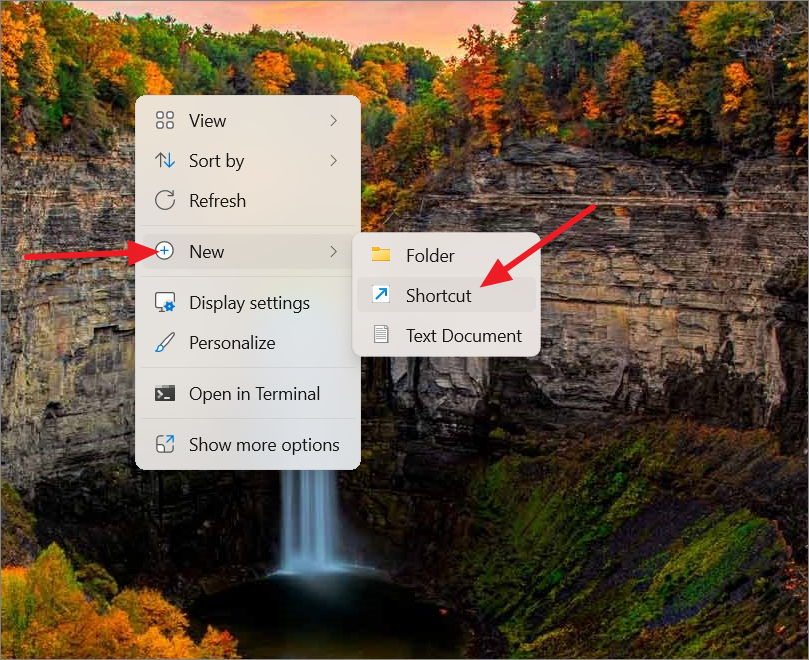
Windows Copilot brings AI assistance directly into Windows 11, offering centralized AI features within the operating system. While it’s easily accessible from the Taskbar icon next to the Search bar or by pressing Windows + C, having a desktop shortcut can provide even quicker access, especially if your Taskbar is cluttered with open and pinned apps.
Creating a desktop shortcut for Copilot on Windows 11
Adding a desktop shortcut for Copilot allows you to launch it swiftly without depending on the Taskbar icon. Before you begin, ensure that your Windows 11 device has the September 2023 update (version 23H2) installed.
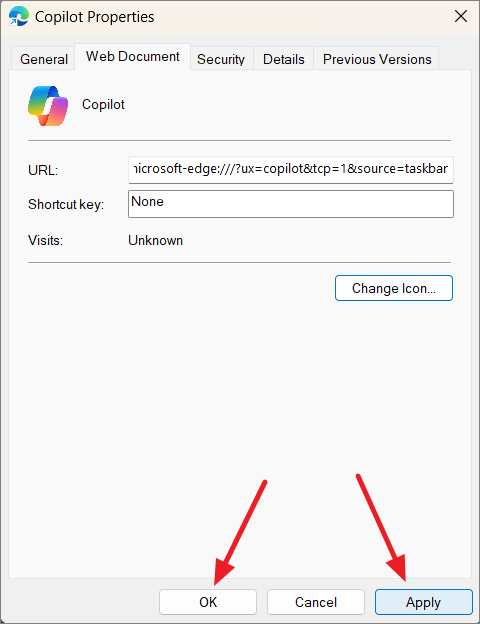
microsoft-edge://?ux=copilot&tcp=1&source=taskbar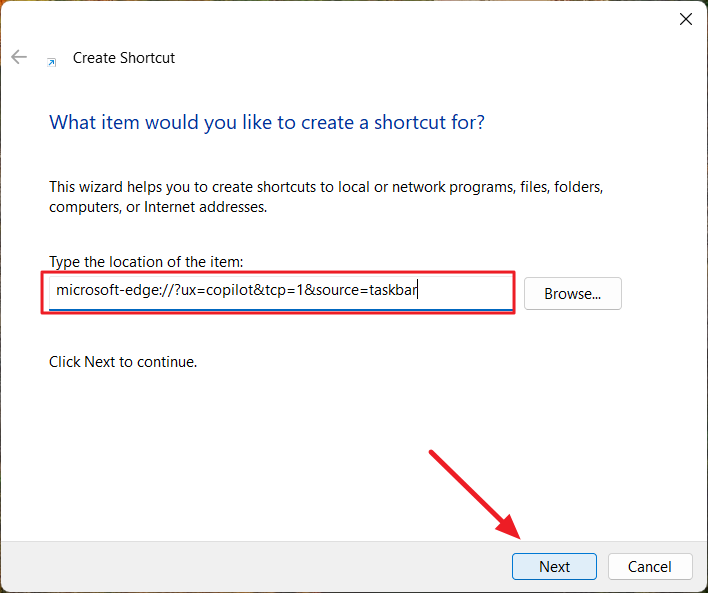

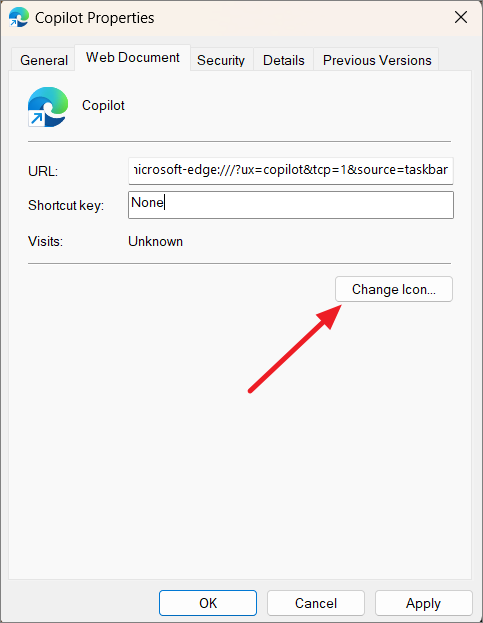
Customizing the Copilot shortcut icon
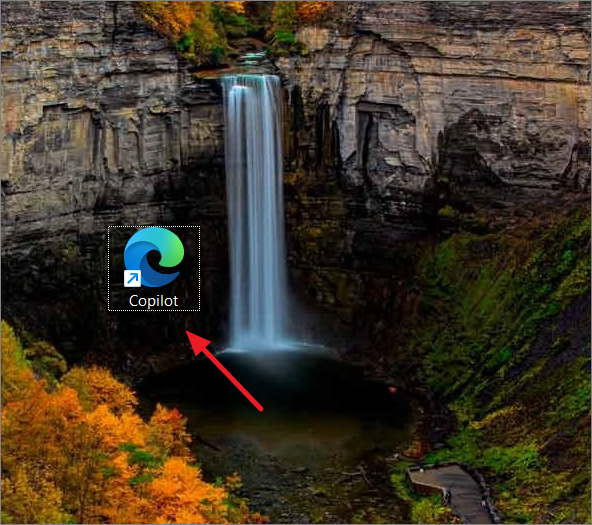
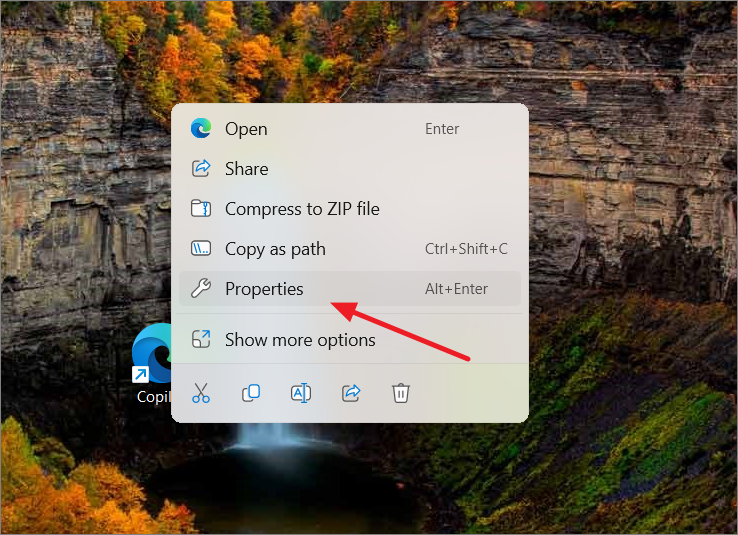
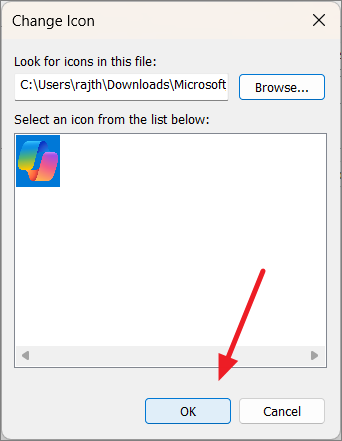
By default, the shortcut will display the Microsoft Edge icon, which might be confusing if you have multiple Edge shortcuts. To personalize it and make it easily identifiable, you can change the icon to the Copilot logo.
.ico format.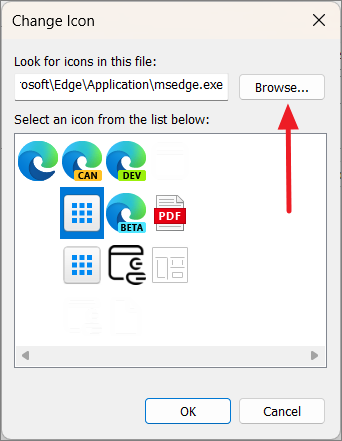
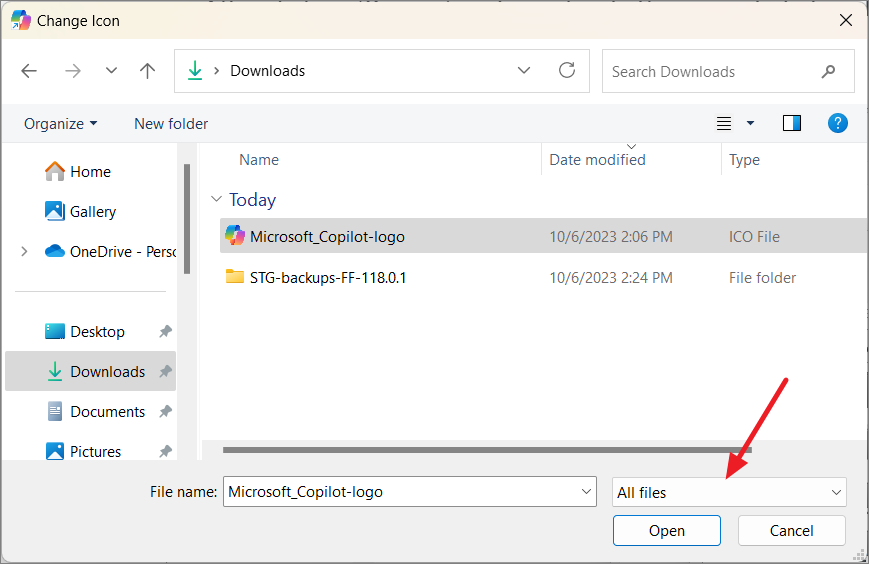
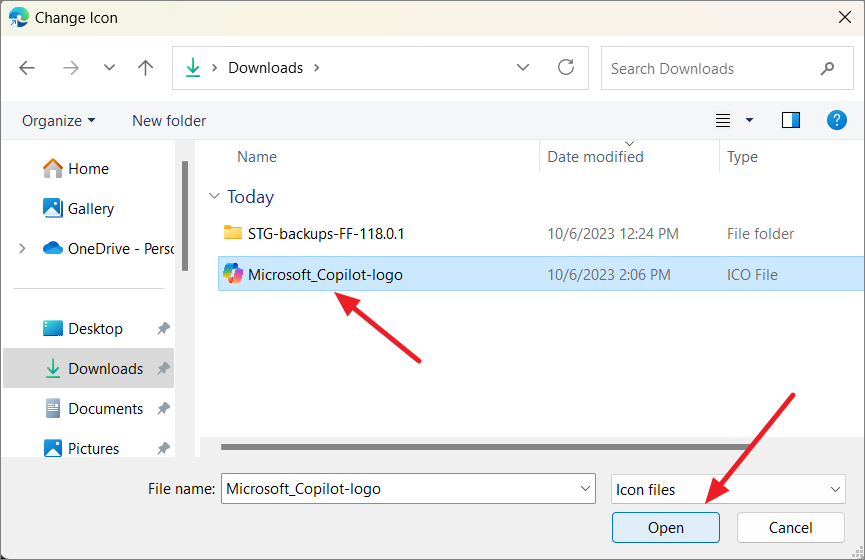
If you prefer, you can download a Copilot logo in .png format and convert it to an .ico file using an online converter like Convertio. Alternatively, open the .png image in Microsoft Paint and save it as a 24-bit Bitmap (.bmp) file, which can also be used as an icon.
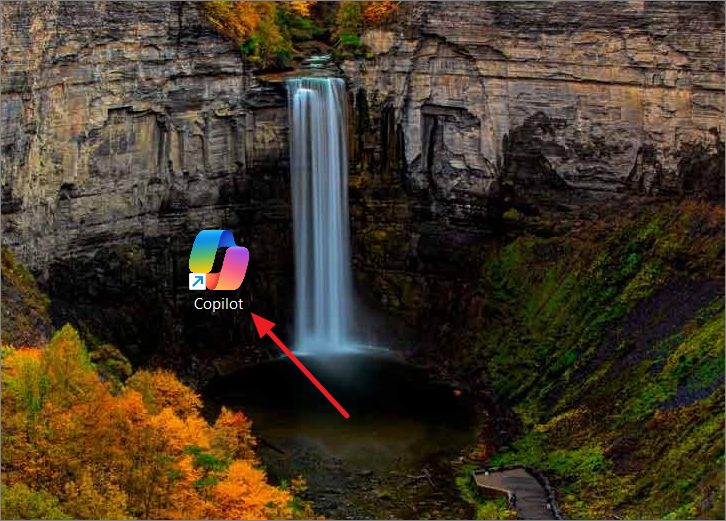
With these steps, you can quickly access Copilot right from your desktop, making Windows 11’s AI assistant even more convenient to use. If you’re interested in learning more about how to use Windows Copilot or want to know how to disable Copilot on Windows 11, check out our other guides.


