Smartphones have changed our whole world, including the way people consume content these days. More and more people are using their phones to browse the internet instead of computers. So, it’s natural that the type of content would also have to change to successfully mirror this shift.
Google Web Stories are here to do exactly that. Previously known as AMP stories (as the AMP framework powers them), they’ve been rechristened. To get an initial idea about what they are, imagine Instagram stories, but don’t go all the way as there are many stark differences, the most important being that Google Web Stories are not ephemeral.
What are Google Web Stories
Google Web Stories is a quick medium for immersive storytelling. Fashioned in a visual format, it uses a combination of images/ videos and text to create a storytelling experience. Designed specifically for mobile phones, they are usually full-screen immersive images with some accompanying text to tell a story. It usually has multiple pages to completely depict the whole narrative.
Google Web Stories have been around for some time, you even might’ve come across some of them while searching for something on Google, but what’s different now is that Google is bringing an official Google Web Stories plugin for WordPress that’ll make it easier than ever to create web stories for publishers.

They can appear in Google search results, images, grid view (available in all regions and languages), and the Discover section (only available in the English language and only in the US currently). Web Stories are not only great for telling the story you want to tell while keeping it short, but they also have great potential to increase traffic on your website.
How to Install the Google Web Stories Plugin
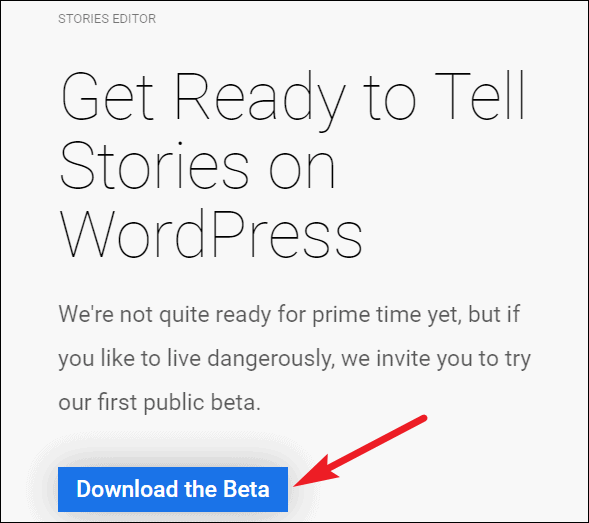
Google has (for now) released the Web Stories plugin as a public beta, so you need to download the file and manually install it if you don’t want to wait for the public release. Go to the Github page for Google Web Stories WordPress plugin.
Click on the ‘Download the Beta’ button.
Then, go to Plugins from the WordPress dashboard and click on ‘Add New’.
Click on the ‘Upload Plugin’ option and select the .zip file you just downloaded. Then, click the ‘Install Plugin’ button.
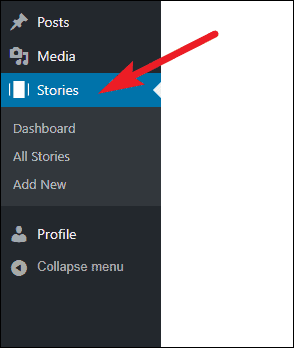
After it has installed, activate it, and a new option for ‘Stories’ will appear on the WordPress menu.
How to Create Google Web Stories in WordPress
After installing the GWS WordPress plugin, go to ‘Stories’ from the navigation menu on the left. You will reach the Stories dashboard. Here you will find any drafts and published stories.
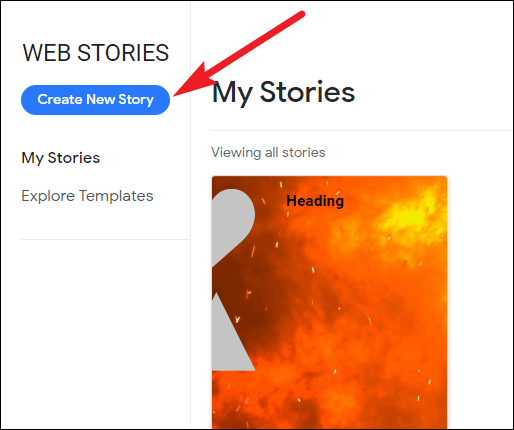
Click on the ‘Create New Story’ button to create a new story from scratch.
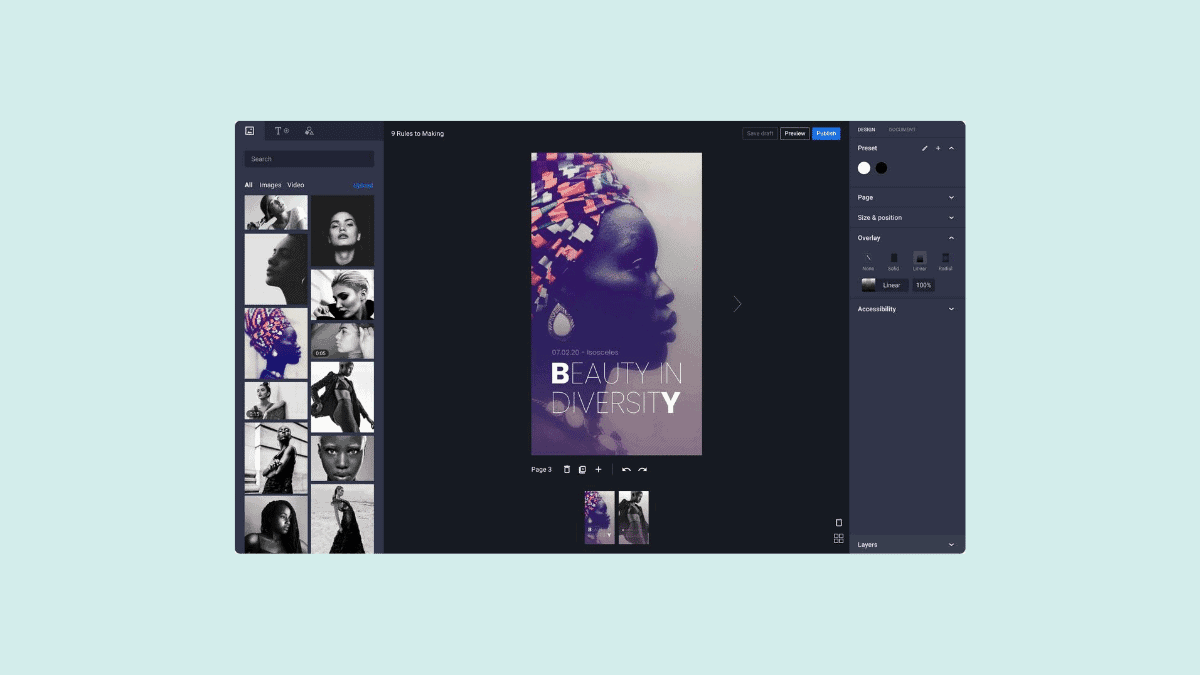
The editor has an easy-to-use, intuitive interface that is not going to be difficult to handle. It is divided into three parts:
- The left is the elements menu, from where you can choose the content you want to add to the story like images, videos, text, and shapes.
- The center that will have the preview of what the story is shaping up to be and publishing tools
- And, the right with more editing tools for each layer of design as well as document tools
Adding Images to a Google Web Story
You can add content to the story from the left section in the Story editor screen. The images and videos that are available for you to choose from are the ones from your WordPress Media Library. To add a new image so you can edit it as a story, simply upload it to your Media Library.

You can either click an image or drag-and-drop it to the editor to add it to the page. In their guidelines for creating Web stories, Google recommends using videos of up to 15 secs and never use videos longer than 60 seconds. They also suggest captioning the videos.
Adding Text to a Google Web Story
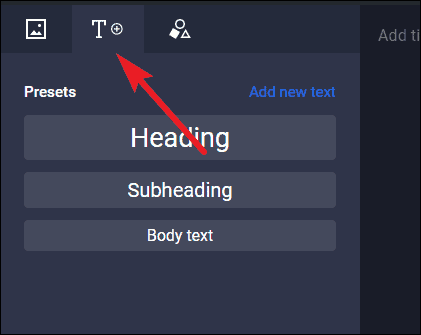
To switch from images to text, or shapes, click on the tabs towards the top of the element section.
The text includes three presets from which you can choose: Heading, subheading, and body text. Choose a category to add it to the page. Google recommends keeping text on each page short – less than 200 characters per page.
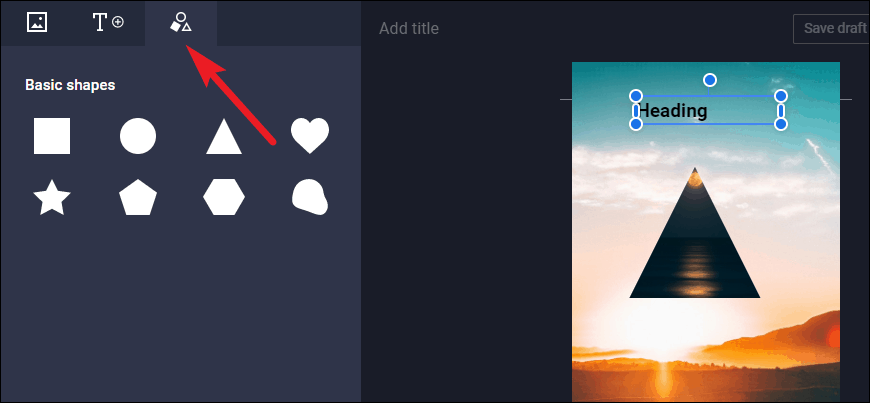
Adding Shapes to a Google Web Story
Shapes include some pretty standard, run of the mill shapes like a circle, square, triangle, heart, some polygons, and a blob. The shapes might be pretty basic but these can be used as masks to drop images while creating a story. These too can be added by either clicking on them or dragging-and-dropping to the particular area where you want them.
Editing Google Web Stories in WordPress
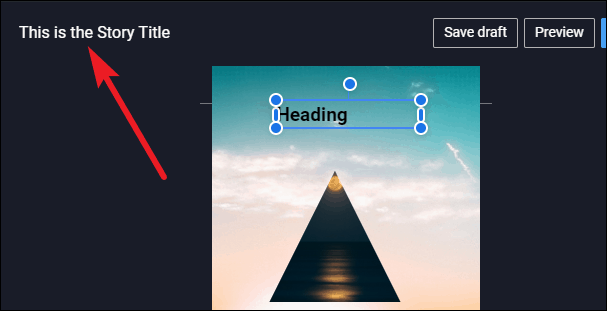
In the center editor, you can add a title for the Story by going to the ‘Add Title’ option. Google recommends keeping the length of the Title short to up to 40 characters.
All the elements that you add to a page are added as separate layers so you can edit each layer separately. To edit an element, click on it. It will be highlighted by a blue boundary, you can drag it to position it anywhere on the page, resize it and use the design tools on the right for each element.
You can edit individual pages and add more pages to the story. Google recommends that a story should have somewhere around 5-30 pages, with the suggested target being 10-20.
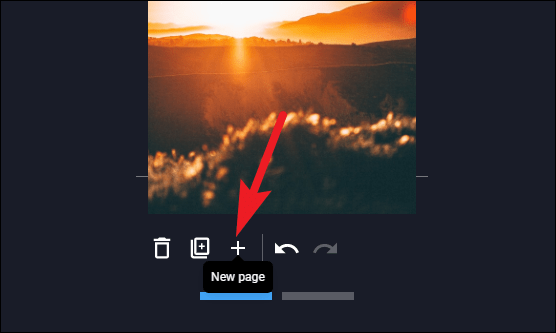
To add a new page to the story, click on the ‘+’ icon from the toolbar below the page editor. This toolbar also has other editing options like ‘Delete page’, ‘Duplicate page’, ‘Undo’, and ‘Redo’.
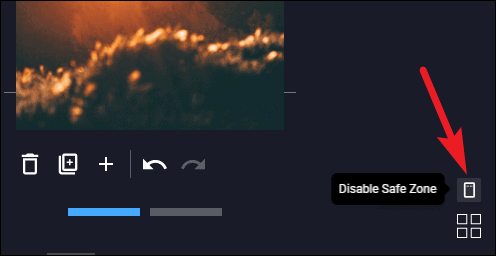
The editor also has a button to enable and disable safe mode. Keep the safe mode enabled and to make sure that your content is visible across most devices, keep important information inside the safe zone.
The editor also contains the options for saving the story as a draft, previewing it, and publishing it.
Design and Document Tools for Google Web Stories
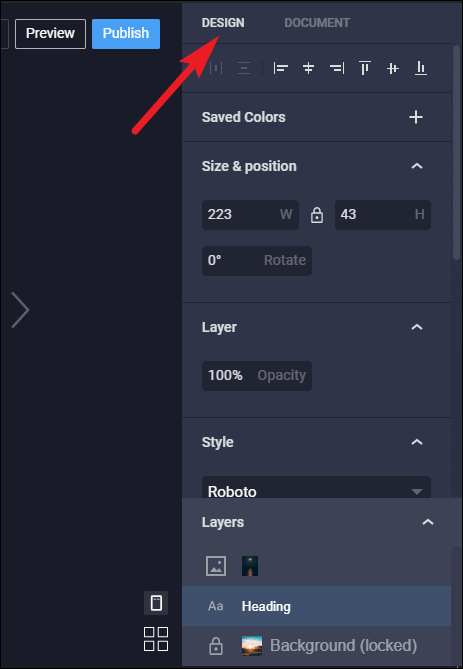
The design tools on the right become active only when an element is selected on the editor. So, when you select the text on the editor, the tools for editing the text will appear on the right. You can change the alignment and placement, color, size, font style, line spacing, etc.
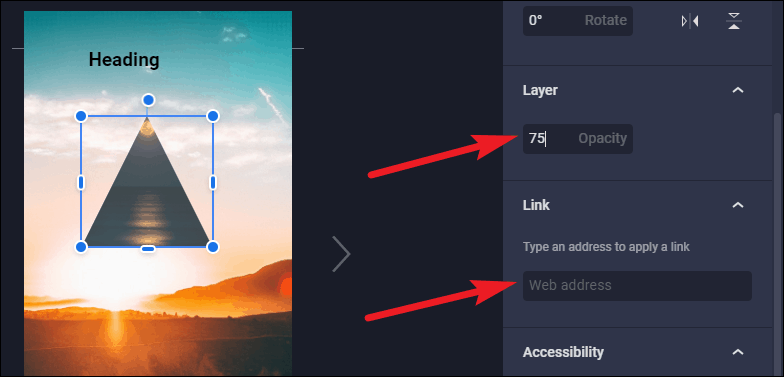
Every layer will also have a couple of common design tools: Opacity and Link. The opacity of each element is 100 by default, but you can decrease it. You can also add a link to any element in the story, but Google suggests that you should not have more than one link on a page.
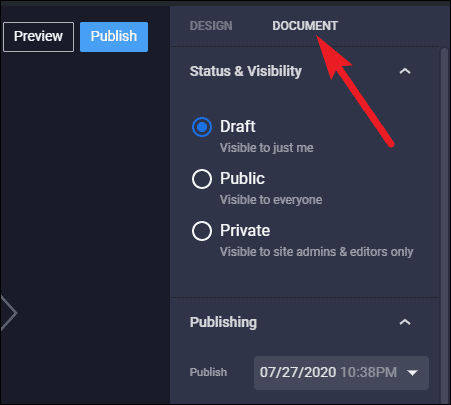
Click on the ‘Document’ tab to switch from design tools to the document tools. This includes the standard WordPress publishing tools and then some more. In addition to the ‘Draft’, and ‘Public’ status, a story can be set as ‘Private’ so it will be visible to site admins and editors too but not the public.
Other than that, you can add a date, logo, and cover image, and edit the permalink. And most importantly, you can configure the page advancement settings. Page Advancement setting involves whether the story auto-advances or the reader has to manually tap to advance the pages.
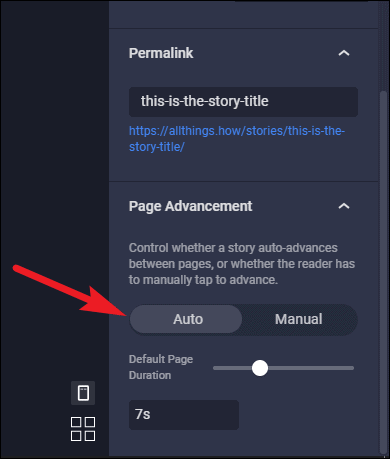
For the ‘Auto-advancement’ option, you can also set the duration between each page turn.
Using Google Web Stories Templates
The GWS WordPress plugin also offers some templates that you can use to create a story. Currently, there are 8 templates for some standard content categories like Beauty, Food, DIY, Entertainment, Fashion, Fitness, Travel, and Well-being. There may be only 8 story templates, but each story has multiple pages, so between that, you have an average number of options to choose from.
From the Web Stories dashboard, click on ‘Explore Templates’ option to open the templates.
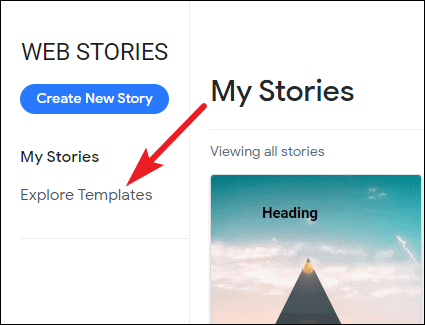
Hover on a template and a few options will appear. Click on ‘View’ to view the pages in it, and ‘Use Template’ to open it in the editor and start editing the story.

Web stories are easy to create and are bound to engage users’ attention to your content. They can help increase the traffic to your website by bringing in more mobile users, and you can even monetize them with affiliate links. But best of all, with their aesthetics and speed, it’s hard to say no to them. And the new WordPress plugin makes it eerily easy for anyone to create Google Web Stories.