Canva is easily one of the most popular editing tools on the internet right now. With tons of design tools and a user-friendly interface, it’s kind of a no-brainer why it’s so popular.
Now, while designing, one of the elements used most widely is photos. Whether you’re editing the photo itself, or using it as a part of your grand design, one of the features you’ll need to use most often is cropping the photo.
There are often parts of the photo you want to discard, whether they’re just not good or not fitting in with your design. Luckily, Canva makes it super easy to crop a photo or an element.
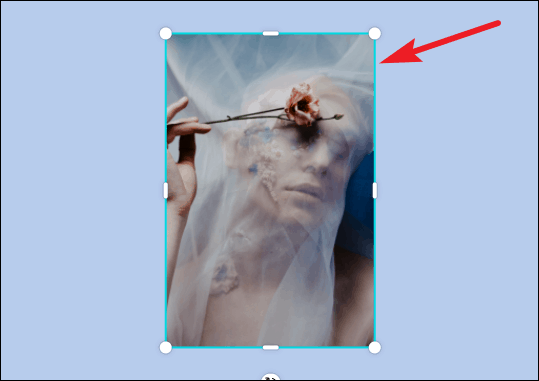
Go to canva.com and create or open an existing design. Then, click the element or photo you want to crop. A blue boundary will appear around the element when it’s selected.
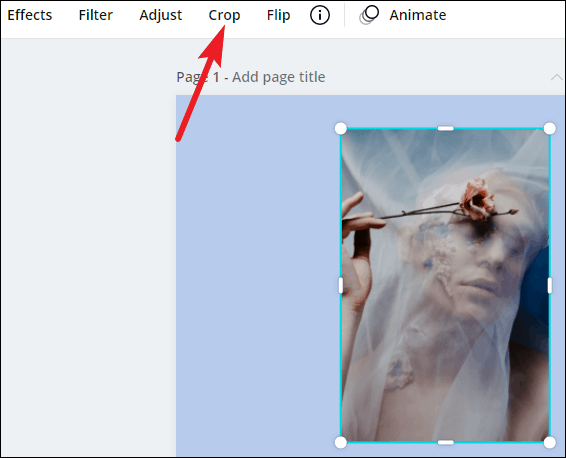
The toolbar with editing options specific to the element will appear above the editor. Click the ‘Crop’ button. You can also double-click the photo instead.
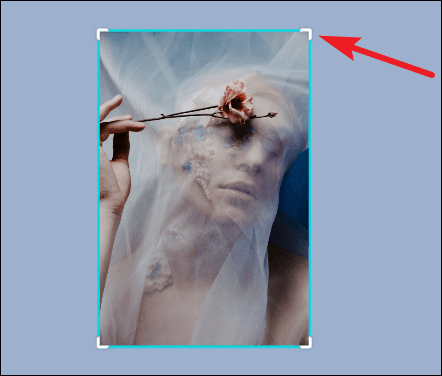
The blue boundary with the white circle handles will change to a blue boundary with flat crop marks at the edges.
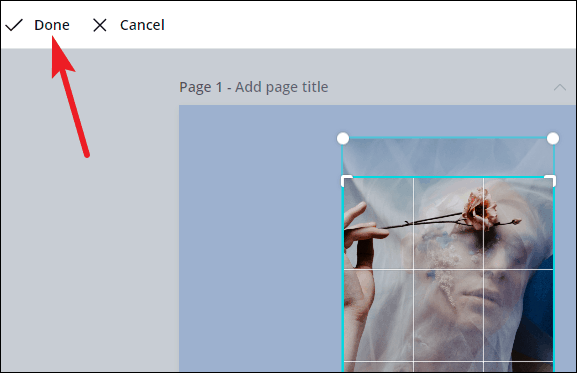
Click any of them and drag it in or out. A white grid will appear on the image that’s part of the final image, and the part that’s been cropped out won’t have the grid on it.
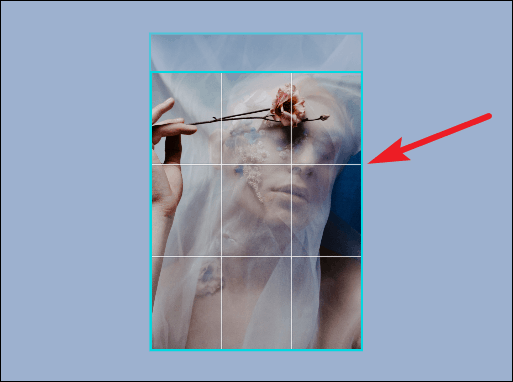
You can also drag the image to readjust the part that’s inside the grid. Click ‘Done’ on the toolbar when you’re done cropping it.
There you go! That’s all you need to do to crop your photo in Canva in a jiffy. You can use it in your designs, add it to frames or grids, or do whatever else you’d like.

