
Curving your text in Microsoft Word can enhance the visual appeal of your document, making headlines or specific sections stand out with a stylish flair. This feature is especially useful when creating professional-looking flyers, invitations, or any documents that benefit from a creative touch.
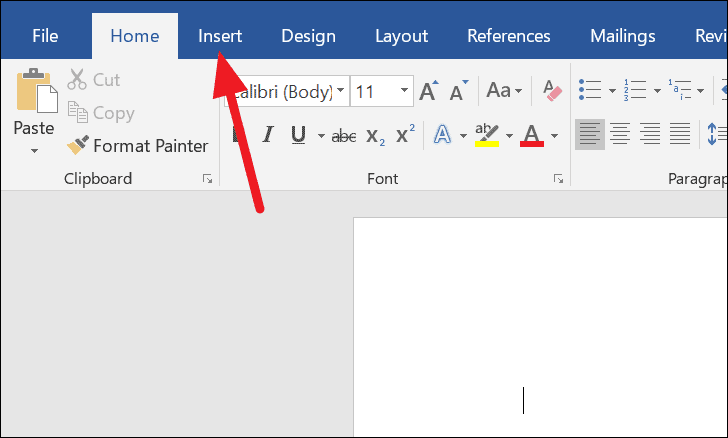
Open your Word document and navigate to the Insert tab on the ribbon at the top of the screen. This tab contains various options for adding elements like images, shapes, and text enhancements to your document.
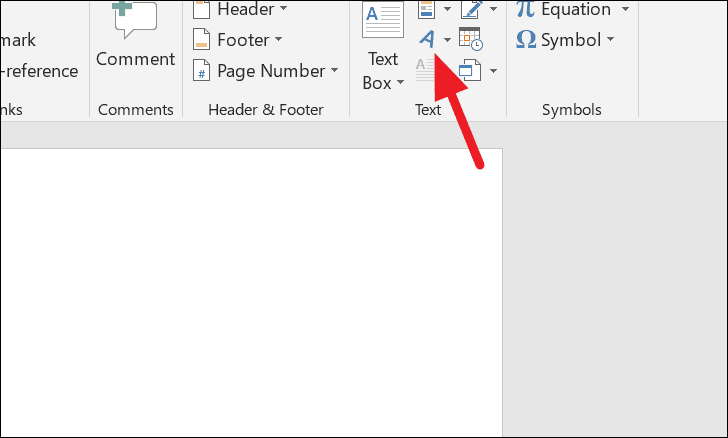
In the Text section of the Insert tab, click on the WordArt icon, which is represented by a tilted, stylized letter “A”. This feature allows you to create text with special effects and transformations.
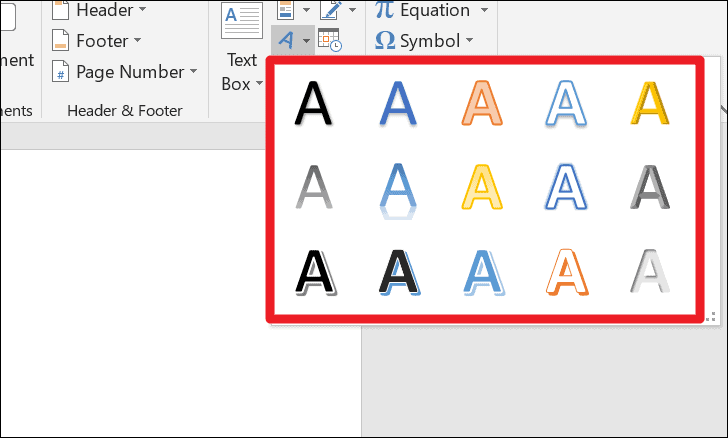
A gallery of WordArt styles will appear. Click on a style that suits your preference. Don’t worry if you’re unsure which to choose—you can change the style later if needed.
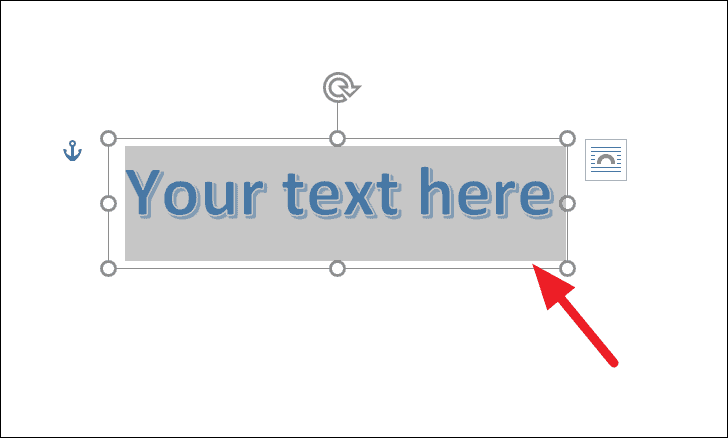
Once the WordArt is inserted into your document, it will display placeholder text. Click on the text box and type in the custom text you want to curve.
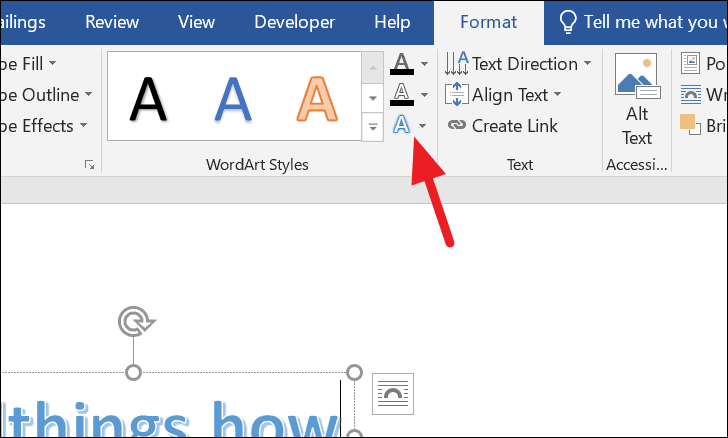
Make sure your WordArt text box is selected by clicking on it. You should see the Format tab (or sometimes labeled as Shape Format or Drawing Tools Format) appear on the ribbon. Click on the Text Effects icon, which looks like a glowing “A”, within this tab.
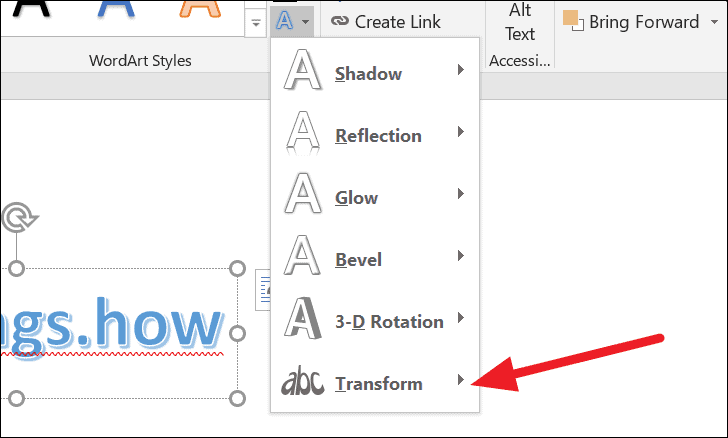
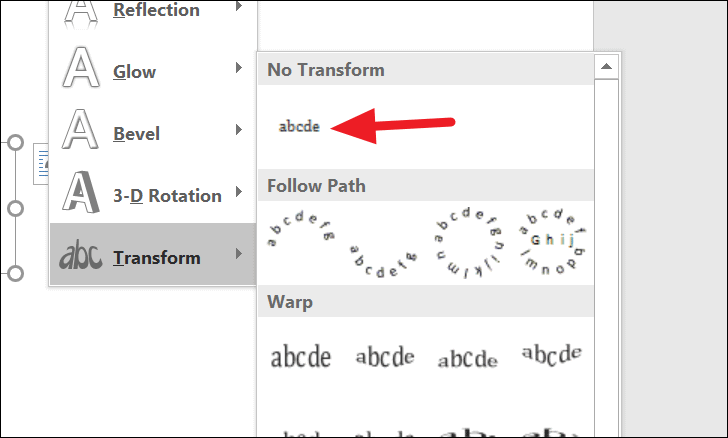
In the drop-down menu that appears, hover your mouse over the Transform option. This will display various text transformation effects, including options to curve your text.
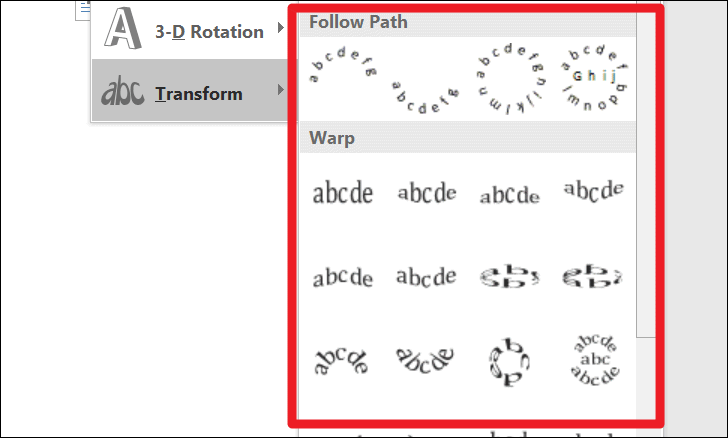
Browse through the transformation effects by hovering over them to see a live preview of how your text will look in the document. When you find a curved style that you like, click on it to apply the effect to your text.
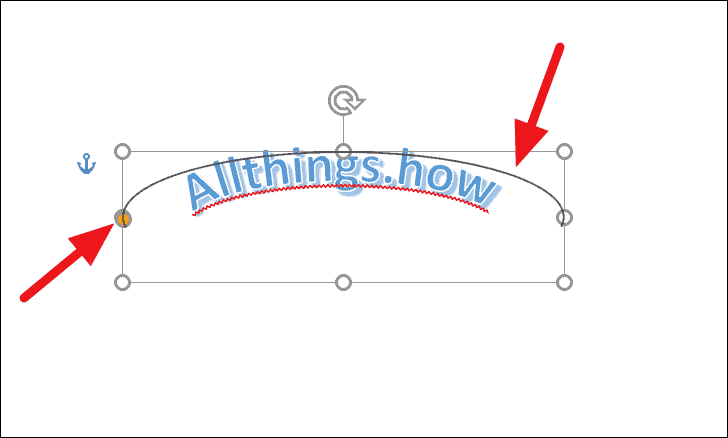
To further customize the curvature of your text, click and drag the orange circle handle that appears near your text. Adjusting this handle changes the arc of the curve. The black curved line that appears represents the path of the text, helping you visualize the transformation.
Removing the curved effect from text
If you decide to revert your text back to its normal, straight format, select the WordArt text box in your document. Navigate back to the Format tab on the ribbon.
Click on the Text Effects icon in the Format tab, then hover over the Transform option in the drop-down menu.
Under the No Transform section, click on the icon representing the normal text effect. This will remove any transformations and return your text to its original straight format.
By following these steps, you can easily add a curved effect to your text in Microsoft Word, enhancing your documents with creative typography. Experiment with different styles and adjustments to find the perfect look for your project, but remember to use these effects sparingly to maintain readability and professionalism.