
The Windows Terminal in Windows 11 offers a versatile and customizable environment for users who frequently work with command-line tools like Command Prompt, PowerShell, and Azure Cloud Shell. By adjusting various settings, you can tailor the Terminal to fit your specific needs and preferences. This guide will show you how to modify these settings to enhance your terminal experience.
Open Windows Terminal settings
To begin customizing your Windows Terminal, you’ll first need to access the settings interface.
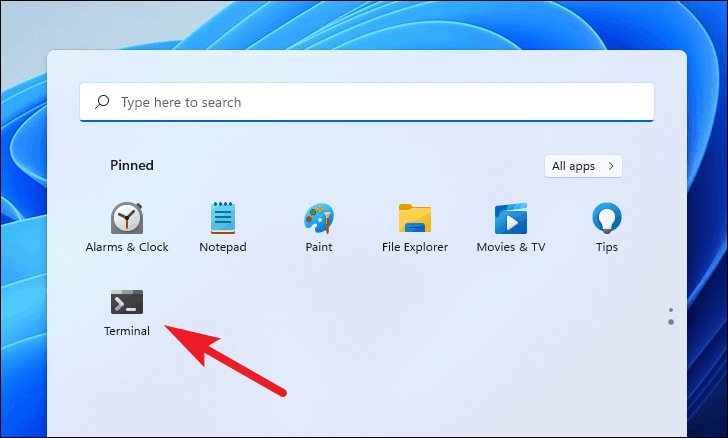
- Launch Windows Terminal by searching for it in the Start Menu.
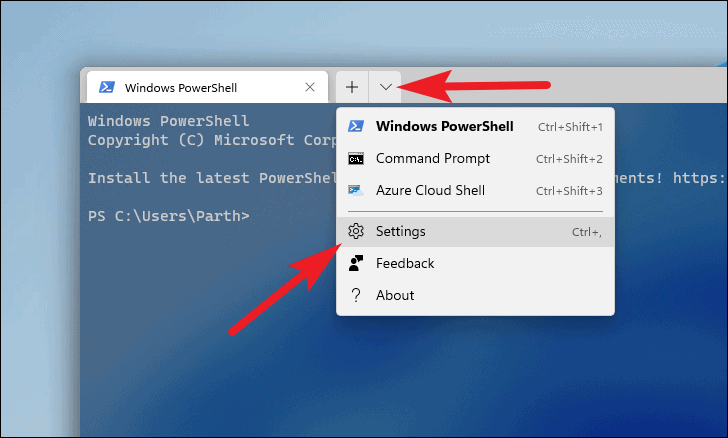
- Once open, click on the downward arrow (carat) icon on the top bar of the Terminal window, then select ‘Settings’ from the dropdown menu. Alternatively, press Ctrl+, on your keyboard to open the settings directly.
You should now see the Windows Terminal Settings window.
Now that you’ve accessed the settings, you can begin customizing the Terminal to suit your needs.
Change Windows Terminal startup settings
You can modify how Windows Terminal behaves when it starts.
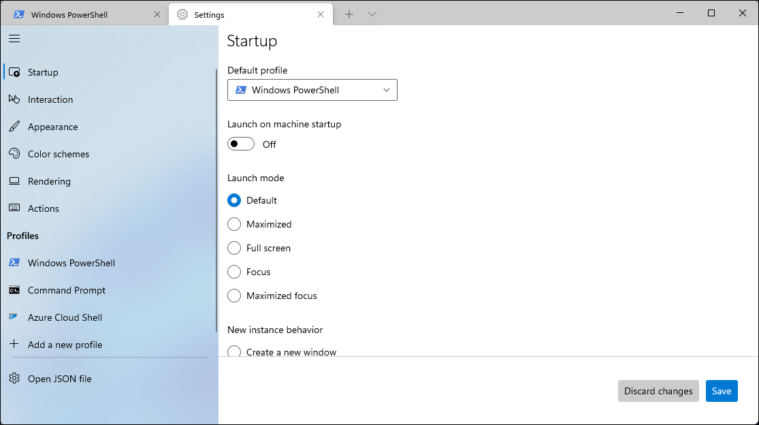
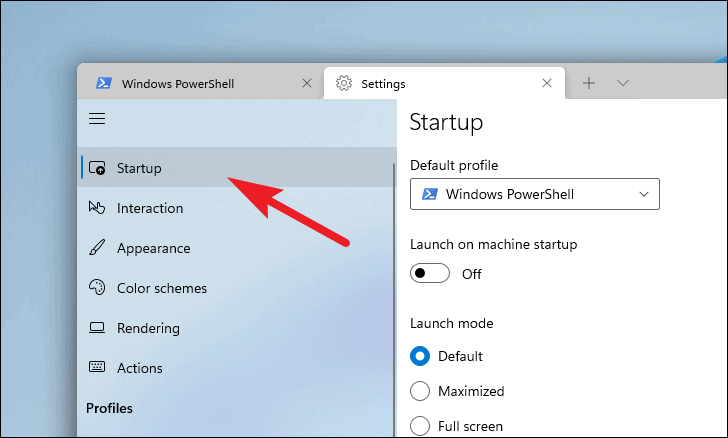
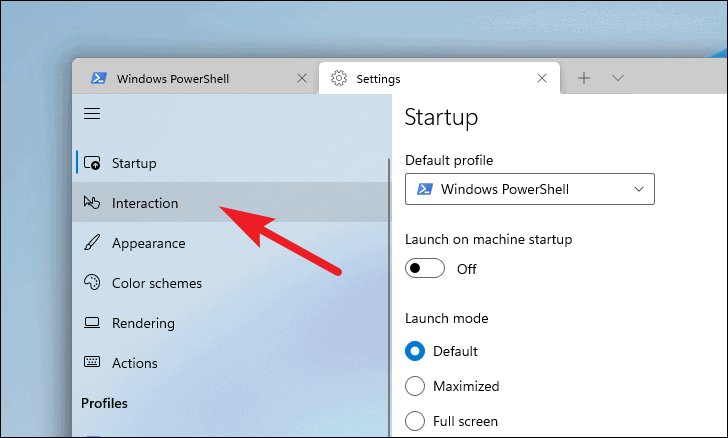
- In the Settings window, select ‘Startup’ from the sidebar.
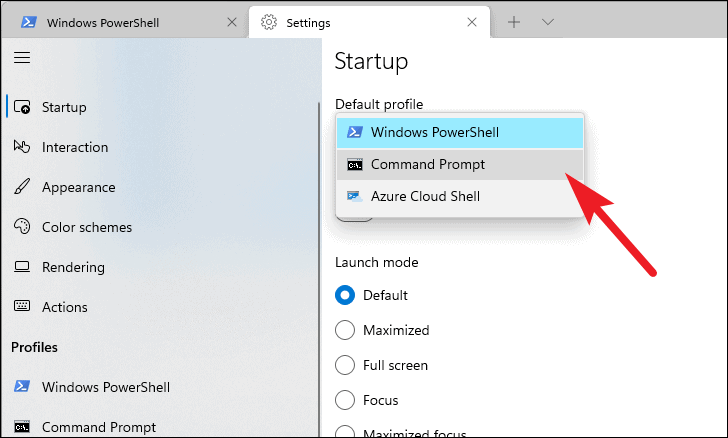
- Under ‘Default profile’, click the dropdown menu to choose which profile (e.g., Command Prompt, PowerShell) you want the Terminal to open by default.
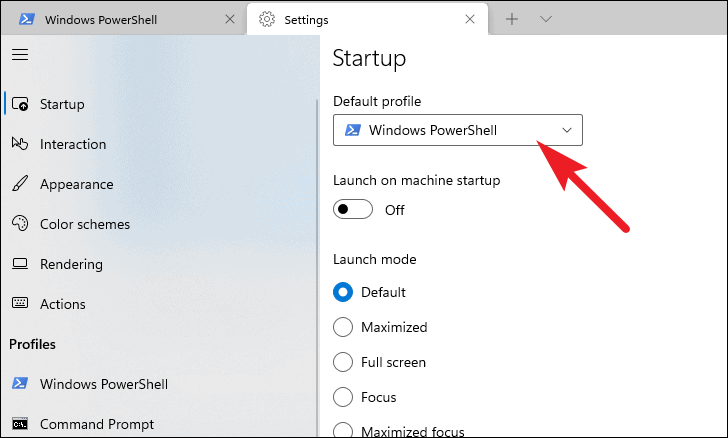
- Select your preferred profile from the list.
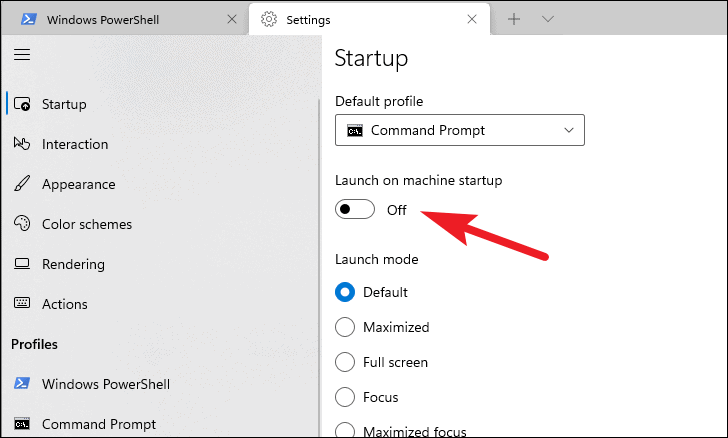
- To have the Terminal launch automatically when you start your computer, toggle the switch next to ‘Launch on machine startup’ to the ‘On’ position.
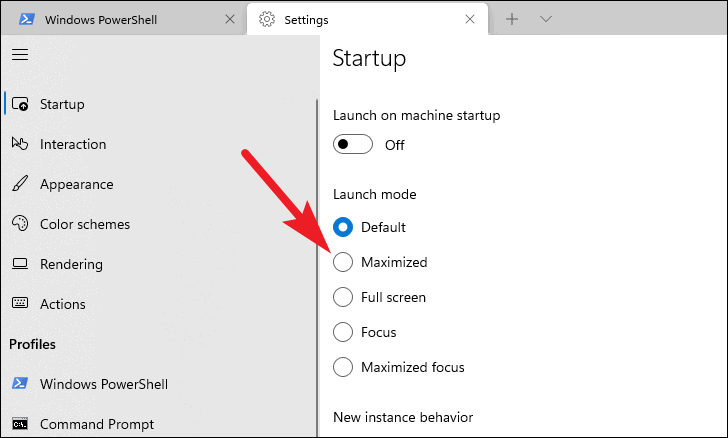
- In the ‘Launch mode’ section, choose how you want the Terminal window to appear when it starts:
- Default: Opens in windowed mode with tabs and title bar visible.
- Maximized: Opens maximized with tabs and title bar visible.
- Full screen: Occupies the entire screen without tabs and title bar.
- Focus: Windowed mode without tabs and title bar.
- Maximized focus: Full-screen mode without tabs and title bar.
- Under ‘New instance behavior’, decide how new Terminal instances should open when you launch them.
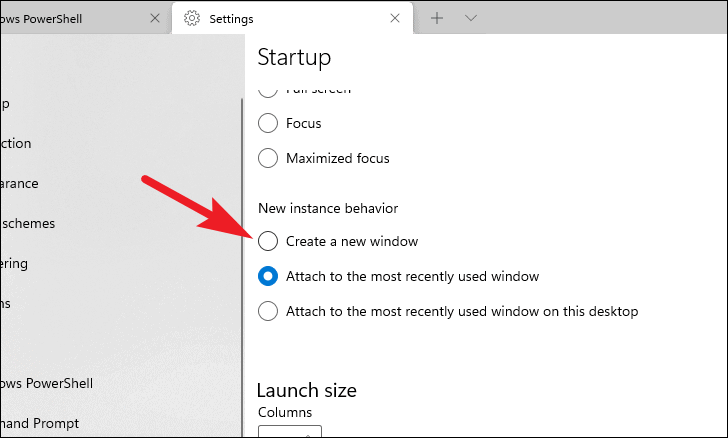
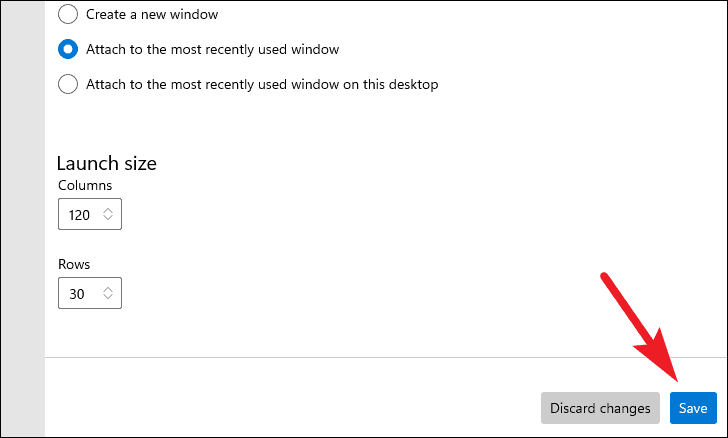
- To set a custom size for the Terminal window when it launches, enter the desired number of ‘Columns’ (width) and ‘Rows’ (height) under the ‘Launch size’ section.

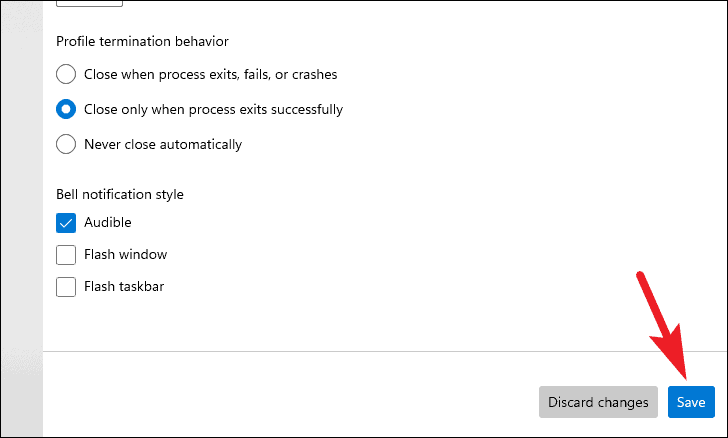
- After configuring your startup settings, click the ‘Save’ button at the bottom-right corner to apply the changes.
Change Windows Terminal interaction settings
Adjusting interaction settings allows you to change how you interact with the Terminal.
- In the Settings sidebar, select ‘Interaction’.
- To automatically copy selected text to the clipboard, toggle the switch next to ‘Automatically copy selection to clipboard’ to ‘On’.
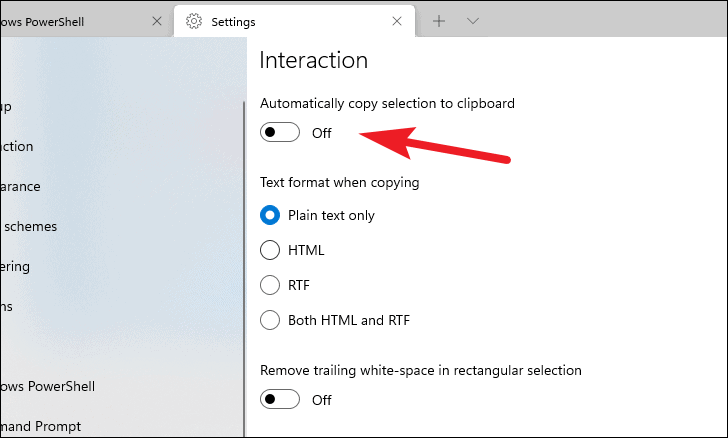
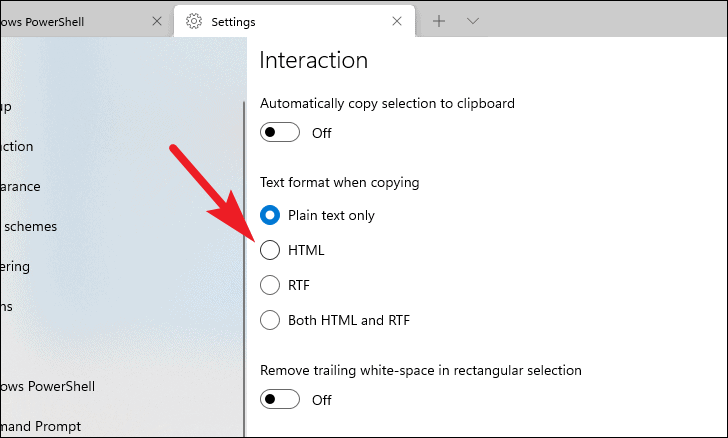
- Under ‘Copy formatting’, choose the format you prefer when copying text from the Terminal.
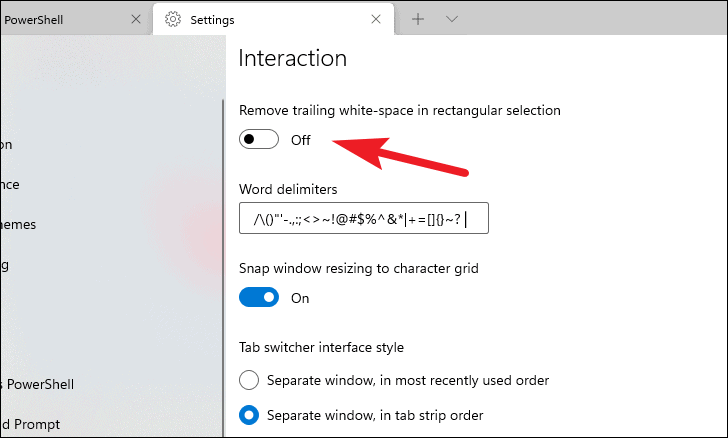
- If you want to remove trailing whitespace in rectangular selections, toggle the switch next to ‘Trim trailing whitespace in selections’ to ‘On’.
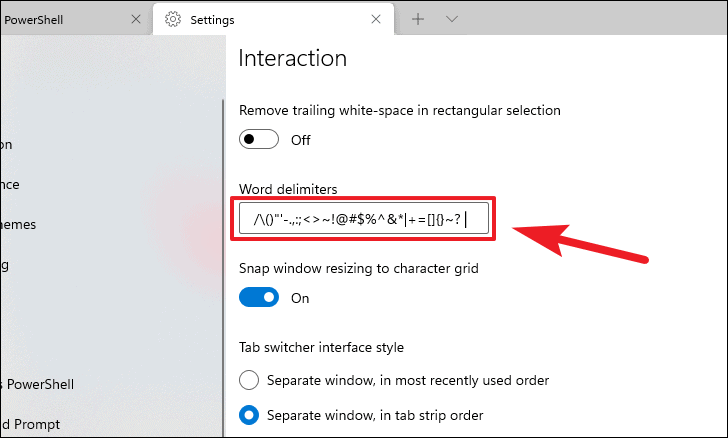
- To modify the word delimiters (characters that separate words), edit the characters in the text box under ‘Word delimiters’ according to your preferences.
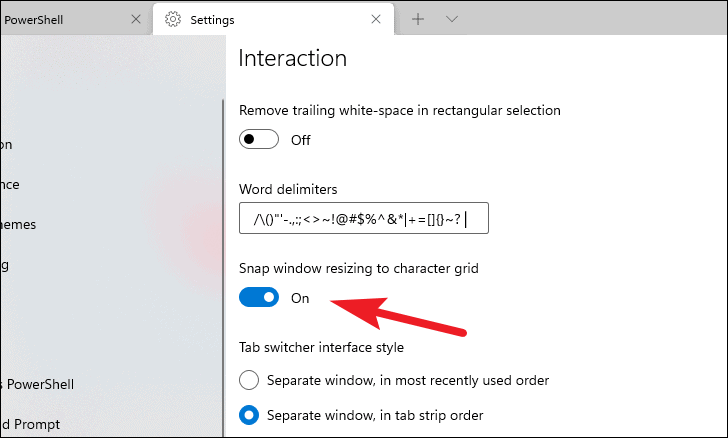
- By default, the Terminal window resizes based on the character grid. If you prefer free resizing, toggle off the switch next to ‘Snap window resizing to character grid’.
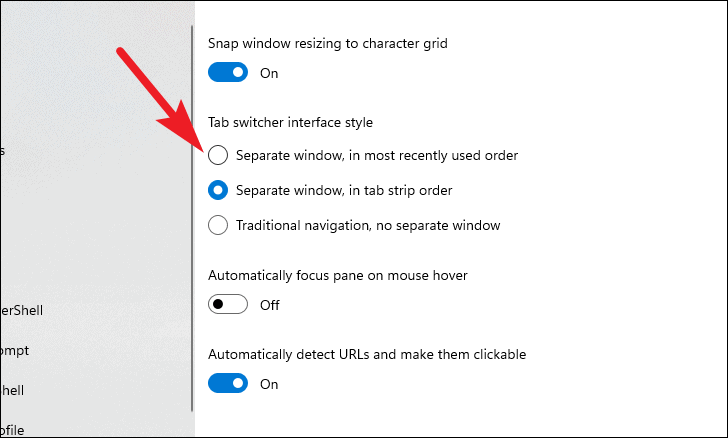
- Choose your preferred tab switching interface style under ‘Tab switcher interface style’ by selecting the radio button next to your choice.
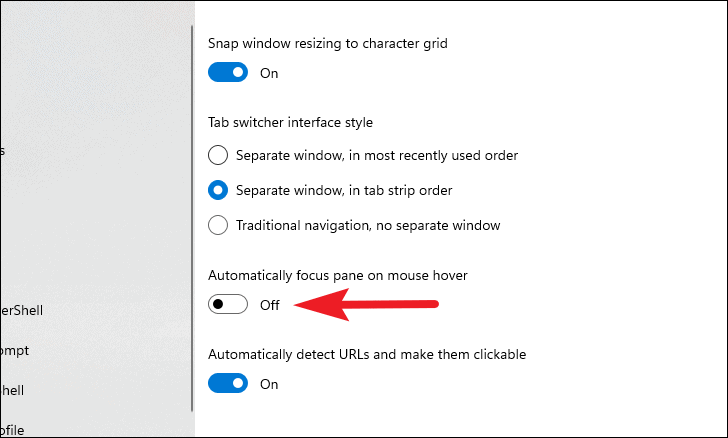
- To automatically focus on a pane when you hover over it with your mouse, toggle on the switch next to ‘Automatically focus pane on mouse hover’.
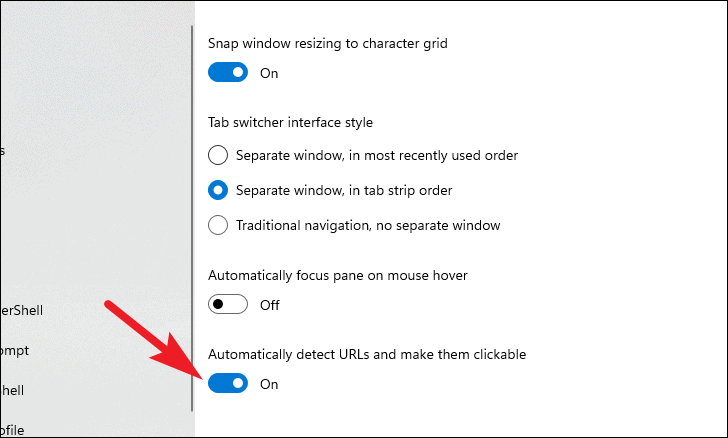
- If you prefer not to have URLs automatically detected and made clickable, toggle off the switch next to ‘Automatically detect URLs and make them clickable’.
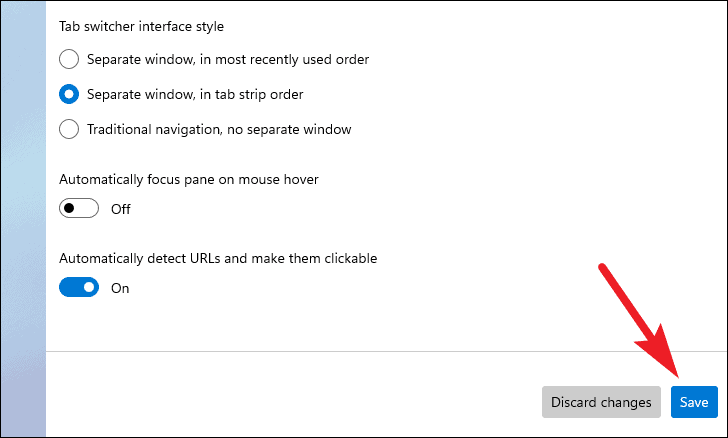
- After adjusting the interaction settings to your liking, click the ‘Save’ button to apply the changes.
Change Windows Terminal theme and appearance
Customizing the theme and appearance can make your Terminal more visually appealing.
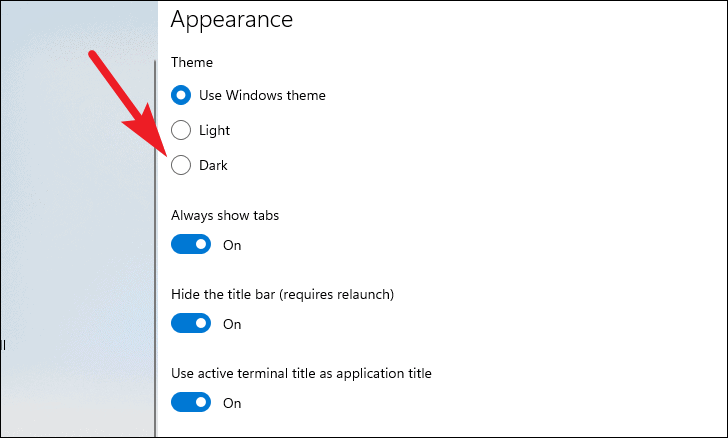
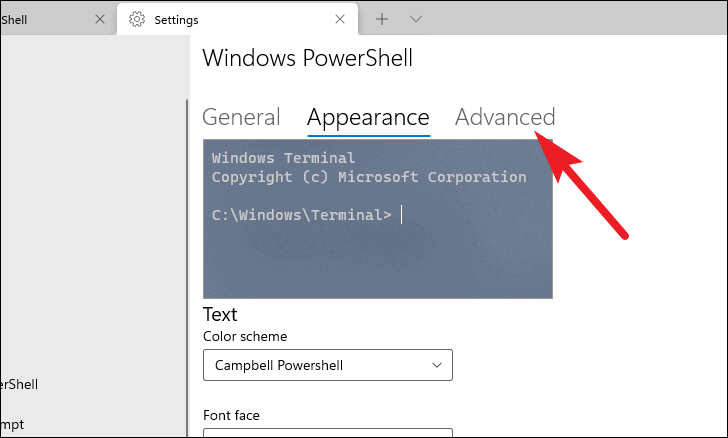
- Select ‘Appearance’ from the Settings sidebar.

- Under the ‘Theme’ section, choose between ‘Use Windows theme’, ‘Light’, or ‘Dark’ by selecting the corresponding radio button.
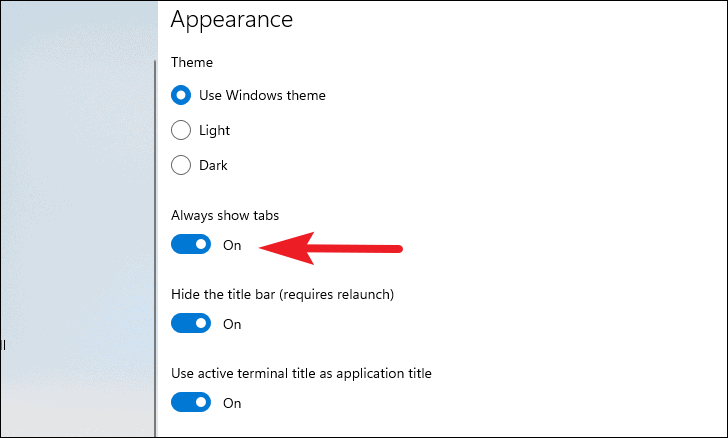
- To hide the tab bar until multiple tabs are open, toggle off the switch next to ‘Always show tabs’.
- If you want to display the title bar above the tabs, toggle off the switch next to ‘Hide the title bar’. You may need to restart the Terminal for this change to take effect.

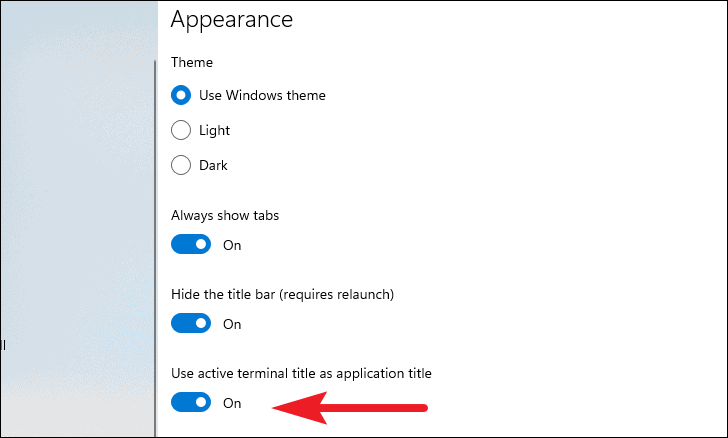
- To prevent the active terminal’s title from appearing in the application title bar, toggle off ‘Use active terminal title as application title’. The title bar will then display ‘Windows Terminal’.
- Enable ‘Always on top’ if you want the Terminal window to stay above other windows.
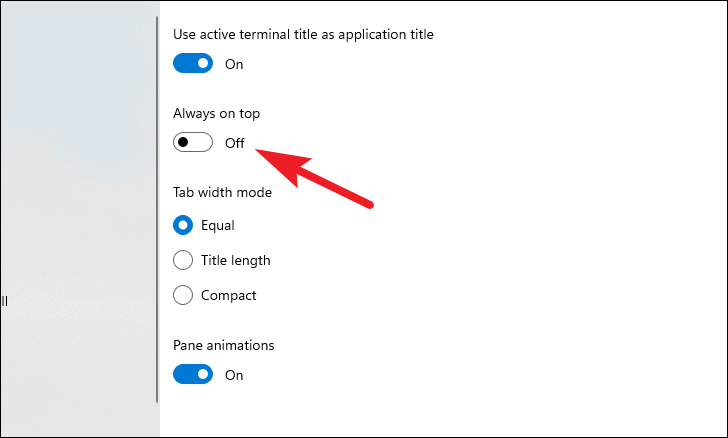
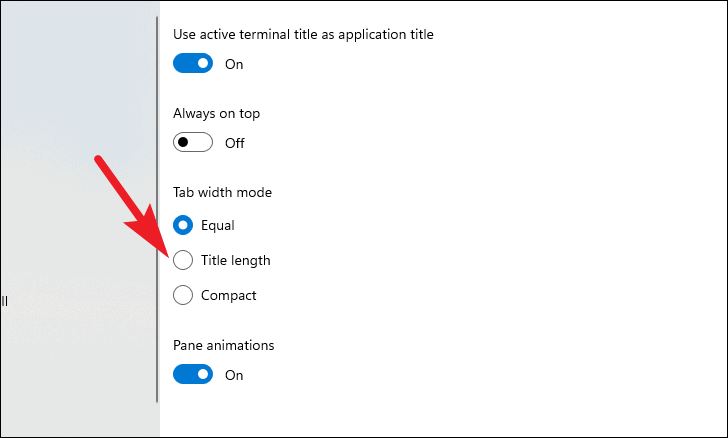
- Under ‘Tab width mode’, select how you want the tabs to be sized:
- Equal: All tabs have the same width.
- Title length: Tabs adjust their width based on the length of the title.
- Compact: Only shows icons on inactive tabs.
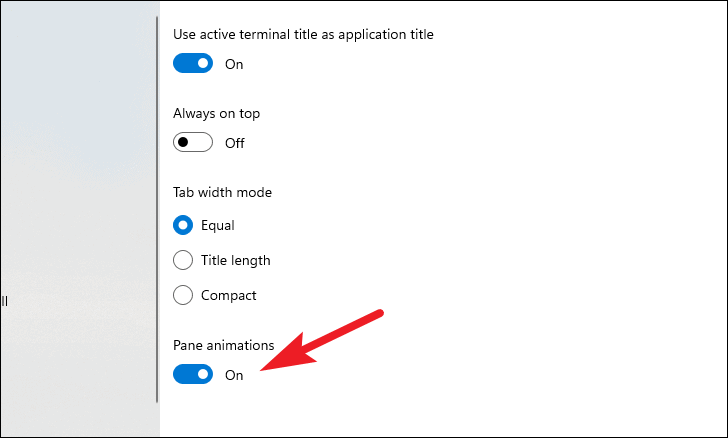
- To disable animations in the Terminal, toggle off the switch next to ‘Pane animations’.
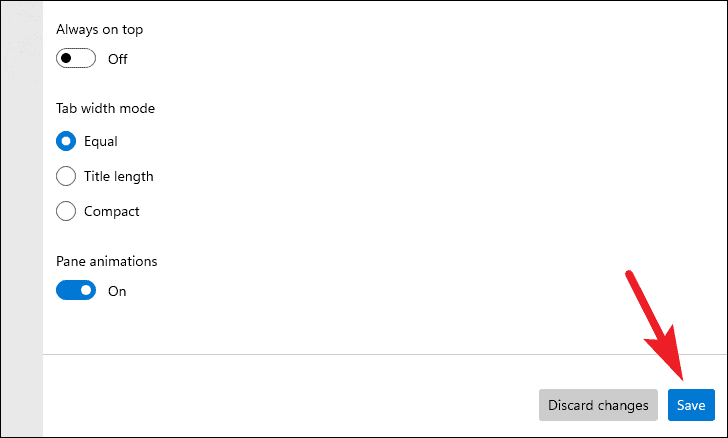
- Click the ‘Save’ button to apply your appearance settings.
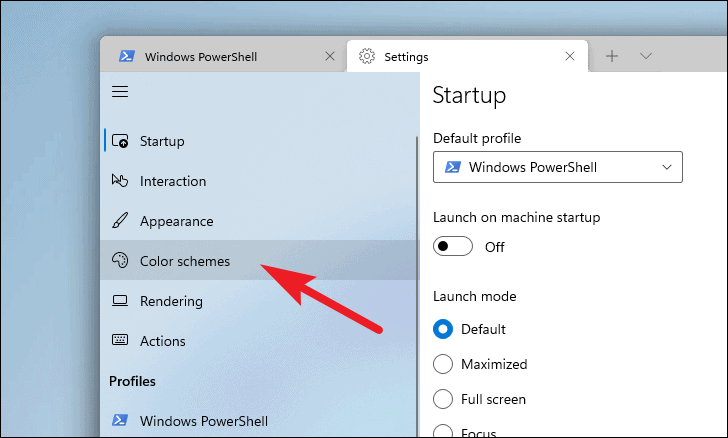
Change Windows Terminal color scheme
Windows Terminal offers several preset color schemes, and you can also create your own.
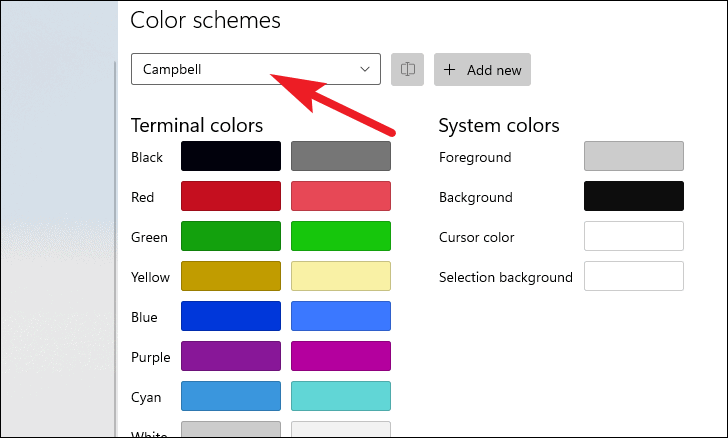
- In the Settings sidebar, select ‘Color schemes’.
- To use an existing color scheme, click the dropdown menu and select one from the list.
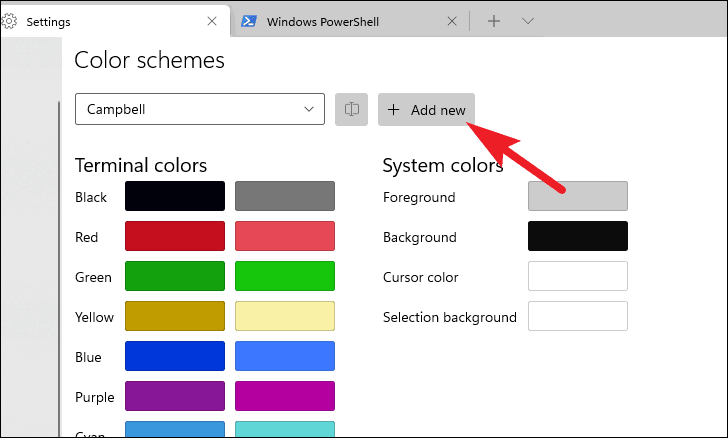
- If you want to create a new color scheme, click the ‘+ Add new’ button.
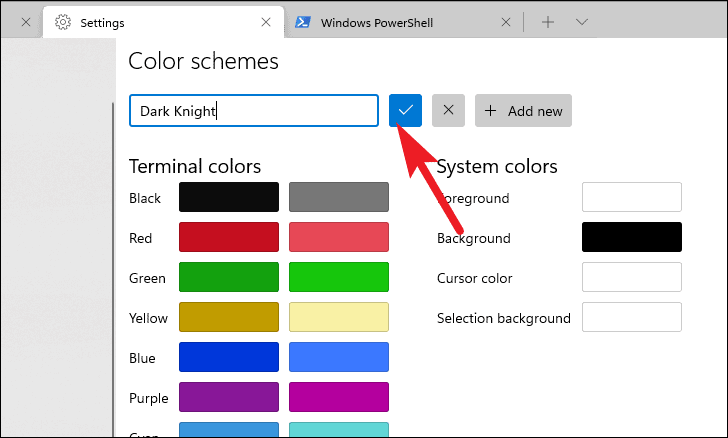
- Click ‘Rename’ to give your new color scheme a suitable name, then confirm by clicking the checkmark.
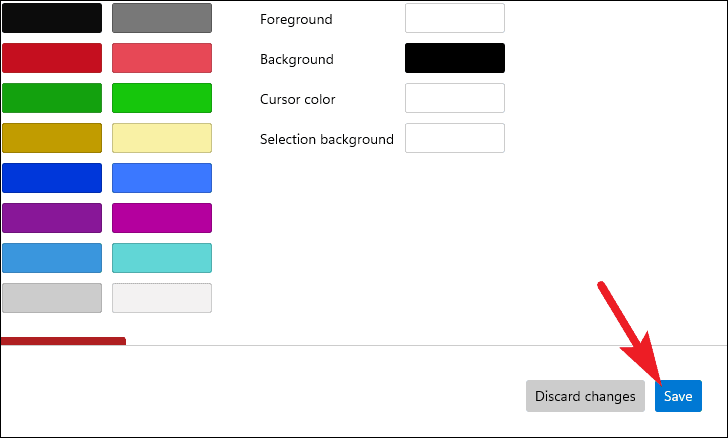
- Customize the colors by clicking on each color tile next to the corresponding item under the ‘System colors’ column.
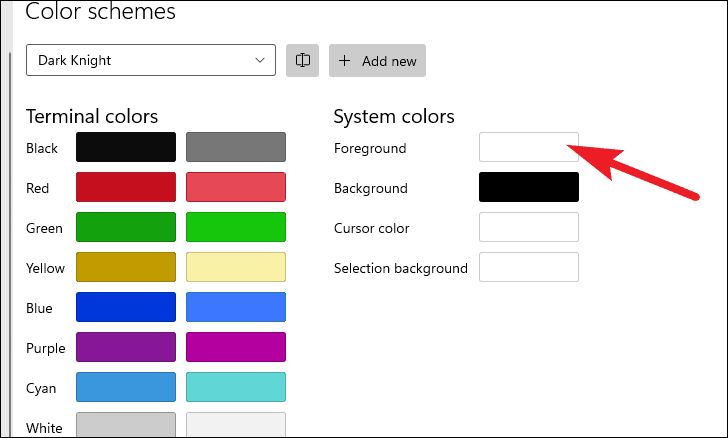
- Use the color picker to select your desired color, or enter a hex code directly. Click outside the color picker to confirm your choice.
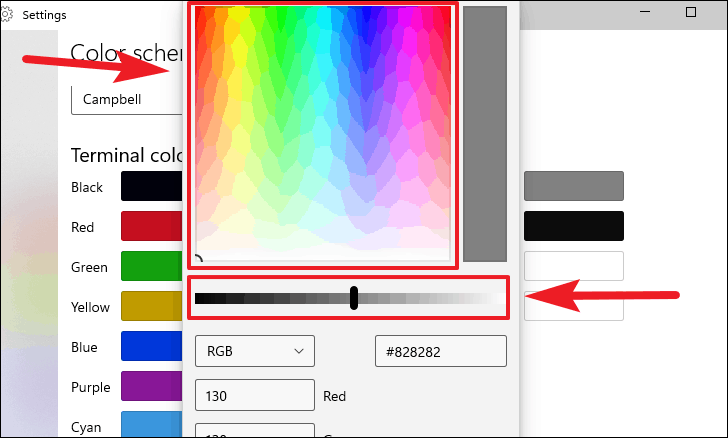
- After customizing your color scheme, click the ‘Save’ button to apply it.
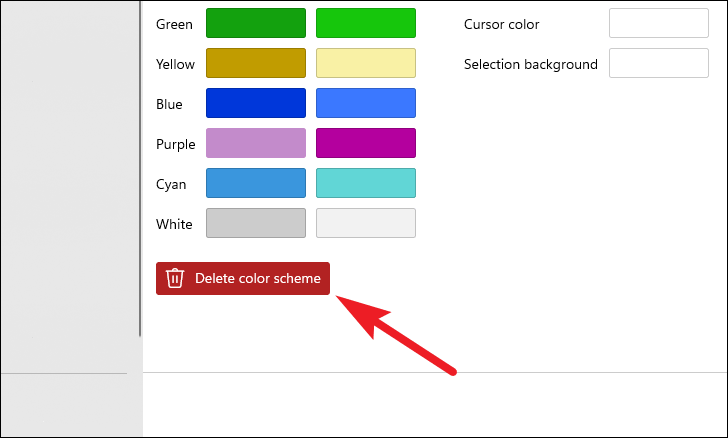
To delete a color scheme, select it from the dropdown menu, scroll down, and click ‘Delete color scheme’.
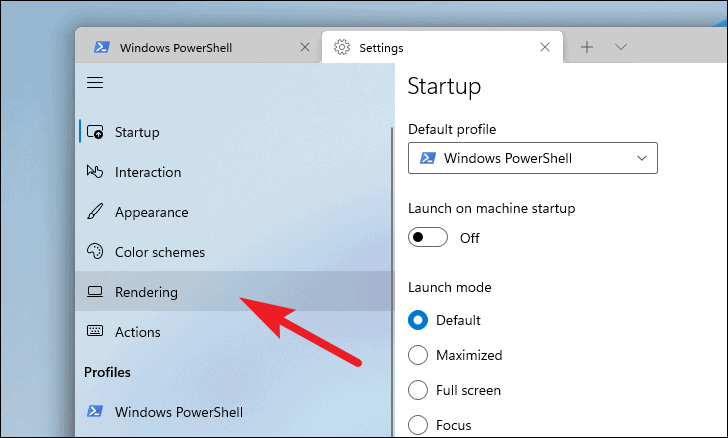
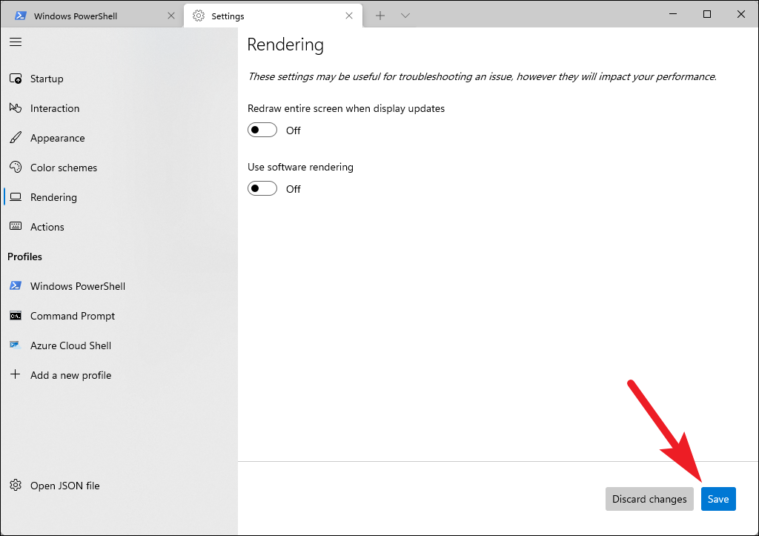
Change Windows Terminal rendering settings
Rendering settings control how the Terminal displays content.
- In the Settings sidebar, select ‘Rendering’.
- To have the Terminal redraw the entire screen between frames, toggle on ‘Redraw entire screen when display updates’.
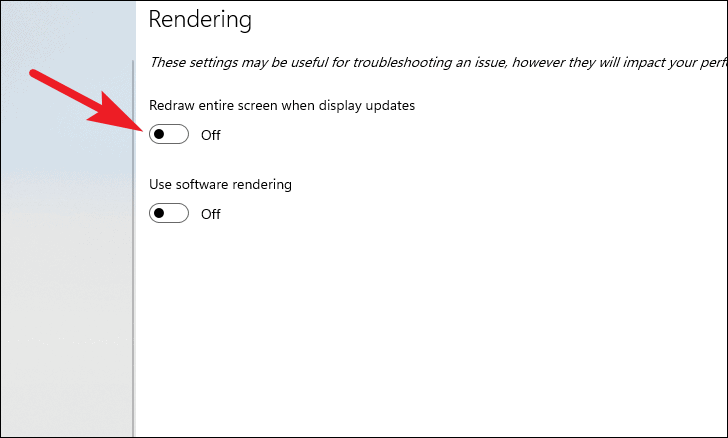
- If you prefer to use software rendering instead of hardware rendering, toggle on ‘Use software rendering’. This might be useful if you experience display issues.

- Click ‘Save’ to apply the rendering settings.
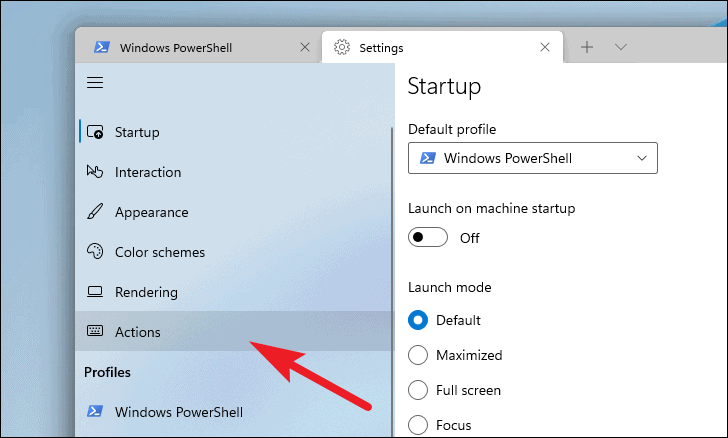
Change Windows Terminal keyboard shortcuts
Windows Terminal allows you to customize keyboard shortcuts, referred to as ‘Actions’.
- In the Settings sidebar, select ‘Actions’.
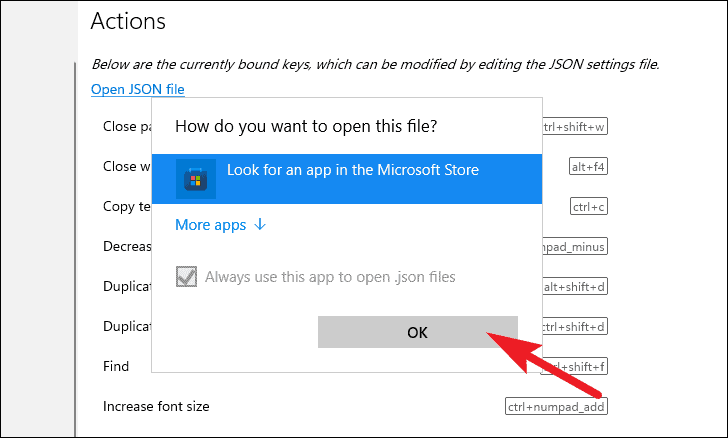
- A list of current key bindings will appear. To modify them, you’ll need to edit the JSON settings file. Click on ‘Open JSON file’.
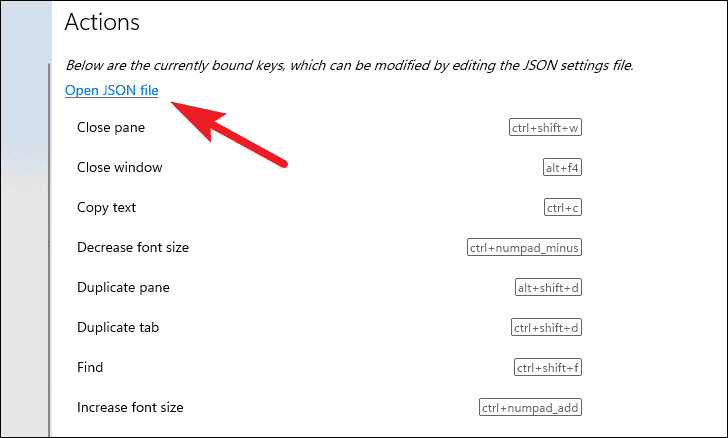
- If prompted, choose an app to open the file. You can select a text editor like Notepad or download one from the Microsoft Store.
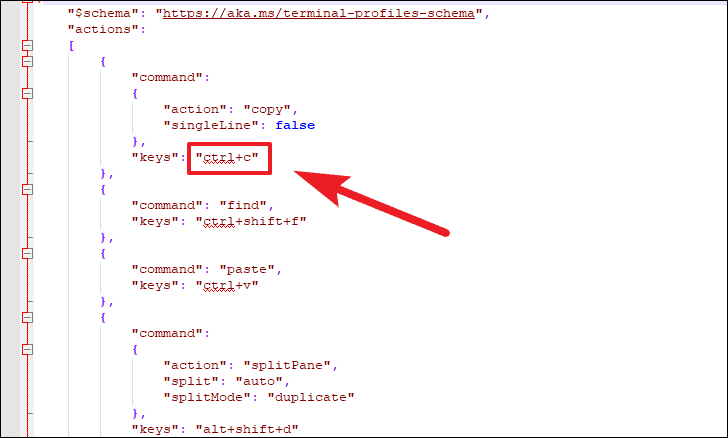
- In the JSON file, you can add, remove, or change key bindings under the
"actions"section. Save the file after making changes to apply them.
Change settings for individual command-line tools
You can customize settings for each profile (command-line tool) separately.
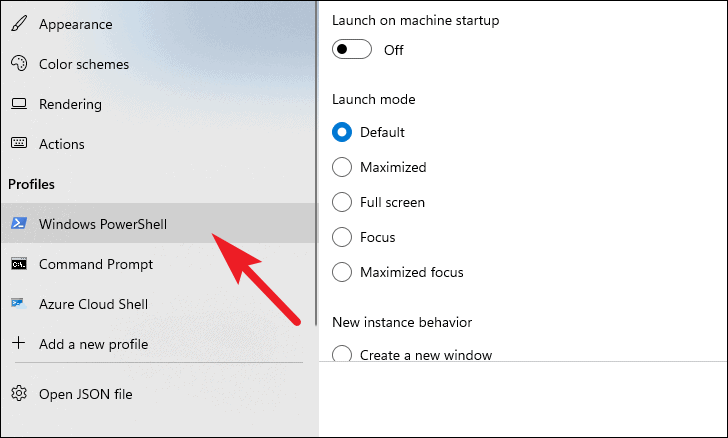
- From the Settings sidebar, select the profile you wish to customize under the ‘Profiles’ section.
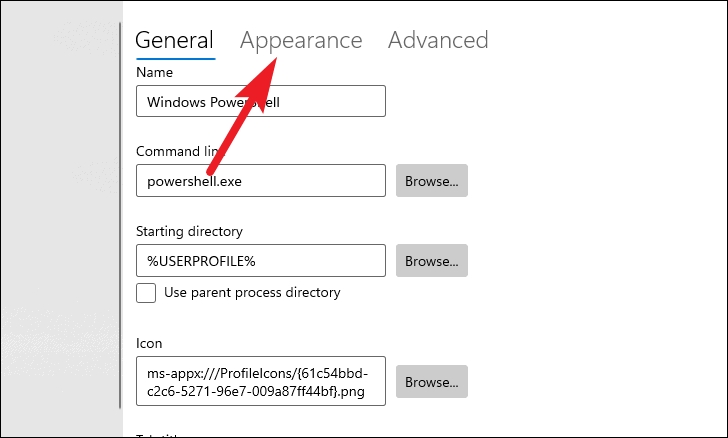
General settings for each command-line tool
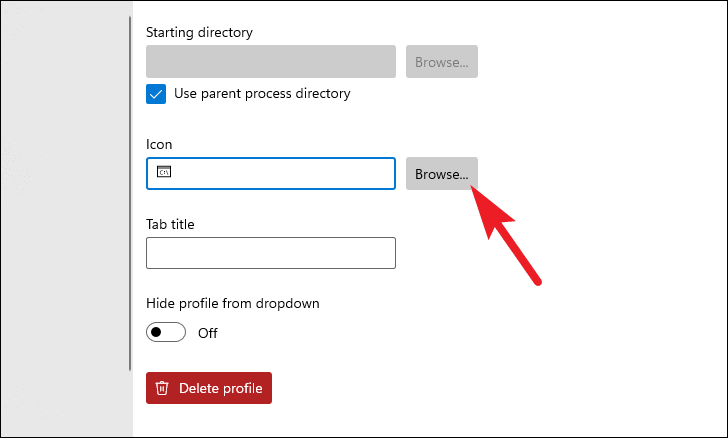
- In the ‘General’ tab, you can rename the profile, change the executable path, and set the starting directory.
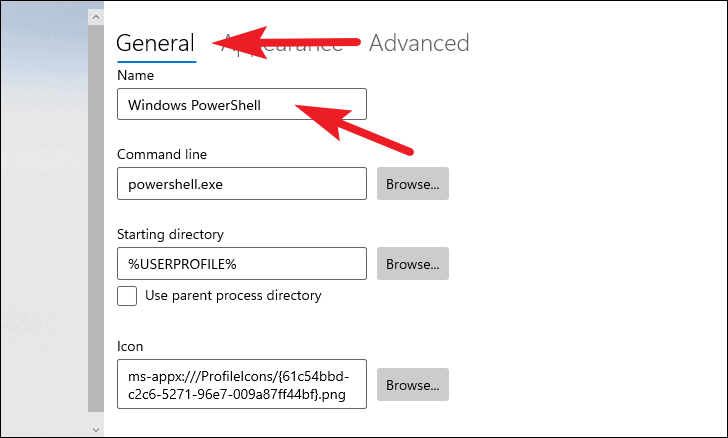
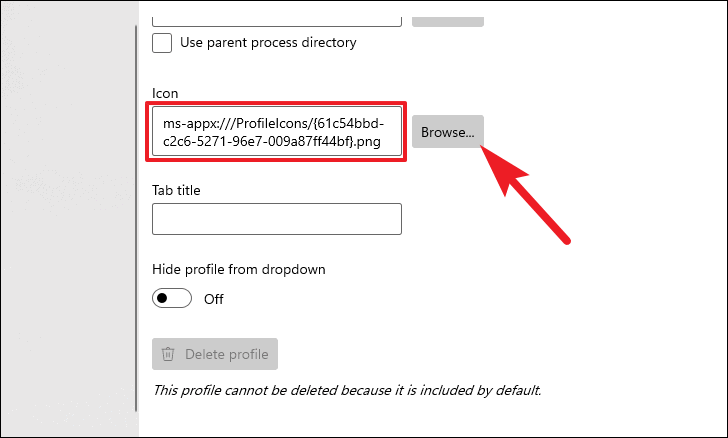
- To change the icon, click ‘Browse’ under the ‘Icon’ section and select an image file.
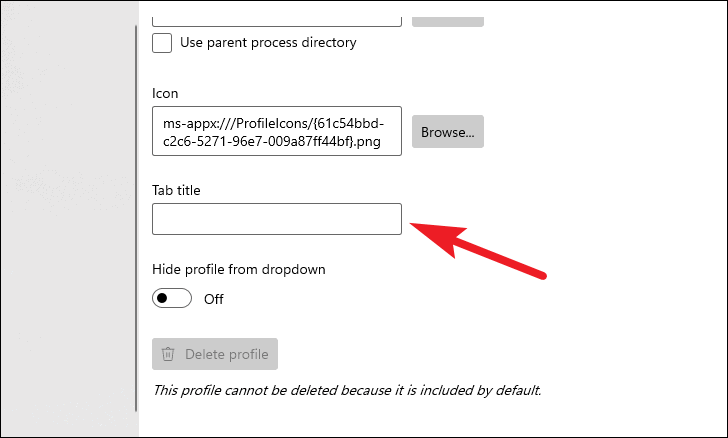
- Set a custom tab title by entering it under ‘Tab title’.
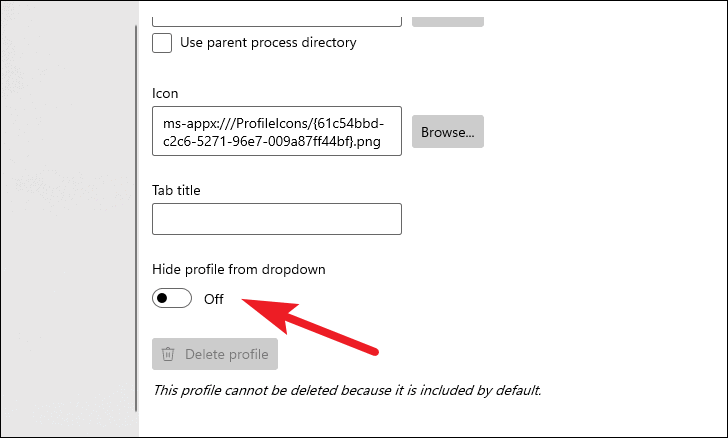
- If you don’t want this profile to appear in the dropdown menu, toggle on ‘Hide profile from dropdown’.
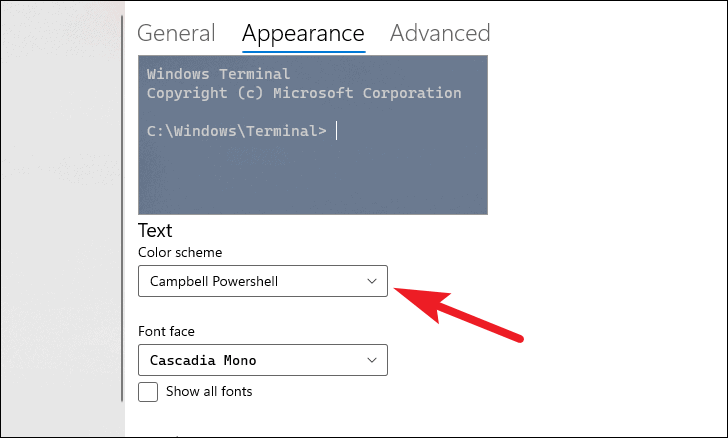
Custom appearance settings for each command-line tool
- Switch to the ‘Appearance’ tab to customize font, color scheme, and other visual settings specific to this profile.
- Under ‘Color scheme’, select a color scheme for this profile.
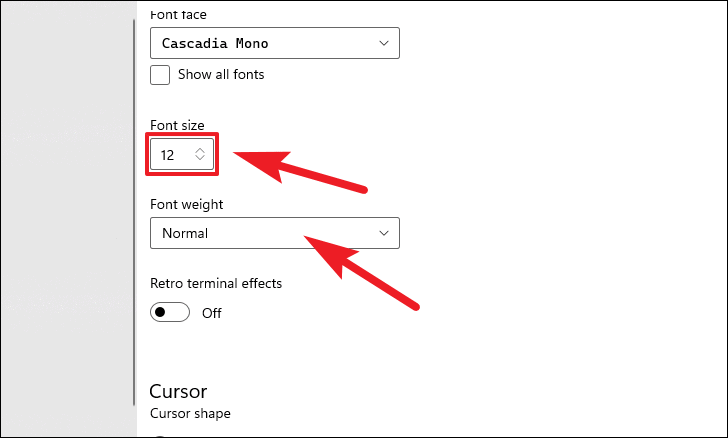
- Adjust font face, size, and weight as desired.
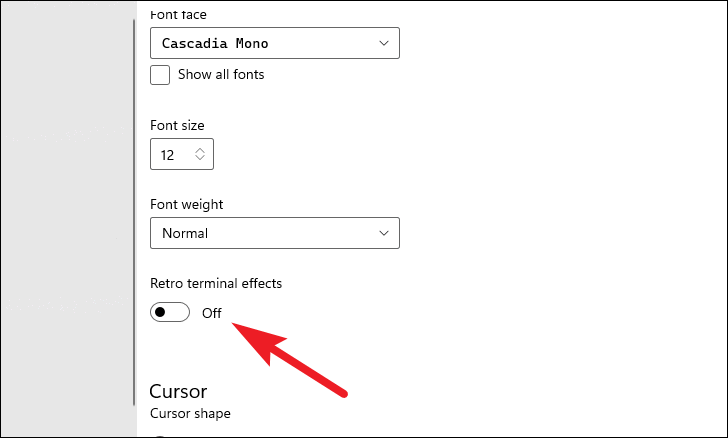
- Enable effects like ‘Retro terminal effects’ for a nostalgic look.
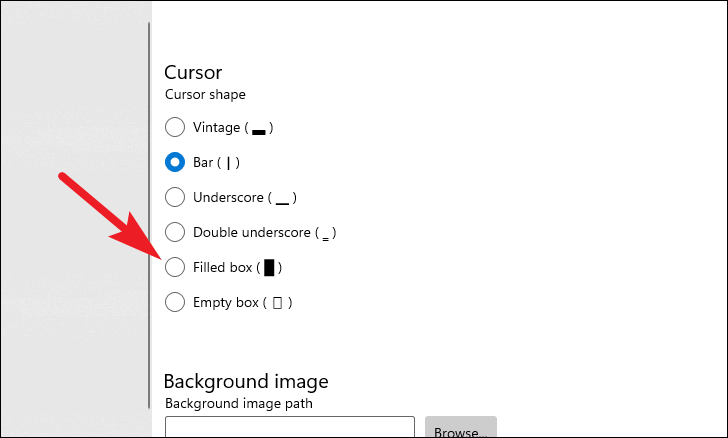
- Customize the cursor shape and other window settings as needed.
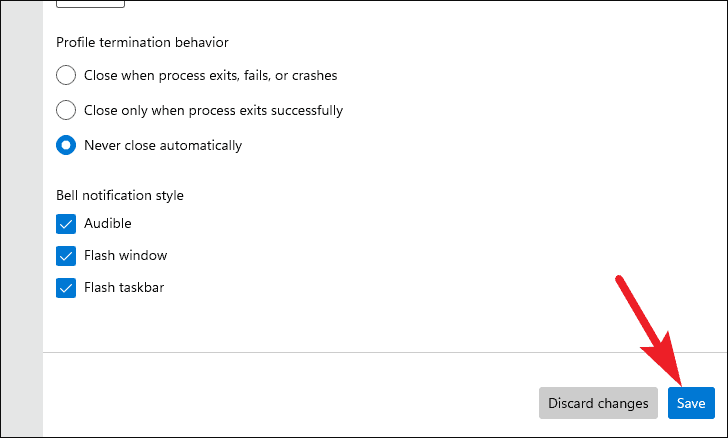
Advanced settings
- In the ‘Advanced’ tab, adjust additional settings like suppressing title changes or modifying text antialiasing.
- After configuring the profile, click ‘Save’ to apply the changes.
Add a new command-line tool or duplicate an existing tool
You can add new profiles or duplicate existing ones.
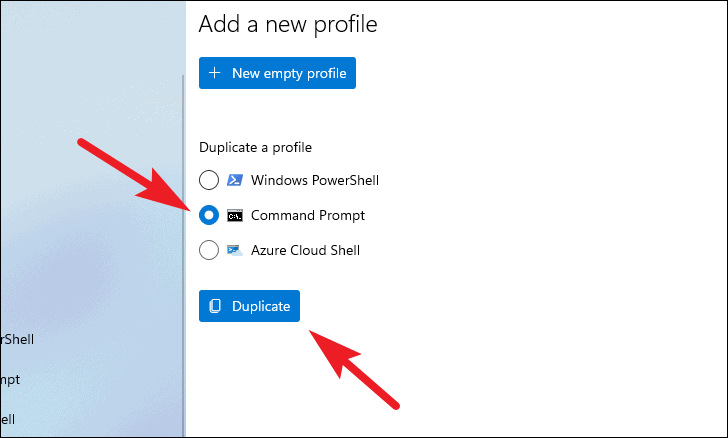
- In the Settings sidebar, click on ‘Add a new profile’.

- Choose ‘New empty profile’ to create a profile from scratch, or select an existing profile to duplicate and click ‘Duplicate’.
- Configure the new profile’s settings in the same way as described earlier, including setting the command line executable, starting directory, and appearance.
- After setting up the new profile, click ‘Save’ to add it to the Terminal.
By customizing Windows Terminal, you can create a more efficient and personalized command-line environment that enhances your productivity.


