You can easily view and access the web pages you have opened on Chrome via ‘History’, as is the case with other browsers. However, the ‘History’ page offers a bland interface and simply lists the accessed web pages in chronological order. Most of us have been waiting for a more orderly and user-friendly option, and it’s finally here.
Chrome Memories, currently under testing, has been made available to users. It works much like the history feature, sporting a similar interface as well. However, it categorizes the web pages you have visited, lists some recommended searches, and also offers a card-based view of the browsing history.
The Memories feature has been made available to users in the latest Chrome 92 update. Before we move to the part where you enable the ‘Memories’ feature, let’s first update Chrome.
Note: The feature is still under testing and may lead to browser issues for some users. It could lead to data loss or compromise the browser security and privacy, therefore, proceed at your own risk.
Update to Chrome 92 and above
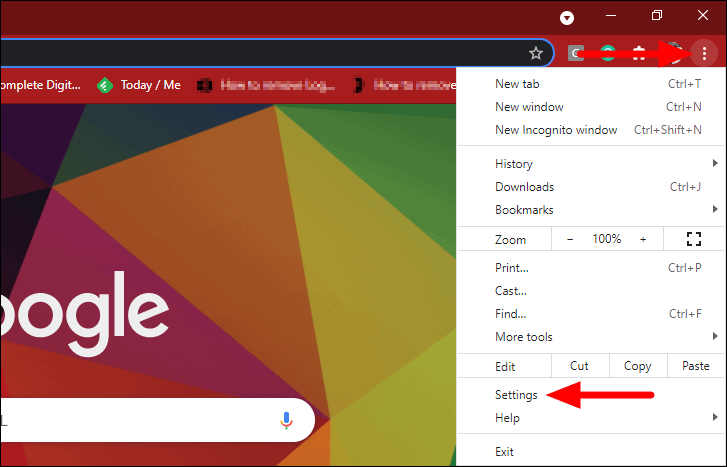
To update Google Chrome, launch the browser, click on the ellipsis at the top-right corner, and select ‘Settings’ from the flyout menu.
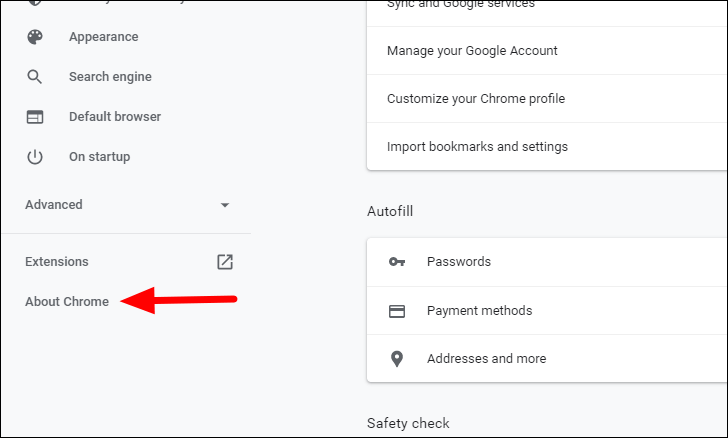
Next, click on ‘About Chrome’ from the options listed on the left.
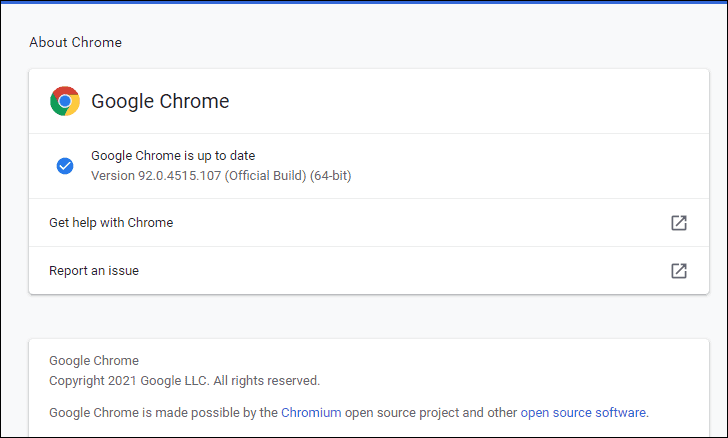
Now, Chrome will automatically look for updates and install them. Once the browser is updated, click on the ‘Relaunch’ option that appears. Make sure you save all the work before relaunching the browser.
Now that you have updated Chrome, it’s time we enable ‘Memories’.
Enable Memories on Goolge Chrome
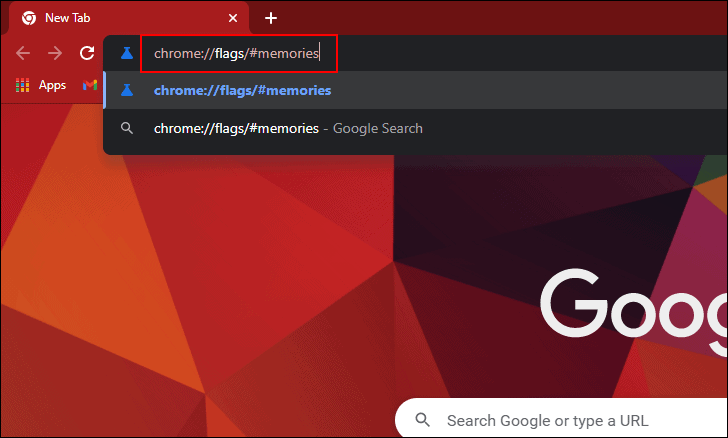
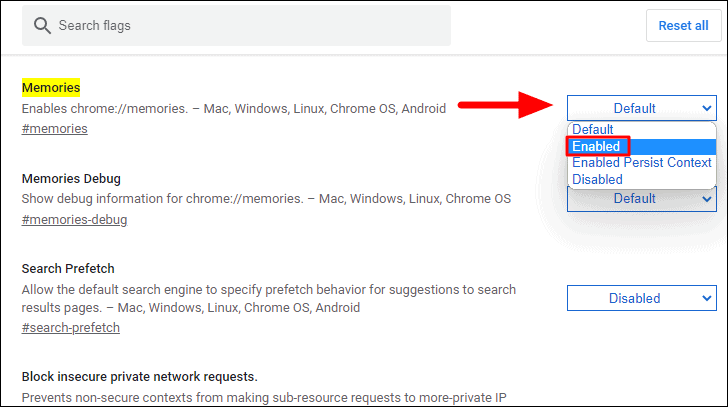
To enable Memories, type chrome://flags/#memories in the address bar at the top and press ENTER.
You will now find the Memories flag listed at the top. Click on the drop-down menu next to it, and select ‘Enabled’ from the list of options.
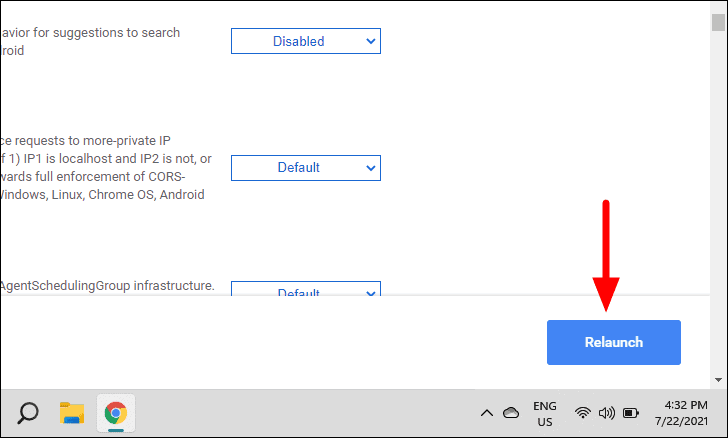
After you have enabled the feature, click on the ‘Relaunch’ option that appears at the bottom to apply the changes.
The ‘Memories’ feature has now been enabled, let’s see how you access it.
How to Access and Use Memories on Google Chrome
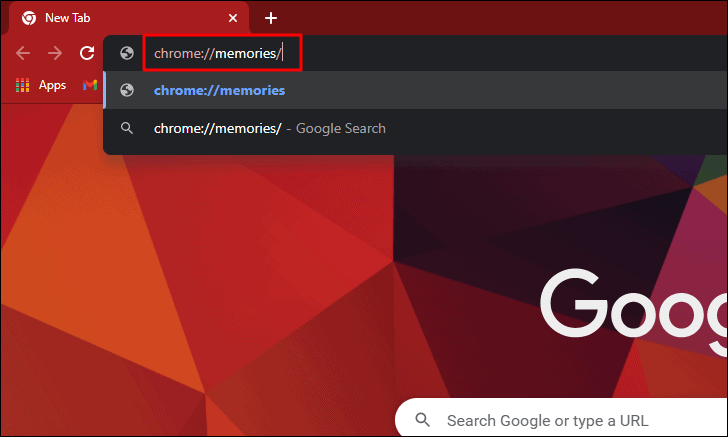
To access Memories in Chrome, type chrome://memories in the address bar at the top of Chrome and press ENTER.
You will now find the history listed in a neat format, coupled with some recommended searches under ‘Try searching for’, based on your browsing history. Also, you will find a search bar at the top which will help refine the search results. The web pages saved to bookmarks or part of tab groups will be listed as tiles, right under ‘From tab groups and bookmarks’.
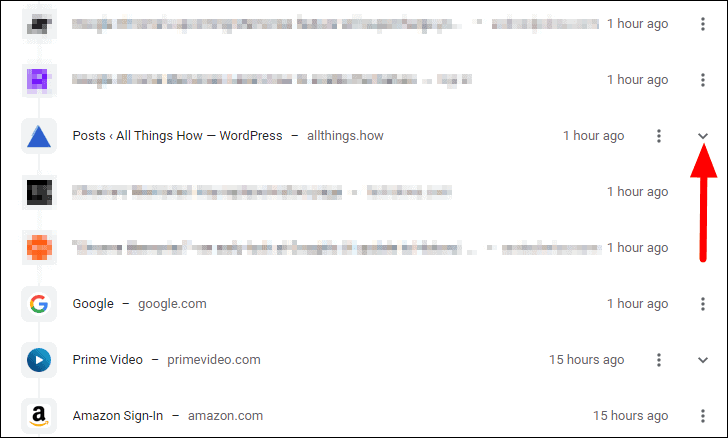
As you scroll down, you will find entries sorted under different cards listed in chronological order. This makes locating a particular search result comparatively easier.

Multiple pages accessed on the same website will be collapsed under a single entry. To view them all, click on the carrot arrow icon next to the entry.
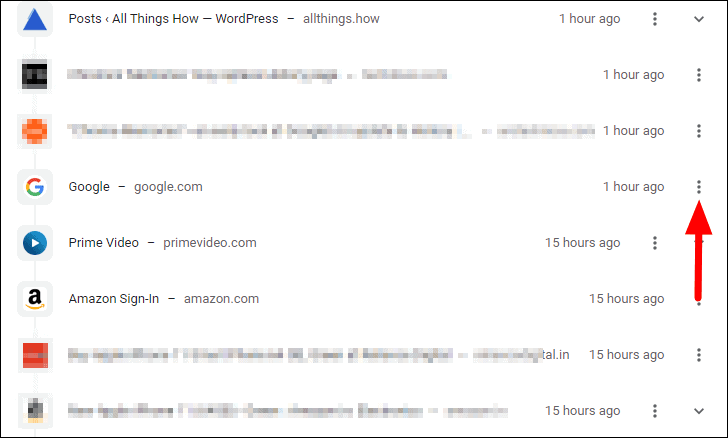
To delete an entry from Memories in Chrome, click on the ellipsis next to the entry you want to delete.
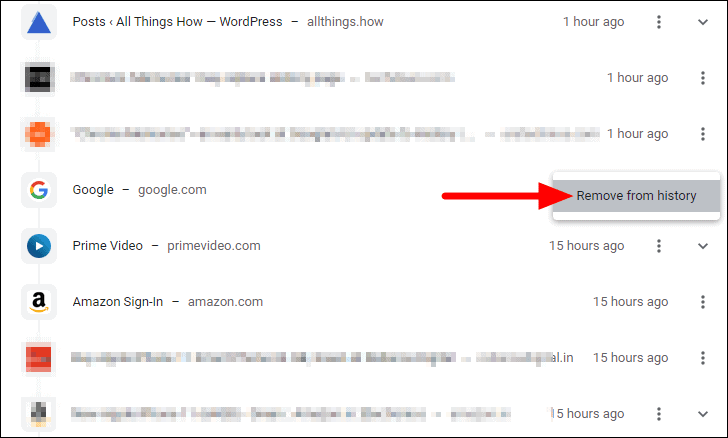
Now, click on the ‘Remove from history’ option that appears.
That’s all there’s to ‘Memories’ on Google Chrome. Speculation is rife that ‘Memories’ could replace ‘History’ in the coming days, however, it’s too soon to comment on that. But one thing that could be said for certain, is that ‘Memories’ is likely to come in handy for a lot of users.