
Windows 11 comes equipped with a robust built-in firewall, managed through Windows Defender. This firewall plays a crucial role in safeguarding your system against malware and other malicious programs lurking on the internet. However, there may be times when you need to disable or modify the firewall settings. Let’s explore how to manage the Windows 11 firewall on your computer.
Accessing Windows 11 Firewall Settings
Before making any changes, you’ll need to access the firewall settings:
- Open the Start Menu and click on “Settings”
- Select “Privacy & Security” from the left sidebar
- Click on “Windows Security”
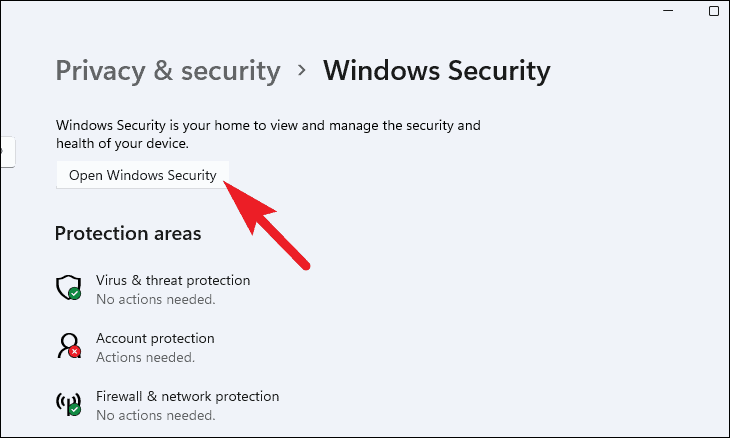
- Choose “Open Windows Security”
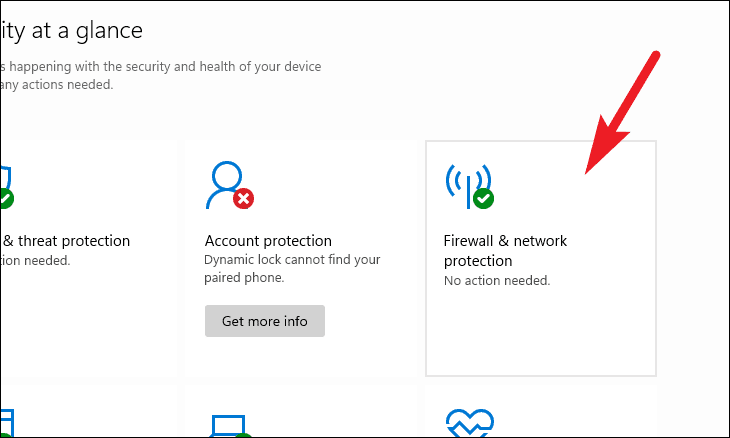
- Select “Firewall & network protection”
Disabling Windows 11 Firewall
While not recommended for security reasons, you can disable the firewall if necessary:
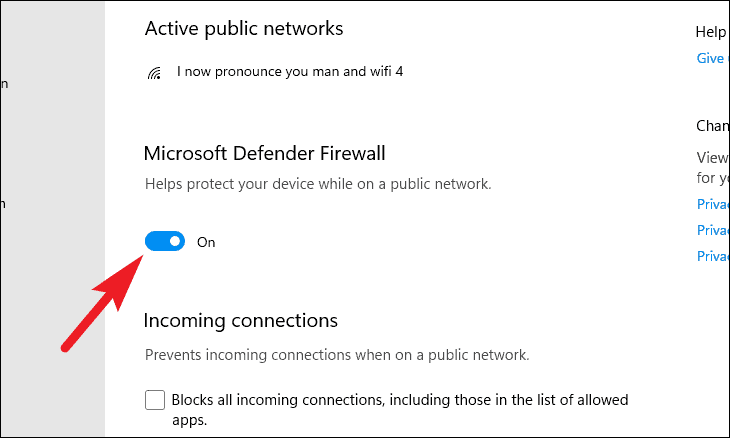
- In the “Firewall & network protection” screen, click on the active network profile
- Toggle the “Microsoft Defender Firewall” switch to the “Off” position
- Confirm the action in the User Account Control (UAC) prompt
Note: Disabling the firewall leaves your system vulnerable to attacks. Only do this if you have another firewall solution in place or for temporary troubleshooting purposes.
Allowing Apps Through the Firewall
Instead of disabling the entire firewall, a safer approach is to allow specific apps through:
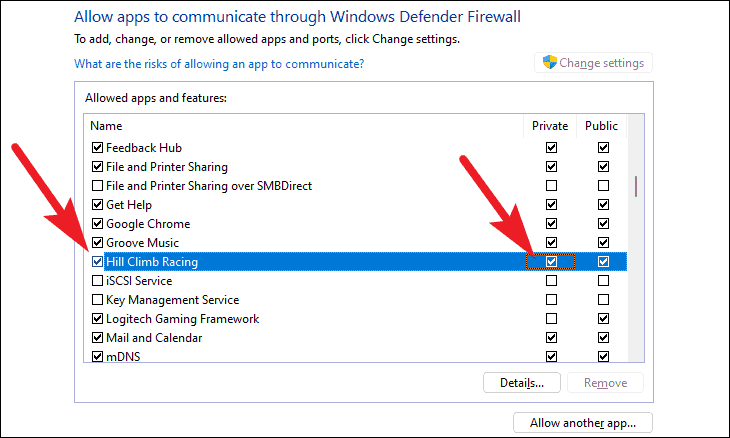
- From the “Firewall & network protection” screen, click “Allow an app through firewall”
- Click “Change settings” (requires administrator privileges)
- Check the box next to the app you want to allow
- If the app isn’t listed, click “Allow another app” and browse to its .exe file
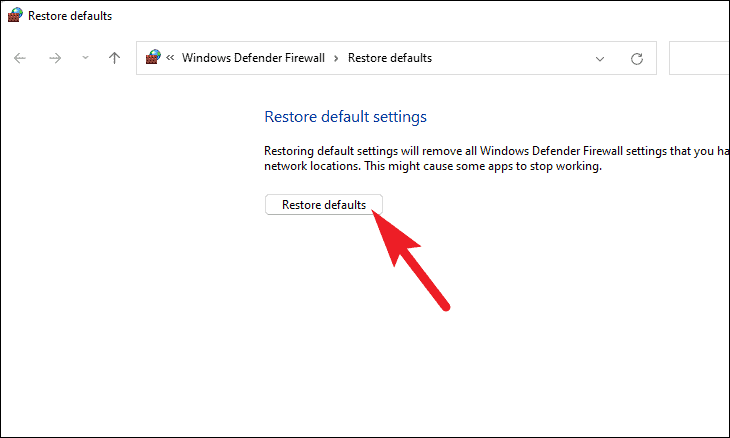
Restoring Default Firewall Settings
If you’ve made changes and want to revert to the default configuration:
- Navigate to “Firewall & network protection” in Windows Security
- Scroll down and click “Restore firewalls to default”
- Confirm by clicking “Restore defaults” in the pop-up window
Alternative Methods for Advanced Users
For those comfortable with command-line interfaces or Group Policy, there are additional ways to manage the Windows 11 firewall:
Using PowerShell
Open PowerShell as an administrator and use these commands:
- To disable:
Set-NetFirewallProfile -Profile Domain,Public,Private -Enabled False - To enable:
Set-NetFirewallProfile -Profile Domain,Public,Private -Enabled True
Using Group Policy (Windows 11 Pro/Enterprise)
- Open the Local Group Policy Editor (gpedit.msc)
- Navigate to: Computer Configuration > Administrative Templates > Network > Network Connections > Windows Defender Firewall > Standard Profile
- Double-click “Windows Defender Firewall: Protect all network connections”
- Select “Disabled” to turn off the firewall, or “Not configured” to restore default settings
Remember, modifying firewall settings can impact your system’s security. Always ensure you understand the implications of your changes and have alternative protection measures in place if needed.
If you encounter any issues or have questions, feel free to leave a comment below!


