
Adjusting table properties in Microsoft Word allows for precise control over table layout, appearance, and accessibility. Whether you need to change a table’s alignment, adjust row height, or modify cell borders, Word provides several methods to display and edit these properties. Streamlining table formatting not only improves document readability but also ensures data is presented clearly and consistently.
Accessing Table Properties Dialog
Step 1: Right-click anywhere inside your table to open the context menu. This menu provides quick access to table-specific commands. Select Table Properties from the menu.
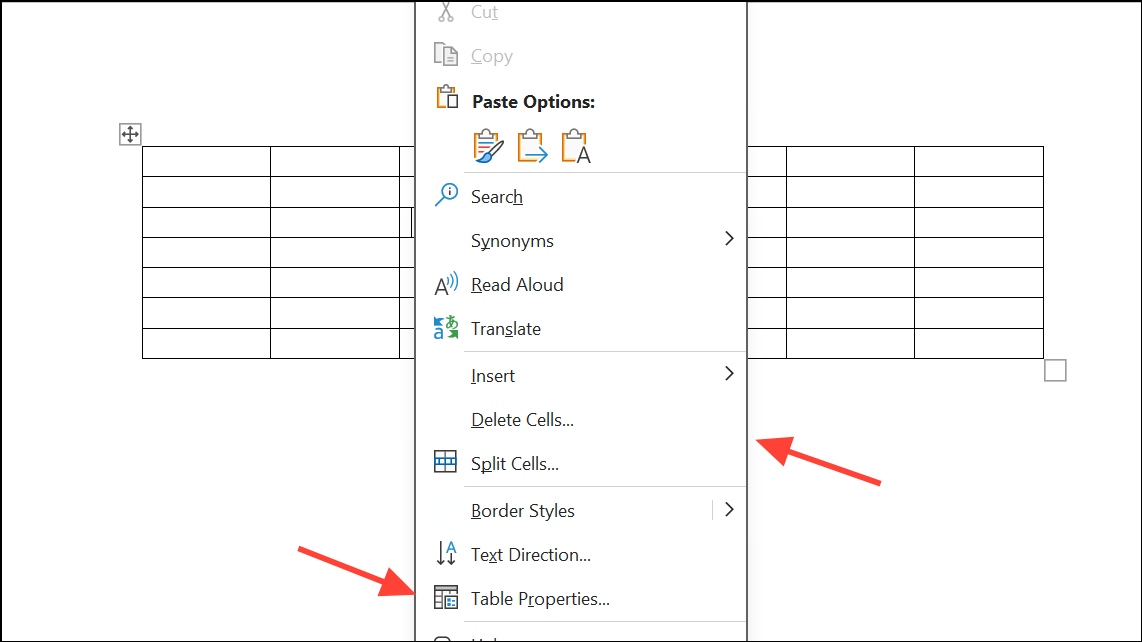
Step 2: The Table Properties dialog box will appear, displaying several tabs: Table, Row, Column, and Cell. Each tab controls different aspects of the table’s configuration.
Step 3: To adjust settings for a specific row, column, or cell, first click inside the desired section before opening the Table Properties dialog. This ensures changes apply only to your selection.

Modifying Table-Level Settings
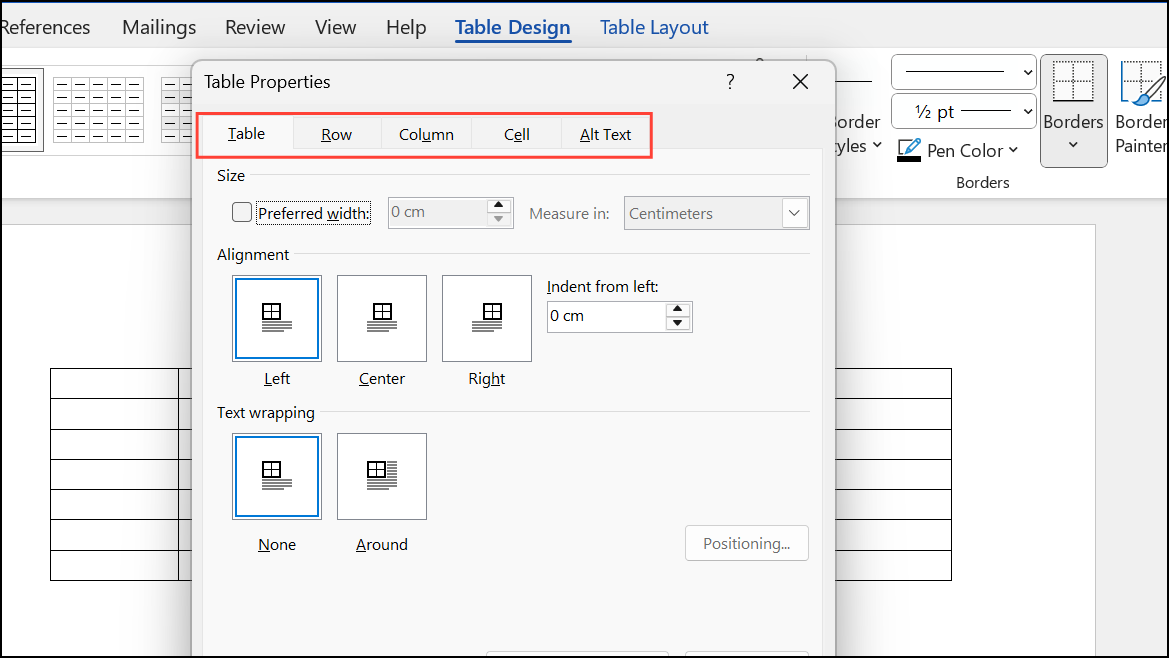
Step 1: In the Table Properties dialog, click the Table tab to adjust settings for the entire table. Here you can:
- Set the preferred width of the table and choose to measure in inches or as a percentage of page width.
- Change table alignment (left, center, right) and set indentation from the left margin if aligned left.
- Control text wrapping around the table. Selecting Around enables nearby text to flow around your table. Click Positioning for more advanced placement options.
- Change border style, color, and width using Borders and Shading.
- Adjust cell margins, spacing, and enable automatic resizing by clicking Options.

Adjusting Row, Column, and Cell Properties
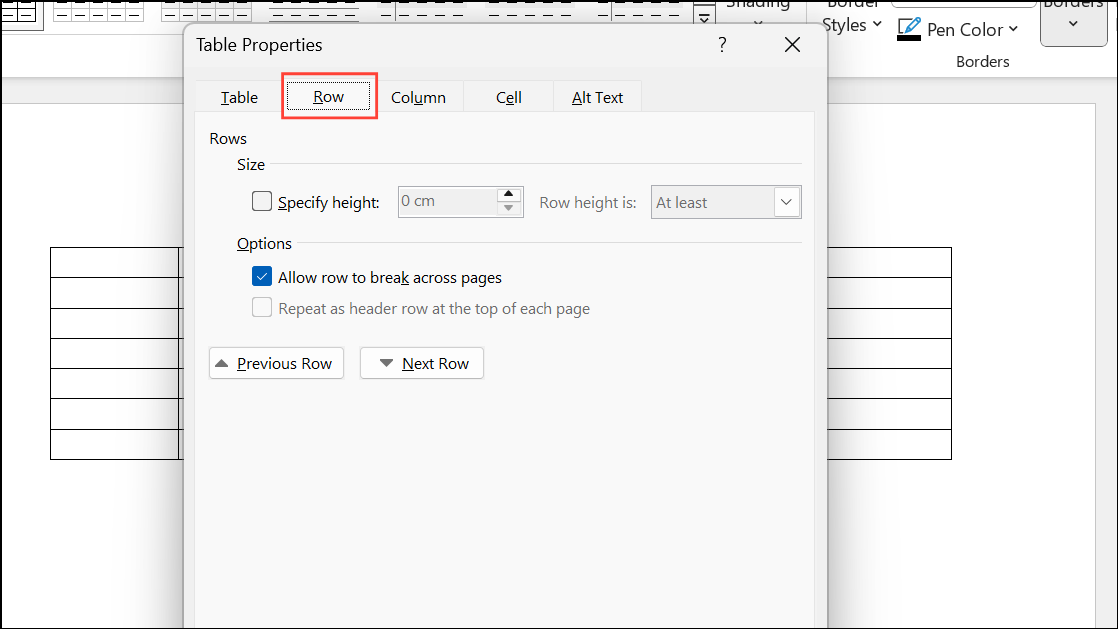
Step 1: To change row properties, select the row, right-click, and choose Table Properties. On the Row tab, you can:
- Set a preferred row height and specify whether the height is exactly or at least a certain value.
- Control whether rows break across pages or repeat as header rows on each new page.
- Navigate between rows using Previous Row and Next Row buttons.
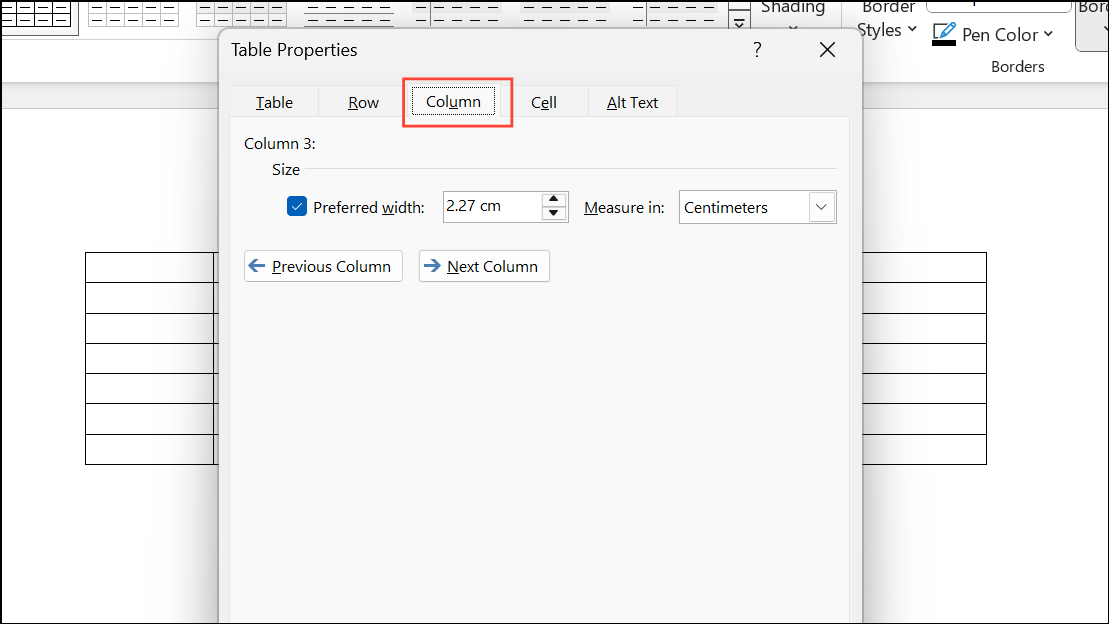
Step 2: For column adjustments, select the column, right-click, and open Table Properties. On the Column tab, set preferred width and measurement units. Use navigation buttons to move between columns.
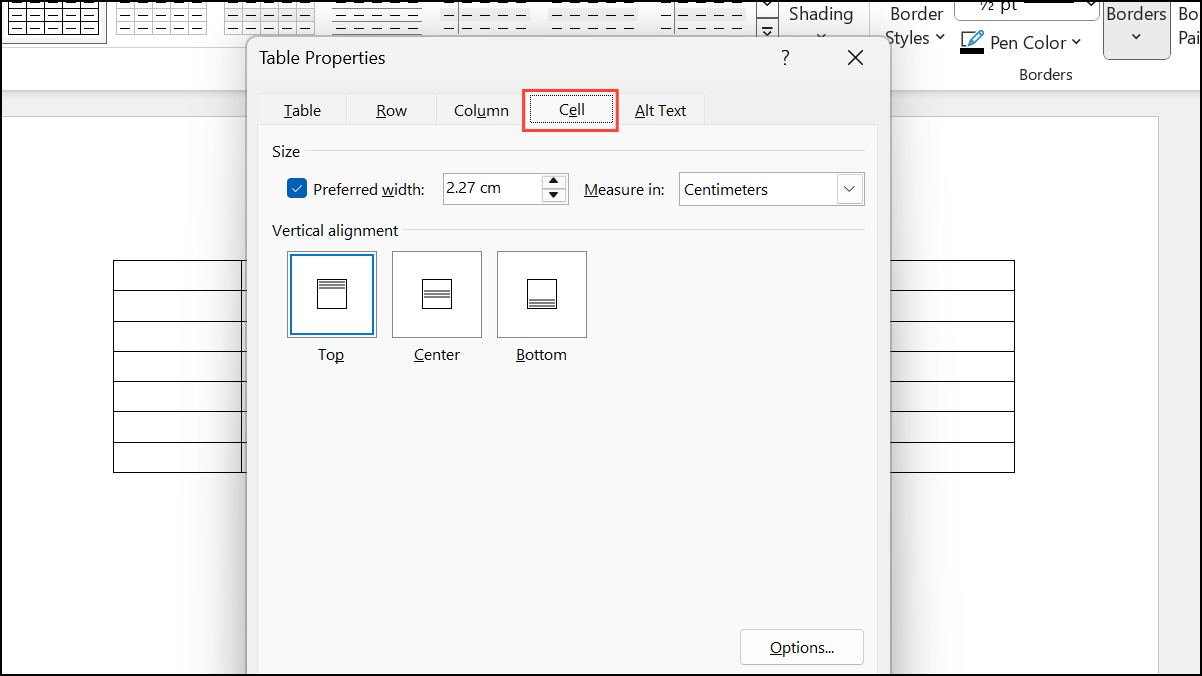
Step 3: To modify individual cell settings, select the cell, right-click, and access Table Properties. The Cell tab lets you:
- Set cell width and choose measurement units.
- Change vertical alignment of cell content (top, center, bottom).
- Adjust cell margins and enable text wrapping or fit options via the Options button.
Using Table Styles and Formatting
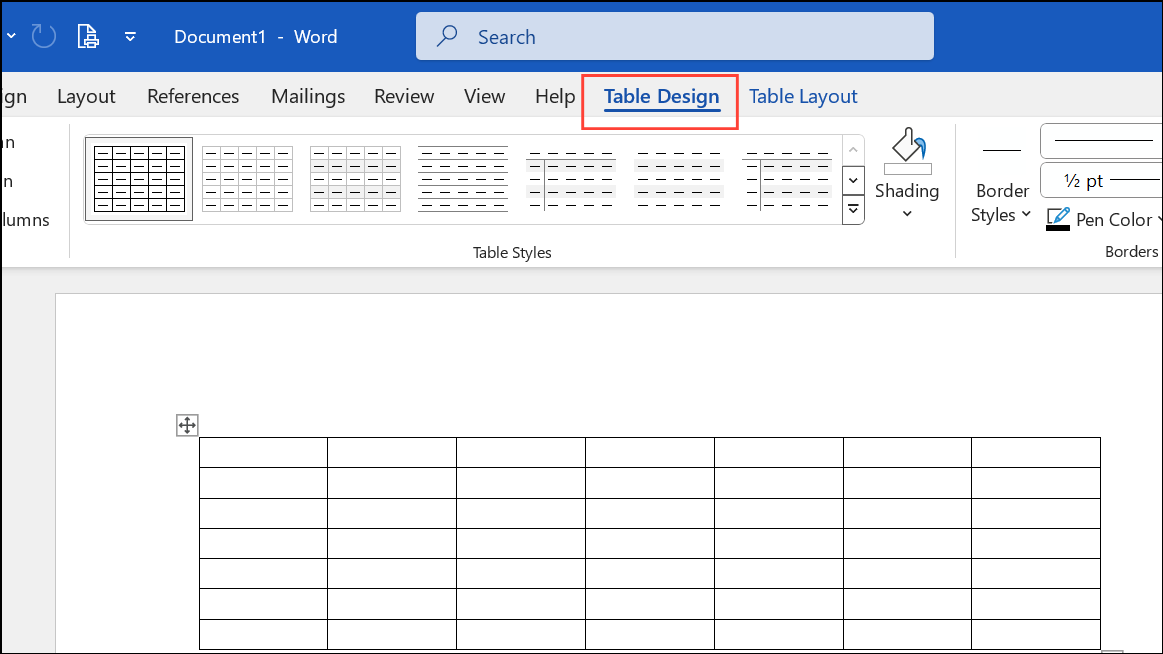
Step 1: Click anywhere inside your table to activate the Table Design tab in the ribbon. This tab provides a gallery of predefined table styles for quick formatting.
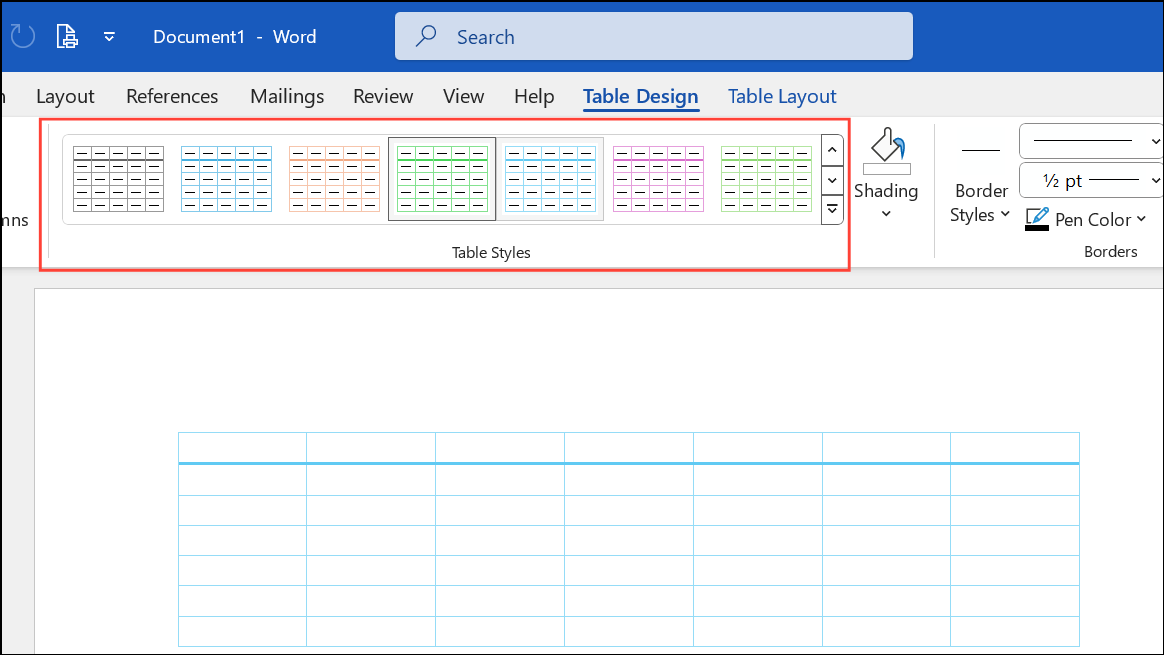
Step 2: Hover over styles to preview changes instantly. Click a style to apply it. Customize which parts of the table receive special formatting—such as header row, total row, or banded rows—by toggling checkboxes in the Table Style Options group.
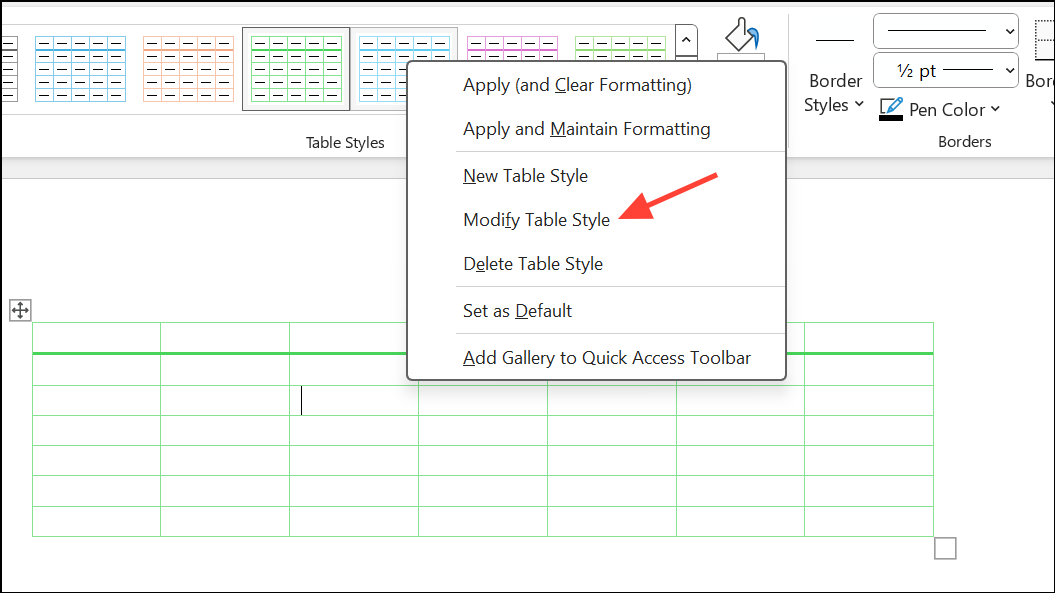
Step 3: For more control, right-click a style and select Modify Table Style. This allows you to adjust formatting for specific table elements (e.g., header row, first column, banded rows) and set your changes as the default for new tables.
Editing Table Structure and Layout
Step 1: To add or remove rows and columns, right-click within the table and select Insert or Delete. Alternatively, use the Layout tab to access insertion and deletion options.

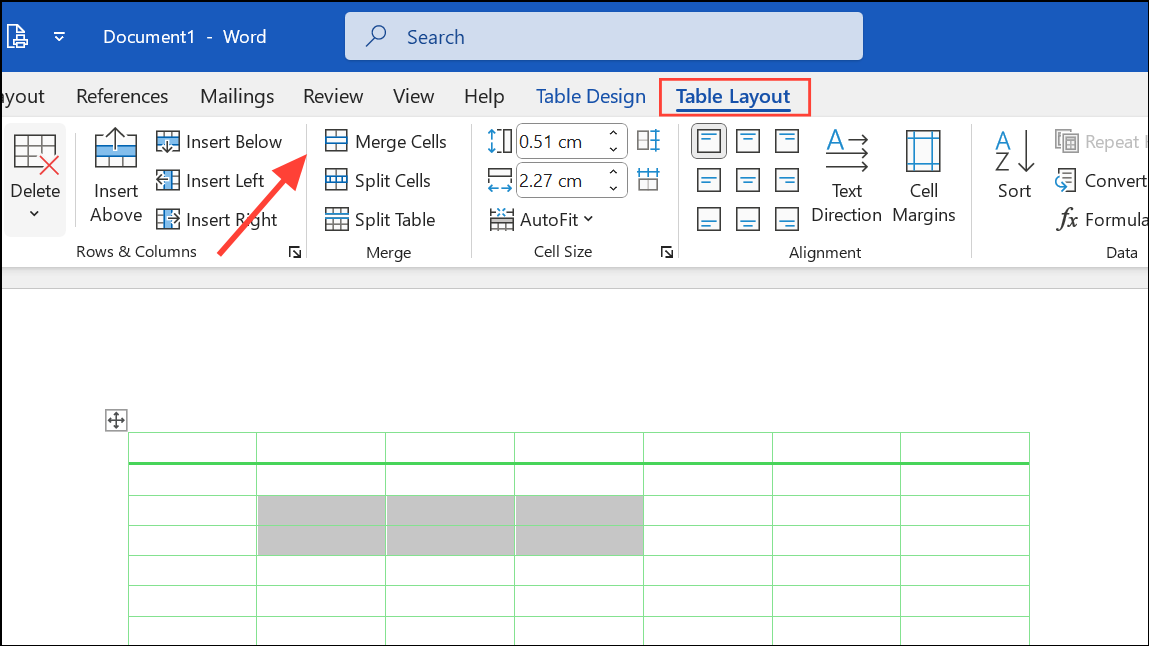
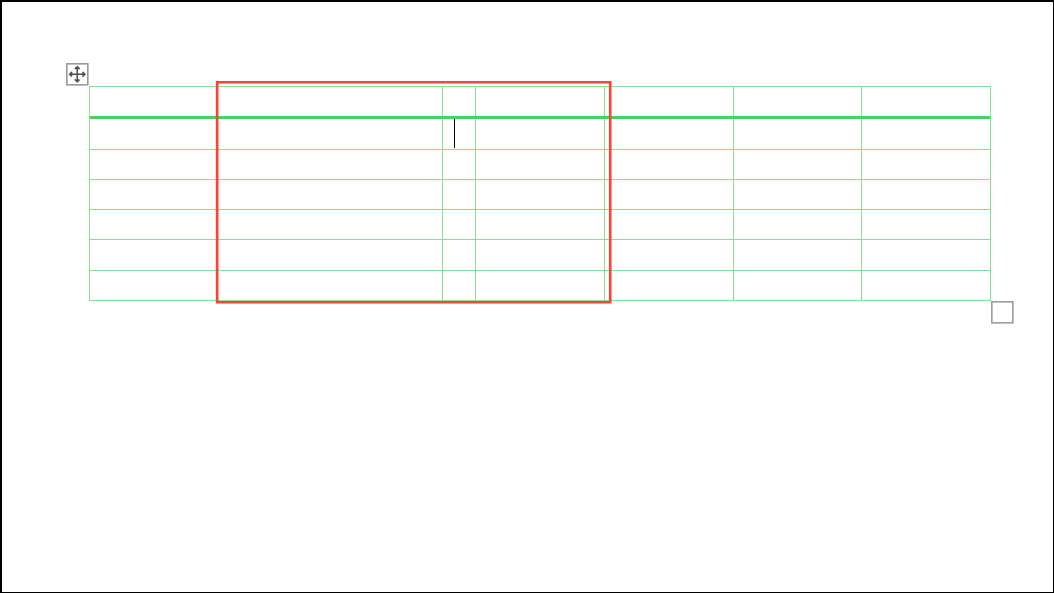
Step 2: Merge multiple cells by selecting them, then clicking Merge Cells under the Layout tab. To split a cell, select it and choose Split Cells, specifying the number of rows and columns.
Step 3: Adjust column widths and row heights by dragging borders, or enter precise values in the Table Properties dialog under the Row or Column tabs.
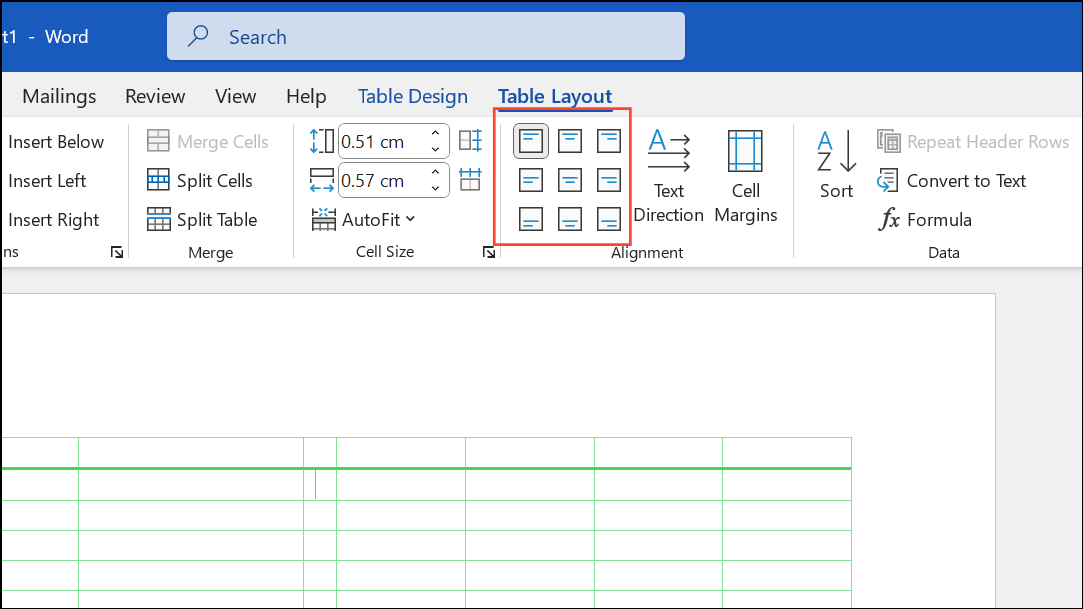
Step 4: Align text within cells using the Alignment group on the Layout tab. Choose from nine alignment options for horizontal and vertical positioning.
Managing Table Properties for Multiple Tables
For documents with many tables requiring the same property changes (such as removing preferred width settings), automating the process with a macro can save significant time.
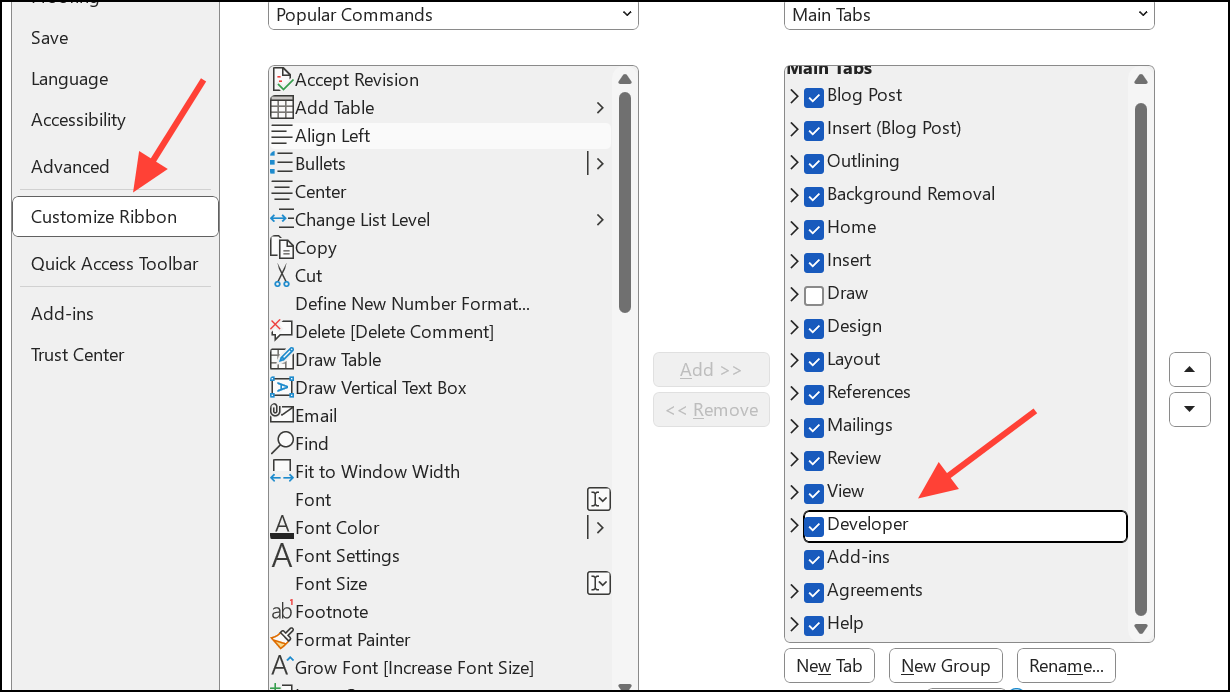
Step 1: Enable the Developer tab via File > Options > Customize Ribbon and check Developer.
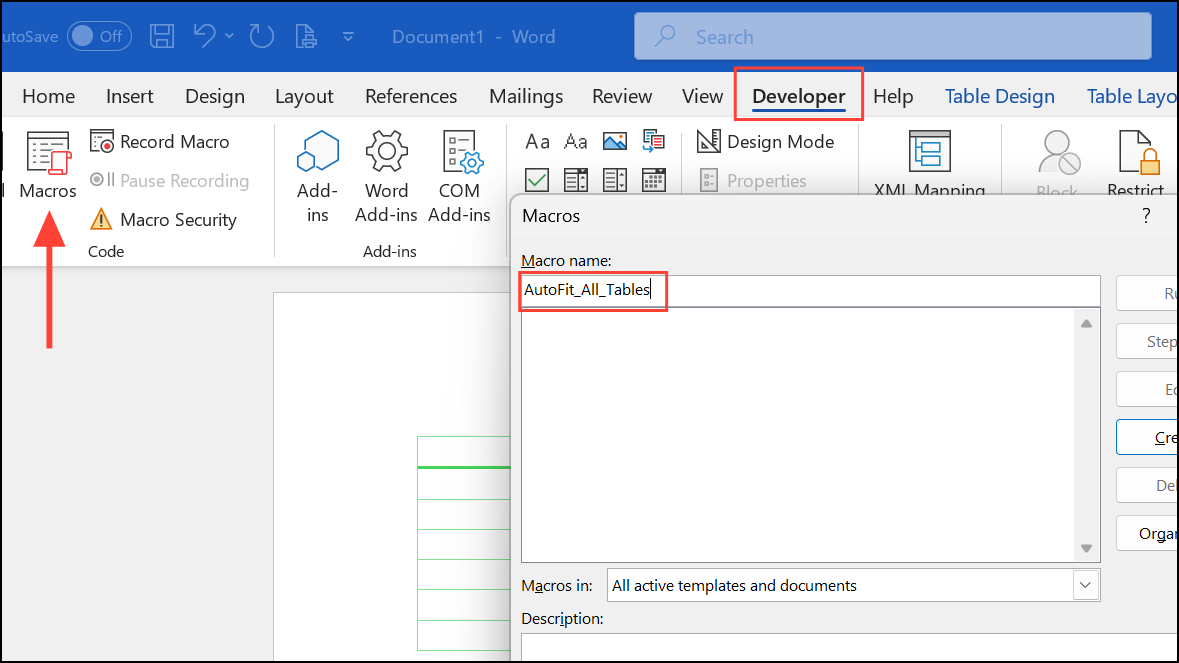
Step 2: Click Developer in the ribbon, then Macros. Name your macro (e.g., Autofit_All_Tables) and click Create.
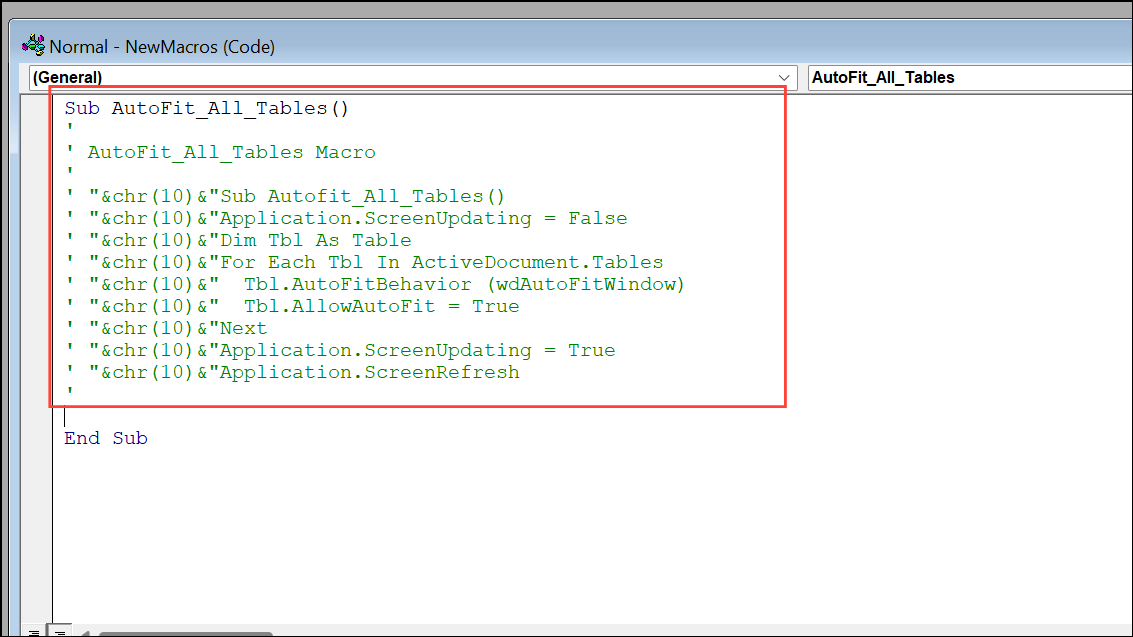
Step 3: In the macro editor, paste the following code to autofit all tables to the window and enable auto-fit:
Sub Autofit_All_Tables()
Application.ScreenUpdating = False
Dim Tbl As Table
For Each Tbl In ActiveDocument.Tables
  Tbl.AutoFitBehavior (wdAutoFitWindow)
  Tbl.AllowAutoFit = True
Next
Application.ScreenUpdating = True
Application.ScreenRefresh
MsgBox "Done", vbOKOnly
End Sub
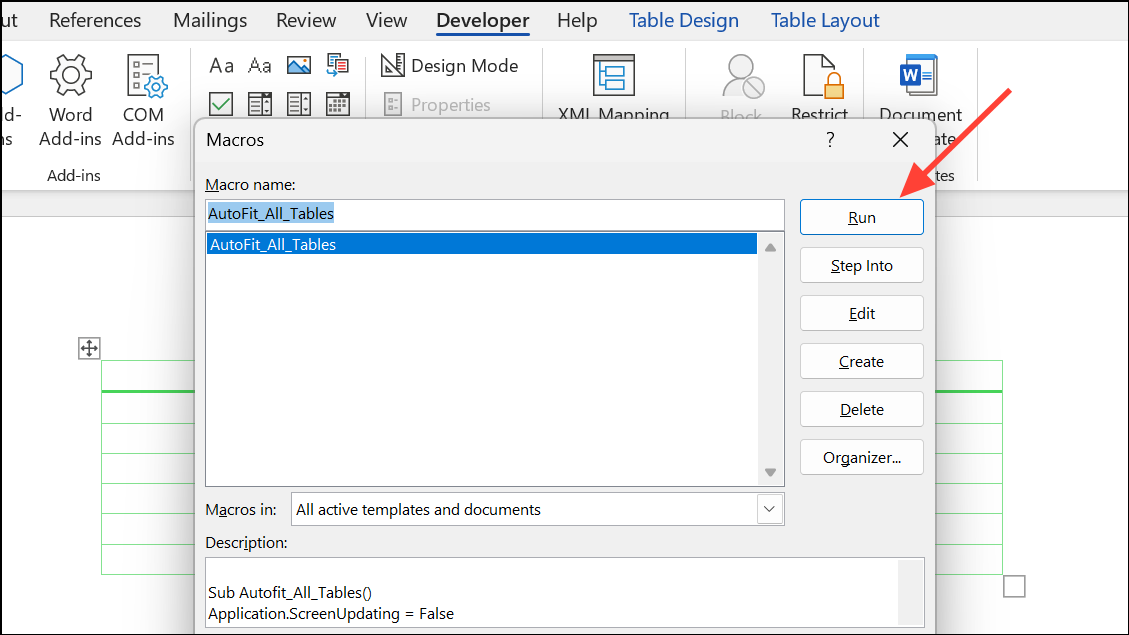
Step 4: Click the Run button. All tables in your document will be updated simultaneously, speeding up repetitive formatting tasks.
To set all tables to a specific width as a percentage of the page, use this macro instead:
Sub Set_Global_Table_Width()
Dim pT As Word.Table
For Each pT In ActiveDocument.Tables
 pT.PreferredWidthType = wdPreferredWidthPercent
 pT.PreferredWidth = 100
Next
MsgBox "Done"
End Sub
Improving Accessibility and Adding Alt Text
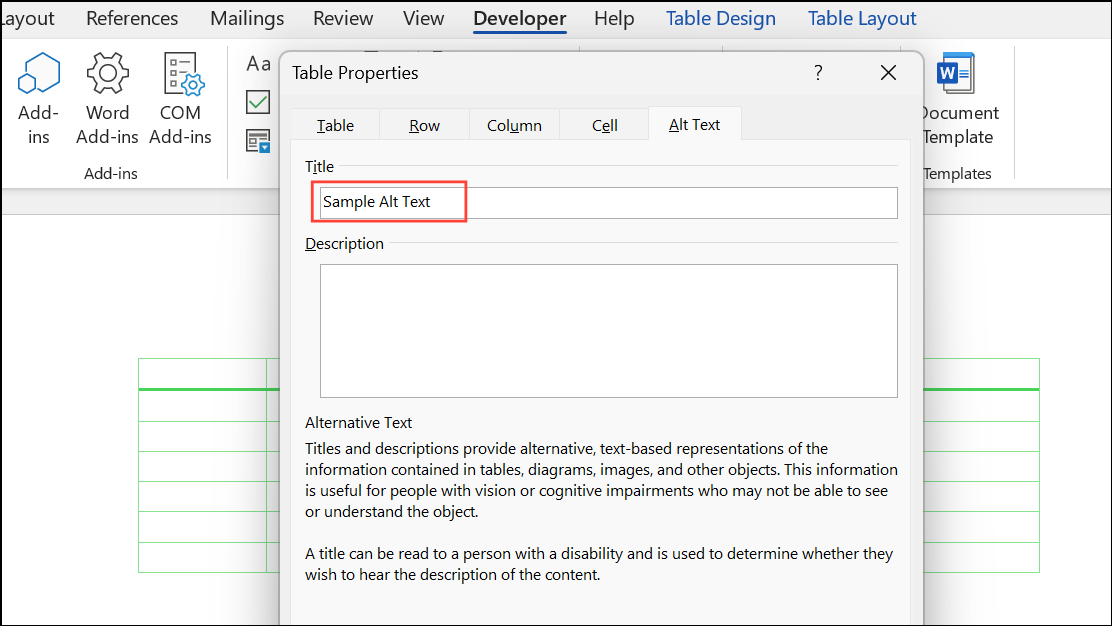
Step 1: To make tables accessible for screen readers, add alternative text. Right-click the table, choose Table Properties, then navigate to the Alt Text tab.

Step 2: Enter a concise description in the Description box, and if needed, a brief summary in the Title box. This helps users relying on assistive technology understand the table’s content and purpose.
Troubleshooting Common Table Issues
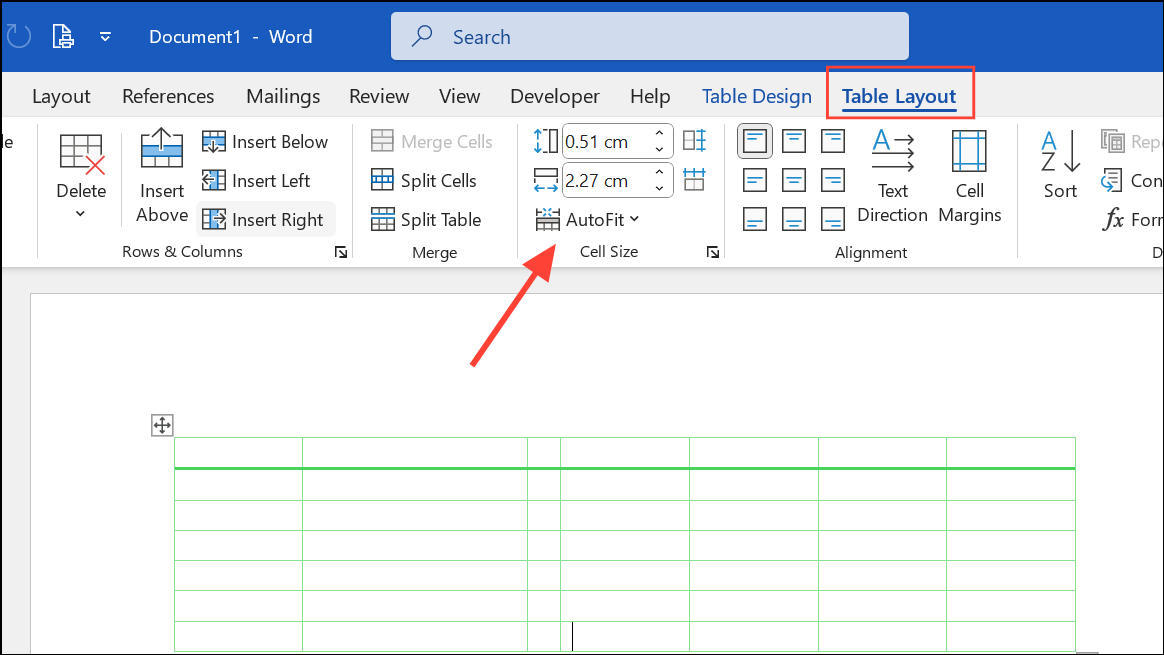
Step 1: If a table doesn’t fit on one page, reduce column widths or use the AutoFit Window command under the Layout tab. Switching page orientation to landscape can also help accommodate wider tables.
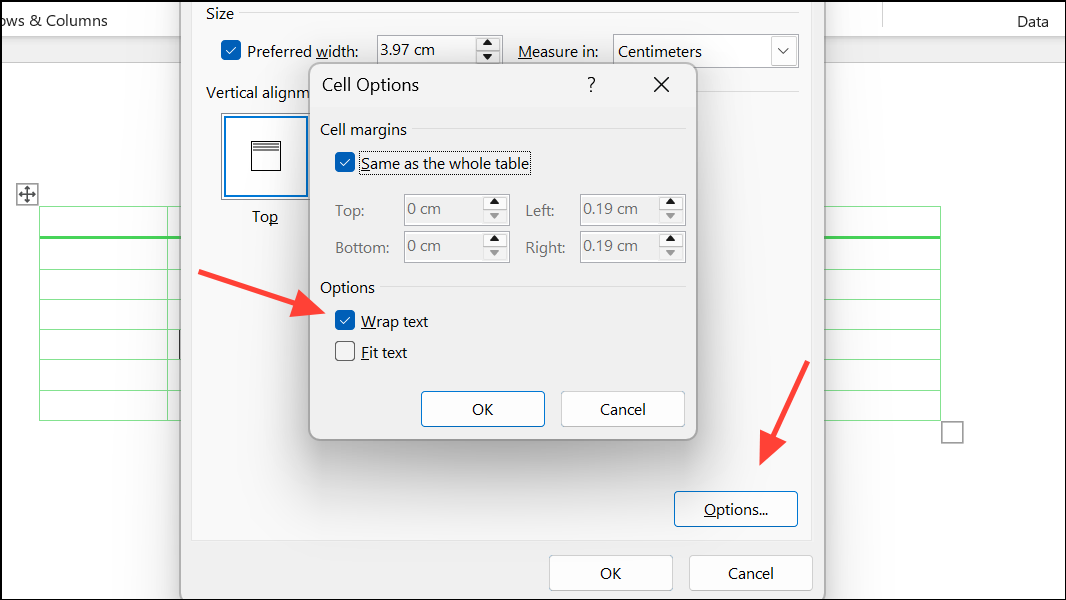
Step 2: For text that doesn’t wrap in cells, select the affected cells, open Cell Options from the Table Properties dialog, and ensure text wrapping is enabled.
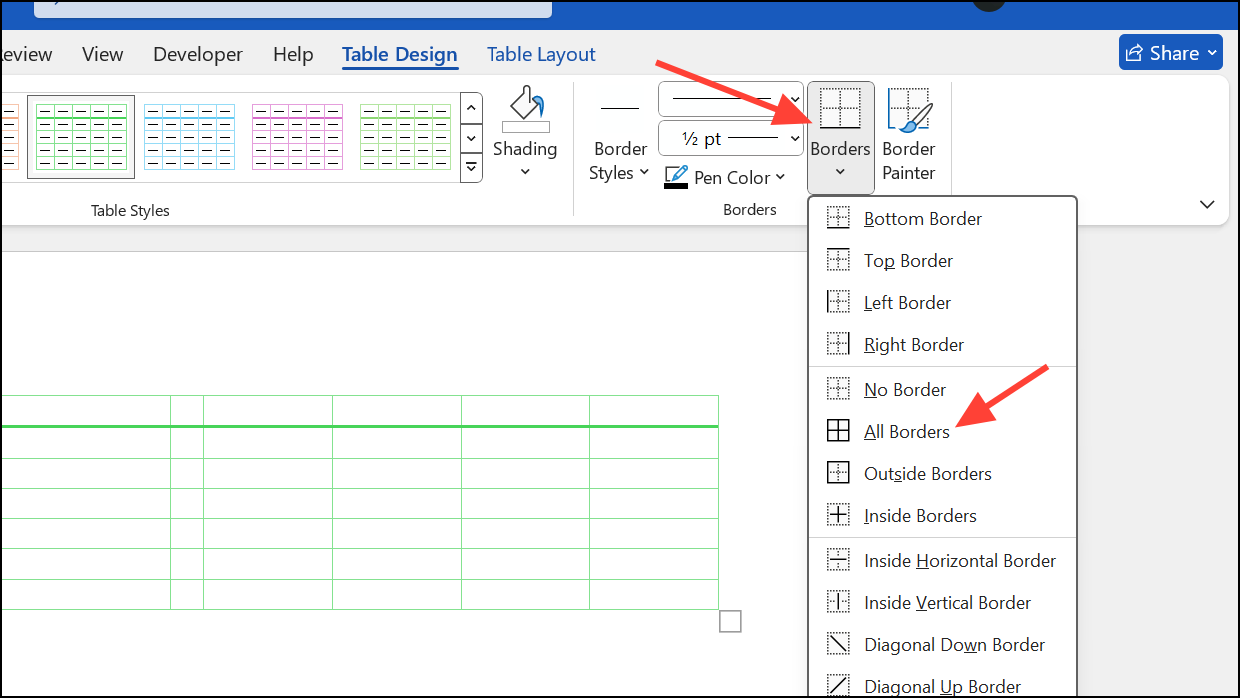
Step 3: If table borders aren’t printing, select the table, use the Borders menu on the Table Design tab to apply All Borders, and check print settings under File > Options > Display to confirm “Print drawings created in Word” is checked.
Refining table properties in Word optimizes document structure and readability. With these methods, you can efficiently display and modify table settings for both individual and multiple tables, resulting in polished and accessible documents.