Using a tool like 7-Zip simplifies the process of extracting all images from a Word document, saving both time and effort compared to manually saving each image.
Extracting all images from a Word document using 7-Zip
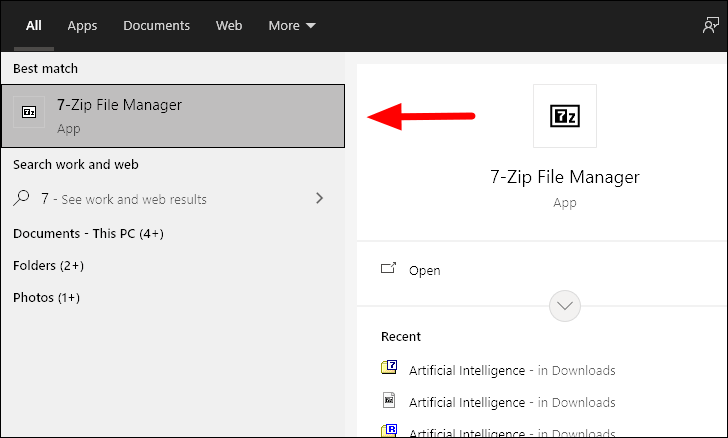
Download and install the 7-Zip file manager from 7-zip.org/download if you haven’t already. This tool allows you to extract the contents of a Word document, including all embedded images.
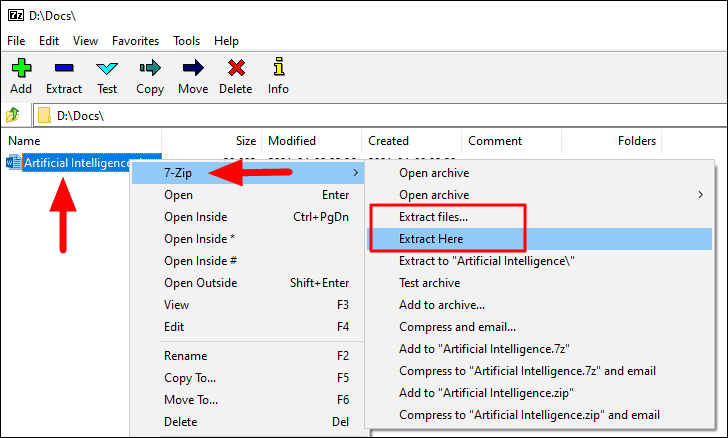
Right-click on the Word document file, hover over 7-Zip, and select Extract files... if you want to choose a destination folder, or Extract Here to extract the contents in the current directory. For this guide, we’ll select Extract files... to specify a destination.
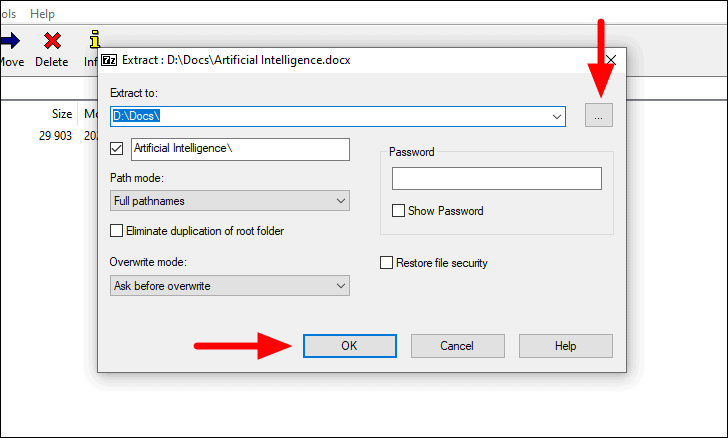
In the extraction window, click on the three dots near the top-right corner to browse and select the folder where you want the files extracted. Optionally, you can set a password in the provided fields. Once ready, click OK at the bottom to begin the extraction process.
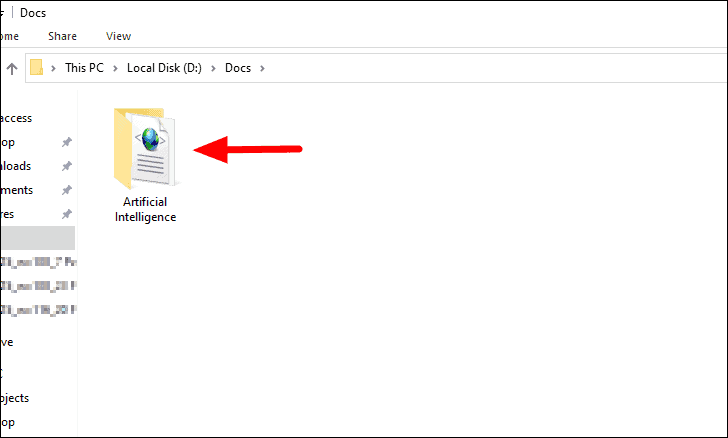
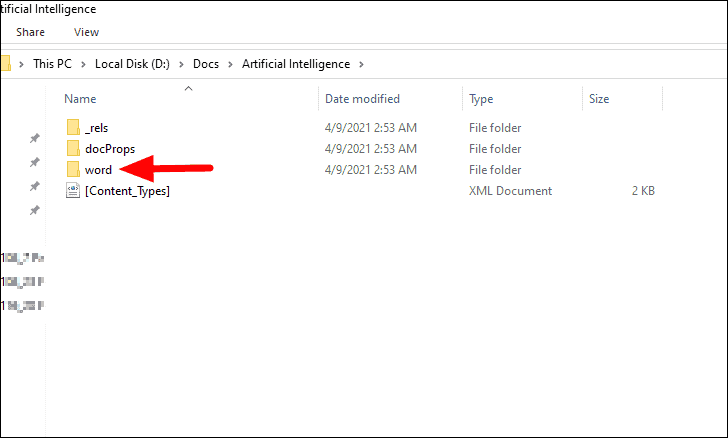
Inside the word folder, locate and open the media folder. Here, you will find all the images that were embedded in your Word document.
You can now copy these images to any desired location or use them as needed.
Saving multiple images by converting the document to a web page
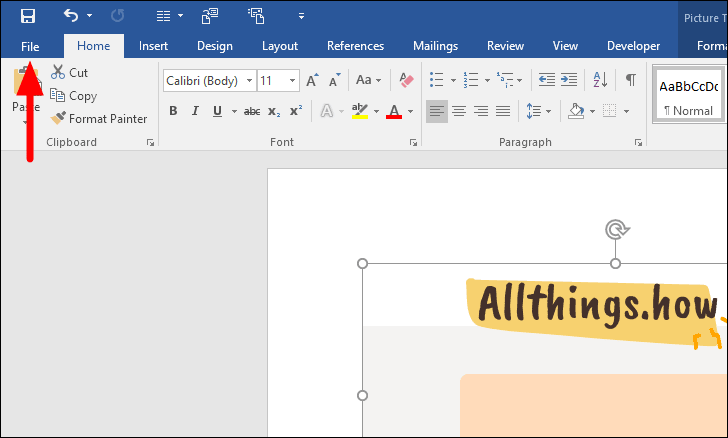
If you prefer not to use external tools, you can save all images from a Word document by converting it to a web page. This method allows you to extract all images at once without manually saving each one.
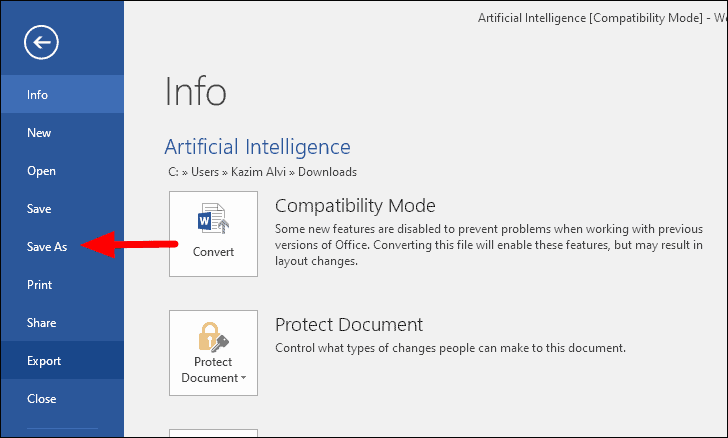
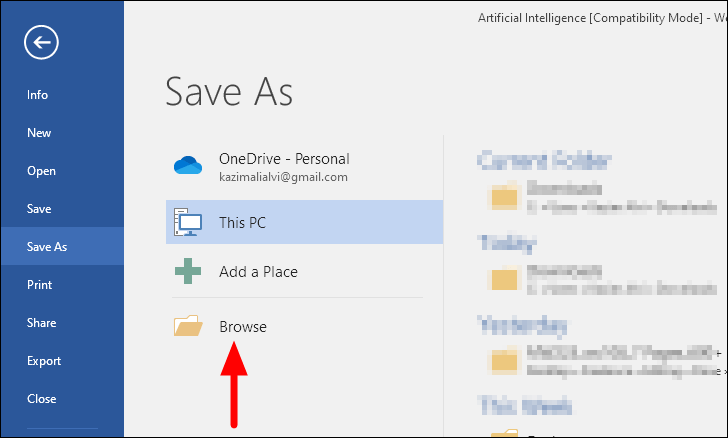
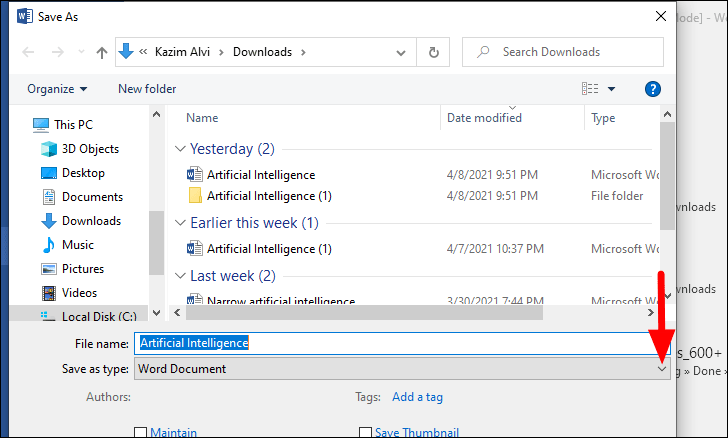
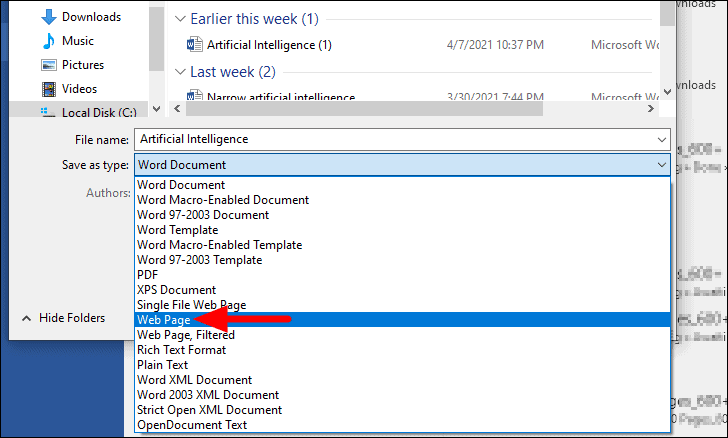
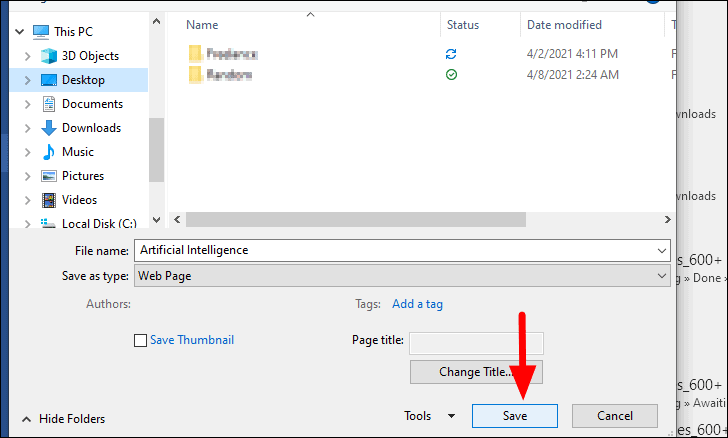
In the Save As dialog, navigate to the folder where you want to save the web page version of your document. Enter a name for the file in the File name text box if you wish to change it. Then, click on the drop-down menu next to Save as type to select a different file format.
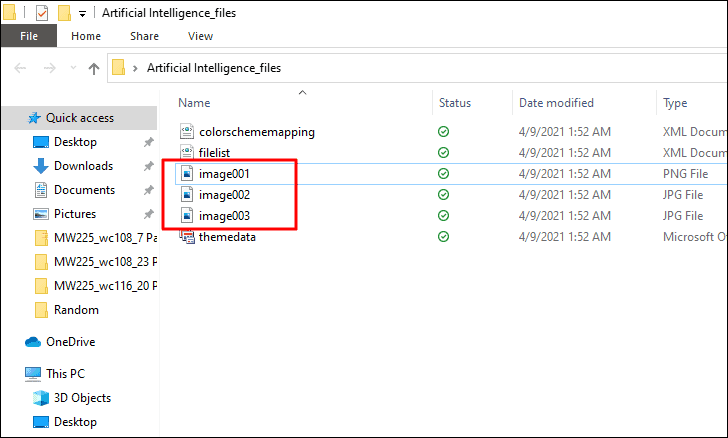
Navigate to the location where you saved the web page. You will find an HTML file and a folder with a similar name. Open the folder to access all the images from your document, along with other files necessary for the web page. You can now move the images to another folder or delete unnecessary files to keep only the images.
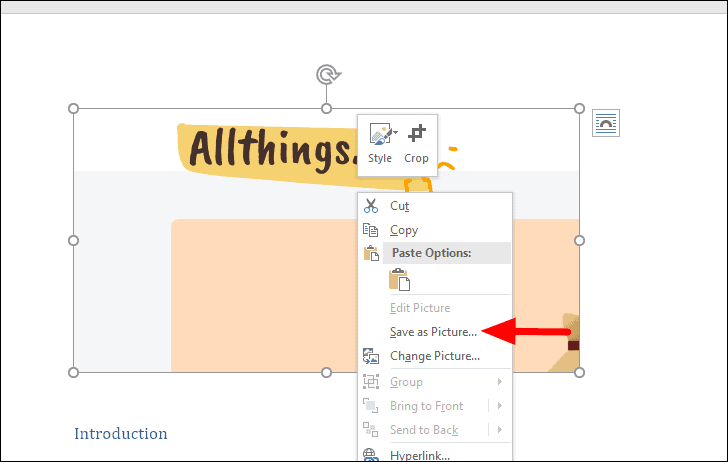
Manually saving images from Word
For documents with only a few images, manually saving each image might be sufficient. This method is straightforward and doesn’t require any additional tools, but it can be time-consuming for documents with many images.
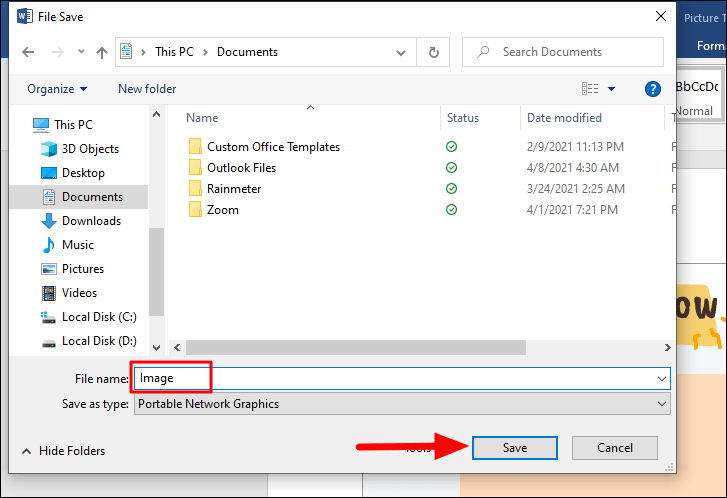
In the Save dialog, enter a name for the image in the File name field, choose the desired save location, and click OK to save the image.
Repeat these steps for each image you wish to save from the document.
Extracting images from a Word document is straightforward when you use the right method. Whether you utilize 7-Zip, convert the document to a web page, or manually save each image, you can efficiently obtain all the images you need.