
Microsoft Word’s picture editing tools allow users to make significant visual changes to images without leaving the document. Adding, adjusting, and modifying images in Word streamlines document creation and eliminates the need for separate photo editing software in most cases. Understanding the available options and how to apply them can save time and improve the overall appearance of your documents.
Editing Images in Word Using Picture Editing Tools
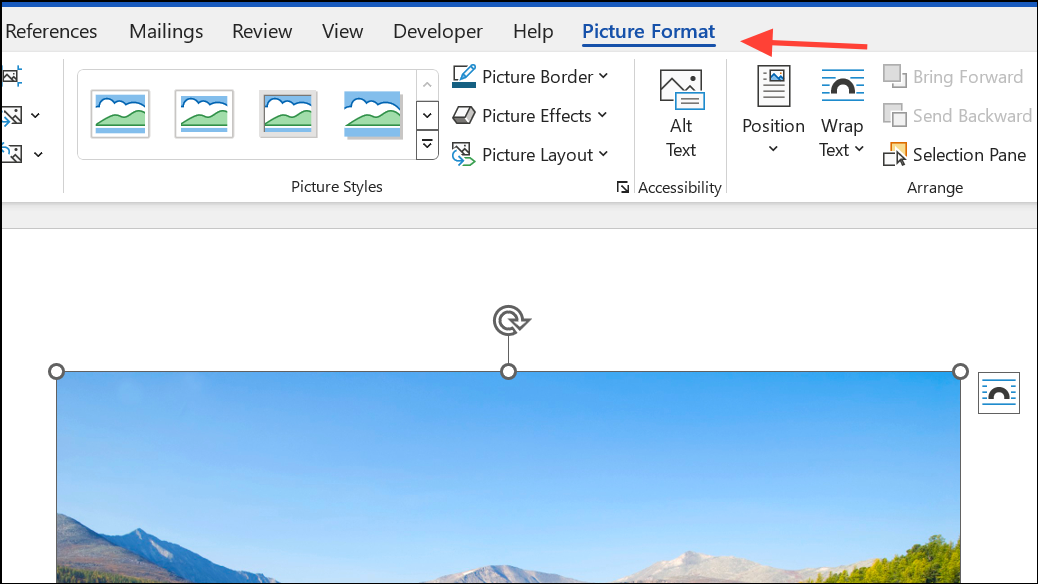
Step 1: Insert the image into your Word document by selecting the Insert tab at the top of the window, then clicking Pictures. Choose the image from your computer. Once inserted, click the image to make the Picture Format tab visible in the ribbon.
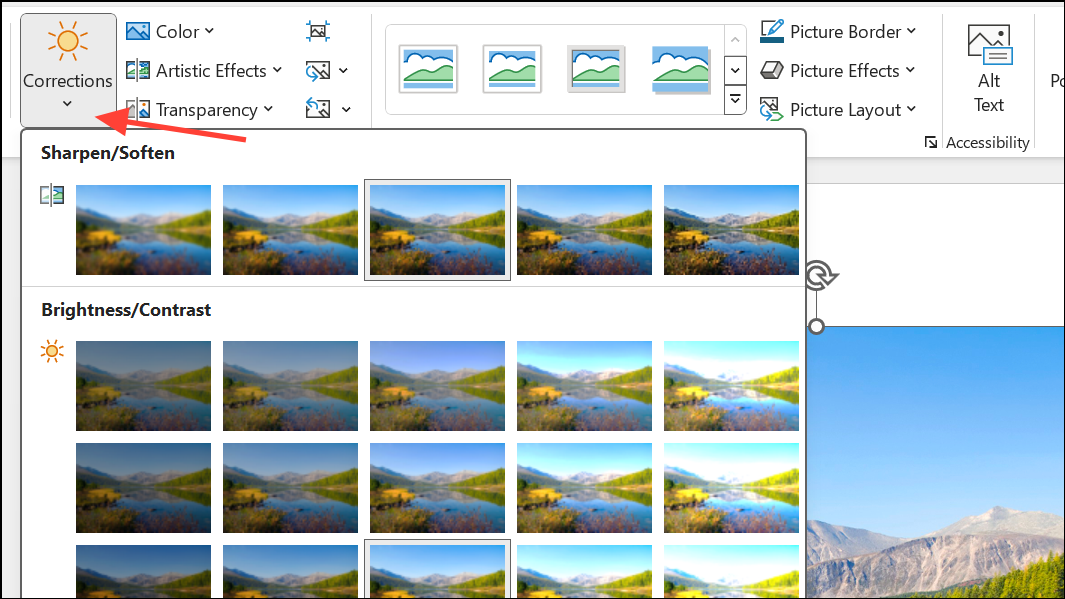
Step 2: Adjust the image’s brightness, contrast, or sharpness by selecting Corrections in the Picture Format tab. Hover over the available options to preview the result, then select the one that best fits your needs. These adjustments can help clarify details or make the image stand out against the document’s background.
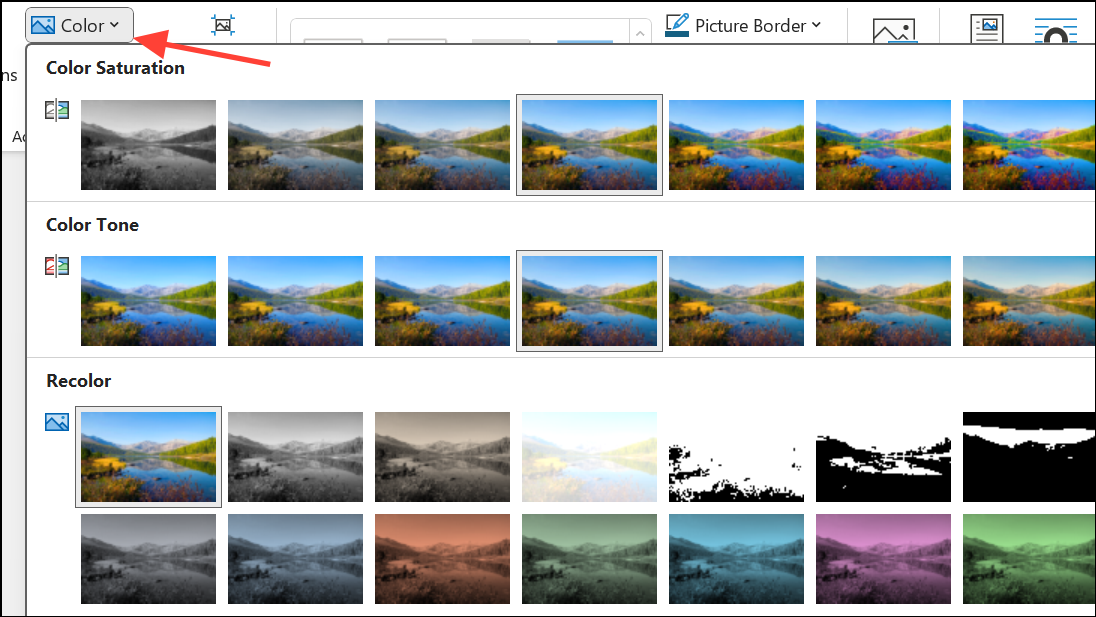
Step 3: Change the image’s color by choosing Color in the Picture Format tab. This feature allows you to apply a color wash, adjust saturation, or convert the image to grayscale or sepia. Color adjustments can help images match document themes or draw attention to specific elements.
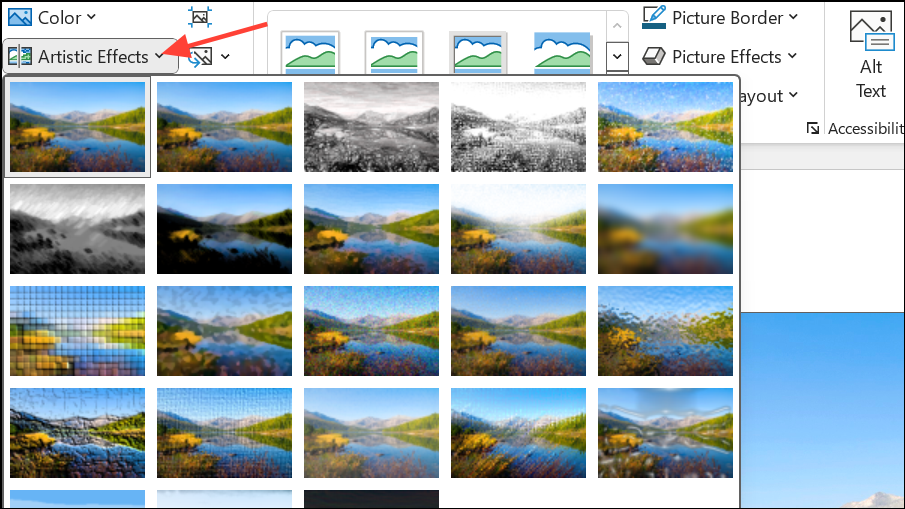
Step 4: Apply artistic effects by clicking Artistic Effects in the Picture Format tab. Options like sketch, blur, or paint effects can give your image a unique look. Word allows only one artistic effect per image at a time, so applying a new effect will remove the previous one.
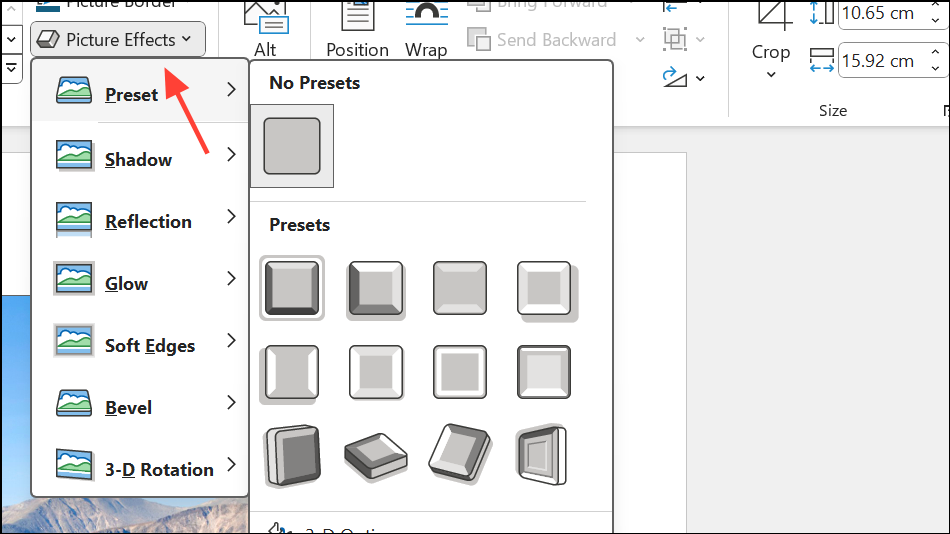
Step 5: Add picture effects such as shadows, reflections, glow, soft edges, bevels, or 3-D rotation by selecting Picture Effects in the Picture Format tab. These effects can help images appear more dynamic or visually distinct within the document.
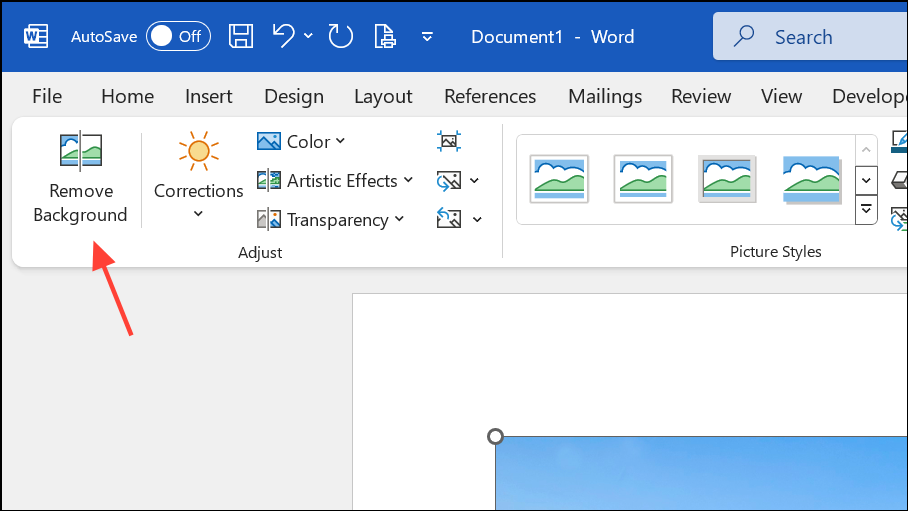
Step 6: Remove the background from an image by clicking Remove Background in the Picture Format tab. Word automatically tries to detect and highlight the background for removal, but you can manually mark areas to keep or discard. This tool is useful for isolating the main subject of a photo or graphic.
Step 7: Compress the image by selecting Compress Pictures in the Picture Format tab. Choose the desired resolution and whether to apply compression to all images in the document. Compression reduces file size, making documents easier to share and store, but may lower image quality.

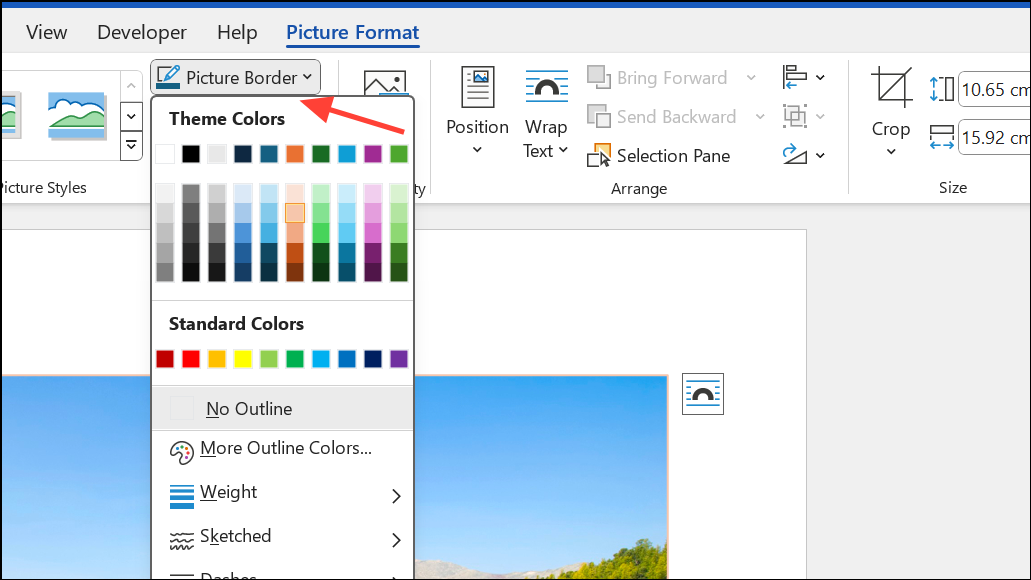
Step 8: Add a border by clicking Picture Border in the Picture Format tab. Select the border color, weight, and type to visually separate the image from surrounding content.
Step 9: Reset the image to its original state by selecting Reset Picture in the Picture Format tab. This undoes all edits and restores the image’s original appearance and size.
Limitations and Workarounds for Editing Text in Images
Word’s picture editing tools do not allow direct editing or removal of text that is part of an image. If you need to edit or erase words embedded in a picture, Word and other Office programs cannot accomplish this directly. Instead, you can cover unwanted text by placing a shape or text box with a matching background color over the area. This approach hides the text but does not actually remove it from the image file.
For more advanced editing, such as removing or changing text within an image while keeping the background intact, you’ll need to use dedicated image editing software. Programs like Photoshop or GIMP provide features such as the clone stamp or healing brush, which can blend the area with surrounding pixels and make the text disappear. These tools offer much greater precision and flexibility, but require exporting the image from Word and re-importing it after editing.
Troubleshooting Common Issues with Image Editing in Word
If you paste an image into Word and see only gray dots or a frame around the edges, you may have inserted the image with a frame or as part of a grouped object. To resolve this, try selecting the image and cutting it from the document. If a frame remains, delete the frame and then paste the image again. For best results, use the Insert tab to add images rather than pasting, as this maintains image formatting and compatibility with Word’s editing tools.

When working with multiple images, saving them locally and then inserting them through the Insert tab or dragging them into the document from your file explorer can streamline the process. This method also ensures that images are embedded correctly and are less likely to cause formatting issues when sharing the document.
Word’s picture editing tools provide a range of options for adjusting and modifying images directly within your documents, but for complex edits—especially those involving text within images—external image editors are necessary. Regularly saving your document and compressing images will help keep your files manageable and easy to share.