
Windows 11 offers color filters that enhance the visual experience, especially for users with color vision deficiencies like color blindness. These filters are now conveniently located within the Accessibility settings, making them easier to find and use. This guide will show you how to enable and customize color filters on your Windows 11 PC.
Follow these steps to activate and utilize color filters:
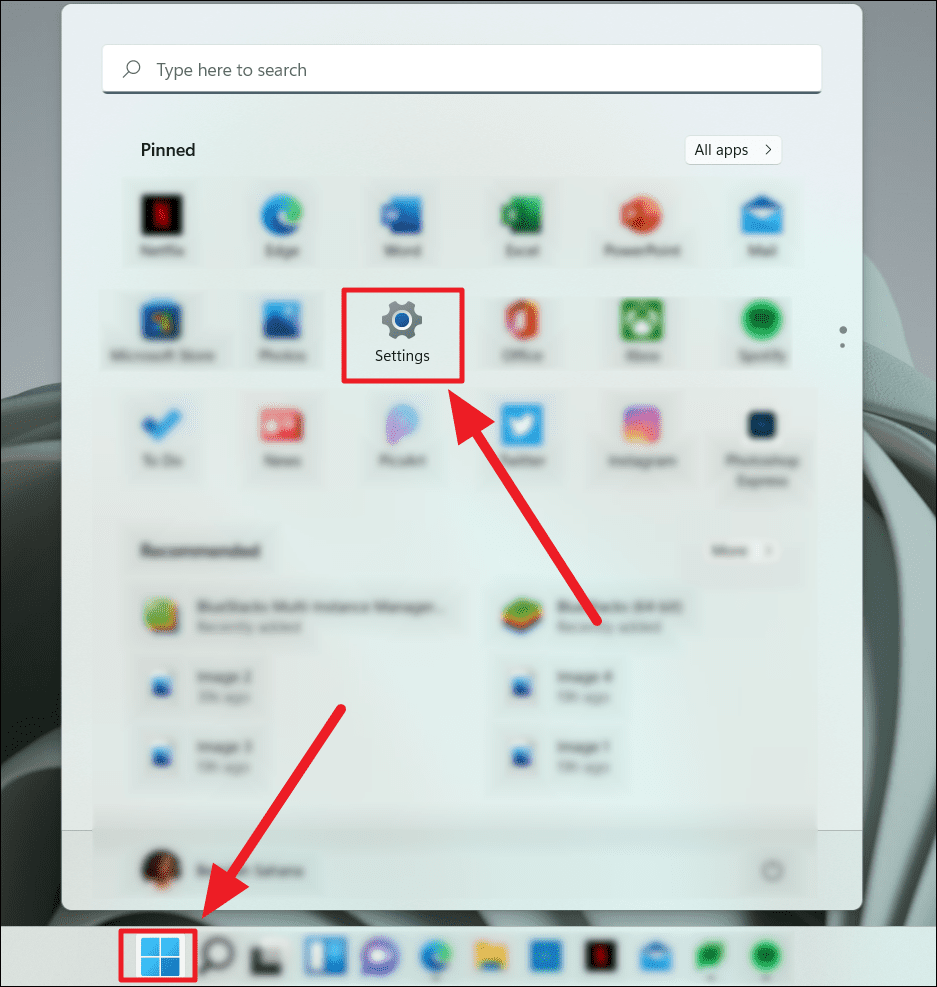
- Open the Settings app on your computer. You can do this in several ways:
- Click the Windows button on the taskbar and select Settings from the pinned apps.
- Right-click the Windows button and choose Settings from the pop-up menu.
- Press the
Windowskey +Ion your keyboard to open Settings directly.
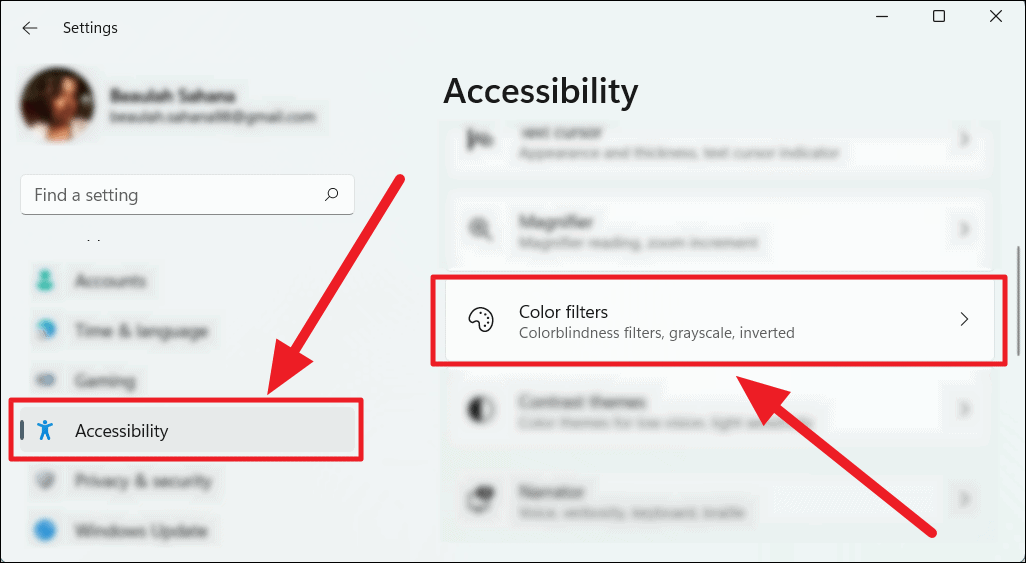
- In the Settings window, click on Accessibility from the left-hand menu.
- Under the Vision section, select Color filters.
- In the Color filters settings, you’ll see a preview section at the top that shows how the selected filter affects colors.
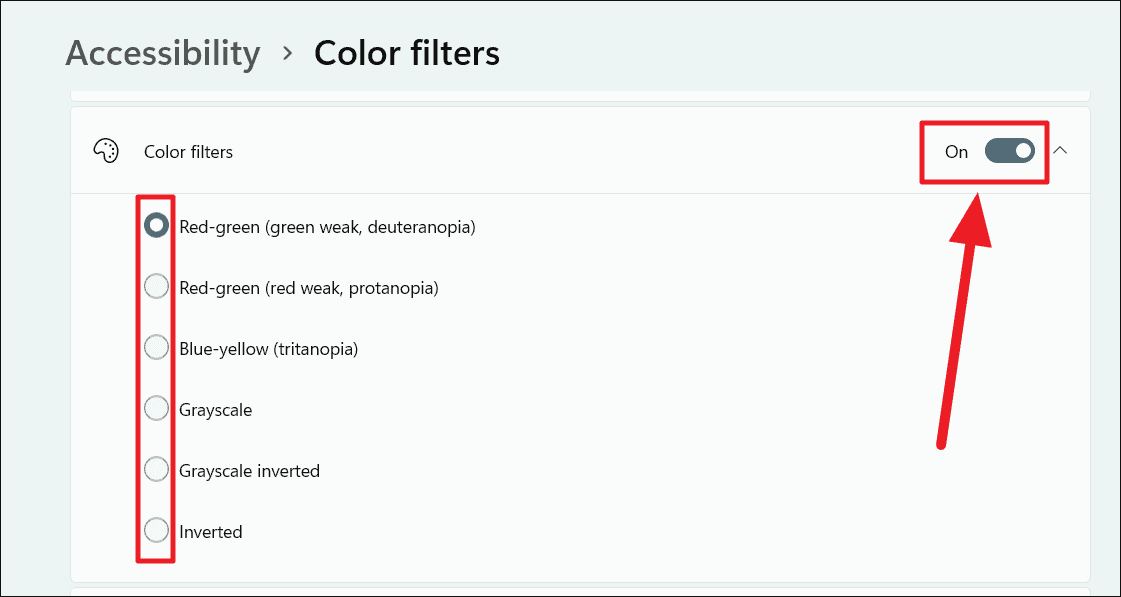
- Toggle the switch next to Color filters to On to enable the feature.
- Select the color filter that suits your needs by clicking the corresponding radio button. Windows 11 offers six filters:
- Grayscale.
- Invert.
- Grayscale Inverted.
- Deuteranopia (Red-green).
- Protanopia (Red-green).
- Tritanopia (Blue-yellow).
- The changes will take effect immediately, and you can preview them in the color filter preview section.
By following these steps, you can customize your display to better suit your visual needs. The color filters in Windows 11 are a helpful tool for improving accessibility and user comfort.


