
Remote Desktop in Windows 11 is a powerful feature that enables users to connect to and control another computer remotely. This functionality is essential for tasks such as troubleshooting, accessing files, running applications, or managing network resources without being physically present at the remote location. While Windows 11 comes with Remote Desktop capabilities built-in, they are disabled by default. This guide will show you various ways to enable and use Remote Desktop on your Windows 11 PC.
Enable Remote Desktop via Settings
The simplest way to enable Remote Desktop on Windows 11 is through the Settings app. Follow these steps to turn on the feature:
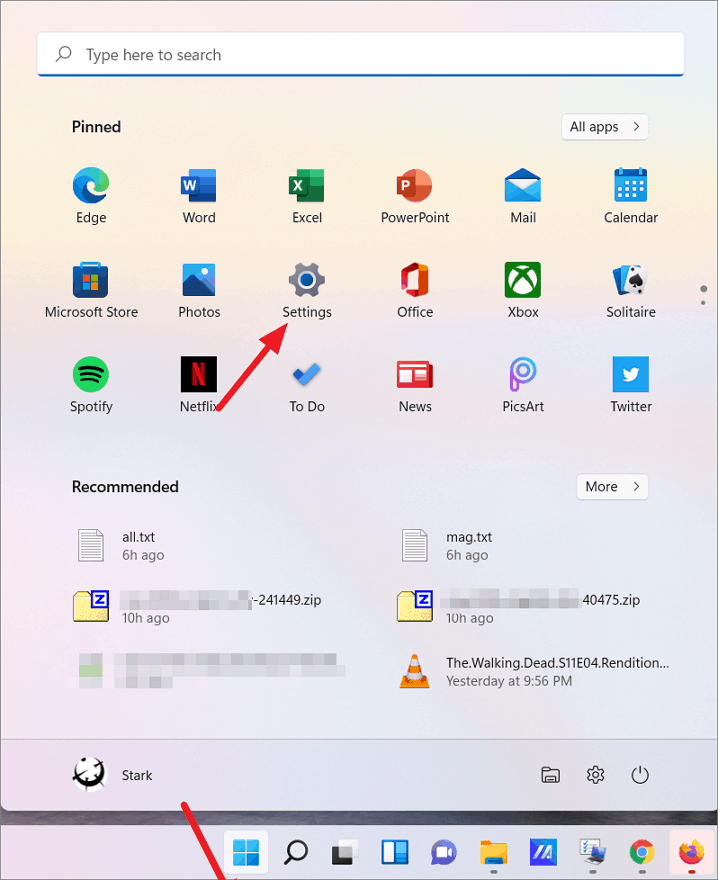
- Open the Settings app by clicking the
Startbutton and selecting the Settings icon, or by pressingWindows+I.
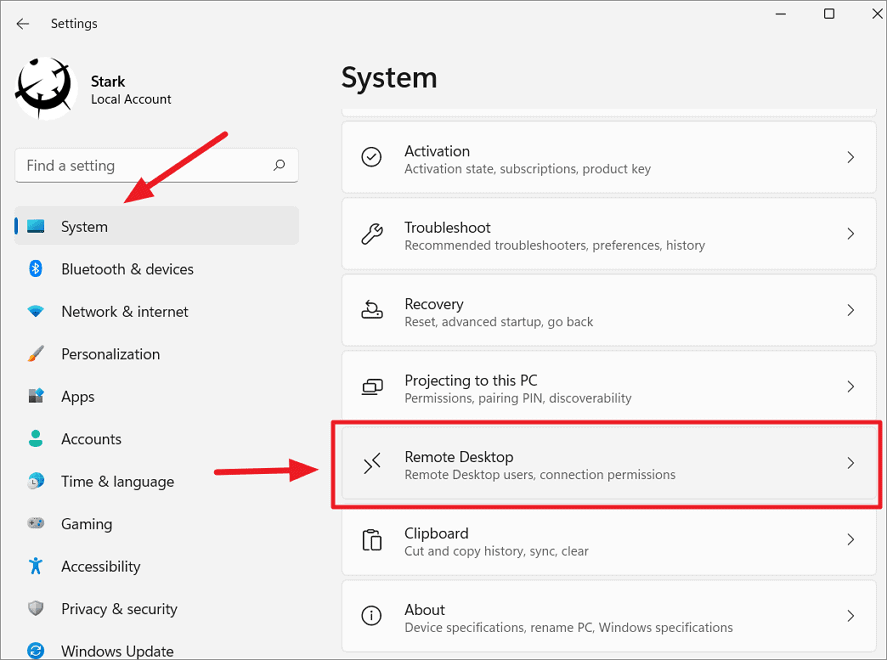
- In the Settings window, select the System tab on the left-hand side.
- Scroll down on the right pane and click on Remote Desktop.
- Toggle the Remote Desktop switch to the On position.
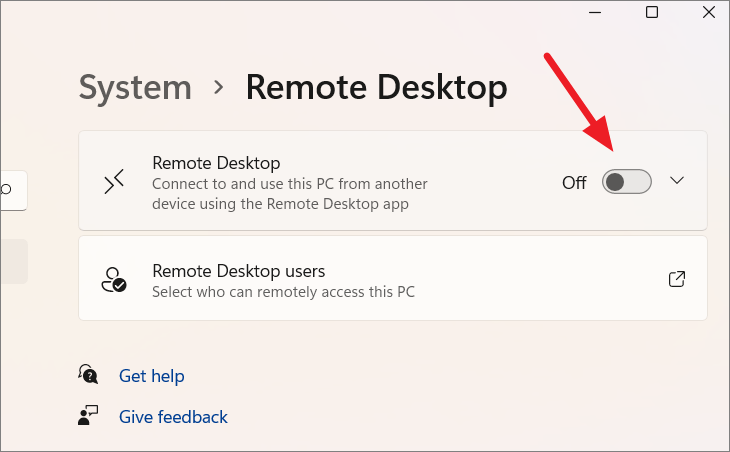
- When prompted with a confirmation dialog, click Confirm to enable Remote Desktop.

Once enabled, you can configure additional settings:
- Network Level Authentication (NLA): Check the option “Require devices to use Network Level Authentication (NLA) to connect” to enhance security by requiring users to authenticate before establishing a connection. If you’re connecting from older Windows versions like XP or Vista, you might need to uncheck this option.
- Remote Desktop port: Ensure the Remote Desktop port shows as 3389, which is the default port used for Remote Desktop connections.
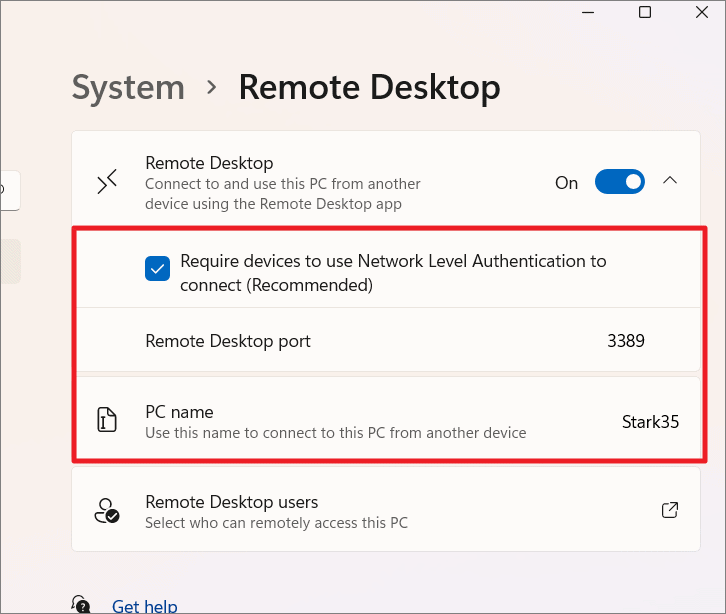
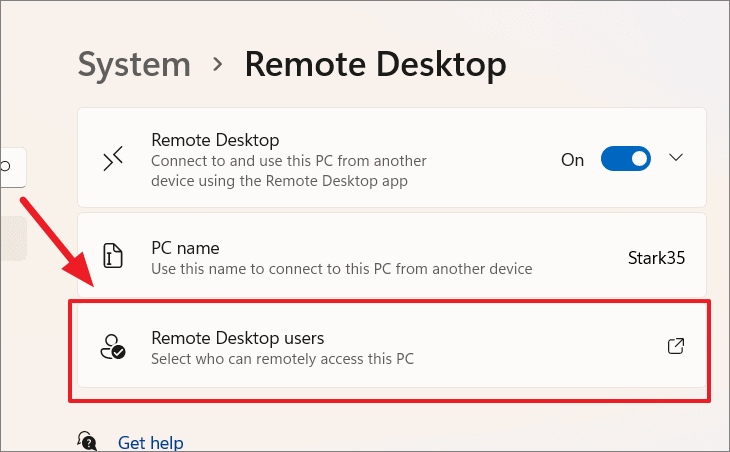
You can use the PC name displayed on this screen to connect to this computer from another device on the network.
Add Users to the Remote Desktop Users Group
By default, only users in the Administrators group have remote access. To allow other users to connect remotely:
- On the Remote Desktop settings page, click on Remote Desktop users.
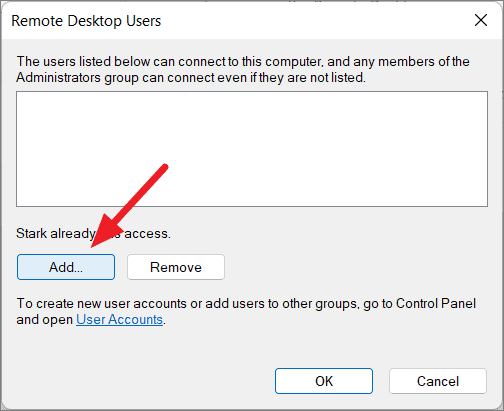
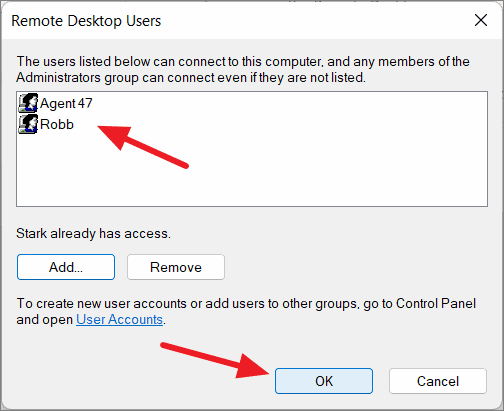
- In the Remote Desktop Users dialog, click Add.
- Enter the username or email address of the user you want to add and click Check Names to verify.
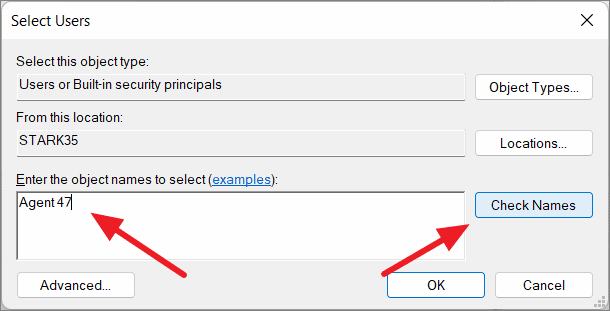
- Once verified, click OK to add the user to the Remote Desktop Users group.

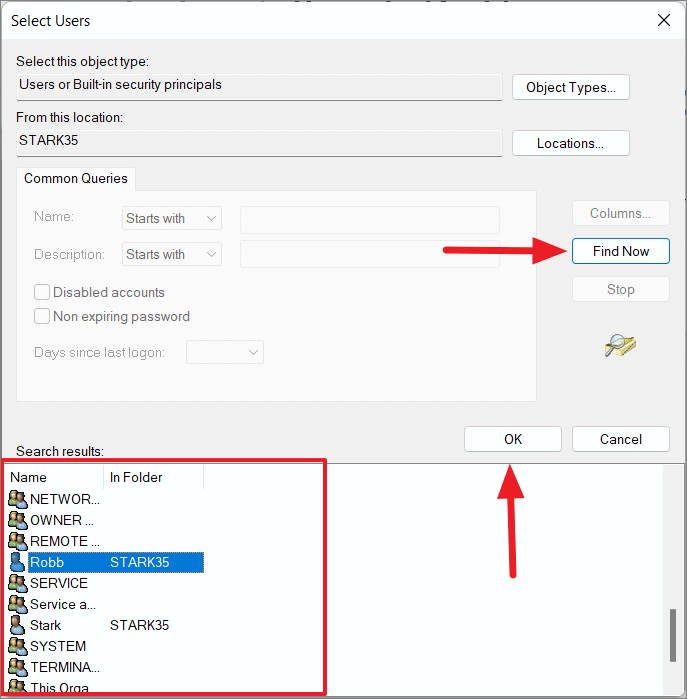
If you’re unsure of the username, click on Advanced, then Find Now to select from a list of existing users.
After adding the users, they will appear in the list of Remote Desktop Users. Click OK to finalize.
Enable Network Discovery
To allow your computer to be discoverable on the network and to find other devices, enable network discovery:
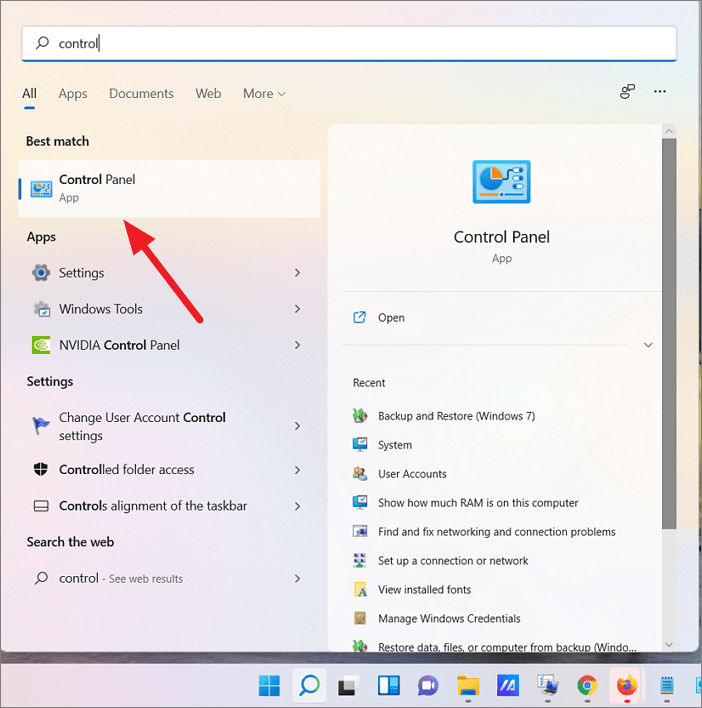
- Open the Control Panel by searching for it in the Windows search bar.
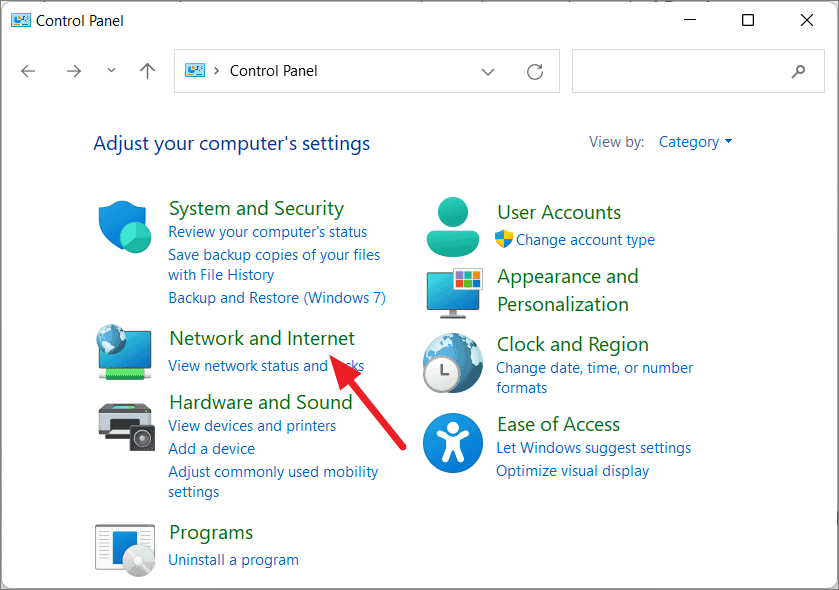
- Click on Network and Internet.
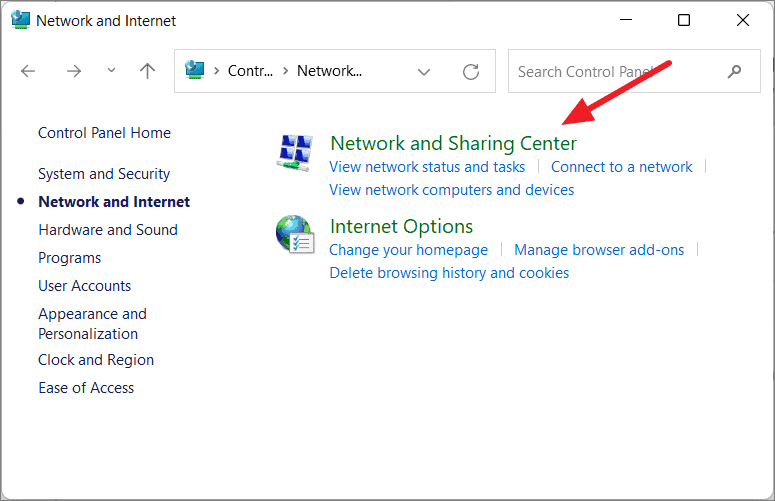
- Select Network and Sharing Center.
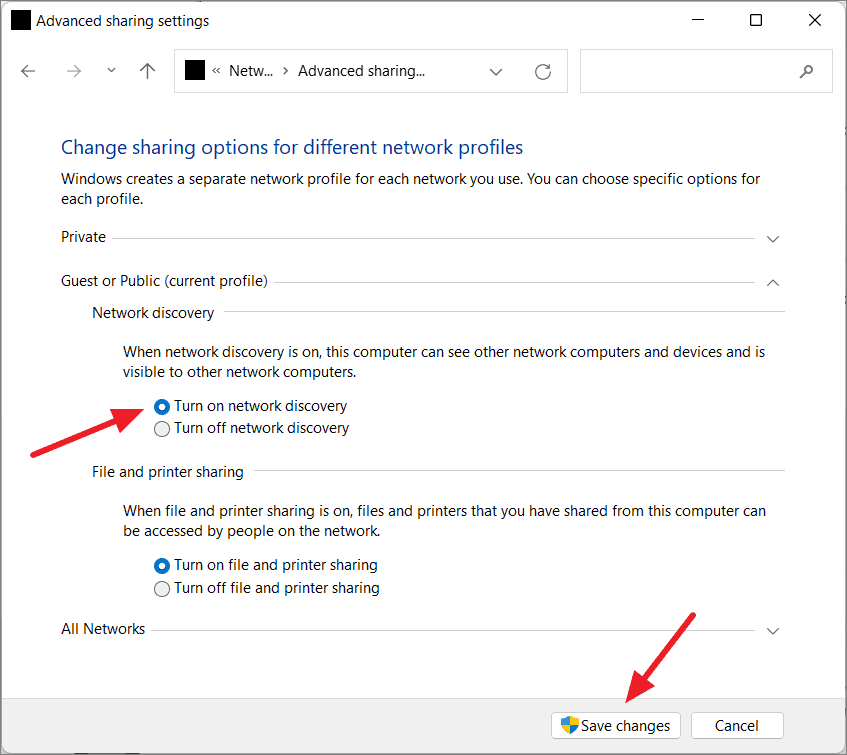
- In the left pane, click on Change advanced sharing settings.
- Under the Network discovery section, select Turn on network discovery, then click Save changes.
Your computer is now set up for remote connections within your local network.
Allow Remote Desktop Through Windows Firewall
Windows Firewall might block incoming Remote Desktop connections. To allow Remote Desktop through the firewall:
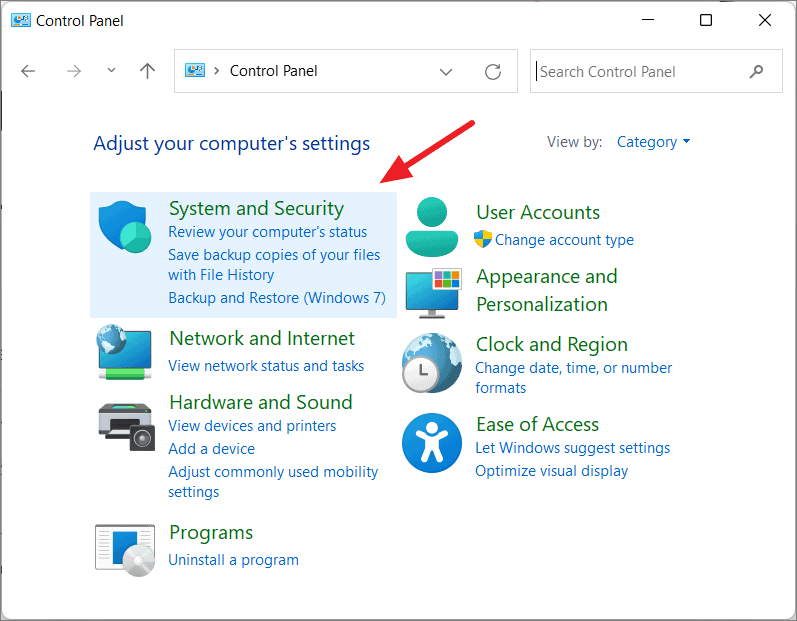
- Open the Control Panel and click on System and Security.
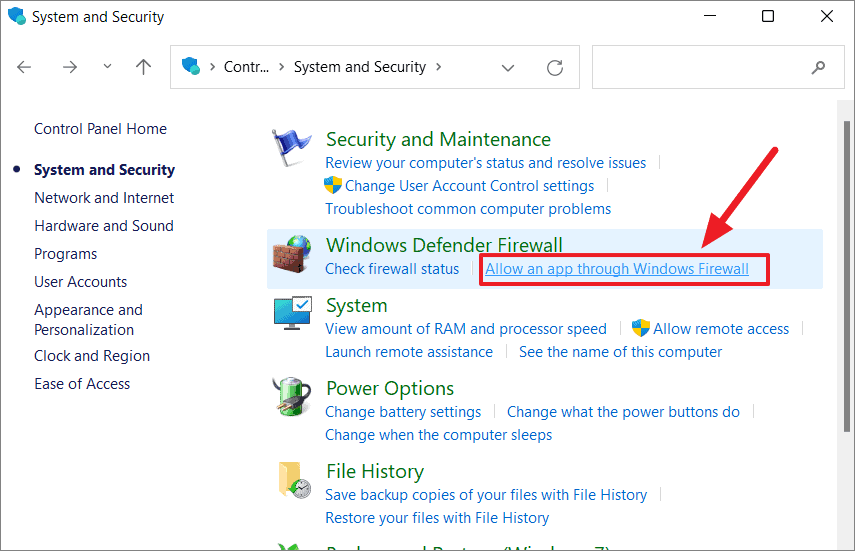
- Select Windows Defender Firewall.
- On the left side, click on Allow an app or feature through Windows Defender Firewall.
- Click on Change settings to modify the allowed applications.
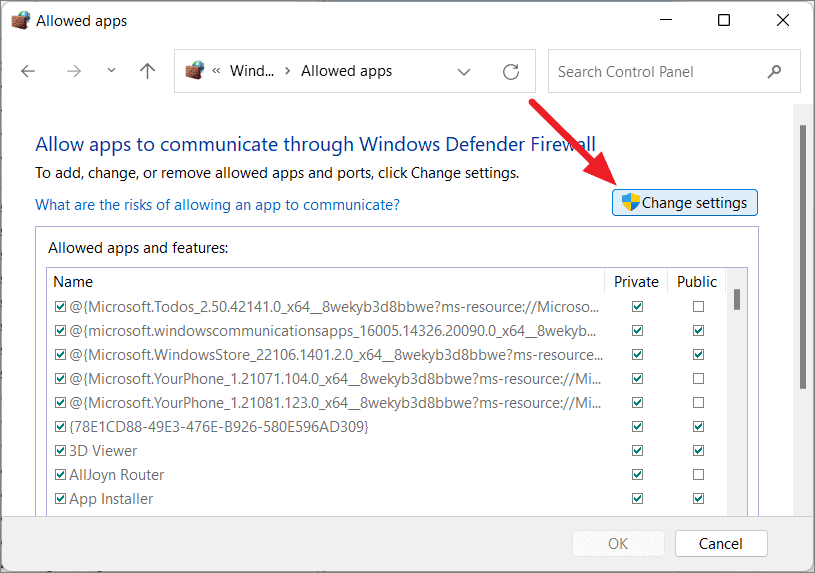
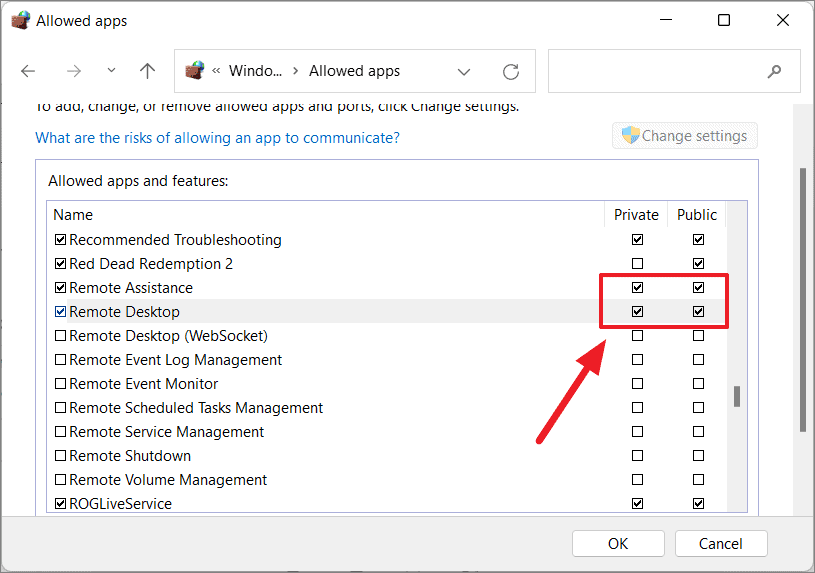
- Scroll down and check the boxes next to Remote Desktop and Remote Assistance.
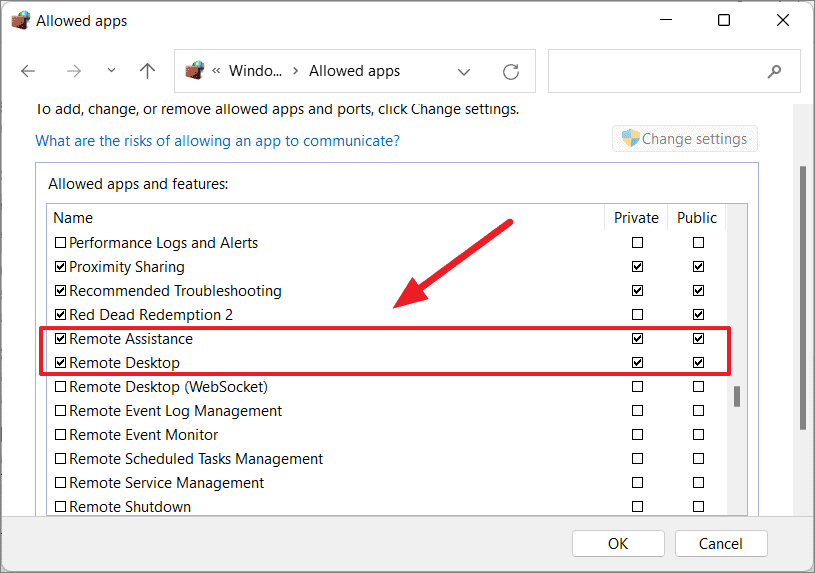
- Decide whether to allow connections on Private or Public networks by checking the appropriate boxes.
- Click OK to save the changes.
Connect to a Remote Desktop in Windows 11
Now that Remote Desktop is enabled, you can connect to another computer on your network:
Find Your Computer Name or IP Address
You’ll need the computer name or IP address of the remote PC:
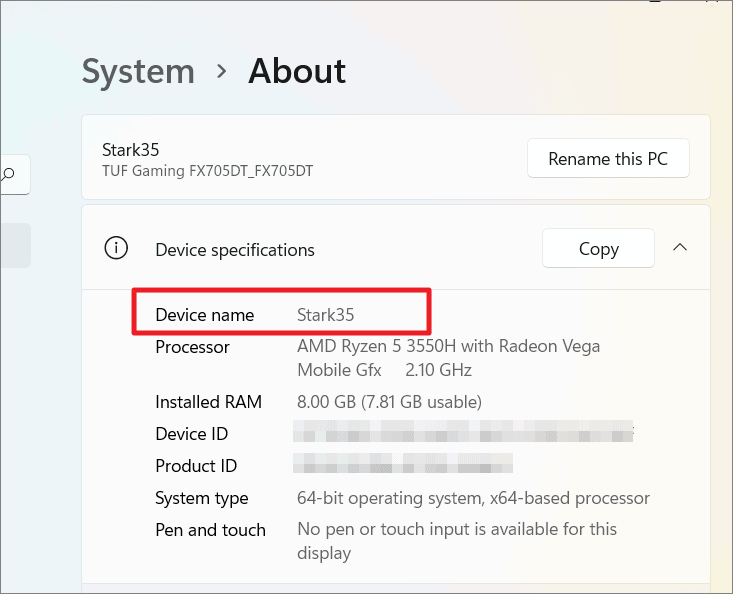
- To find the computer name, go to Settings > System > About. The PC name will be listed there.
Alternatively, to find the IP address:
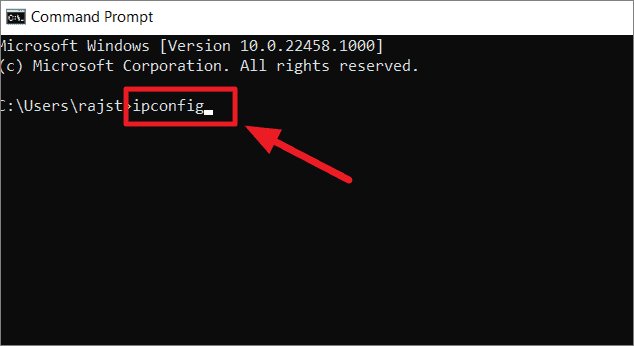
- Open Command Prompt, type
ipconfig, and pressEnter. - Look for the IPv4 Address under the active network adapter.
Use Remote Desktop Connection
To connect to the remote PC:
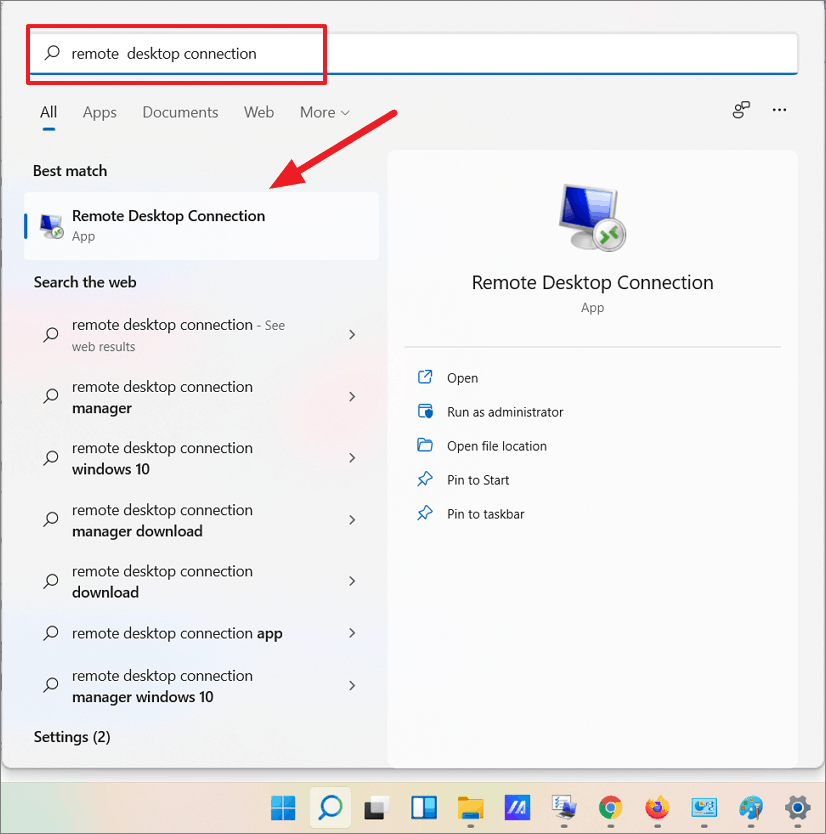
- Open the Remote Desktop Connection app by searching for it in the Windows search bar or by pressing
Windows+R, typingmstsc, and clicking OK.
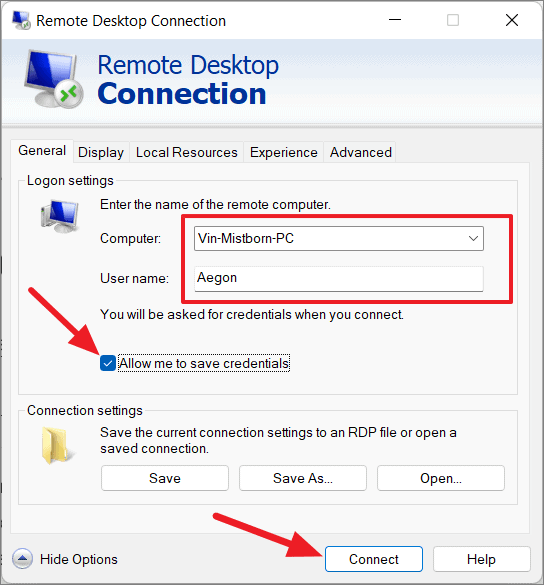
- In the Remote Desktop Connection window, click on Show Options to expand the settings.
- Enter the Computer Name or IP Address of the remote PC.
- Enter the User name of the account you wish to use.
- Click Connect.
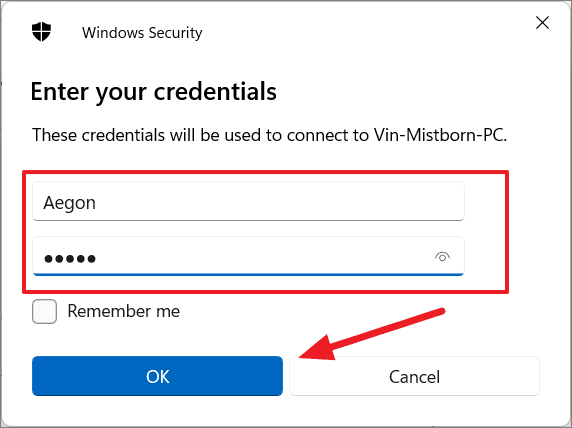
- When prompted, enter the password for the user account and click OK.
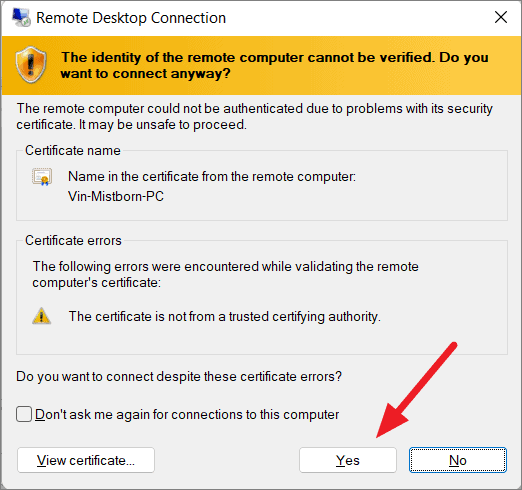
- If you receive a security warning about the remote computer’s identity, you can check the box for Don’t ask me again for connections to this computer and click Yes to proceed.
You should now be connected to the remote computer and can use it as if you were sitting in front of it.
Connect Remotely Using the Microsoft Remote Desktop App
The Microsoft Remote Desktop app is another option that allows you to connect to a remote PC from various devices, including Windows, macOS, Android, and iOS:
- Download and install the Microsoft Remote Desktop app from the Microsoft Store or the app store for your device.
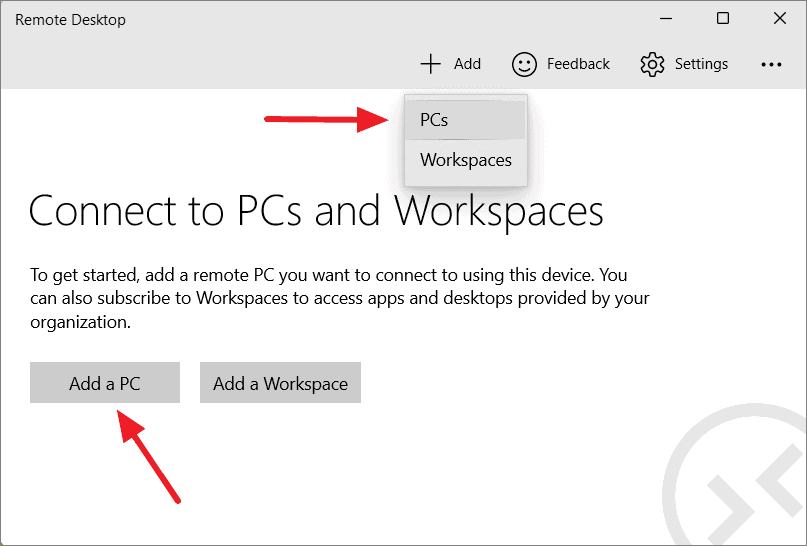
- Launch the app and click on Add, then select PCs.
- In the Add a PC window, enter the PC name (computer name or IP address) of the remote computer.
- Optionally, click + next to User account to add the credentials for the remote PC.
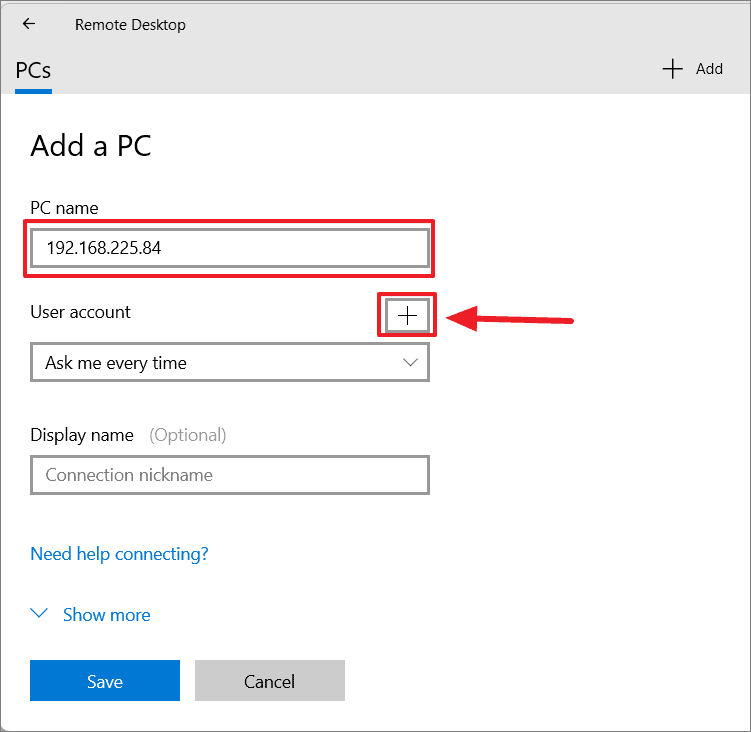
- Click Save to add the remote PC to your list.
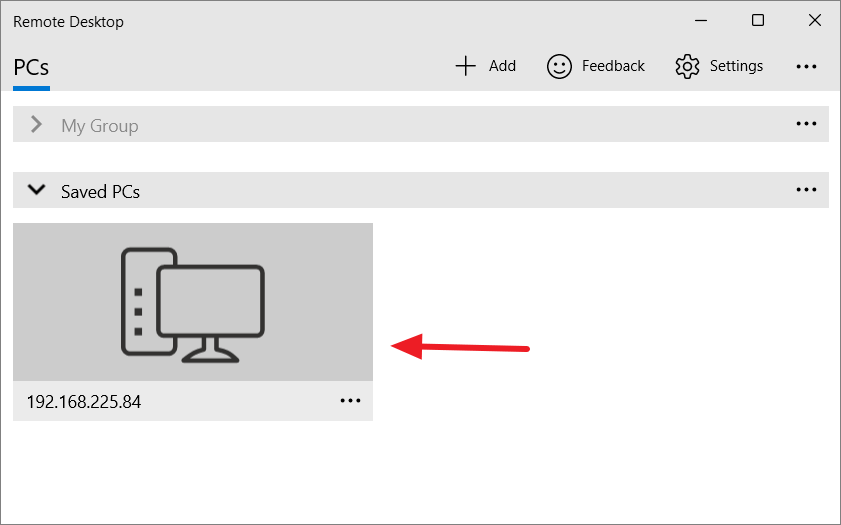
- Click on the saved PC in the list to initiate the connection.
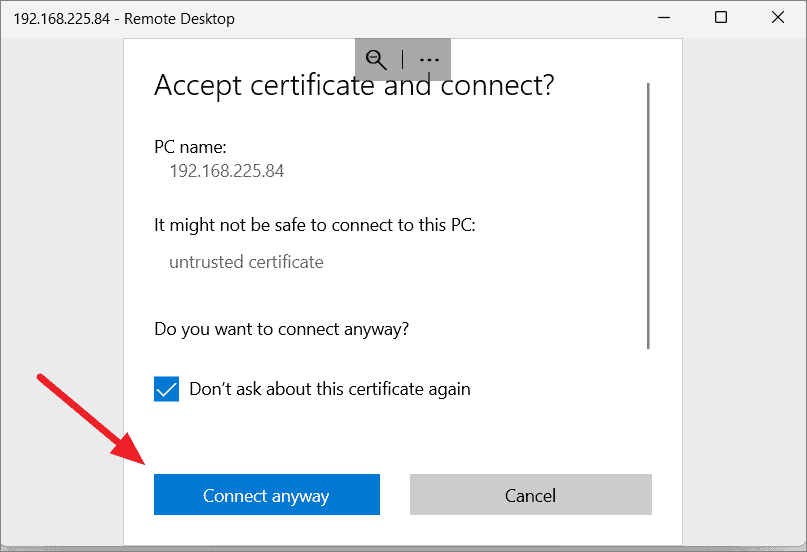
- If prompted with a certificate warning, you can choose to trust the certificate and click Connect.
You’re now connected to the remote PC using the Microsoft Remote Desktop app.
With Remote Desktop enabled and configured on your Windows 11 PC, you can conveniently access your computer or assist others remotely, enhancing productivity and collaboration.


