

Microsoft announced the new Teams integration in Windows 11 at the OS’s launch event back in June 2021, and now the company is rolling out the feature out to a subset of users running the latest Windows 11 Dev Preview build on their computer.
However, even if you are lucky enough to be in that subset of users getting the new Teams Chat integration; you won’t be able to see it right away or in some cases, it might not even enable itself.
Here’s everything you need to get the Teams Chat app in the Windows 11 taskbar and some quick tips for using the new integrations in Windows 11.
Enabling the Teams Chat App in Windows 11
For some users, there are going to be a few extra steps before they can use the Teams Chat app in Windows 11. However, the process is straightforward and won’t be taking much of your time.
Restart your PC to get Teams Chat App in Taskbar
Yes, as basic as this; Microsoft states that all users for whom the Teams Chat app has been enabled in Windows 11 are still required to ‘Restart’ their PC to get the new app.
If you’re among the select few users who already have access to the new Teams Chat app, then simply restarting your PC should enable the Teams Chat app on your system.
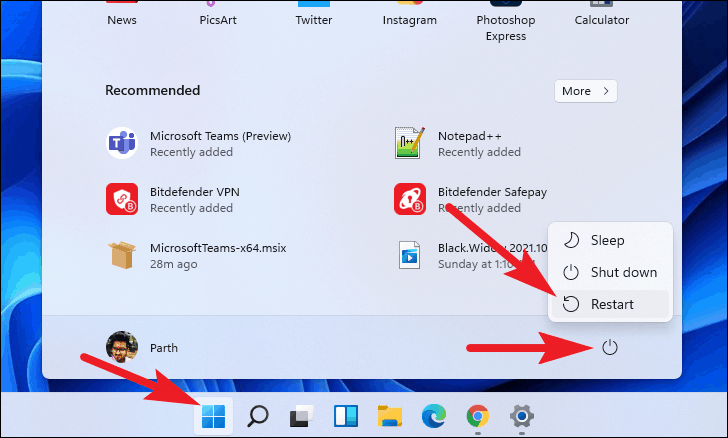
To restart your Windows 11 PC, click on the ‘Start Menu’ button present on your taskbar. Then, click on the ‘Power’ icon from the bottom right corner of the Start Menu and click on the ‘Restart’ option from the overlay menu.
After restarting your PC, you should be greeted by the Teams Chat app icon sitting right on your taskbar.
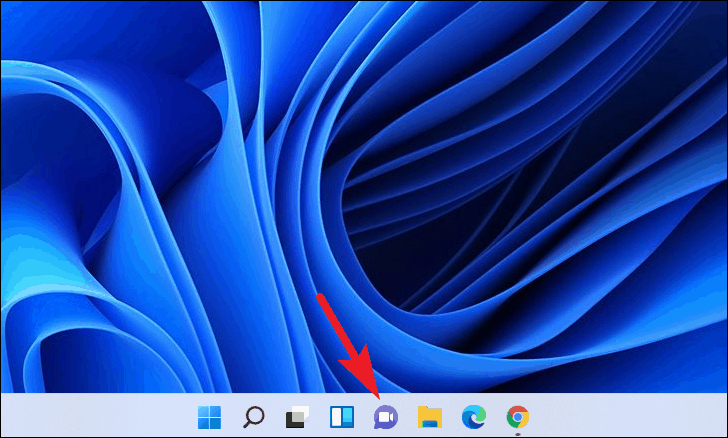
To set up and use Teams Chat on Windows 11, click on the Teams Chat app icon on the Taskbar followed by the ‘Get Started’ button to launch the new Teams app.
Then, click the ‘Set up’ button on the Teams pop-up screen to download the new Teams (Preview) App for Windows 11.
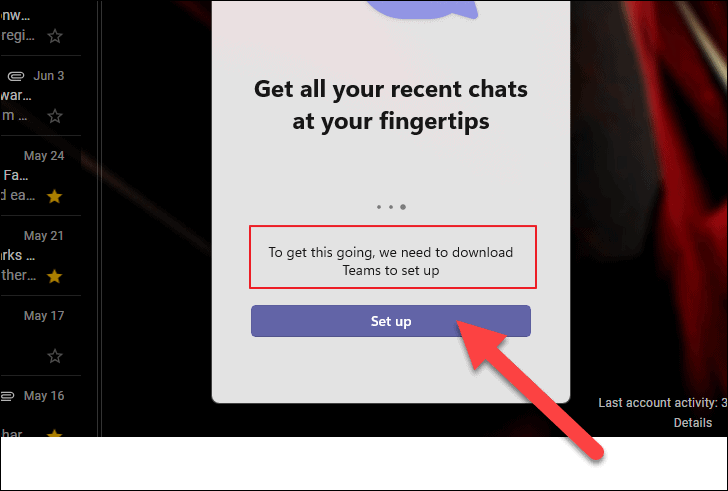
Once the Teams Preview app is installed on your system, you can log in with your Microsoft account and start using the new integrated Teams Chat app on Windows 11.
Manually Download and Install Teams Preview app
This is an alternate method to force enable the Teams Chat app in the Taskbar. What we’ll do is download and install the new Teams Preview app on your system and then reboot your PC to see if the Teams Chat app shows up in the TaskBar.
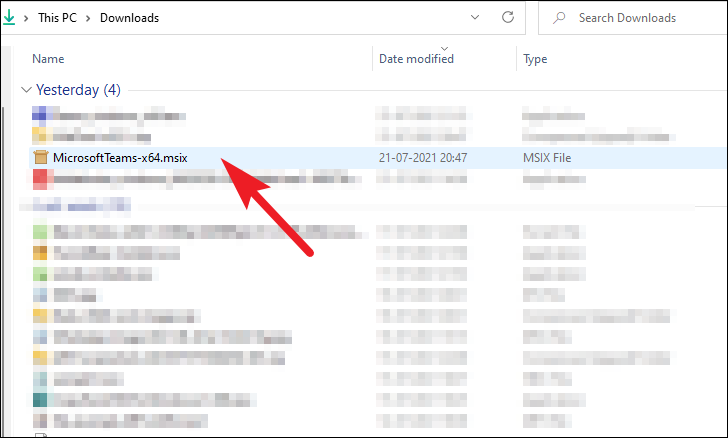
First, download the Microsoft Teams app from this official link. Then, head to your downloads directory and double-click on the MicrosoftTeams-x64.msix file to run the installer.
Now, click on the ‘Install’ button on the Microsoft Teams (Preview) installer window.
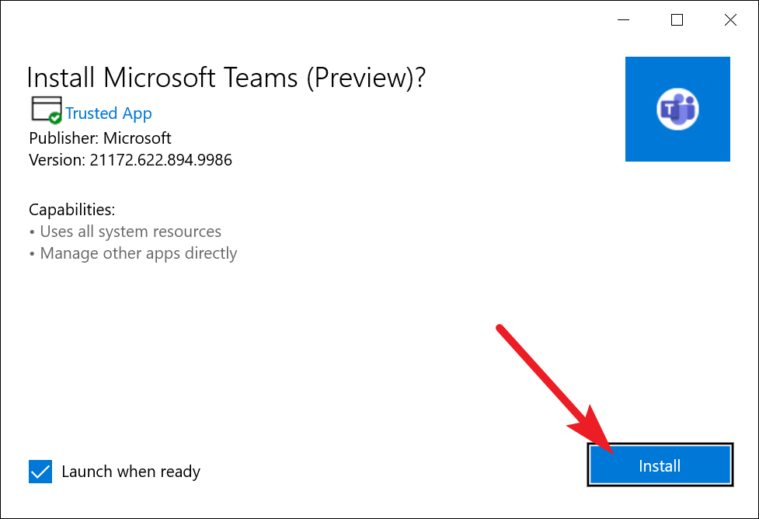
It might take a few seconds for it to install Microsoft Teams (Preview) on your PC. Let the process run in the background.
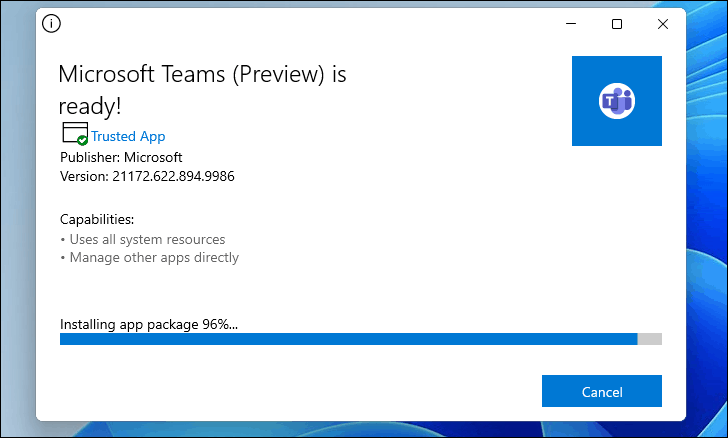
Once installed, click on the ‘Launch’ button from the bottom right corner of the window.

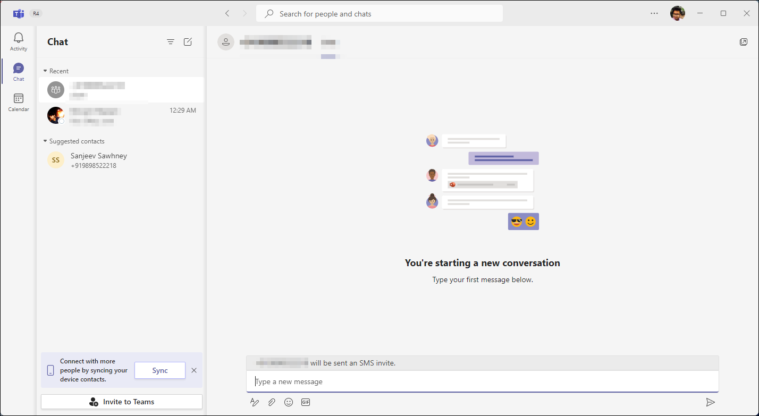
Now, you will be able to see the new Teams app running on Windows 11. This app is different from the mainstream Teams app that you may have used on Windows 10, and it doesn’t have Video functionality at the moment. But this is the future Teams app and it’ll have all the features before going public.
Using Teams Chat app in Windows 11
The new Teams Chat app integration in Windows 11 brings a lot of freshness to the way you may have used the service on Windows 10. Like, having your chats accessible directly from the Taskbar is insanely helpful.
Once you have logged into the main Teams app, click on the Teams Chat app icon on the Taskbar to see all your active chats at a glance. You can also launch the Teams Chat app using the keyboard shortcut Windows Logo + C on your computer.
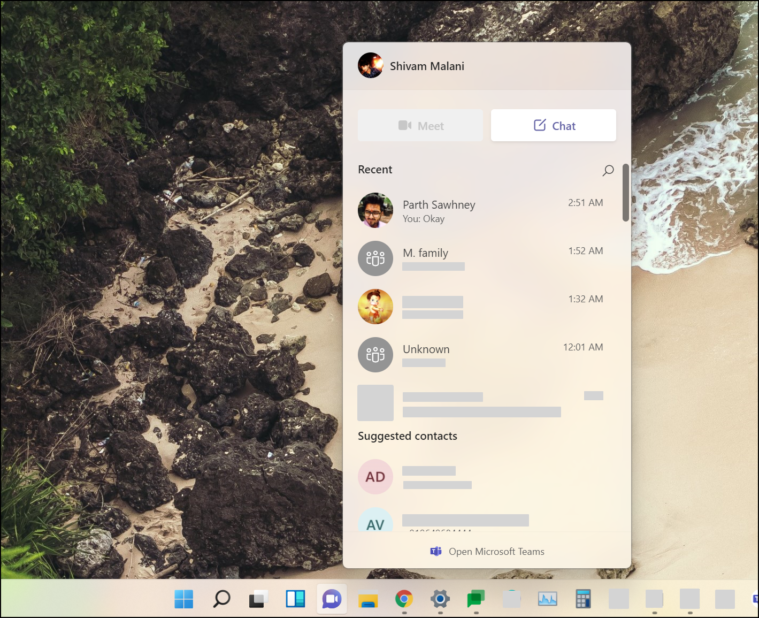
Clicking on any chat thread opens the chat in a separate Teams (Preview) app window. The Teams Chat app only has shortcuts to the functionalities available in the Teams (Preview) app. It’s your quick access menu to all your chats on Microsoft Teams.
How to Manage Teams Chat Notifications in Windows 11
Since any chat app has a real knack for becoming a constant source of annoyance due to the inflow of messages and notifications; it is always a good practice to know how to manage notifications for it.
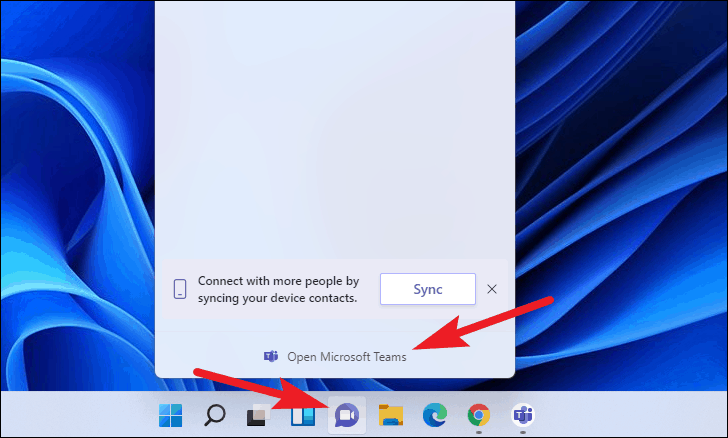
To manage Teams Chat app notifications, click on the Teams Chat app icon present on the taskbar. Then, click on the ‘Open Microsft Teams’ from the bottom section of the overlay window.

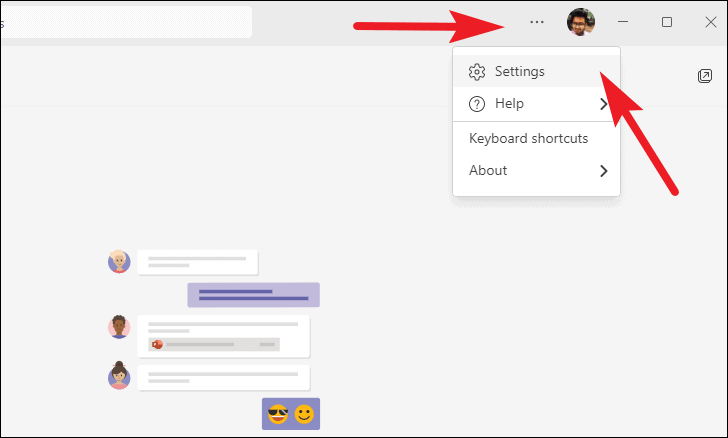
After that, click on the ellipsis (three horizontal dots) icon present on the title bar of the window. Then, click on the ‘Settings’ option from the overlay menu.
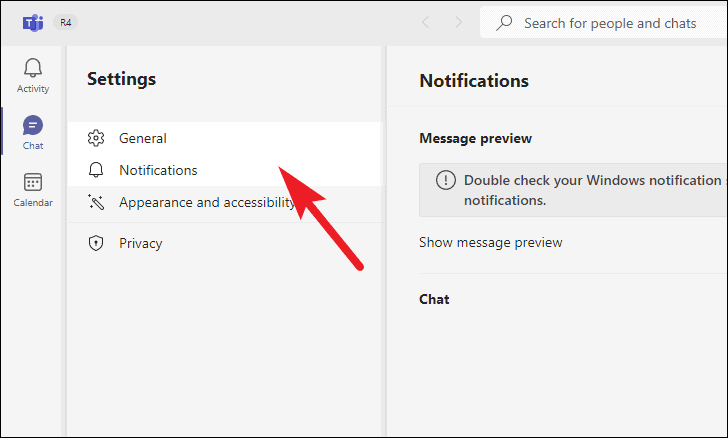
Next, click on the ‘Notifications’ tab present on the left sidebar of the window.
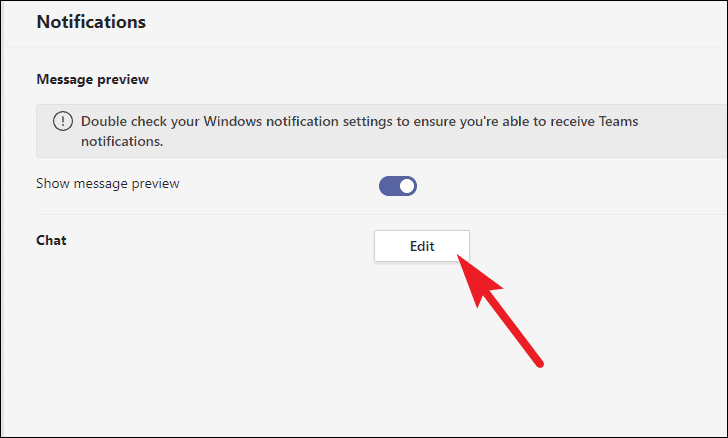
Now, if you do not want to see message previews, toggle the switch to the ‘off’ position present under the ‘Message preview section.

After that, click on the ‘Edit’ button from the right section of the Teams window.
Now if you only want to be notified about messages having your mentions; click on the drop-down menu adjacent to ‘Messages’ and select the ‘Off’ option from the overlay menu.
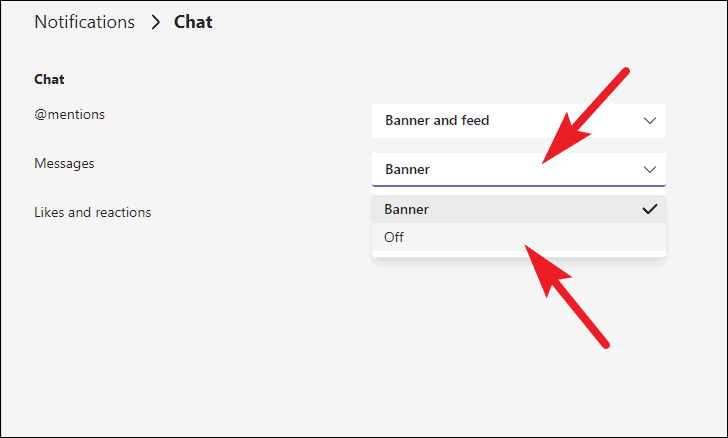
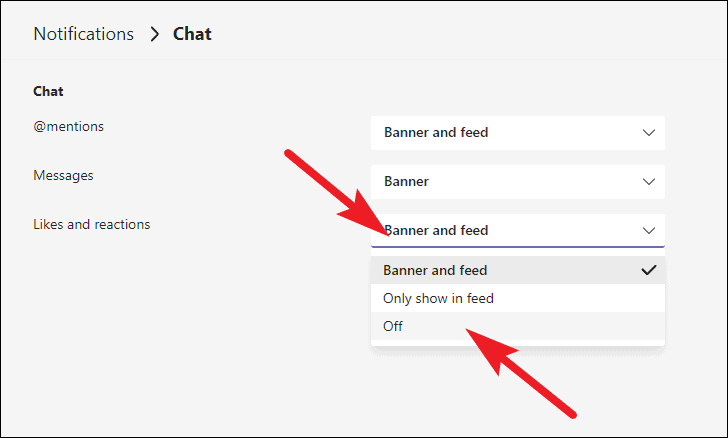
Similarly, to turn off notifications for likes or reactions on your messages, click the drop-down menu followed by the ‘Likes and reactions’ label and select the ‘Off’ option. Else, if you want to see them in your Teams feed, select the ‘Only show in feed’ option.
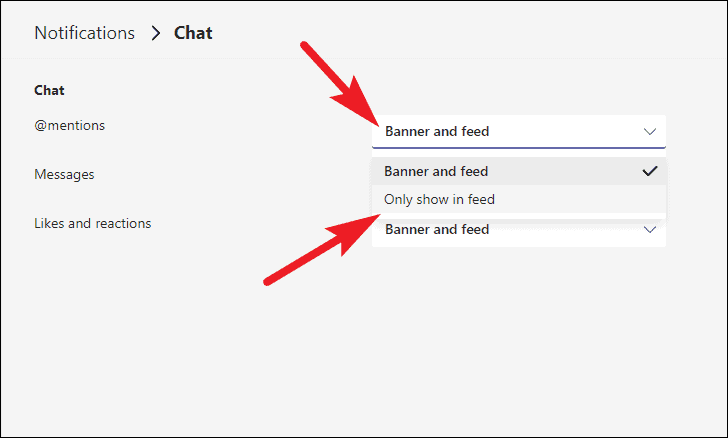
In the event, you do not want to be notified about your mentions as well, click on the drop-down menu right beside the ‘@mentions’ label and select the ‘Only show in feed’ option’.
How to Disable Teams Chat App
If you don’t use Teams Chat and having it active on your computer is proving to be more of a hindrance; you can log out of the Teams app on your computer to disable anything to do with Microsoft Teams on your computer (including Chat).
To log out of Microsoft Teams, click on the Teams Chat app icon from your taskbar. Then click on the ‘Open Microsoft Teams’ option from the bottom of the Window.
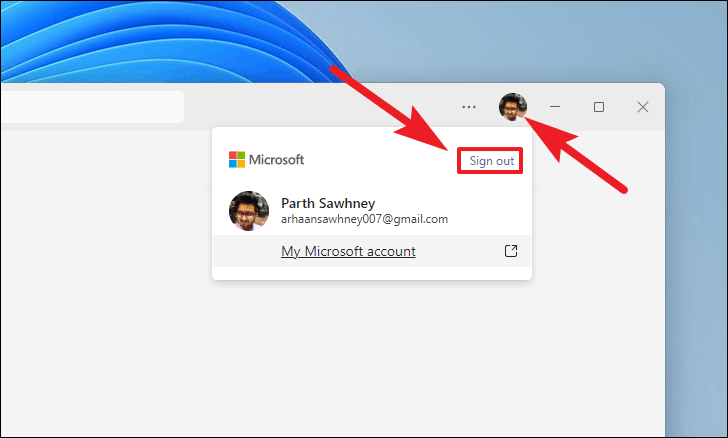
On the Microsoft Teams app window, click on your account profile picture present at the top right corner of the screen and select the ‘Sign Out’ option from the overlay interface.
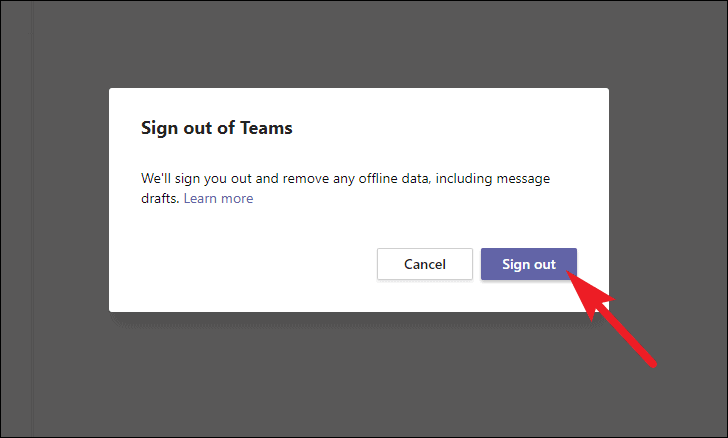
Next, read the information on the confirmation dialog and click the ‘Sign out’ button if you’re okay with the process.
Teams Chat app is now disabled on your Windows 11 PC. To re-enable it, simply log in using your Microsoft account credentials.
How to Remove Teams Chat App Icon from Taskbar
If you do not want the Teams Chat app icon on your taskbar, Windows 11 has a quick way to hide the icon.
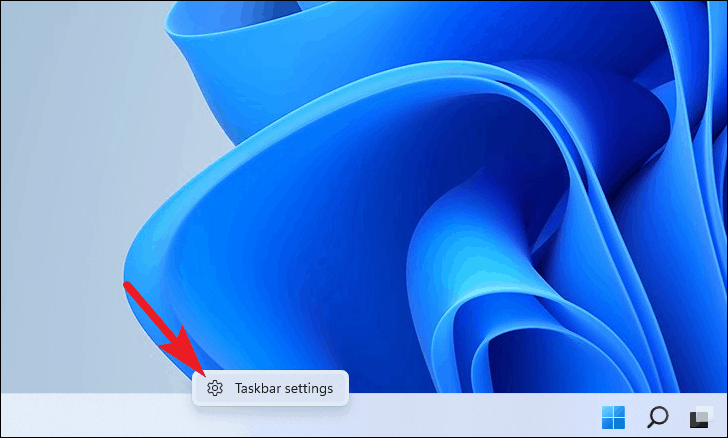
To hide the Teams Chat app icon, right-click on the taskbar, and select the ‘Taskbar Settings’ option.
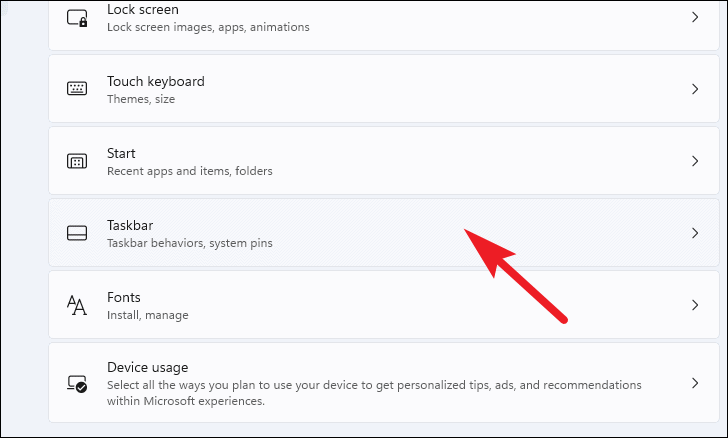
Then from the ‘Personalization’ tab scroll down and click on the ‘Taskbar’ tile to enter taskbar settings.
Under the ‘Taskbar items’ section, find the ‘Chat’ option and toggle the switch next to it to the ‘Off’ position.

This will remove the Teams Chat app icon from the Taskbar, but you will still be able to access your chats from the Teams (Preview) app.


Member discussion