
With Windows 11, Microsoft has introduced autocorrect and text suggestion features for users typing with a physical keyboard. While some find these enhancements beneficial for typing efficiency, others may prefer to disable them. This guide will show you how to enable or disable these features and customize your typing experience.
Enable or disable autocorrect and text suggestions from the Settings app
Adjusting autocorrect and text suggestion settings in Windows 11 is straightforward. You can also enable text suggestions for multiple languages if needed.
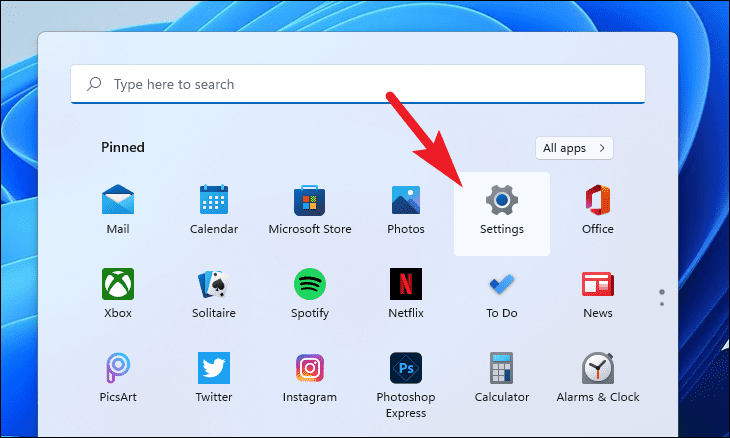
- Click on the
Startmenu and selectSettings.
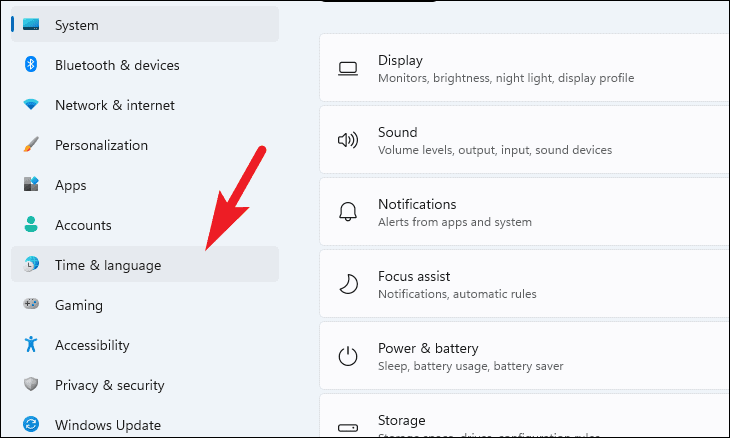
- In the Settings window, choose
Time & languagefrom the left sidebar.

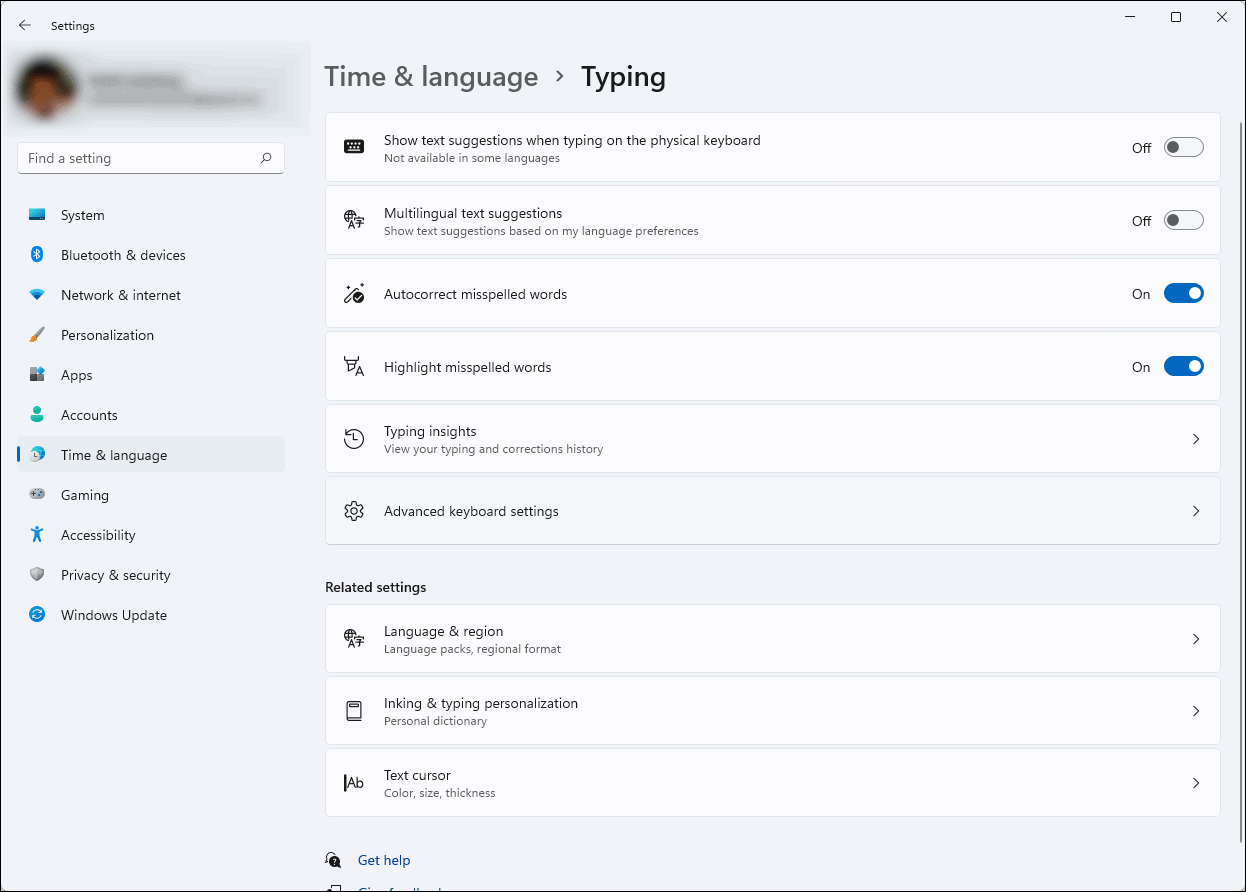
- On the right, click on
Typing.

You’ll now see all the typing-related settings available.
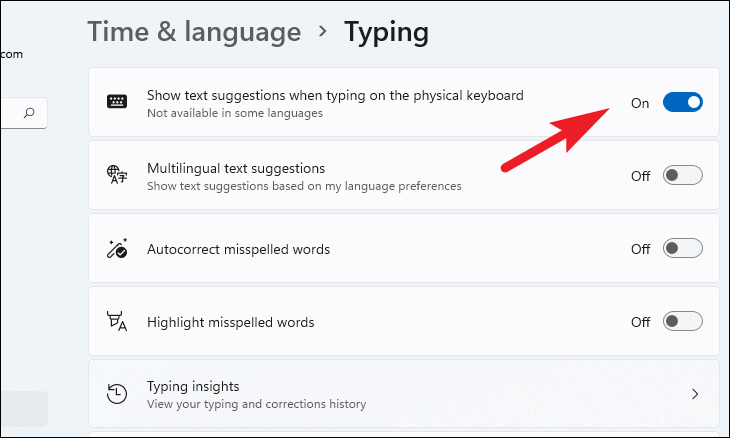
To enable text suggestions when typing with a physical keyboard:
- Locate the option
Show text suggestions when typing on the physical keyboardand toggle it to On.
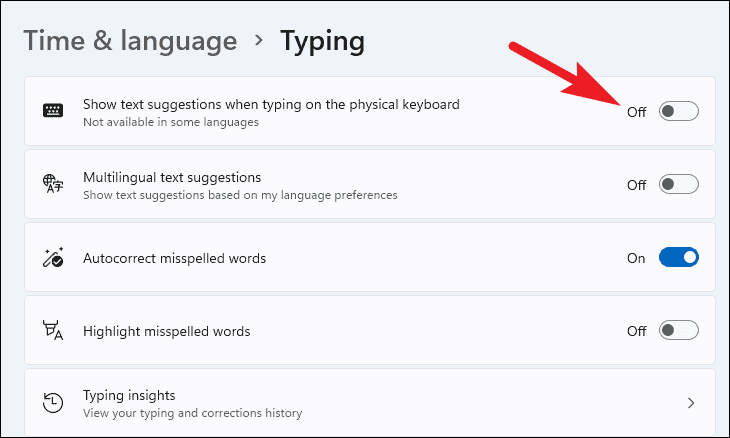
To disable text suggestions:
- Toggle the switch next to
Show text suggestions when typing on the physical keyboardto Off.
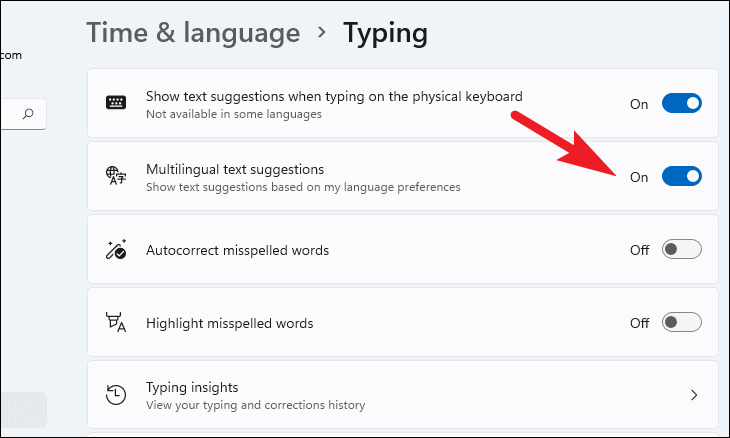
If you use multiple input languages, enabling multilingual text suggestions can be helpful.
- To turn on multilingual text suggestions, find the
Multilingual text suggestionsoption and toggle it to On.
Note: If text suggestions are disabled, you won’t receive suggestions in other languages.
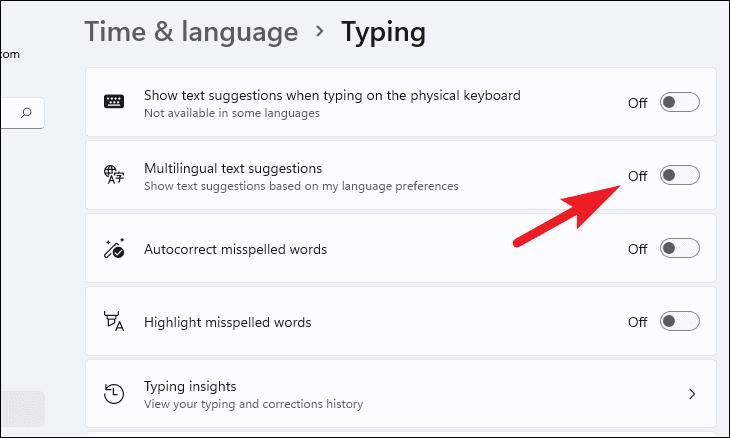
- To disable multilingual text suggestions, toggle the switch next to
Multilingual text suggestionsto Off.
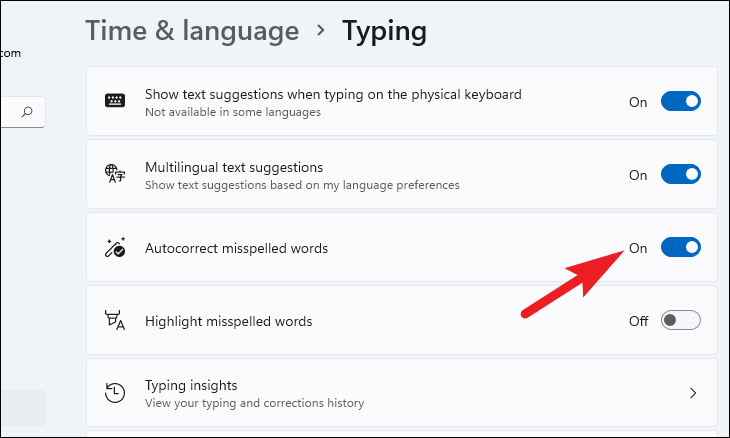
To enable autocorrect for misspelled words:
- Toggle the switch next to
Autocorrect misspelled wordsto On.
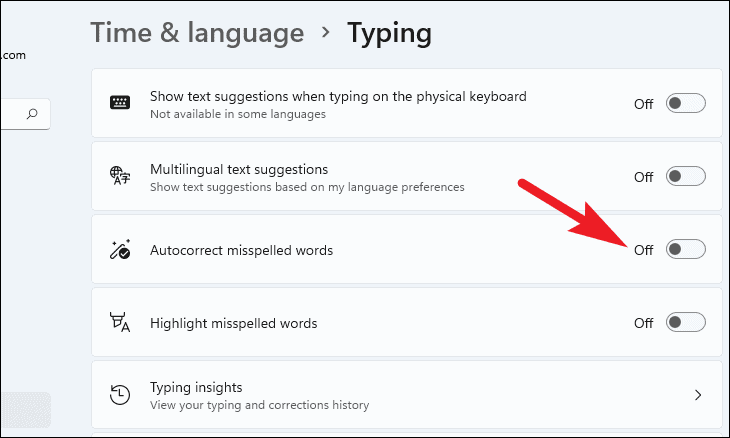
To disable autocorrect:
- Toggle the switch next to
Autocorrect misspelled wordsto Off.
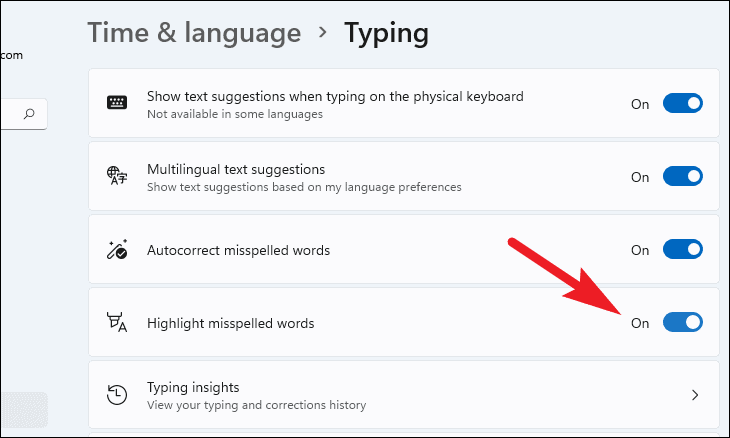
You can also choose to have Windows highlight misspelled words instead of autocorrecting them.
- To enable this feature, toggle the switch next to
Highlight misspelled wordsto On.
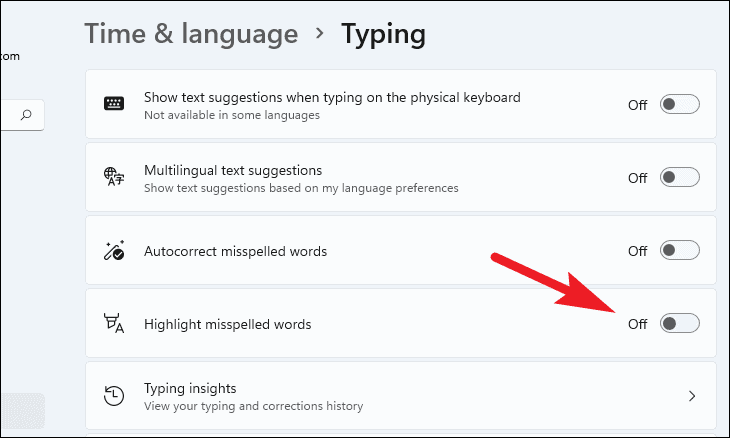
To disable the highlighting of misspelled words:
- Toggle the switch next to
Highlight misspelled wordsto Off.
Check your typing insights
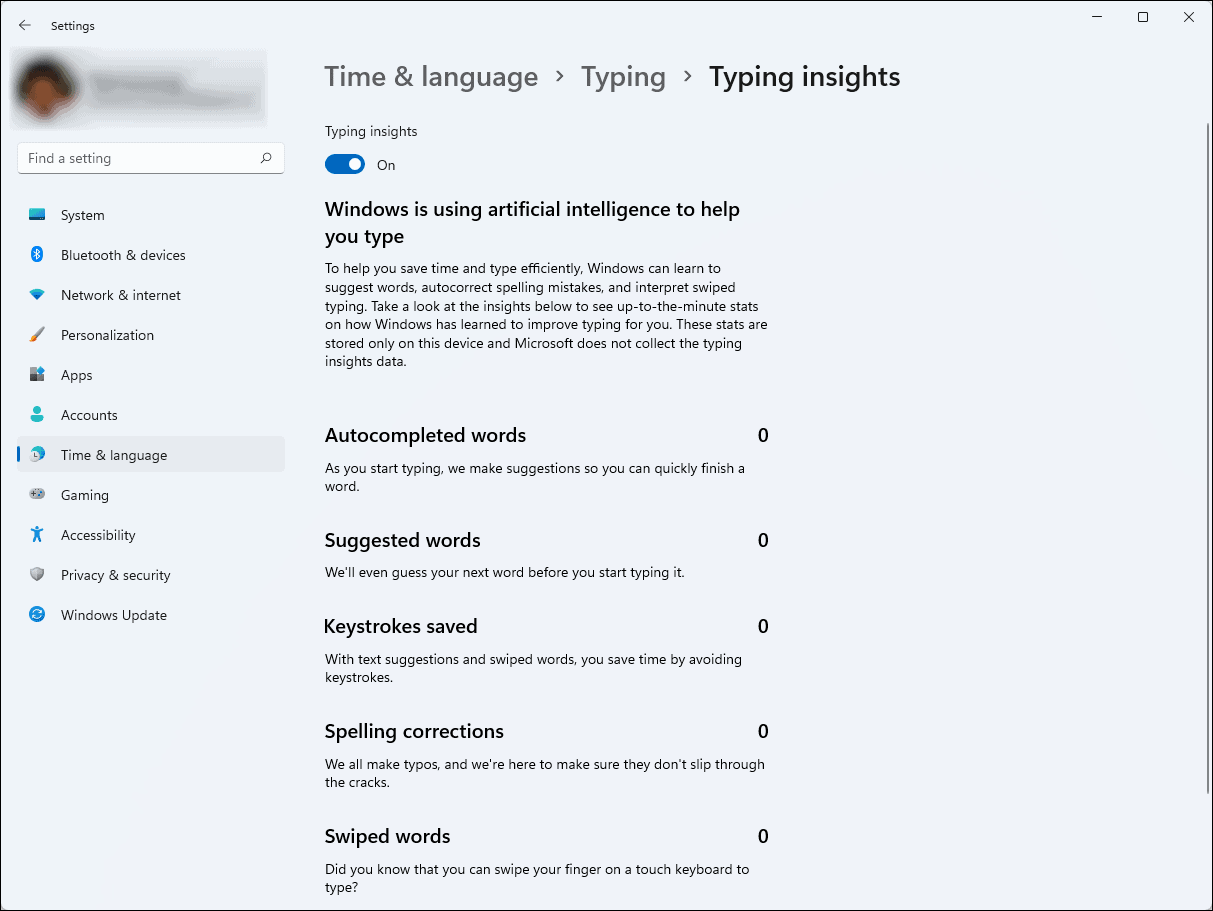
Windows 11 provides typing insights that show statistics like the number of words auto-completed, spelling corrections made, and keystrokes saved. Viewing these insights can help you understand how these features assist your typing.
- In the
Typingsettings, scroll down and click onTyping insights.

You will now see your typing statistics recorded by Windows.
Note: Typing insights are available only when both text suggestions and autocorrect features are enabled.
Create a hotkey to switch your input language
If you frequently switch between input languages, setting up a keyboard shortcut can make the process quicker.
- Open the
Settingsapp from the Start menu.

- Select
Time & languagefrom the left sidebar.
- On the right, click on
Typing.

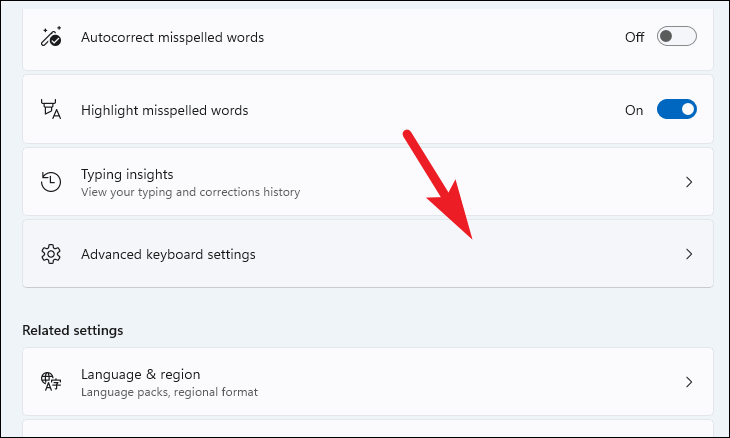
- Scroll down and click on
Advanced keyboard settings.
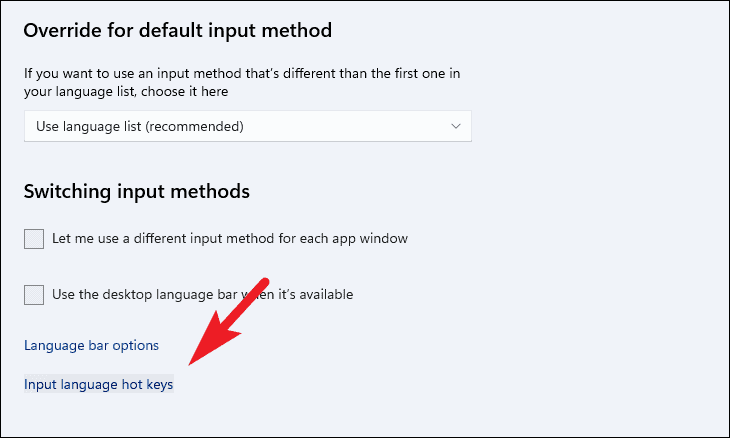
- Under
Switching input methods, click onInput language hot keys. A new window will open.
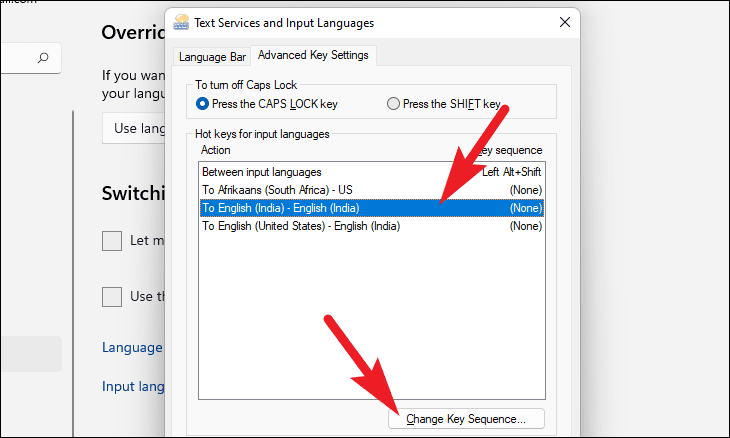
- Select the input language you want to create a hotkey for and click on
Change Key Sequence.
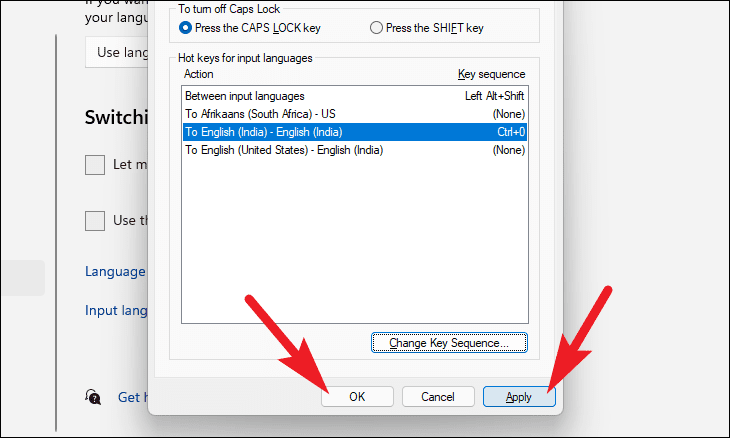
- In the new window, check the box next to
Enable Key Sequence. Choose a modifier key from the first dropdown menu.

- Select a number key from the second dropdown menu to complete your hotkey combination. Click
OKto confirm.

- Back in the previous window, click
Applyand thenOKto save your changes.
Your hotkey is now set up. Press the shortcut you’ve defined to switch between input languages quickly.


