
Enabling virtualization on your Windows PC allows you to run multiple operating systems and applications without the need for additional software. This expands your system’s capabilities and gives you access to a broader range of tools. In this guide, we’ll show you how to enable virtualization in your BIOS settings and activate Hyper-V using the Control Panel.
Accessing UEFI Settings Through the Settings App
The easiest way to access your computer’s BIOS settings is via the Settings app in Windows. Follow these steps to enter the UEFI settings:
Settings app icon. You can also quickly open the Settings app by pressing Windows+I on your keyboard.

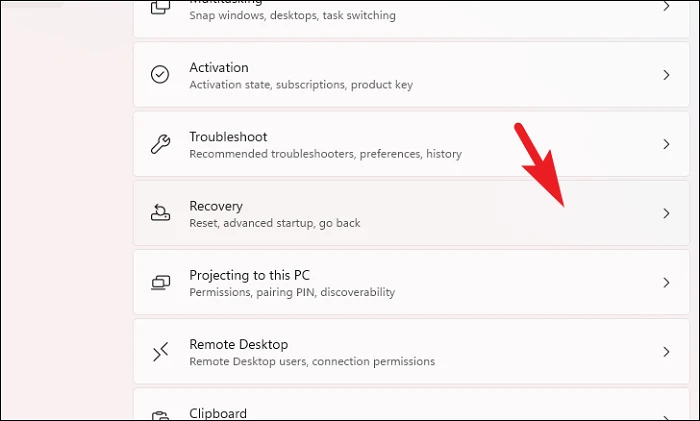
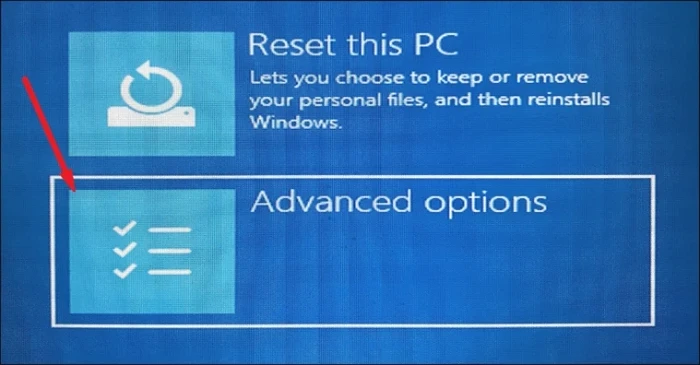
Recovery options section, click on the Restart now button next to Advanced startup. This will prompt a confirmation message.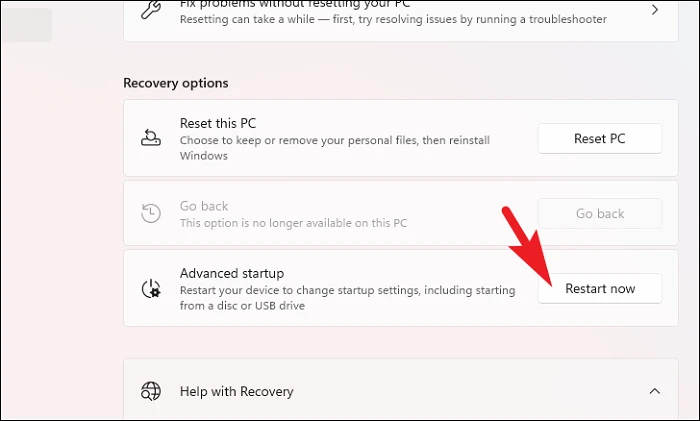
Restart now to proceed. Your computer will reboot into the Advanced Startup menu.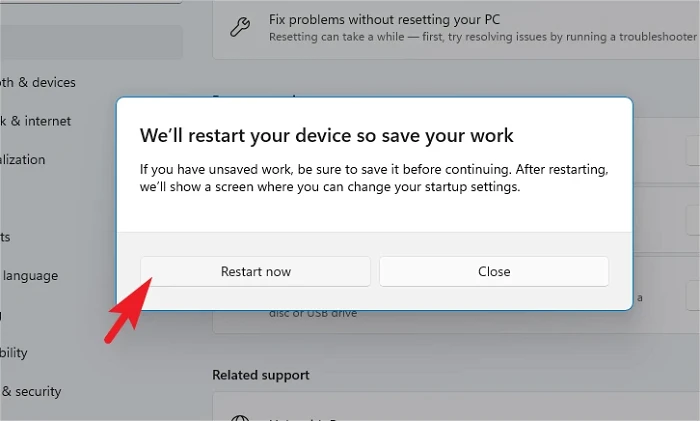
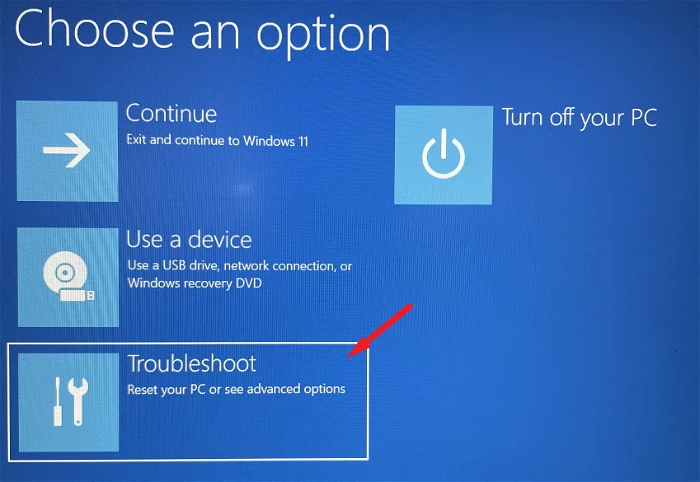
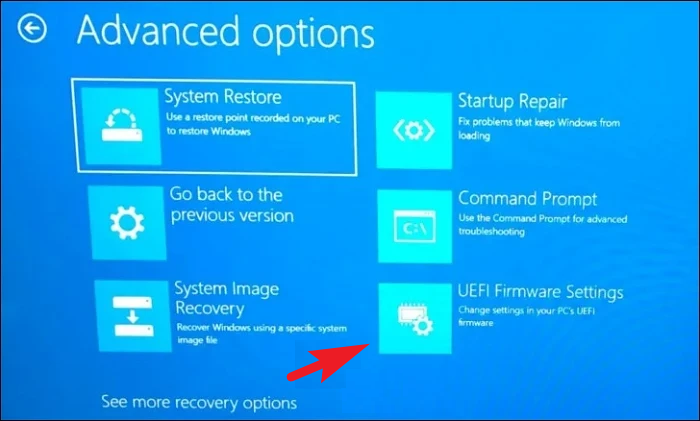
BIOS Setup option and press Enter or Spacebar to select it.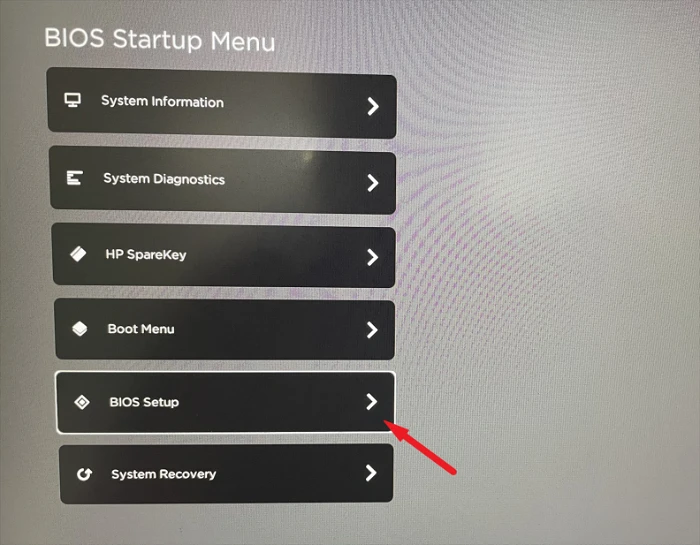
Virtualization Technology option and enable it. This might be a checkbox or a toggle that you need to set to Enabled.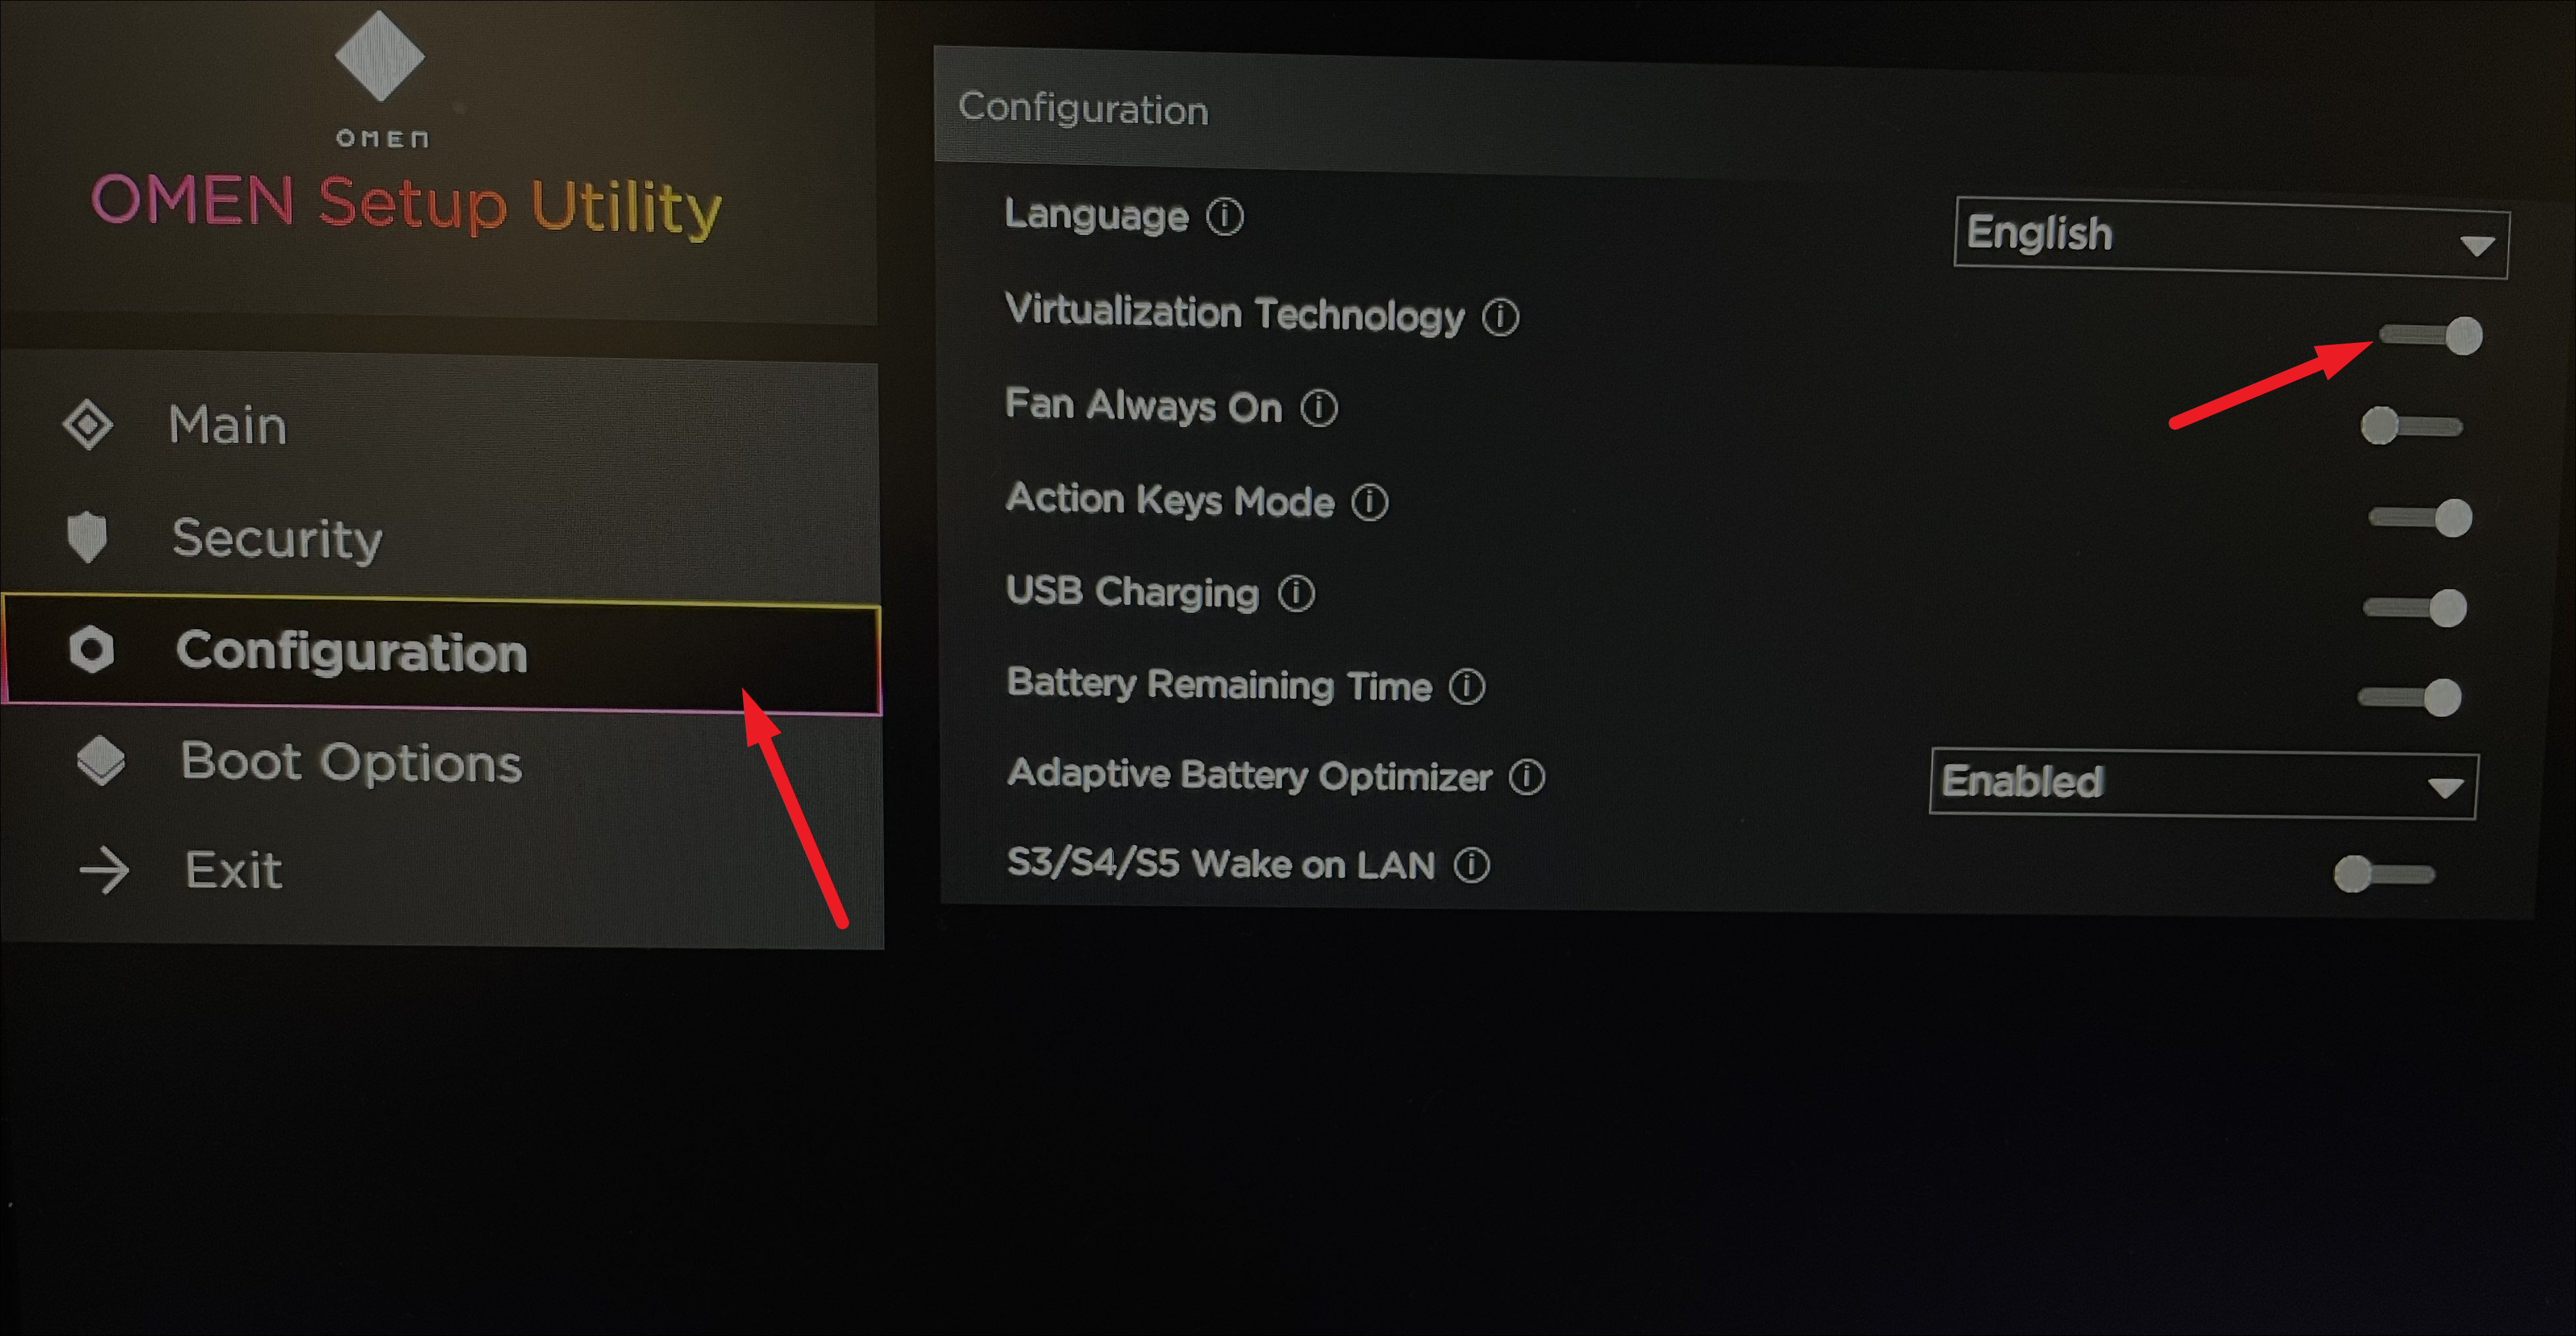
F10 key or select the Save option on the screen. Your computer will restart with virtualization enabled.Enabling Hyper-V and Virtual Machine Platform in the Control Panel
After enabling virtualization in the BIOS, you need to activate Hyper-V and the Virtual Machine Platform in Windows to run virtual machines. Follow these steps:
Control Panel in the search bar. Click on the Control Panel app in the search results.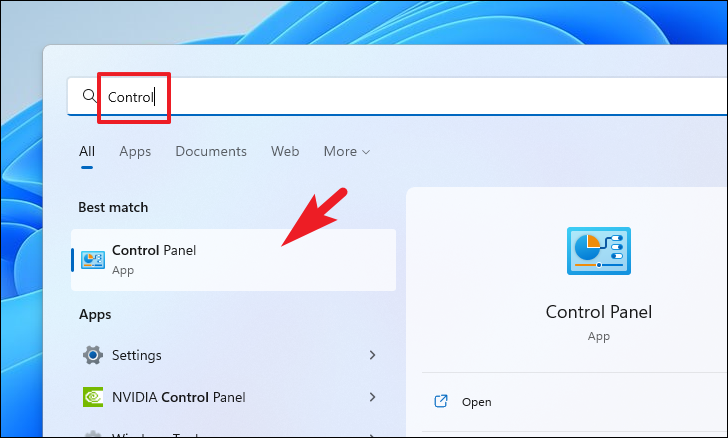
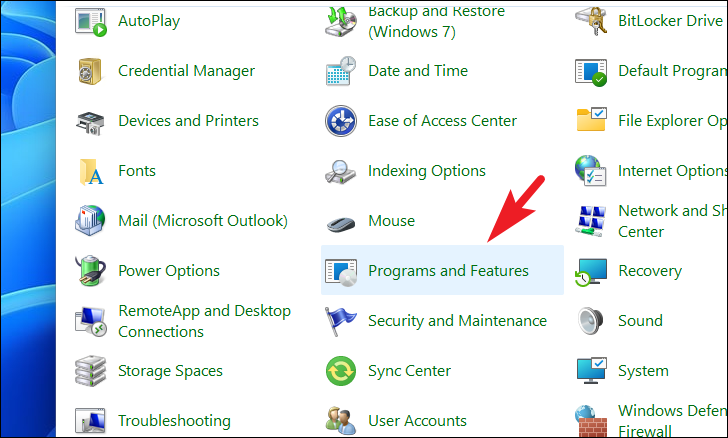
Turn Windows features on or off. This will open the Windows Features dialog.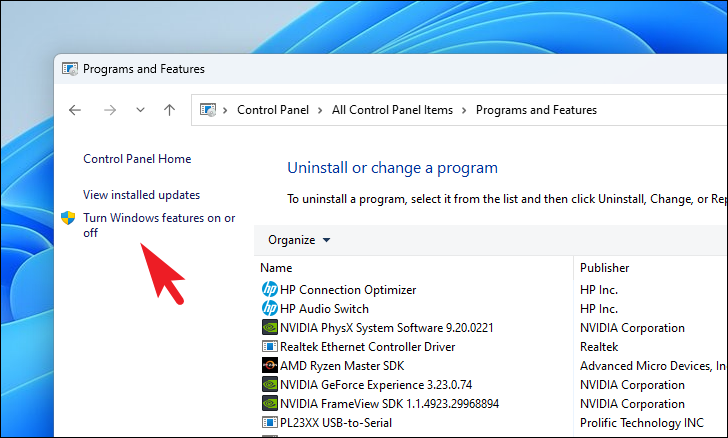
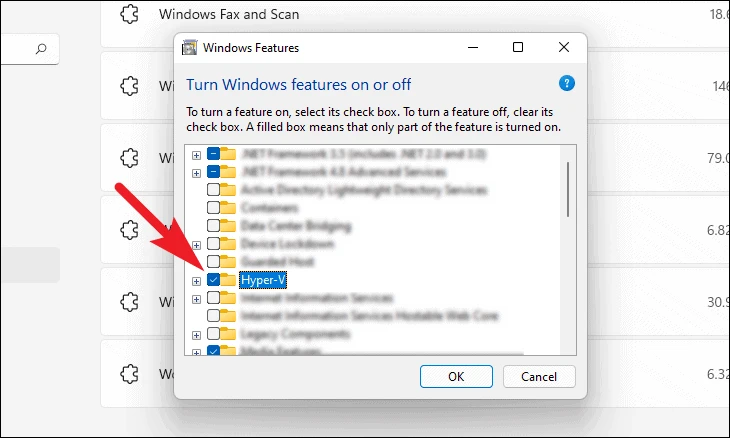
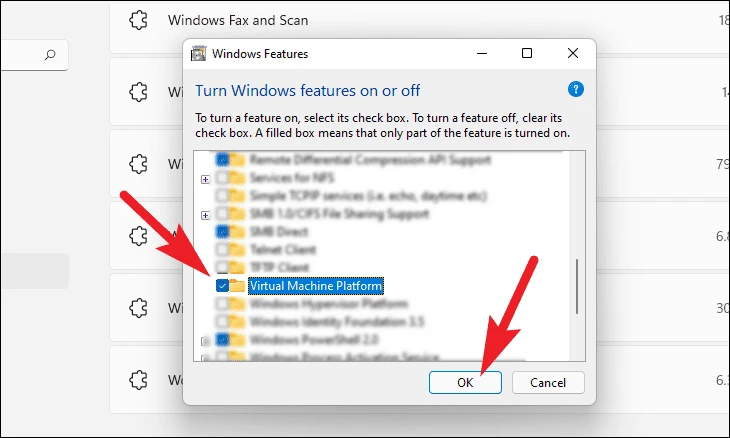
OK to apply the changes. Windows will begin applying the new features, which may take a few moments.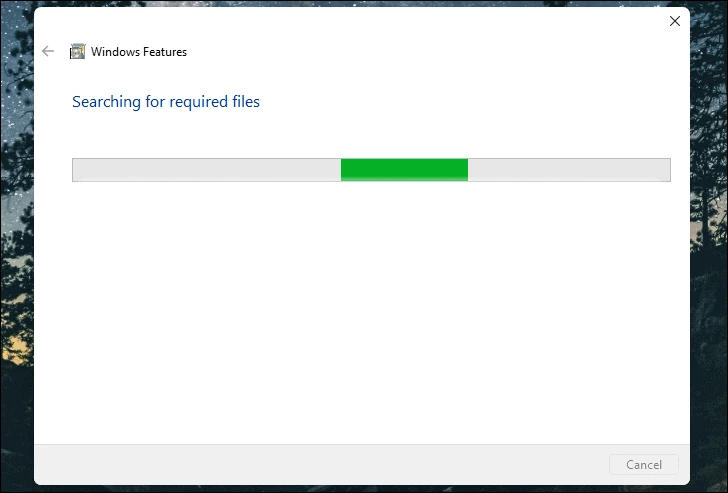
Restart now to complete the installation.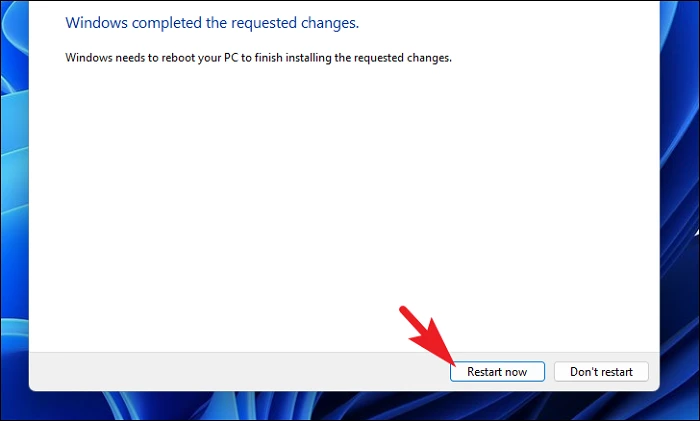
By completing these steps, you’ve successfully enabled virtualization on your Windows PC. You can now use Hyper-V to create and manage virtual machines on your system.


