
If your keyboard has suddenly stopped responding on Windows 11, it’s possible that the ‘Filter Keys’ feature has been accidentally activated. Filter Keys is an accessibility feature that ignores brief or repeated keystrokes, which can make your keyboard appear unresponsive or cause it to beep when keys are pressed. Fortunately, turning off Filter Keys is simple and can quickly restore your keyboard’s normal functionality.
Disable Filter Keys via Settings
The easiest way to unlock your keyboard is by disabling Filter Keys through the Settings app.
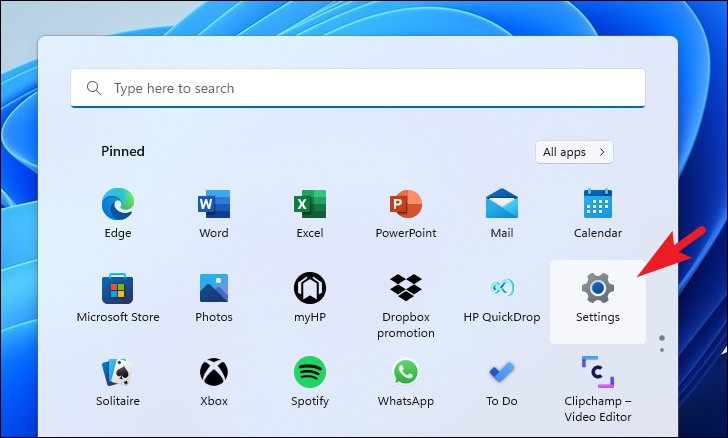
- Open the Settings app by clicking the Start menu and selecting Settings, or by pressing
Windows+Ion your keyboard.
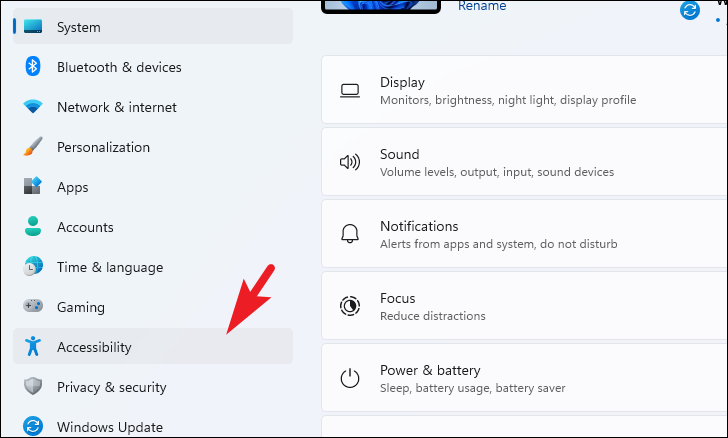
- In the Settings window, select Accessibility from the left-hand sidebar.
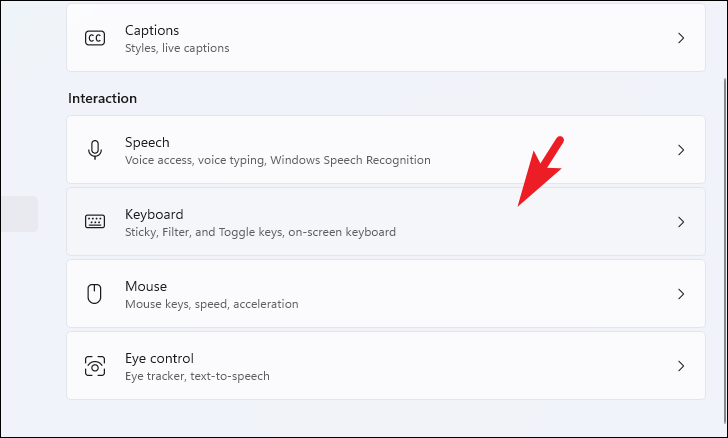
- On the right side, scroll down and click on Keyboard under the Interaction section.
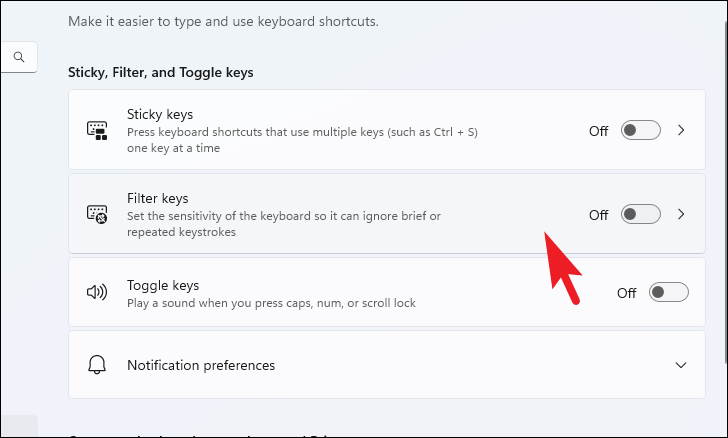
- Under the Sticky, Filter, and Toggle keys section, locate Filter Keys and toggle it to Off.
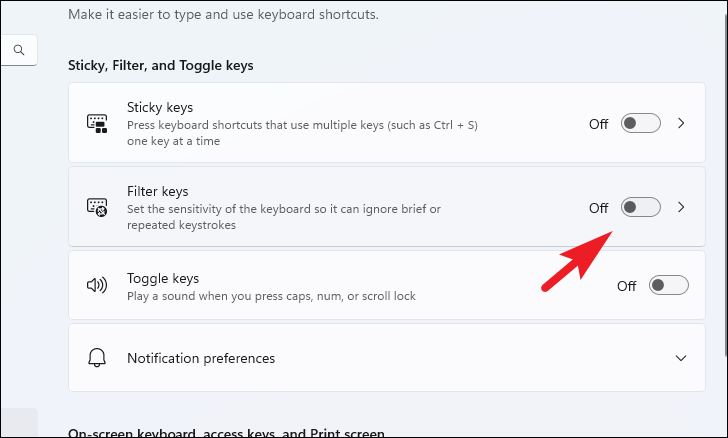
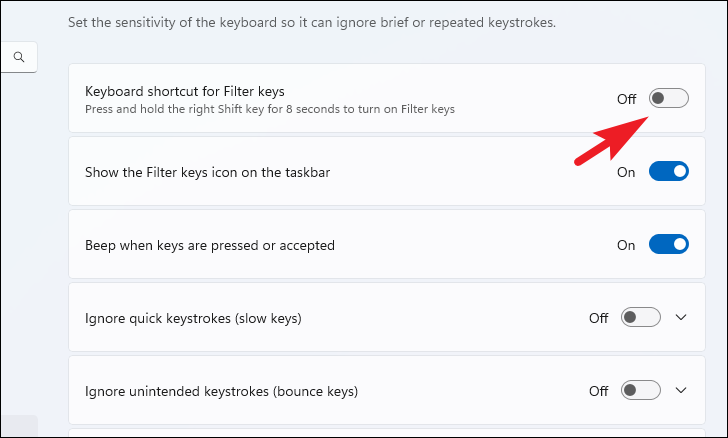
- Click on the Filter Keys heading to expand additional settings.
- Turn off the Keyboard shortcut for Filter Keys to prevent accidentally enabling it in the future.
Disable Filter Keys via Control Panel
You can also turn off Filter Keys using the Control Panel if you prefer.
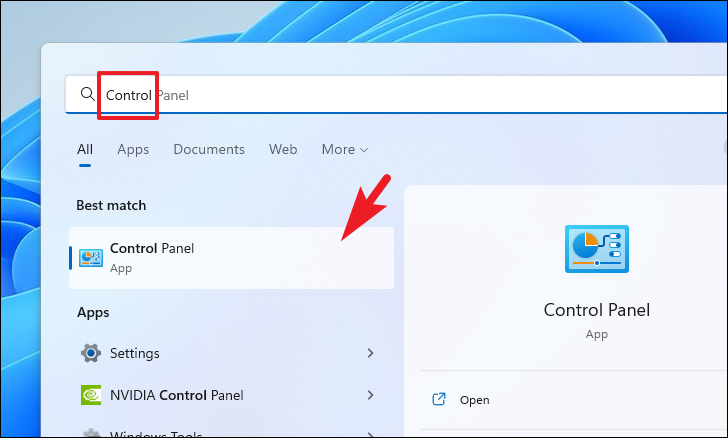
- Open the Control Panel by searching for it in the Start menu, or press
Windows+R, typecontrol, and pressEnter.
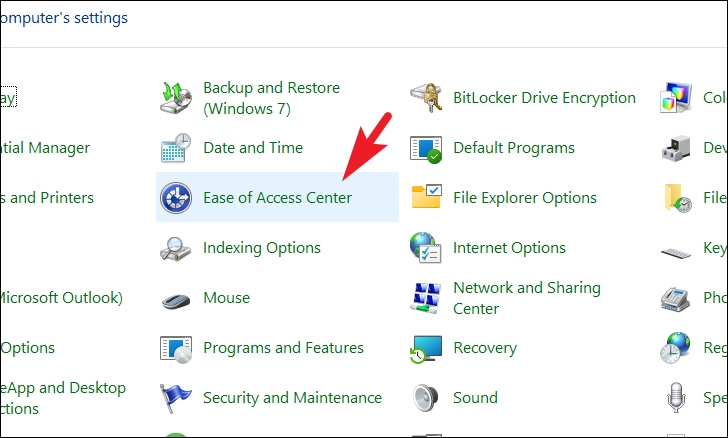
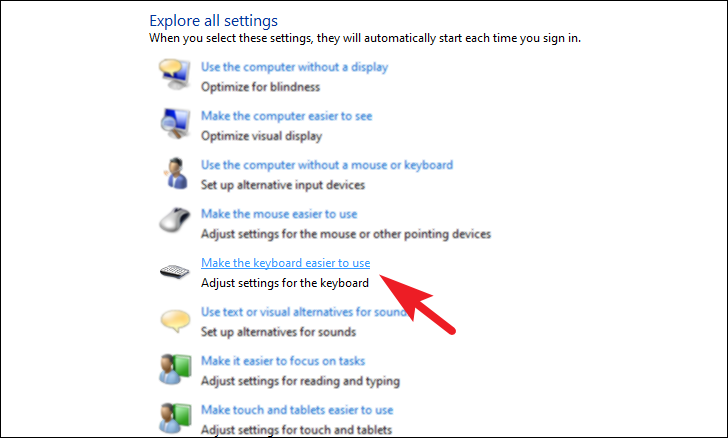
- In the Control Panel window, click on Ease of Access Center.
- Under the Explore all settings section, select Make the keyboard easier to use.
- Uncheck the box next to Turn on Filter Keys in the Make it easier to type section.
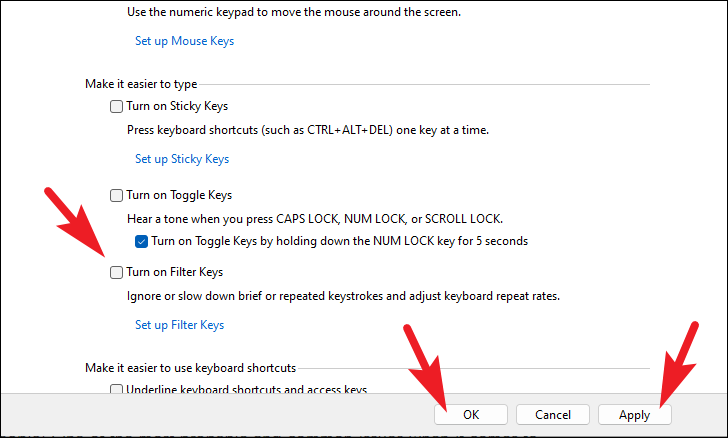
- Click Apply and then OK to save your changes.
By disabling the Filter Keys feature, your keyboard should function normally again, allowing you to use your computer without any further issues.


