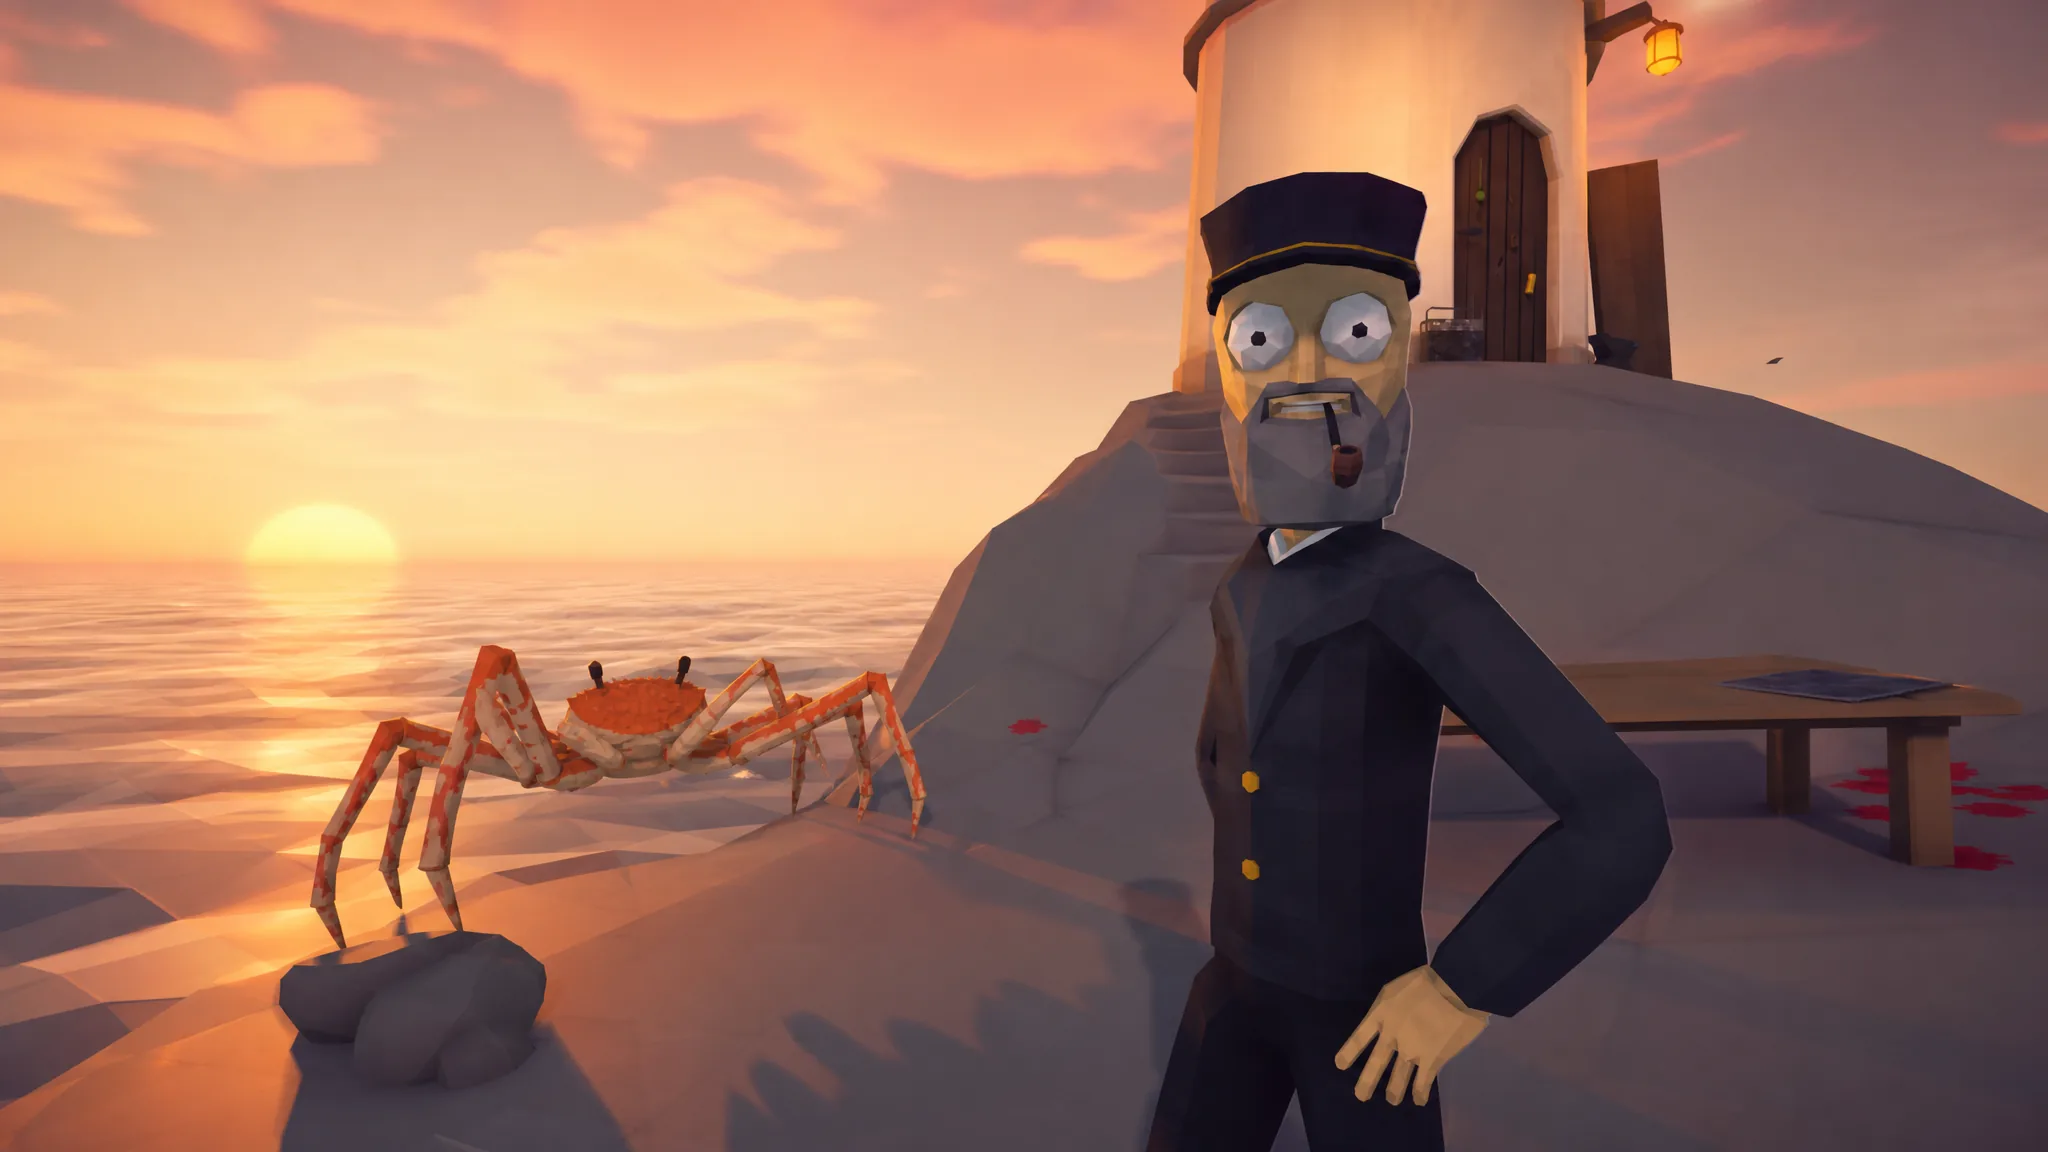
The Spider Crab is the wall almost everyone hits in the first 20 minutes of How to Fish. It’s the boss tied to the lighthouse keeper’s stolen beer, it can only be summoned with one specific lure, and it hits hard enough to end a run that started with nothing but a $3 fishing rod. Killing it is also the only way off the starting island.
Quick answer: Buy the knife for $45, sharpen it, top up your health, then cast with the empty beer can equipped as your lure. Bait the crab into charging, sidestep it, and attack from behind during the stun. Repeat, then hand its drop to the lighthouse keeper for the boat keys.
How the beer can lure summons the Spider Crab
The crab won’t show up on a worm or a hotdog. The lighthouse keeper spells it out during his quest dialogue: the only thing that pulls the long-legged beer thief out of the water is an empty can, and you have to make the empty can yourself.
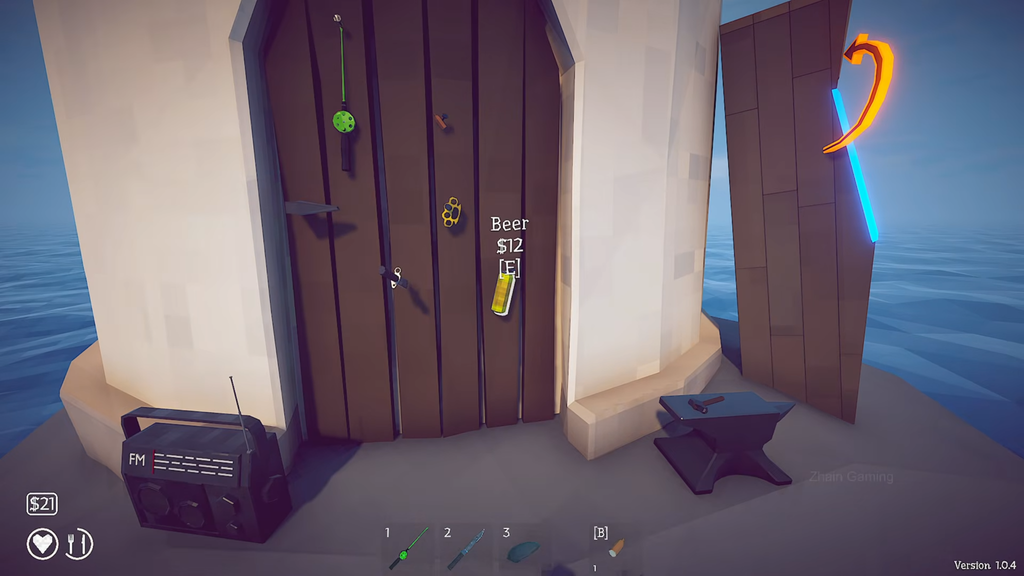
That means catching and selling the basic crustaceans around the lighthouse — crabs, shrimp, whatever bites on the free lure — until you have $12 for a beer from the shop. Buy it, feed it to the keeper, and he drinks it and hands the empty can back. Equip that can to your rod and your next cast is a guaranteed Spider Crab.
Which is exactly why you shouldn’t cast it right away.
What you need before you cast the can
Bare fists do not work here. You can catch the crab without a weapon, but you cannot kill it, and dying costs you the can. Go back to fishing with the worm lure and keep selling until you can afford a proper melee weapon and an upgrade for it.
| Prep item | Cost | Why it matters |
|---|---|---|
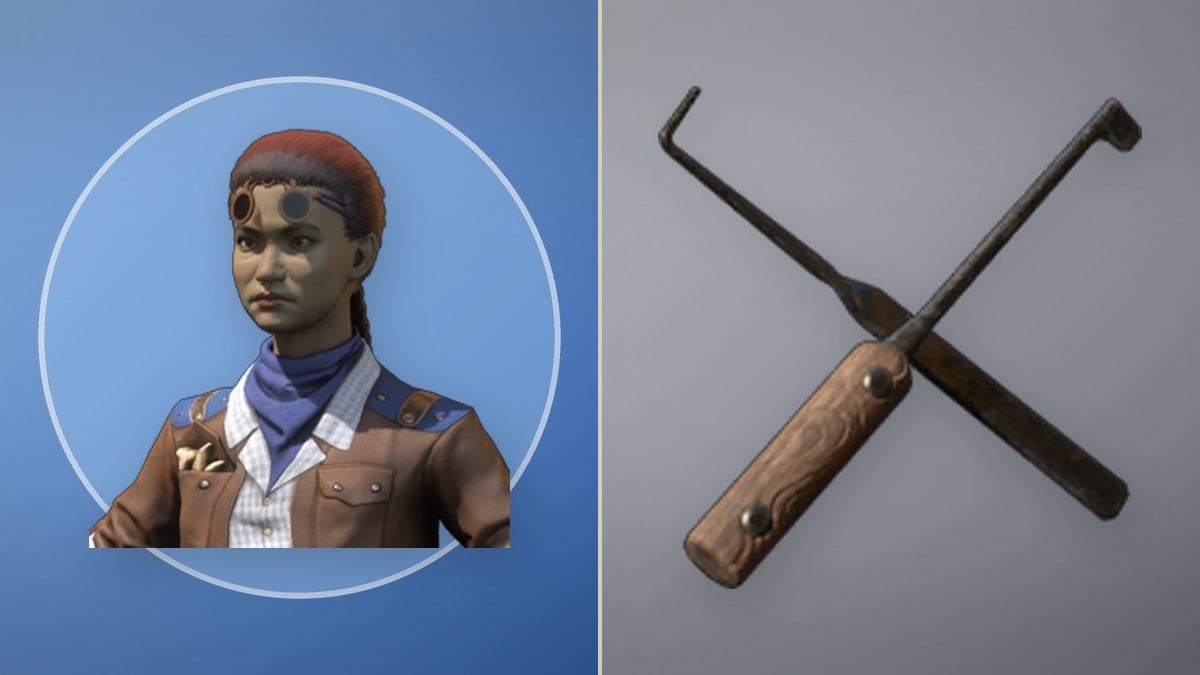
| Knife | $45 | Main melee weapon for the fight; the crab cannot be killed unarmed |
| Knife sharpening (anvil) | $14 | Raises damage to 20, which cuts the number of stun windows you need |
| Brass knuckles | Shop purchase | Alternative melee option; sharpen to max before fighting |
| Beer | $12 | Feed to the lighthouse keeper to get the empty can lure |
| Spare fish in inventory | Your catch | Eat mid-fight to heal when the crab connects |
The anvil sits by the lighthouse door. Equip your weapon and use it there to apply the sharpening. Going in with an unsharpened weapon is the single most common reason the fight drags on long enough to kill you.
Also eat before you cast. Start the fight on full health, and keep at least one edible catch in your inventory as a mid-fight heal. If you’re playing co-op, the fight gets noticeably easier because the crab can only chase one person at a time.
The charge-and-stun loop that beats the Spider Crab
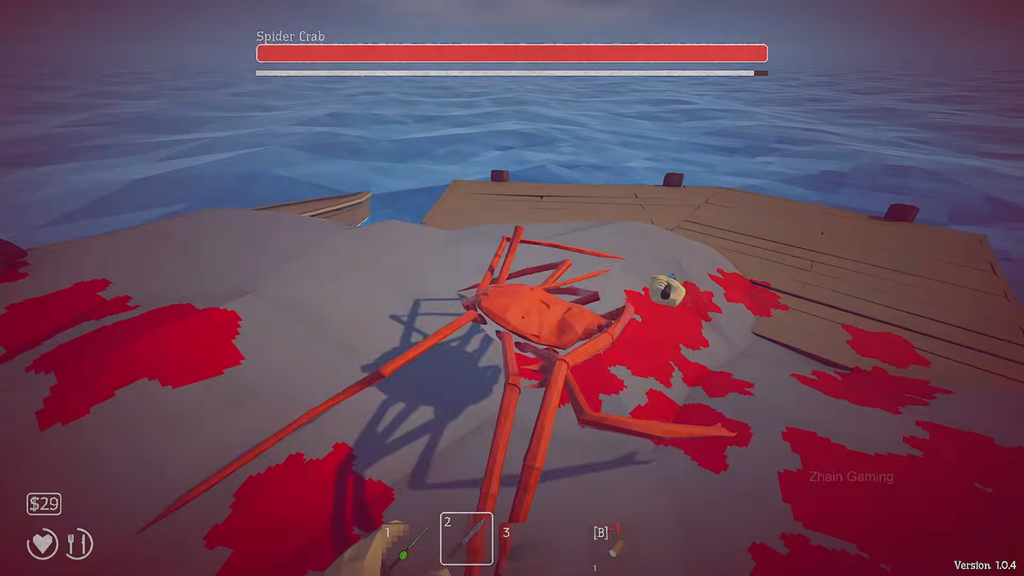
The whole fight runs on one pattern. The crab winds up a charge, and if it misses, it stands there dizzy with stars over its head. That stun is your only safe damage window.
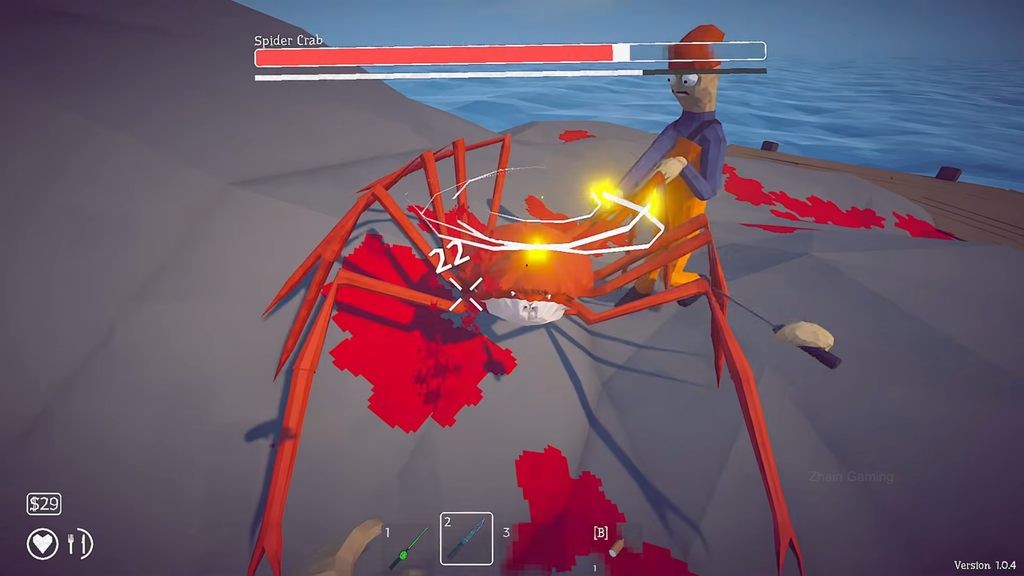
Two things to avoid. Don’t stand in front of it and trade damage to speed things up — it does far more damage per hit than you do, even with a sharpened knife. And don’t run too far away, because at long range the crab switches to jumping at you instead of charging, which kills the stun rhythm and burns time you don’t have.
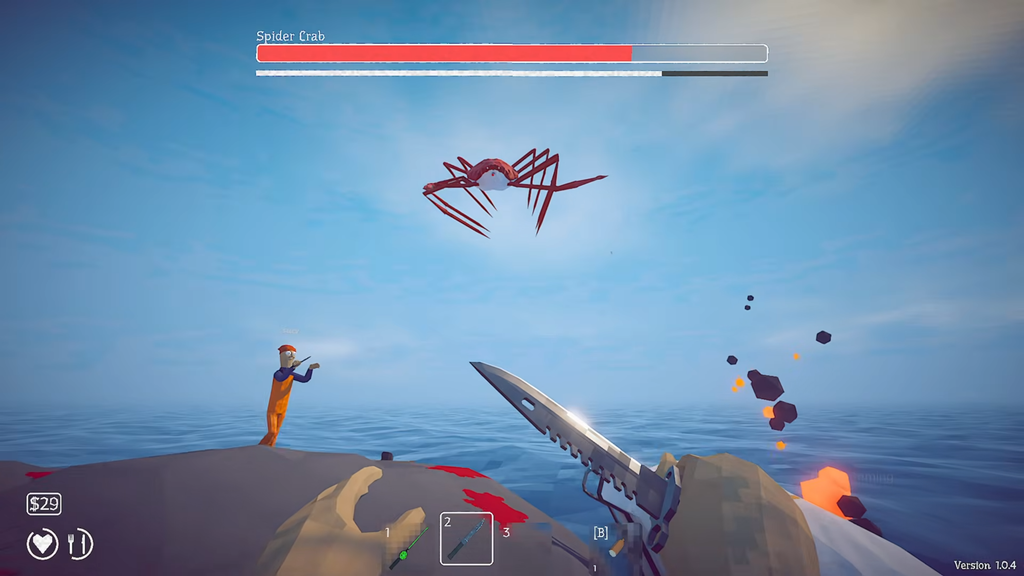
The post-charge stun is specific to this boss. The bosses on later islands don’t freeze after a missed attack, so don’t build your whole playstyle around this loop.
Watch the white escape bar under its health
Under the crab’s health bar there’s a second white bar. That’s the escape timer. If it empties before the crab dies, the boss vanishes and the encounter is over — you have to set the whole thing up again from scratch.
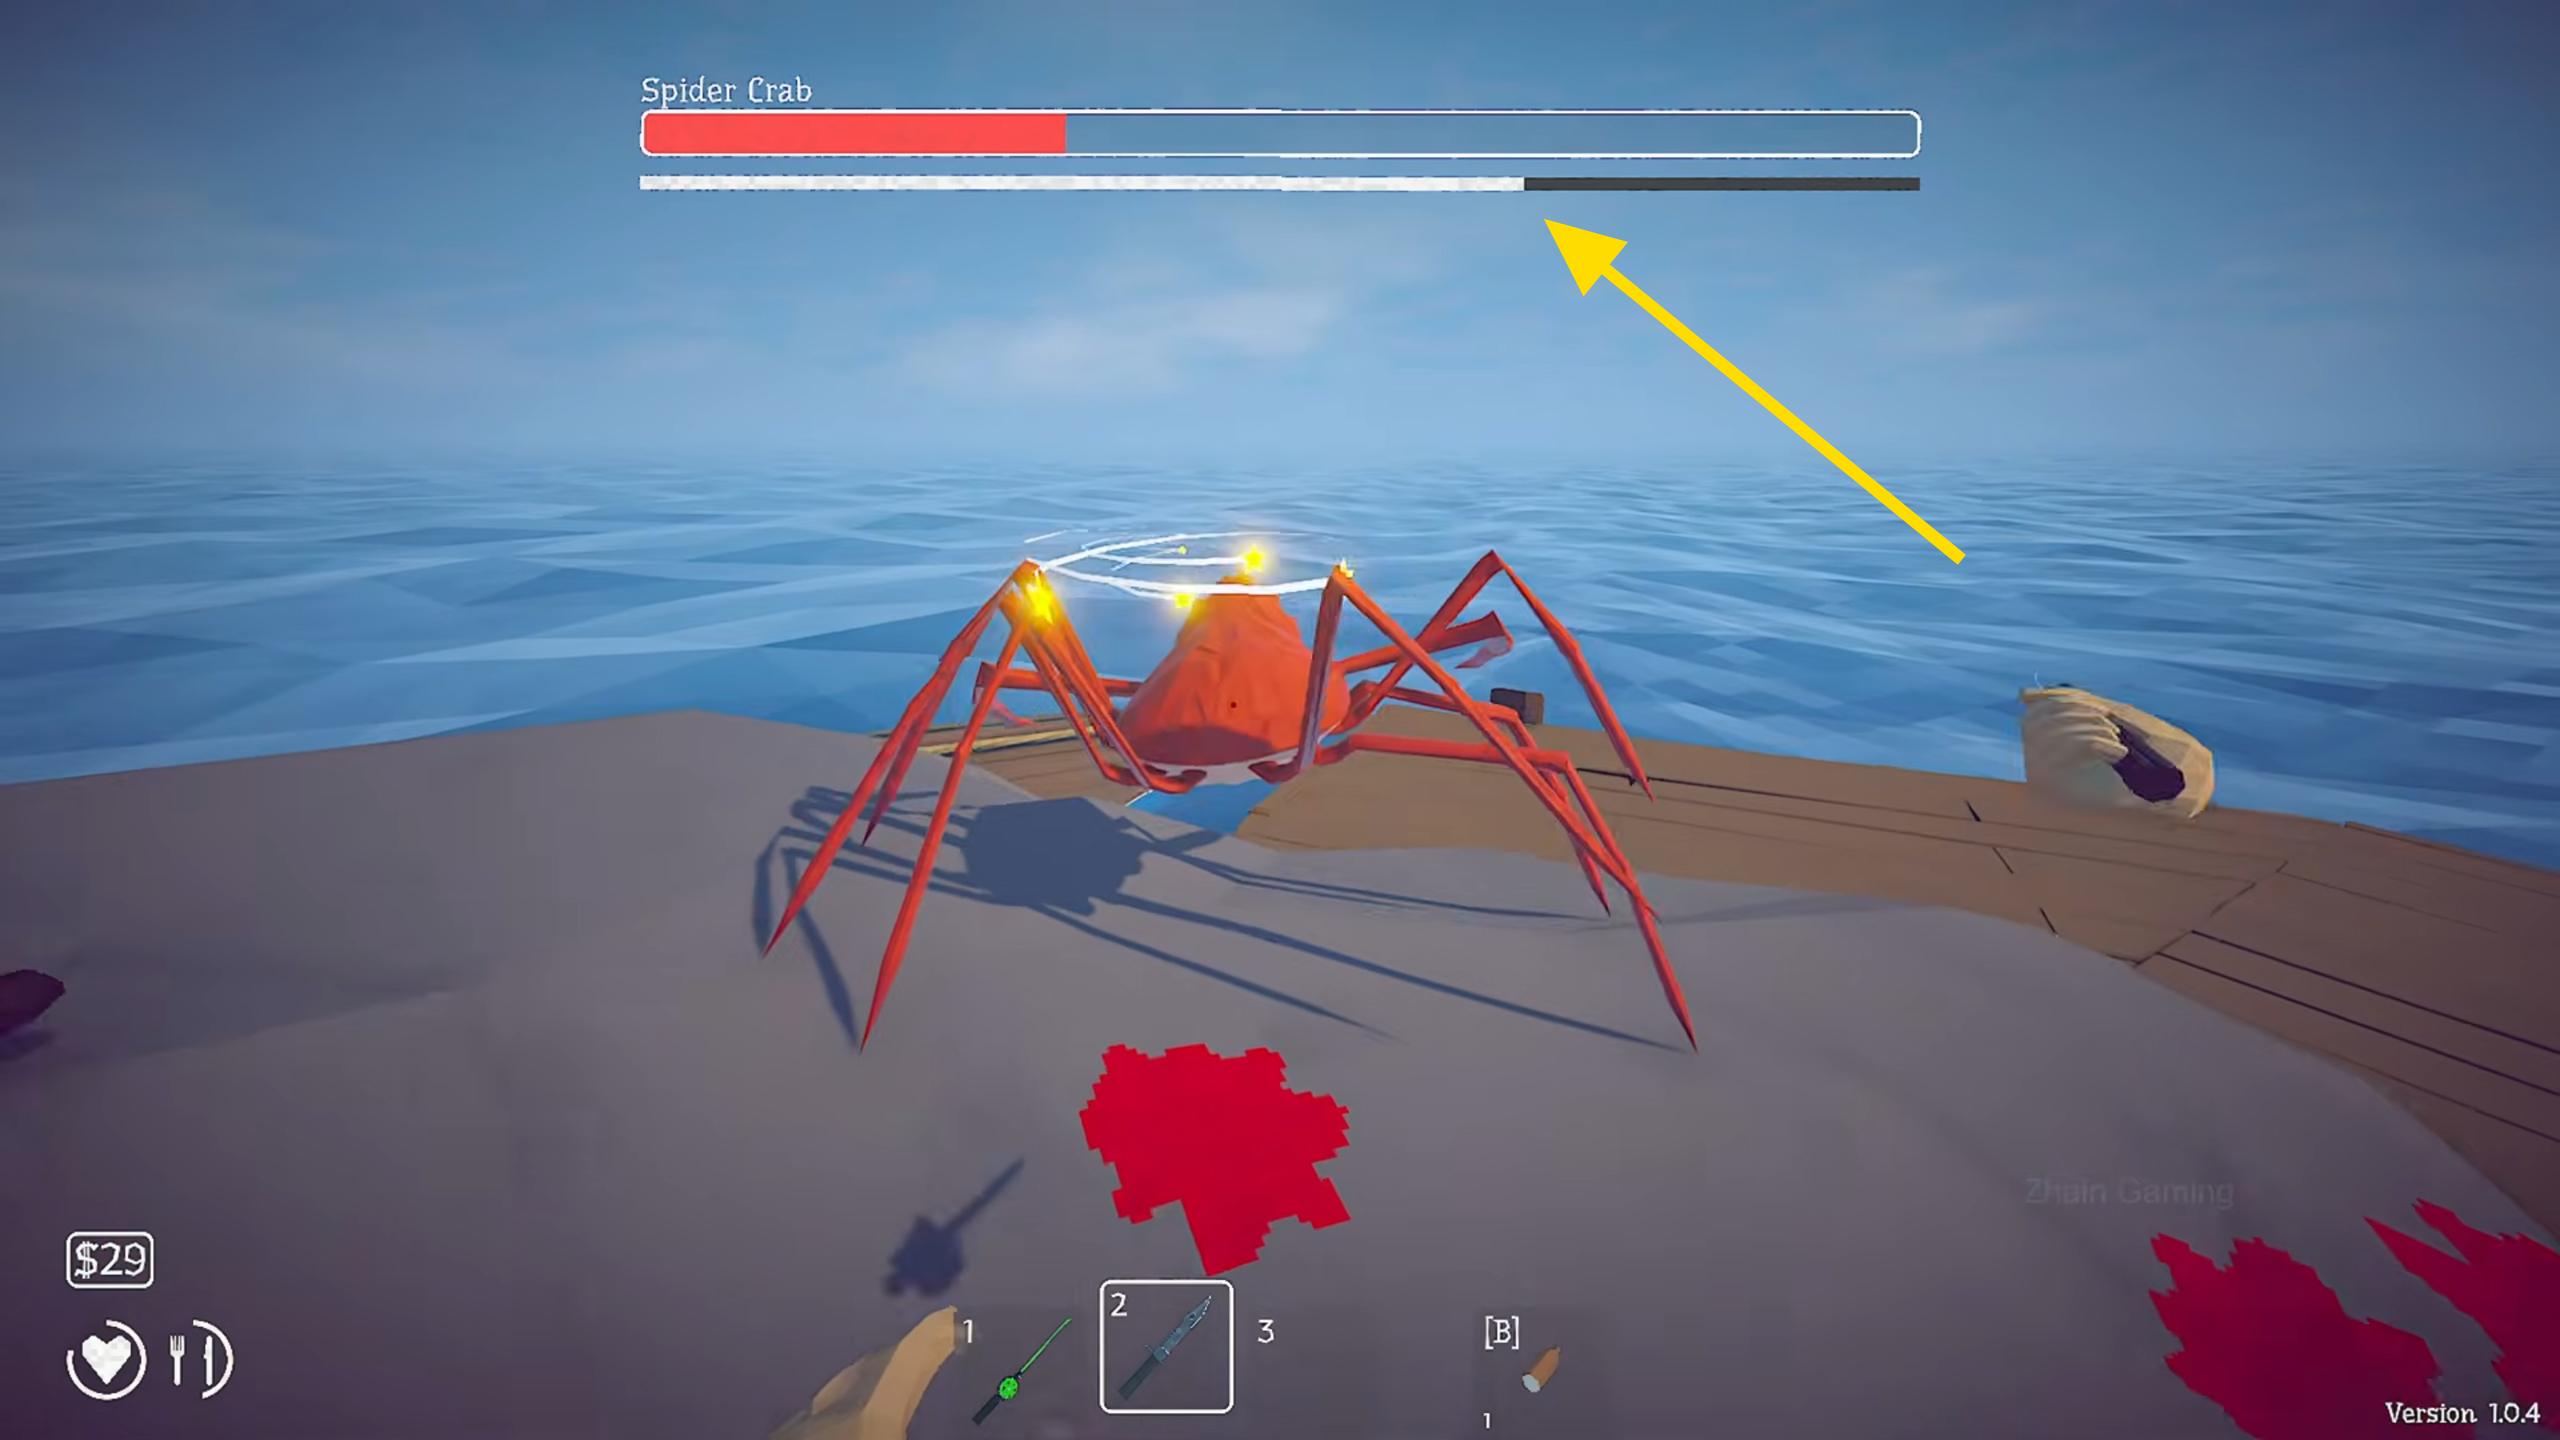
This is why the sharpening upgrade matters more than it looks. The timer punishes slow damage, so every stun window you skip because you were too far away is time you can’t get back. Bosses later in the game use the same timer, so it’s worth learning to read now.
How to confirm the quest completed and get the boat keys
Killing the crab isn’t the end of the quest. Pick up the item it drops and carry it back to the lighthouse keeper — he only responds to that exact drop, so if his dialogue won’t advance, check what you’re actually holding.
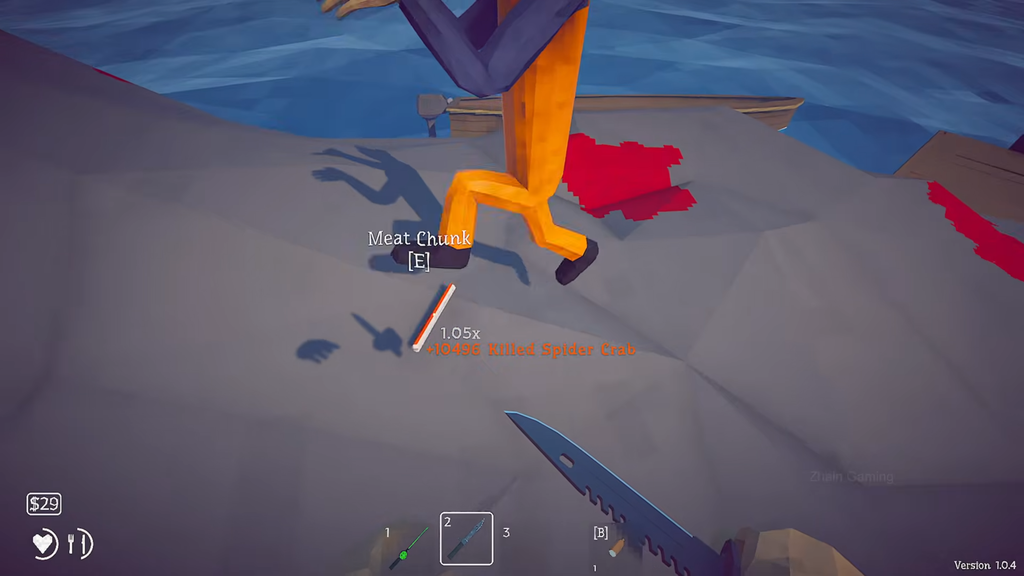
You’ll know it worked in two ways. The ‘Who Stole My Beer’ achievement unlocks when the crab goes down, and handing the drop to the keeper closes the quest and gets you the keys to his boat. That’s the item that unlocks travel to the next island.
Before you sail off, buy the radar from him for $10. You can also sell the leftover crab parts for a decent chunk of cash toward better gear on island two.
What happens if the Spider Crab kills you
Dying isn’t a run-ender. You keep your rod and your weapon, though you may have to walk over and collect them off the ground where you dropped them.
What you don’t keep is the lure. The empty can is consumed, so you have to fish and sell until you can afford another $12 beer, feed it to the keeper again, and re-summon the boss. Same story if the escape timer runs out. That $12 tax is the real reason to prep properly the first time.
One last thing worth filing away. There’s a separate achievement for dropping the Spider Crab in under 10 seconds, and there’s no reason to attempt it on your first pass. After you finish the game you wake up back on island 1 with all your gear and every location unlocked, at which point you can summon the crab with another beer can and delete it with a maxed assault rifle. For now, the knife and a little patience are enough.