
Are you noticing your Windows 11 computer running slower than usual, with high CPU, memory, or disk usage? Upon checking the Task Manager, you might find a process named Antimalware Service Executable consuming significant system resources. In this guide, we’ll explore effective methods to reduce the resource consumption caused by this process without compromising your system’s security.
What is ‘Antimalware Service Executable’?
The Antimalware Service Executable is a core component of Windows Defender, the built-in antivirus program in Windows 11. This process runs in the background, providing real-time protection by scanning for malware and viruses. If you don’t have a third-party antivirus installed, Windows Defender is essential to safeguard your system.
While Windows Defender is crucial for security, sometimes the Antimalware Service Executable can consume excessive system resources, leading to performance issues. If you’re facing this problem, here are some methods to mitigate the high resource usage.
Method 1: Change the Windows Defender Task Schedule
Adjusting the scan schedule of Windows Defender can help reduce its impact on system performance during active hours. By scheduling scans at times when you’re less likely to use your computer, you can minimize high resource usage.
Task Scheduler in the search bar. Then, click on the Task Scheduler app from the search results.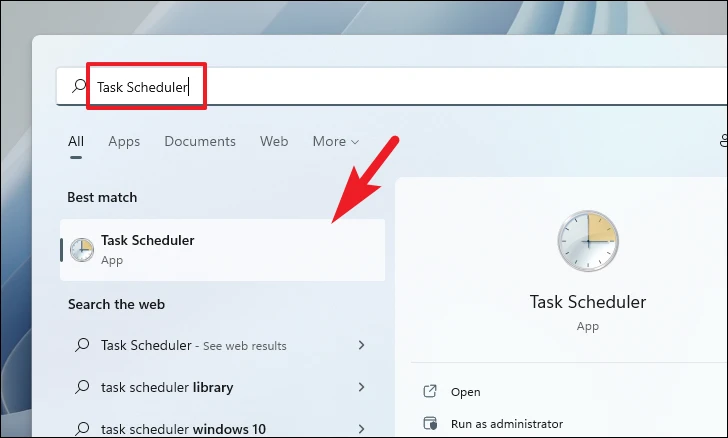

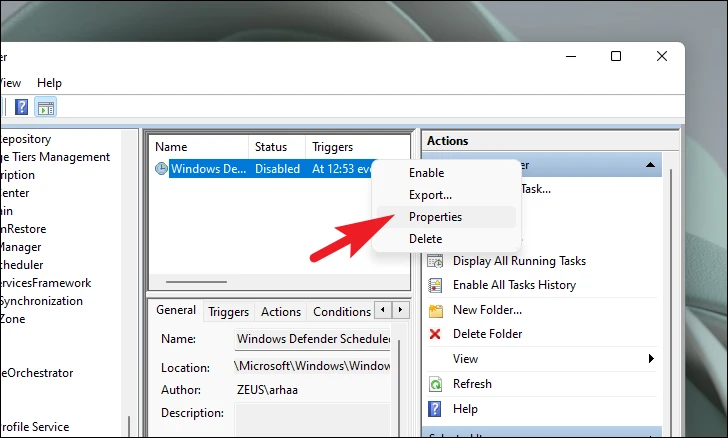
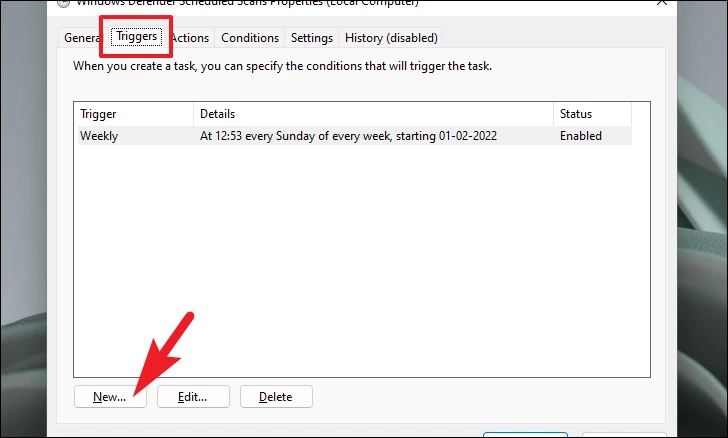
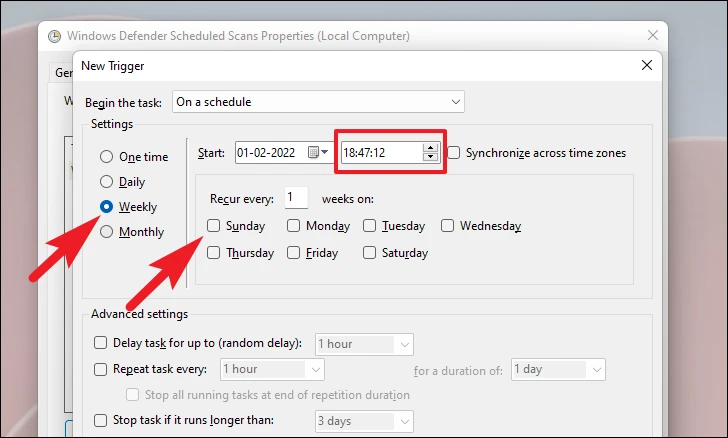
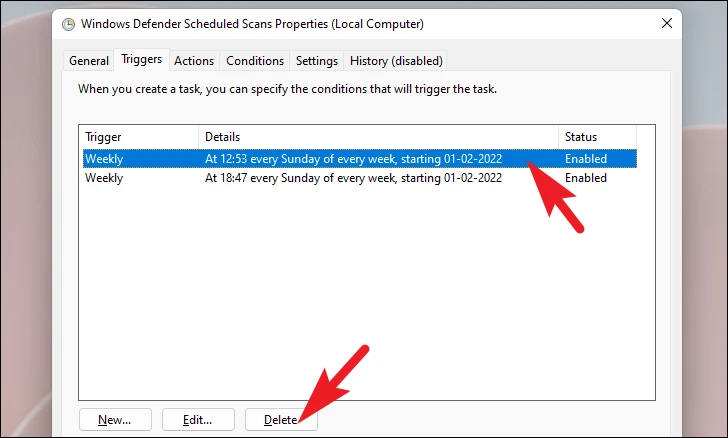
By adjusting the scan schedule, Windows Defender will perform scans during off-peak hours, reducing high resource consumption while you’re using your computer.
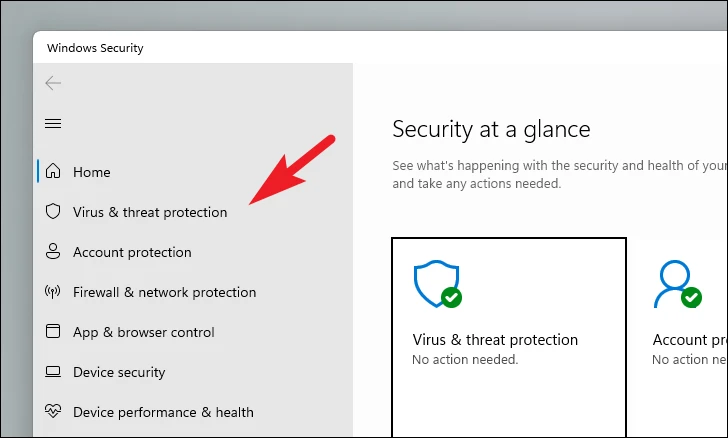
Method 2: Turn Off Real-Time Protection in Windows Defender
Disabling Real-Time Protection can significantly reduce resource usage, but it also decreases your system’s security. Use this method cautiously, especially if you don’t have another antivirus solution installed.
Windows Security, and select the Windows Security app from the search results.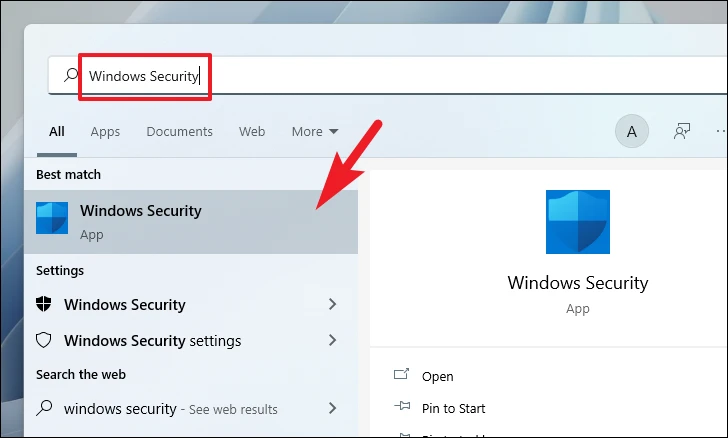
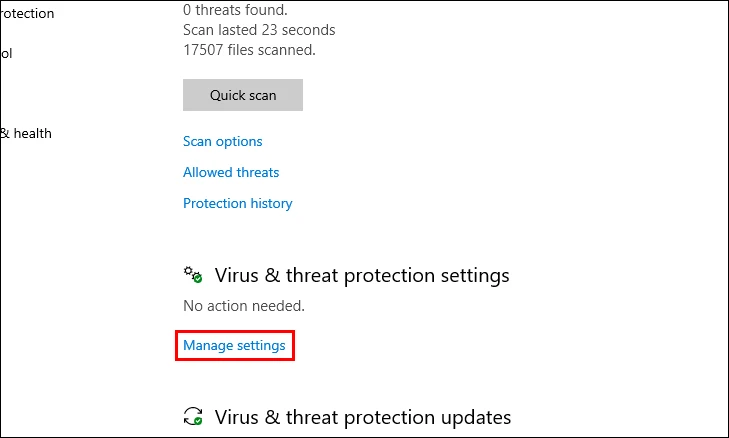
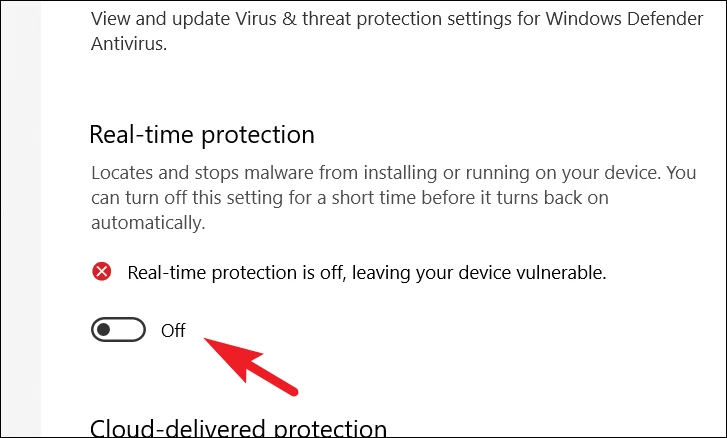
With Real-Time Protection disabled, Windows Defender will no longer continuously monitor your system, which can reduce high CPU and memory usage. However, make sure you have another antivirus solution in place to keep your system protected.
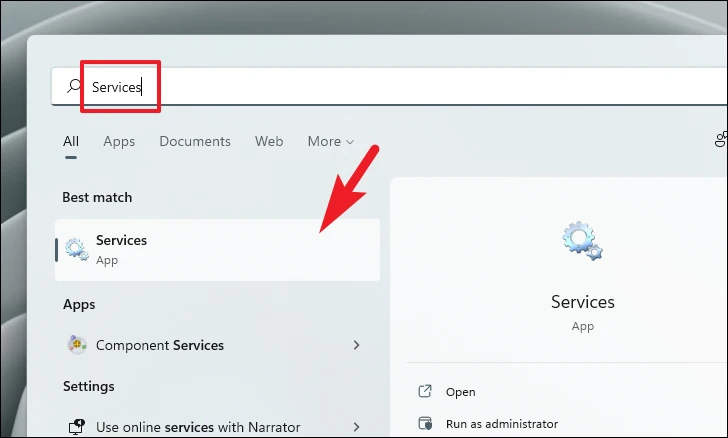
Method 3: Stop the Windows Defender Service
Stopping the Windows Defender service can free up system resources. This method should only be used if you have another antivirus program installed, as it turns off essential security features.
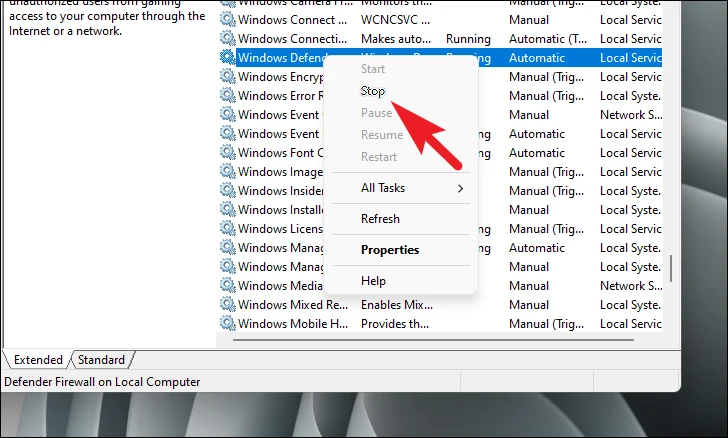
This will temporarily stop the Windows Defender service. Keep in mind that Windows may restart this service automatically after a while or upon reboot. To prevent it from restarting, you would need to disable it permanently, which is not recommended unless you have a reliable alternative in place.
Method 4: Disable Windows Defender Using the Registry Editor
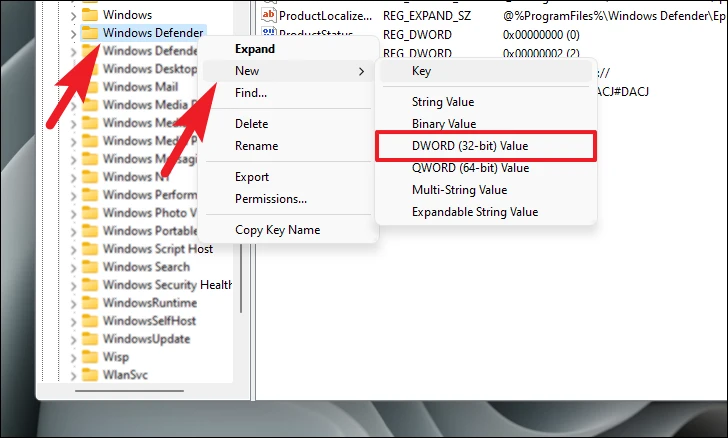
For a more permanent solution, you can disable Windows Defender through the Registry Editor. This method should be used with caution, as modifying the registry can have unintended consequences. Make sure to back up your registry before proceeding.
Registry Editor, and click on the Registry Editor app from the search results.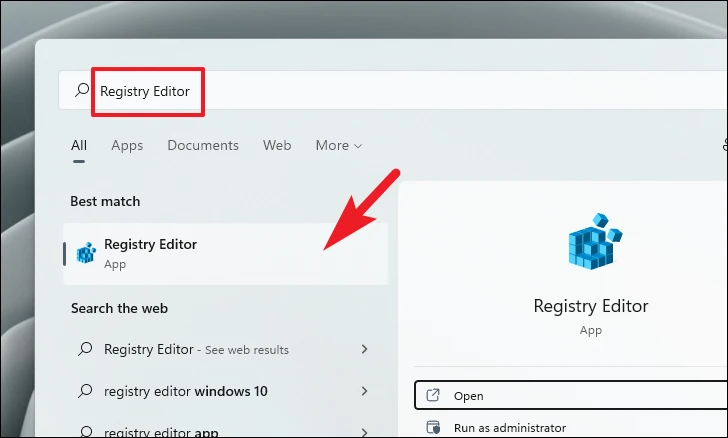
Enter:HKEY_LOCAL_MACHINE\SOFTWARE\Microsoft\Windows Defender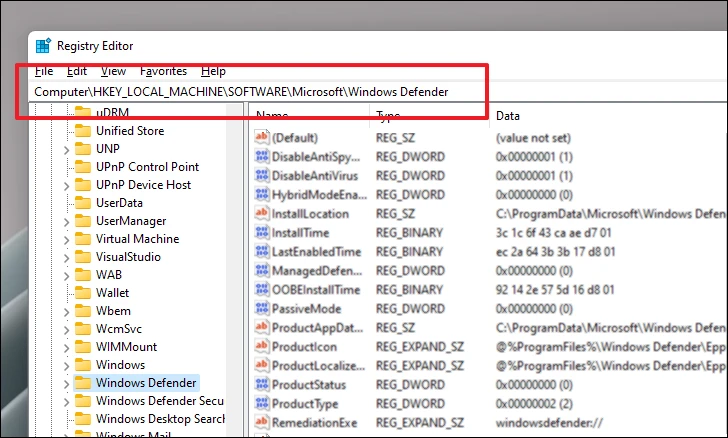
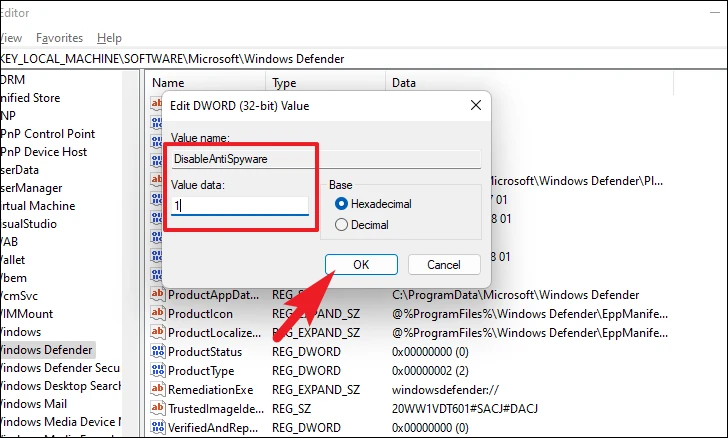
After restarting, Windows Defender should be disabled, and the Antimalware Service Executable process should no longer consume system resources. Remember, disabling Windows Defender leaves your system vulnerable unless you have another antivirus installed.
By following these methods, you can effectively reduce the high CPU, memory, or disk usage caused by the Antimalware Service Executable process on your Windows 11 computer. Always ensure your system remains protected by using a reliable antivirus solution if you choose to disable Windows Defender.


