
Experiencing a ‘CPU Over Temperature’ error on your Windows 11 PC can be concerning. Elevated CPU temperatures not only hinder performance but can also reduce the lifespan of your computer’s components. Luckily, there are multiple methods to help you bring your CPU temperature back within normal operating ranges.
What is the CPU over temperature error and why does it happen?
The ‘CPU Over Temperature’ error occurs when your processor exceeds its maximum safe operating temperature. This overheating can potentially damage the CPU or cause it to fail if not addressed promptly.
There are several potential reasons why your CPU might be overheating and triggering this error. The most common causes include:
CPU overclocking: Pushing your CPU beyond its default speed increases its performance but also generates more heat due to higher voltage and increased clock rates.
Cooling system issues: The cooling system’s job is to dissipate the heat generated by the CPU. If your cooling fans are clogged with dust or the heat sink isn’t properly dispersing heat, temperatures can rise.
High CPU usage: Running multiple demanding applications or having outdated software can put extra stress on your CPU, causing it to overheat.
Poor ventilation: If your computer doesn’t have adequate airflow due to blocked vents or being used in a confined space, heat can build up inside the case.
Fortunately, there are several methods you can use to resolve this issue. Some solutions involve simple software tweaks, while others may require a bit of hardware maintenance.
1. Clean air intake fans
If dust and debris accumulate on your computer’s fans, it can impede airflow and cause the CPU to overheat. Gently cleaning the air intake fans can help restore proper ventilation. Use compressed air, a soft brush, or a vacuum cleaner set to low suction to remove dust from the fans and vents.
2. Provide proper ventilation
Using your computer in a way that restricts airflow can lead to overheating. This is especially common with laptops used on soft surfaces like beds or couches, which can block air vents. Ensure that your computer is placed on a hard, flat surface to allow for adequate air intake and exhaust. Consider using a laptop cooling pad to improve airflow.
3. Turn off CPU overclocking
Overclocking your CPU pushes it beyond its standard operating parameters, which can significantly increase heat output. If you’ve overclocked your CPU, consider reverting it to its default settings to reduce the temperature. Disabling overclocking can often be done through your computer’s BIOS settings.
4. Identify apps consuming high CPU resources
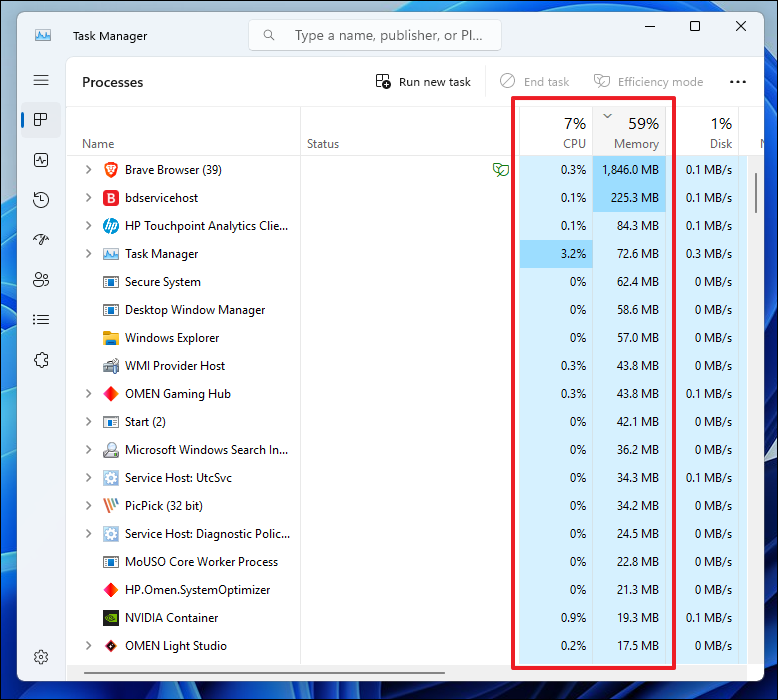
Certain applications may be using a large amount of CPU resources for extended periods, causing the processor to overheat. You can use the Task Manager to identify and close these resource-intensive apps.
Ctrl+Shift+Esc on your keyboard or by searching for ‘Task Manager’ in the Start Menu.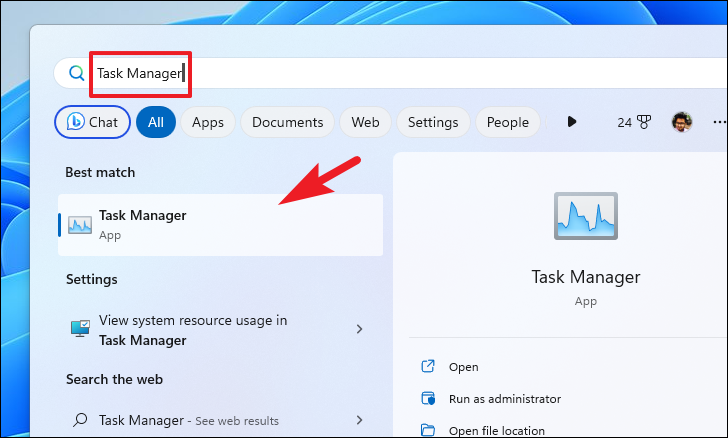
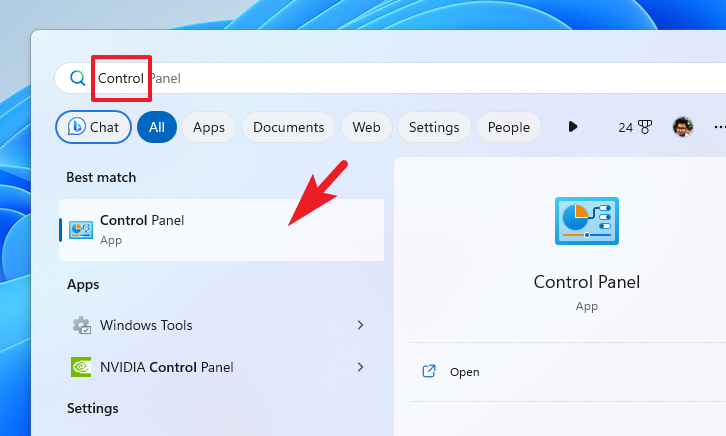
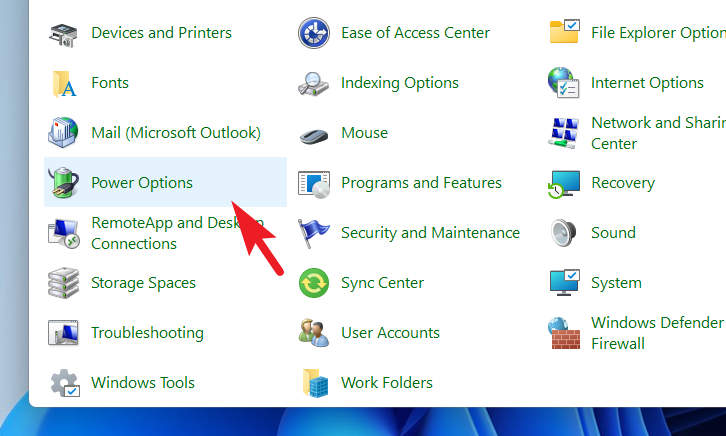
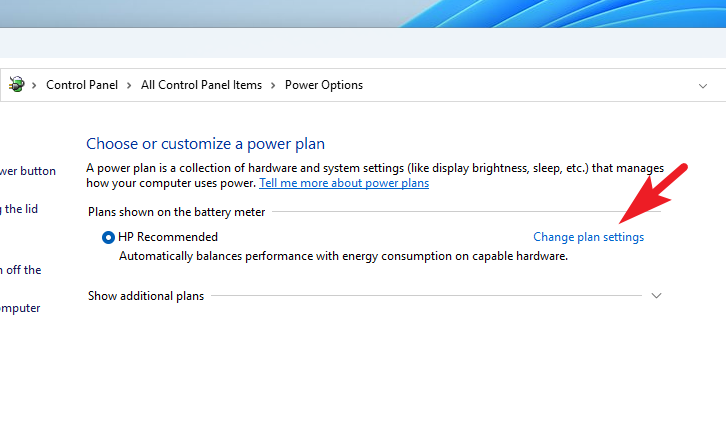
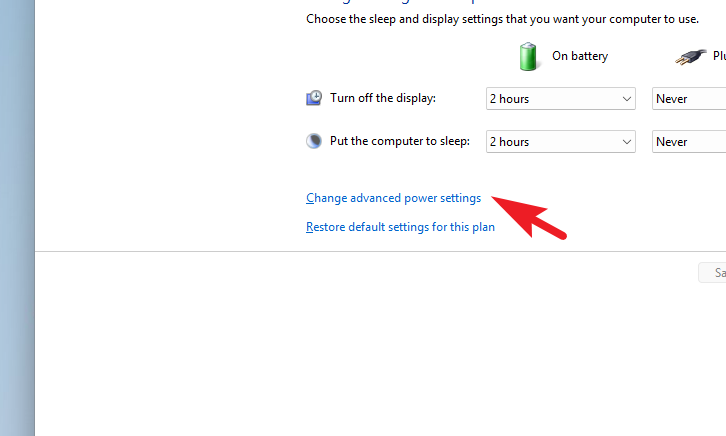
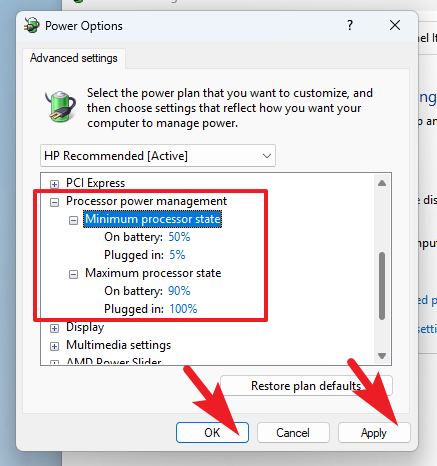
5. Throttle processor state
Adjusting your processor’s maximum state can reduce heat output by limiting its maximum performance. Here’s how to do it:
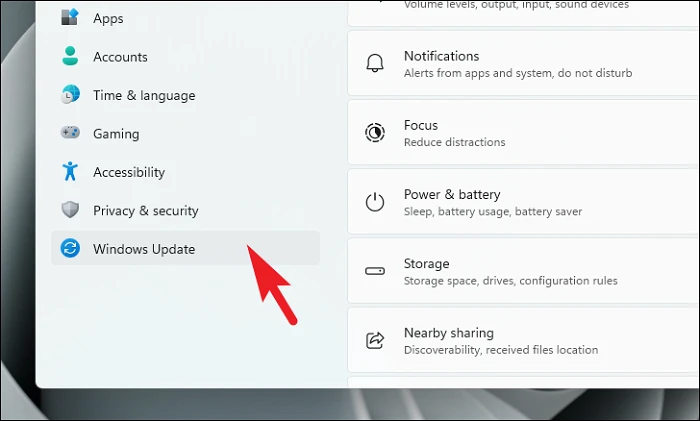
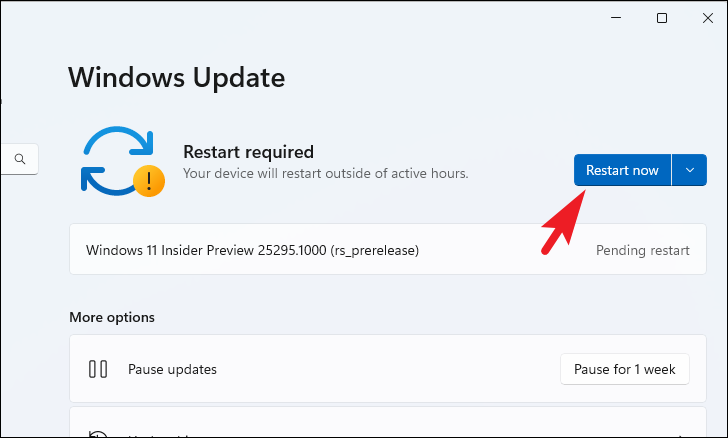
6. Install or roll back Windows updates
Keeping your Windows 11 system up to date is important for performance and stability. If you haven’t updated your system recently, installing the latest updates may help resolve the over-temperature error. Conversely, if the issue started after a recent update, rolling back that update might fix the problem.
To install Windows updates:

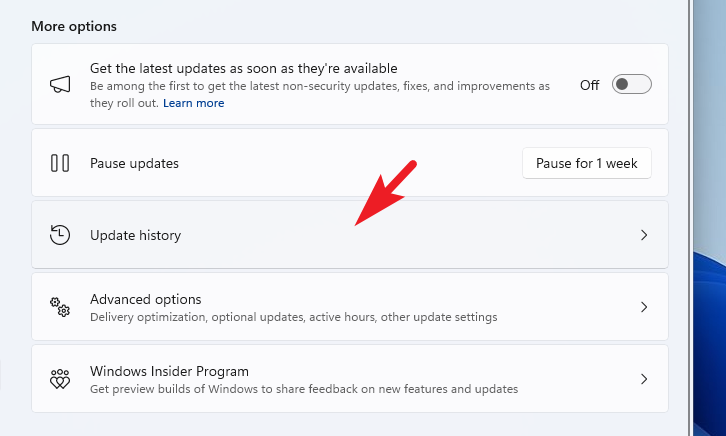
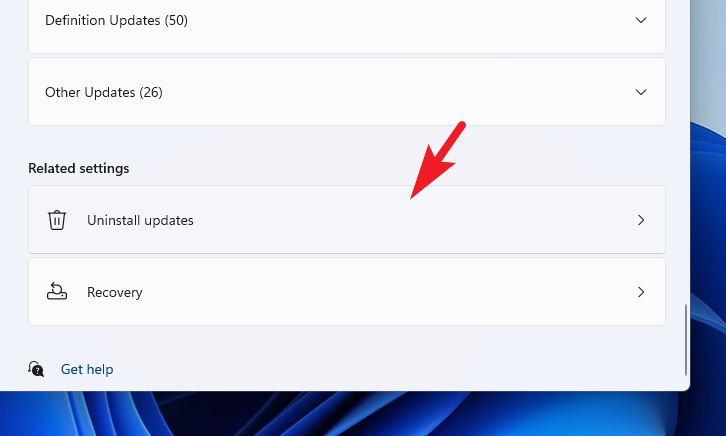
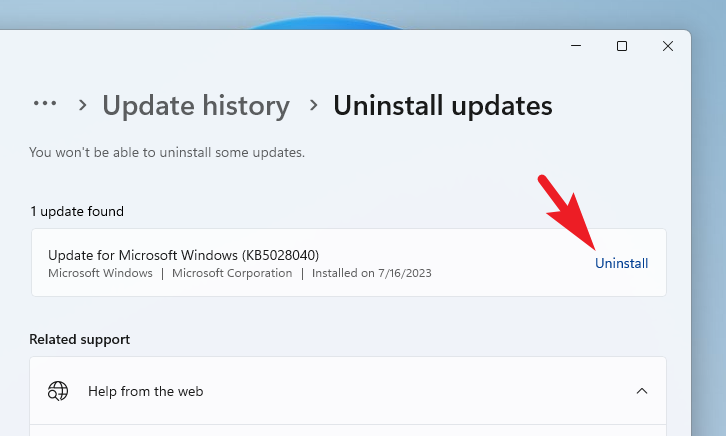
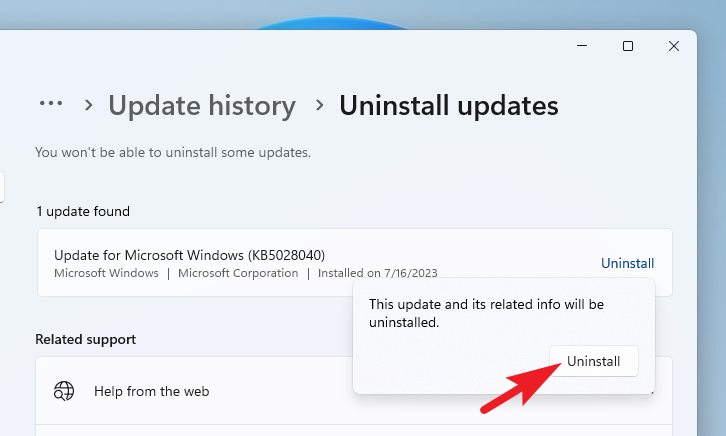
To uninstall recent updates:
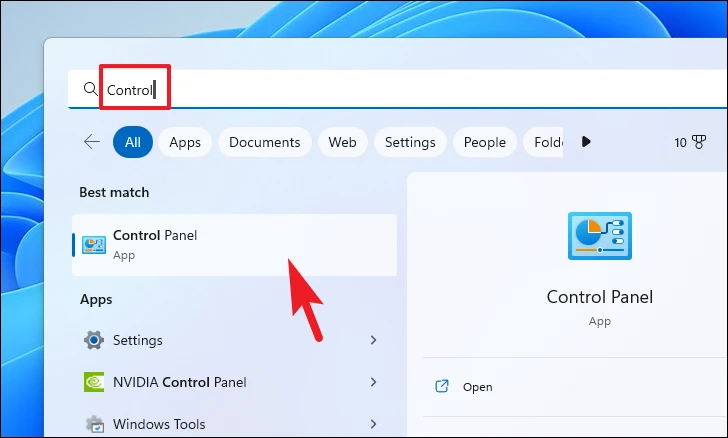
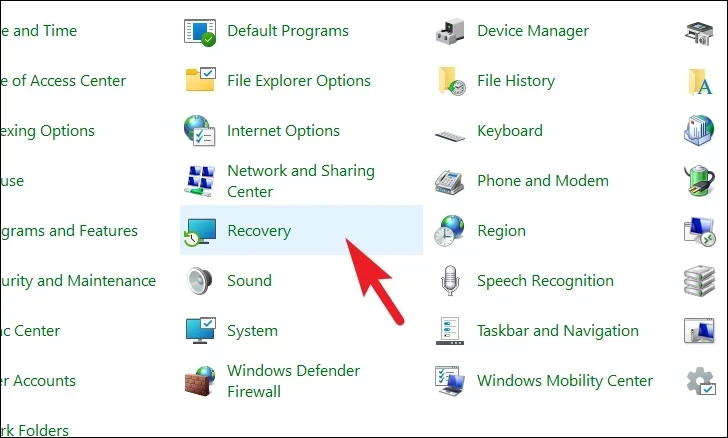
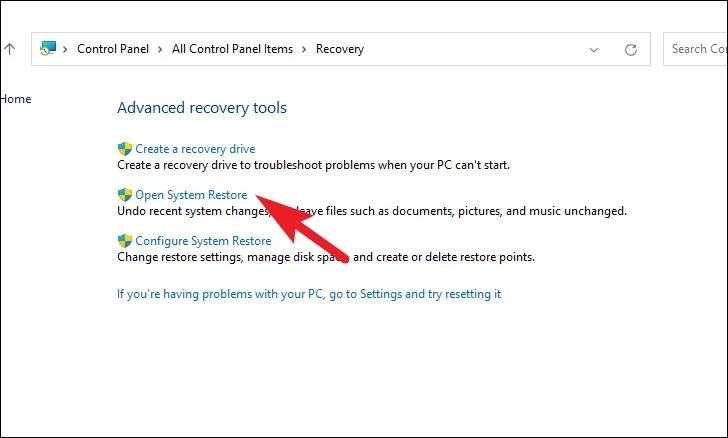
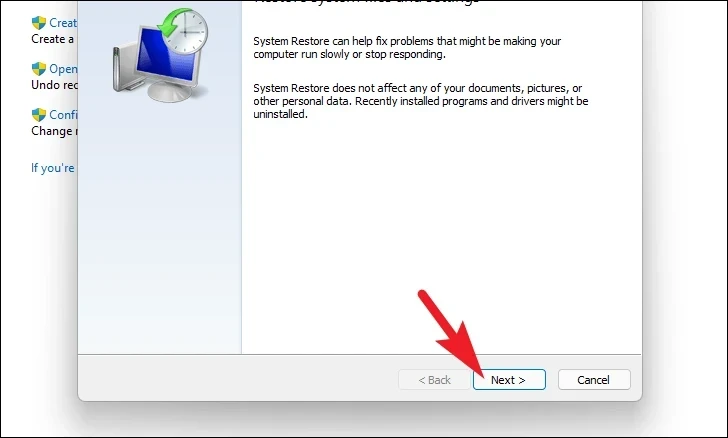
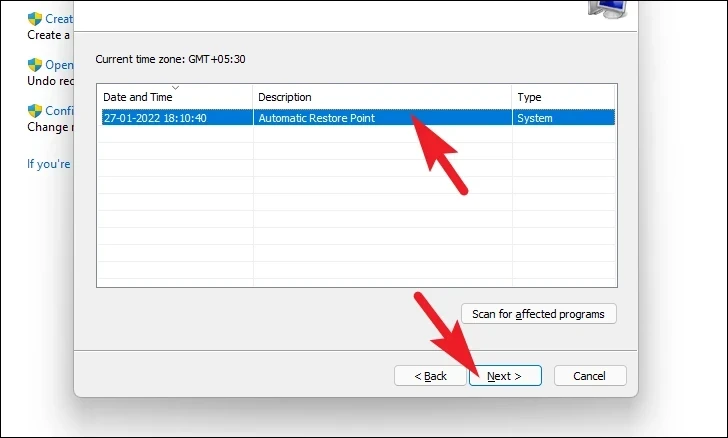
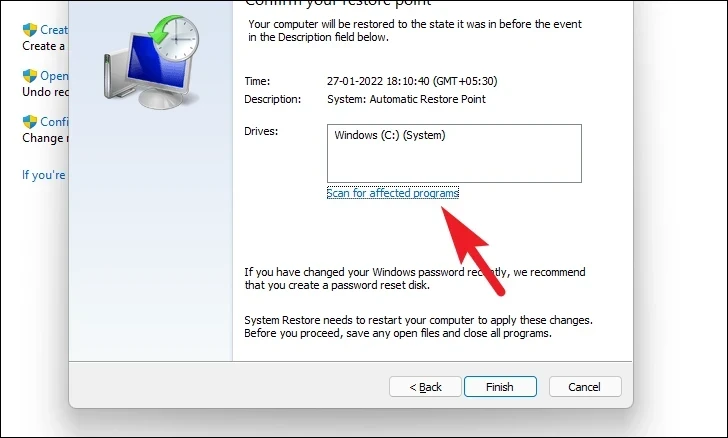
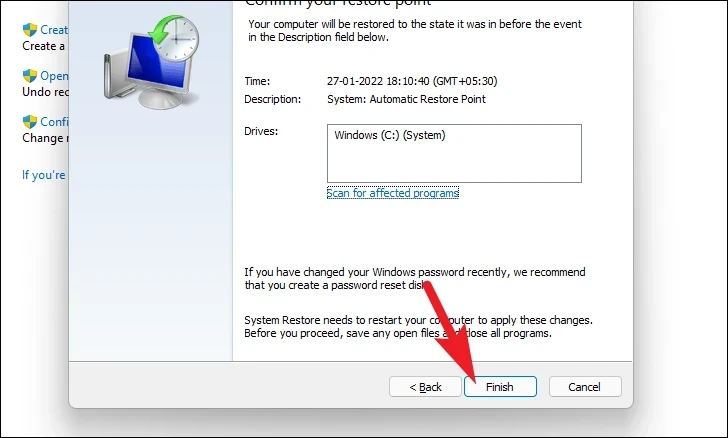
7. Roll back to a system restore point
If you suspect that a recent change to your system is causing the CPU over-temperature error, rolling back to a previous system restore point may resolve the issue. Note that this will undo recent system changes, so use this method if the other solutions didn’t help.
By following these methods, you can address the CPU over-temperature error on your Windows 11 PC and help ensure your system runs smoothly and stays cool.


