How to Perform a System Restore when Windows 11 Won’t Boot
If your system won't boot, you can perform System Restore via the Windows Recovery Environment (WinRE) to fix the problem.
If your system won’t boot, you can perform System Restore via the Windows Recovery Environment (WinRE) to fix the problem.
by Raj Kumar
When your Windows 11 computer fails to boot, it can be due to various reasons such as software conflicts, corrupted system files, driver issues, malware infections, hardware failures, or incorrect settings. To resolve these problems with minimal data loss, you can use the System Restore feature to revert your PC to a previous state when it was functioning properly. This guide will walk you through how to perform a System Restore from the Windows Recovery Environment, use installation media if necessary, and how to reset your PC if all else fails.
Perform system restore from Windows Recovery Environment
Power on your computer and immediately press the F11 key to access the Windows Recovery Environment (WinRE). Depending on your computer’s manufacturer, you might need to press a different key such as F9 or F12. Refer to your computer’s manual if you’re unsure.
If pressing the shortcut key doesn’t work, you can force your computer into the recovery environment using the following method.
Ensure your computer is completely shut down. Press the power button to turn it on. As soon as you see the Windows logo or the loading screen, press and hold the power button for about 10 seconds to force a shutdown.
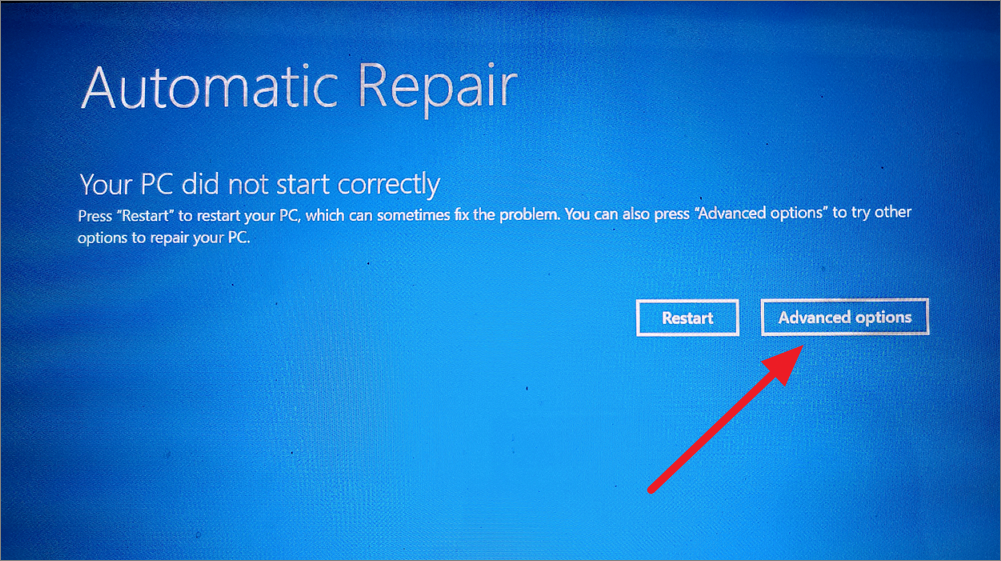
Repeat the forced shutdown process two more times. On the third startup, allow the computer to boot without interruption. This should trigger the ‘Preparing Automatic Repair’ message at the bottom of the screen, as shown below.
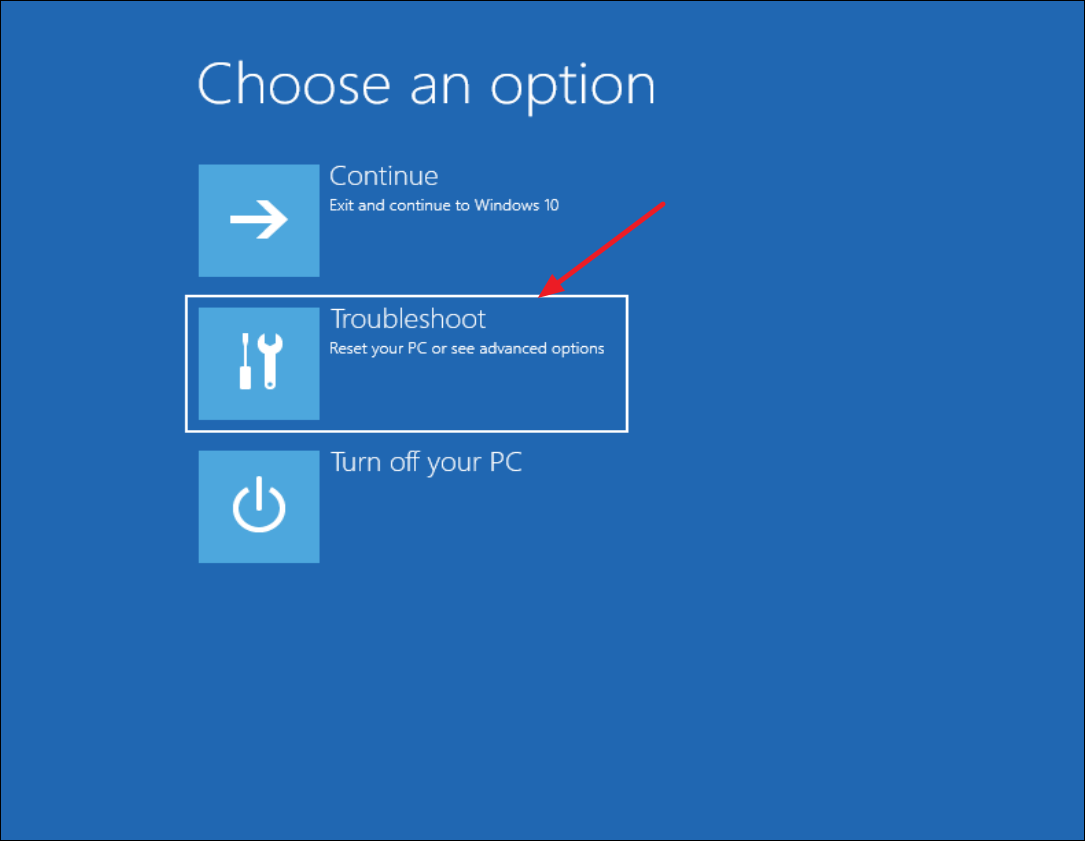
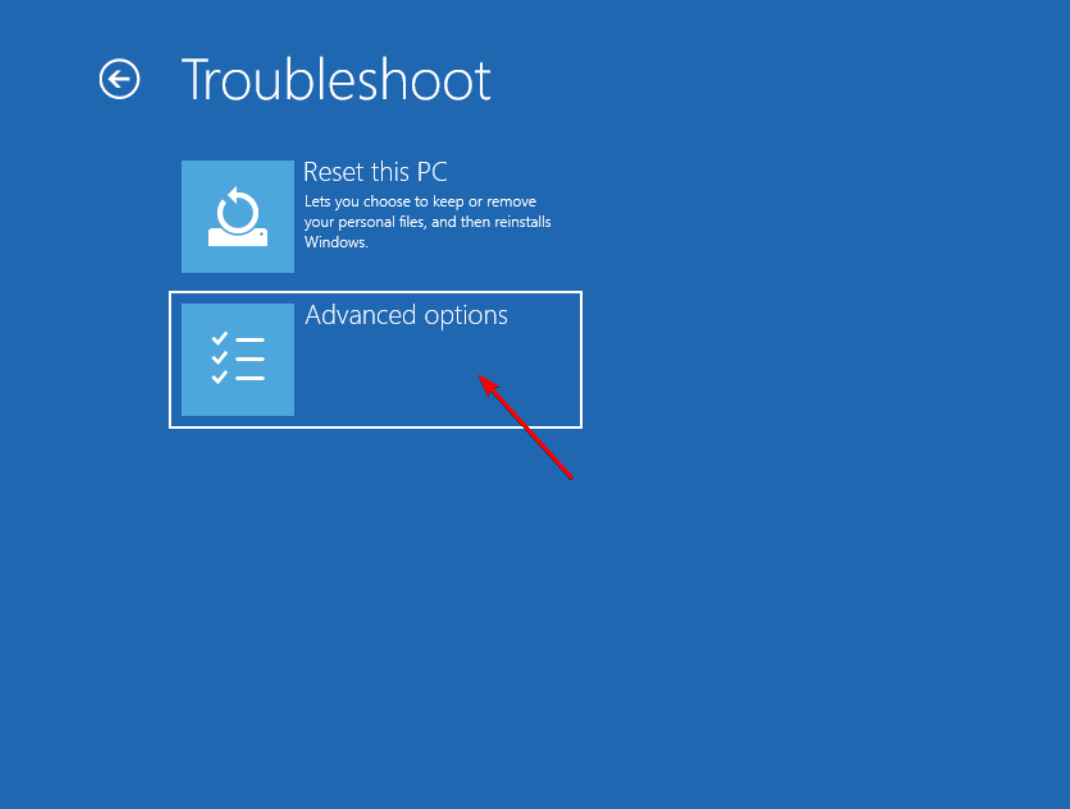
When the ‘Automatic Repair’ screen appears, click on the ‘Advanced options’ button to enter the Windows Recovery Environment (WinRE) for additional recovery features.
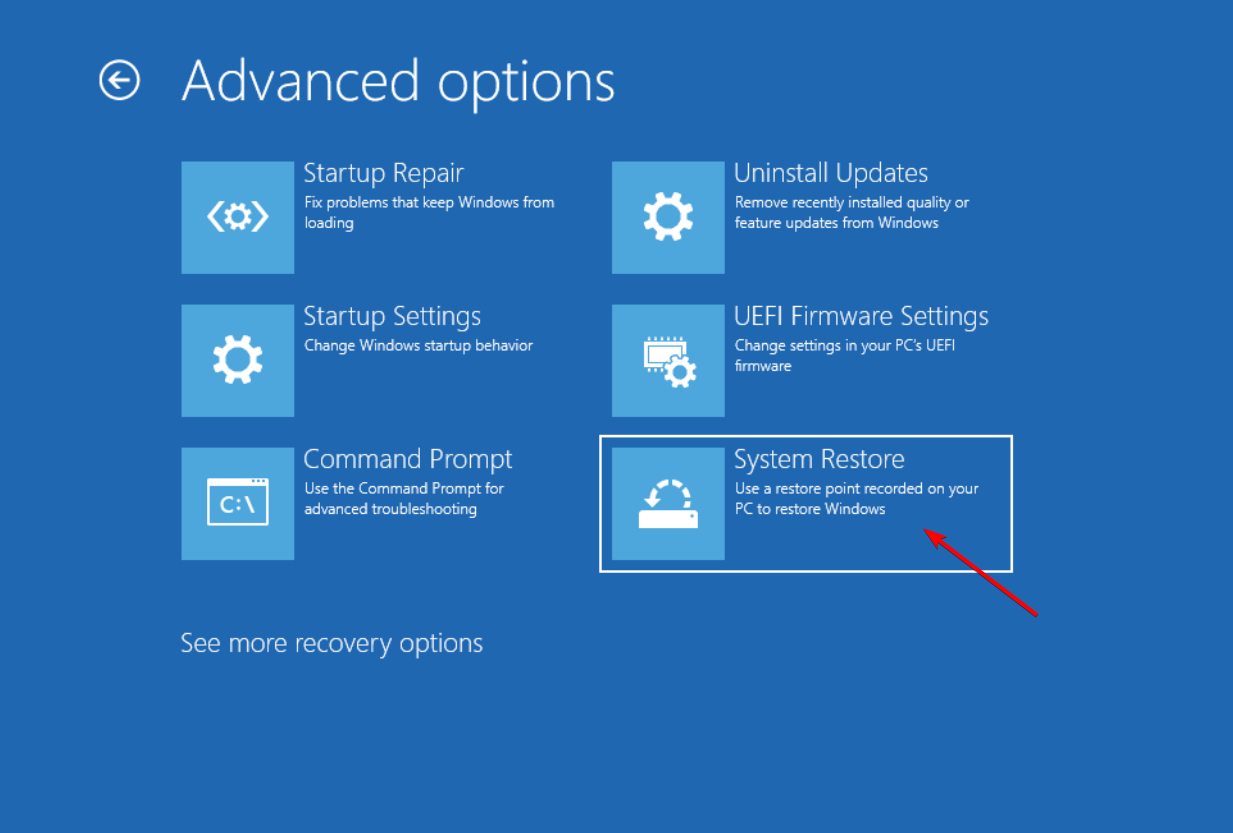
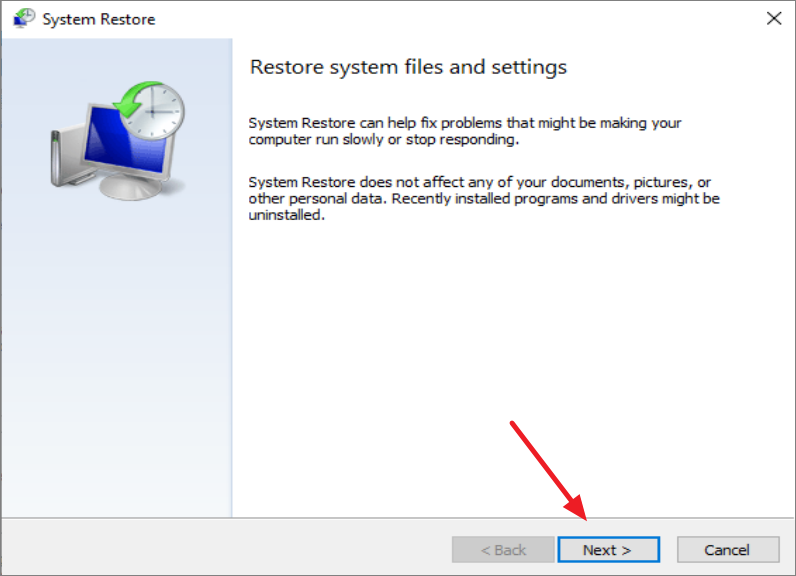
In the System Restore window, you might be prompted to choose between ‘Recommended restore’ and ‘Choose a different restore point’. Select ‘Choose a different restore point’ to view all available restore points. If this option isn’t available, simply click ‘Next’.
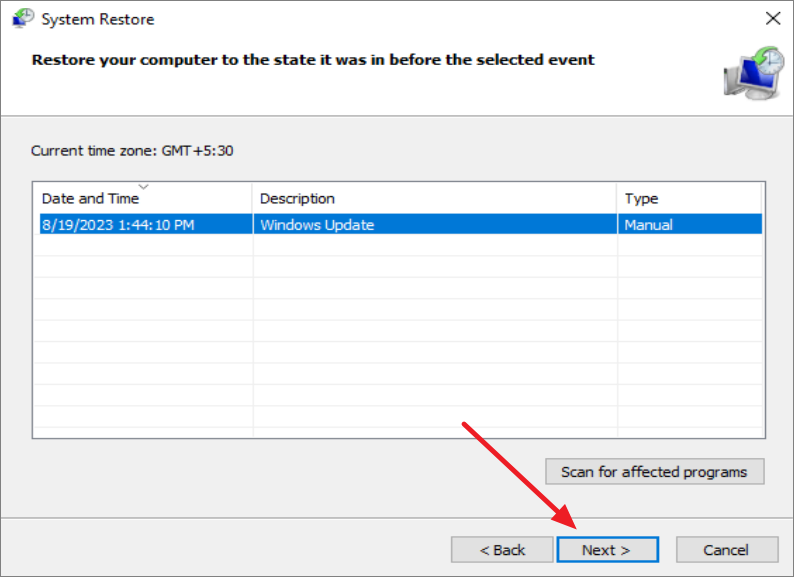
Select the most recent restore point when your system was functioning correctly, then click ‘Next’. If you want to see which programs will be affected, click on ‘Scan for affected programs’ before proceeding.
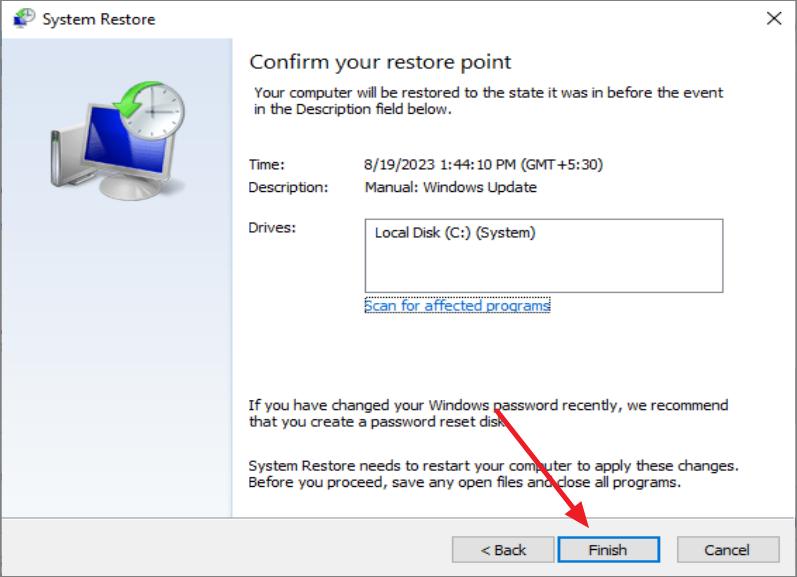
Click ‘Finish’ to start the restoration process. Your computer will restart and begin restoring your system to the selected point.
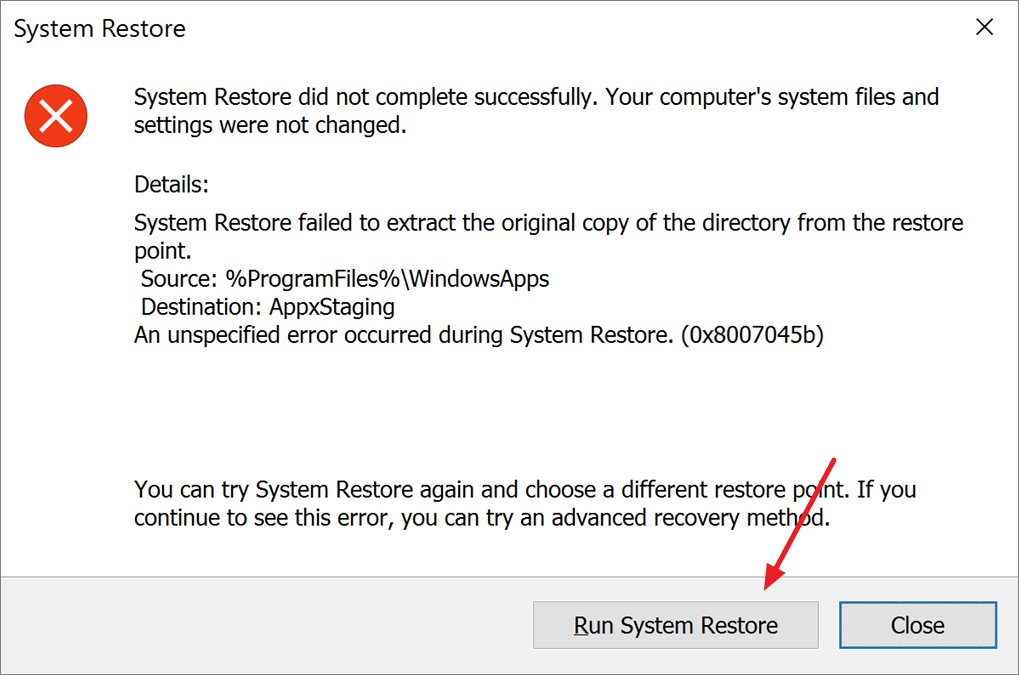
If the System Restore completes successfully, your computer should boot normally. If it fails, you’ll receive a ‘System Restore did not complete successfully’ error message.
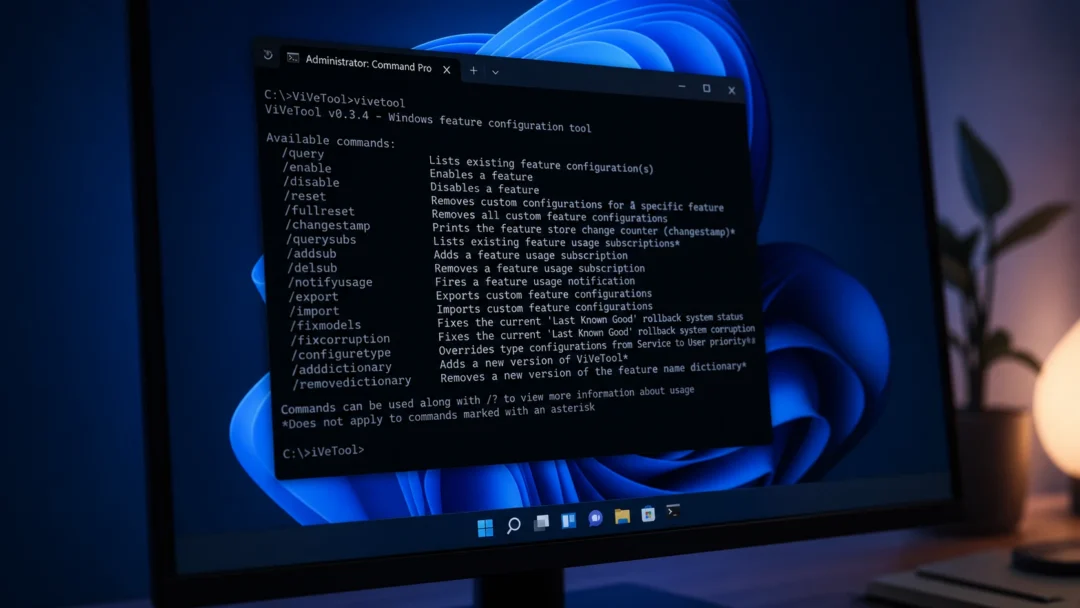
If System Restore continues to fail, return to the ‘Advanced options’ menu in the recovery environment. From there, you can try other troubleshooting tools such as ‘Startup Repair’, or run System File Checker (SFC) and Deployment Image Servicing and Management (DISM) scans to repair corrupted system files.
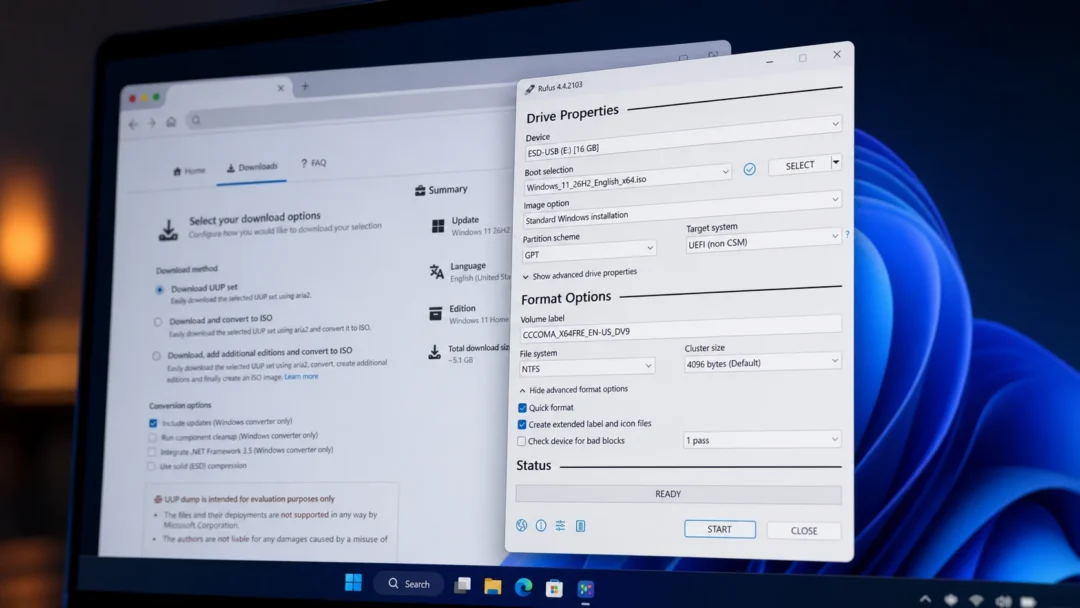
Perform system restore using Windows 11 installation media
If you’re unable to access the Windows Recovery Environment using the previous method, you can perform a System Restore using Windows 11 installation media.
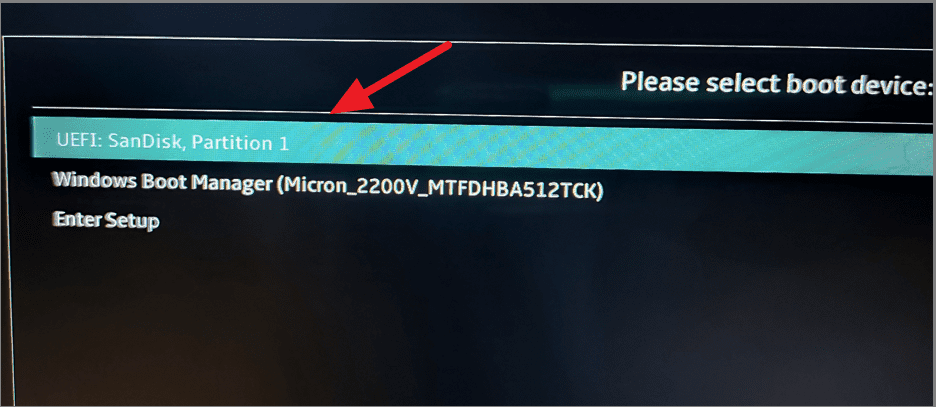
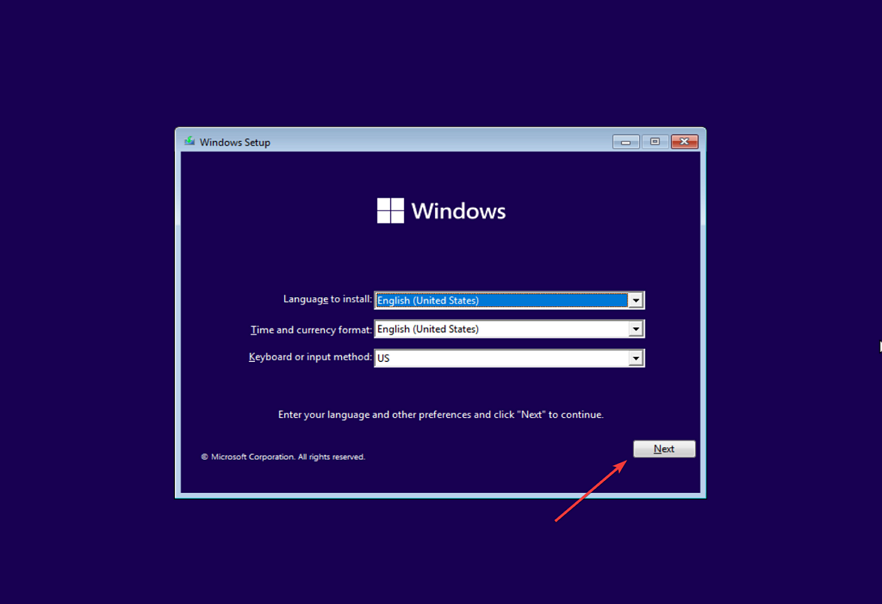
Insert the bootable USB drive into the computer that won’t boot. Turn on the computer, and immediately press the key that opens the boot menu for your system. This key varies by manufacturer and could be Esc, F2, F9, F10, or F12.
This will take you to the Windows Recovery Environment (WinRE). From here, you can follow the same steps outlined in the previous method to perform a System Restore.
How to reset Windows 11 when it won’t boot
If System Restore doesn’t resolve the issue, you may need to reset your PC to its default settings. This can help fix deeper system problems that other methods can’t. Here’s how to do it:
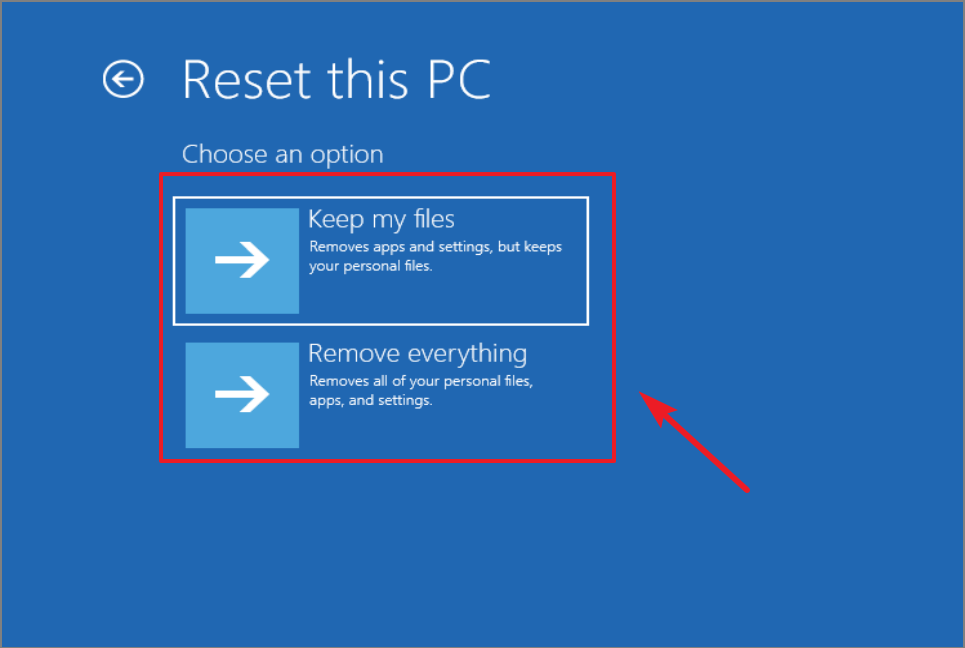
Choose whether you want to keep your personal files or remove everything. Selecting ‘Keep my files’ will retain your personal documents but remove apps and settings. Choosing ‘Remove everything’ will completely reinstall Windows 11, erasing all data.
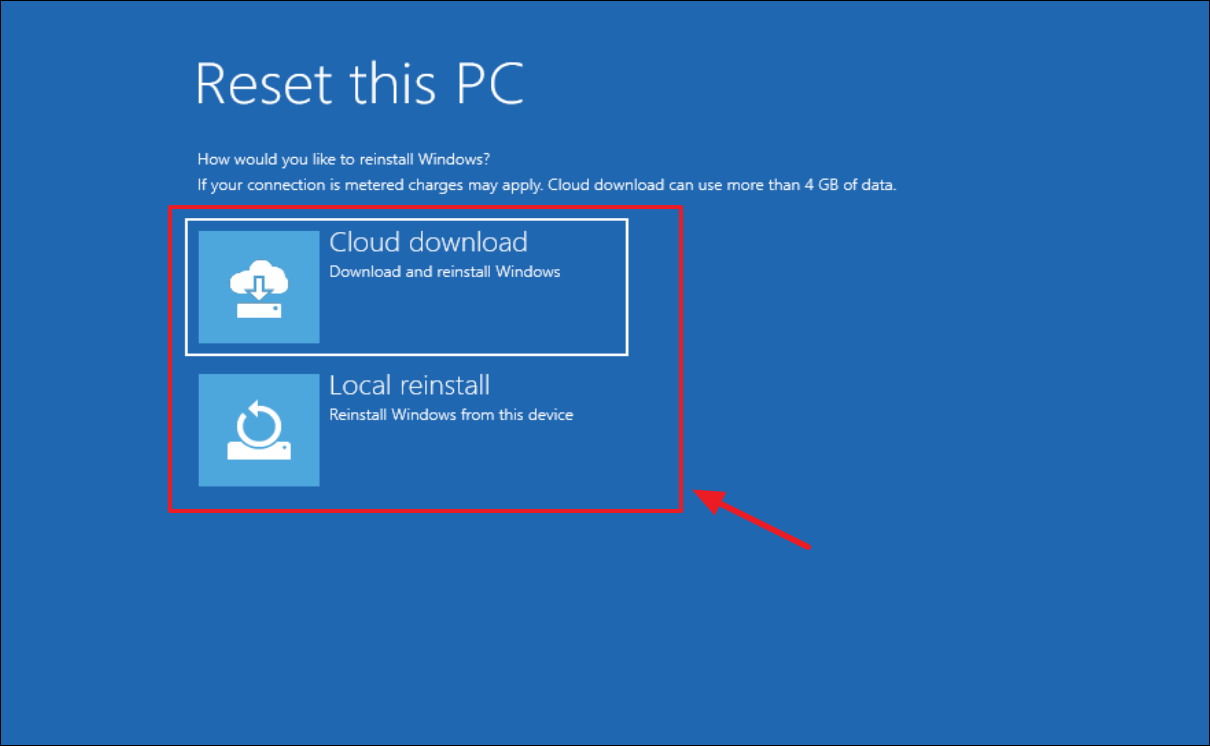
Decide how you want to reinstall Windows 11. You can choose ‘Cloud download’ to download a fresh copy of Windows from the internet, or ‘Local reinstall’ to reinstall from the existing system files on your computer.
Review your selections, then click the ‘Reset’ button to begin the process. Your computer will restart and start resetting Windows 11.
Be patient as the reset process may take some time to complete, depending on your system specifications and the options you selected.
By following these steps, you should be able to restore or reset your Windows 11 computer when it fails to boot, bringing it back to a functional state.