
The Deployment Image Servicing and Management (DISM) tool is essential for repairing and servicing Windows images. However, encountering the “DISM Error 87” on Windows 11 can be frustrating. This error is commonly due to incorrect command usage or insufficient privileges. This guide provides several methods to resolve the DISM Error 87 on your Windows 11 PC.
Probable causes of the DISM Error 87
Before attempting to fix the DISM Error 87, it’s important to understand what might be causing it. This error often arises due to user mistakes or system inconsistencies. Knowing the potential causes can help prevent future occurrences.
- Incorrect command syntax: One of the primary reasons for this error is entering the DISM command incorrectly. Even a minor typo or misplaced space can cause the command to fail. Ensure that the command is typed accurately, paying attention to spelling, spaces, and symbols.
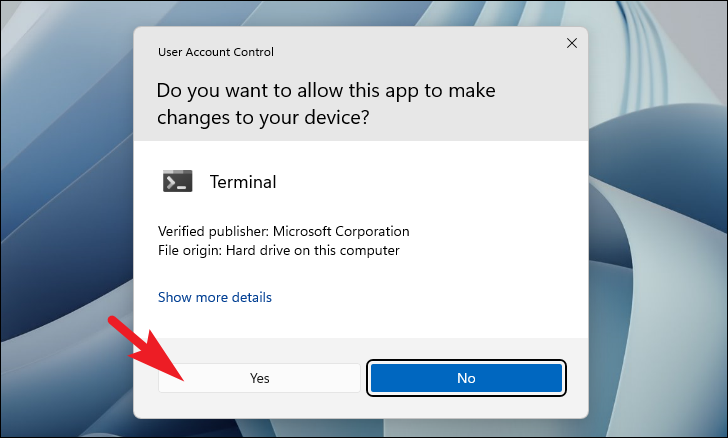
- Lack of administrative privileges: Running DISM without administrative rights can lead to Error 87. Since DISM modifies system files, it requires elevated permissions to operate. Always run the Command Prompt or Terminal as an administrator when executing DISM commands.
- Corrupted Windows installation: An improper or corrupted installation of Windows 11 may cause the error to appear. System file corruption can interfere with DISM operations.
- Version incompatibility: The error might occur if you’re attempting to service an operating system with a DISM version that doesn’t support it. For example, DISM version 1511 can service OS versions 1511 and 1507 but not 1607. Check the official list of supported DISM versions to ensure compatibility.
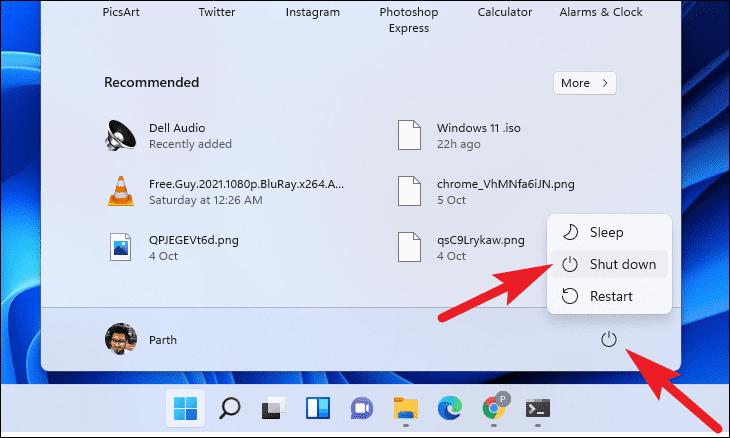
Method 1: Open the command prompt with administrative privileges
Running the DISM tool without administrative rights is a common cause of Error 87. Ensuring that you’re executing commands with the necessary permissions can quickly resolve the issue.
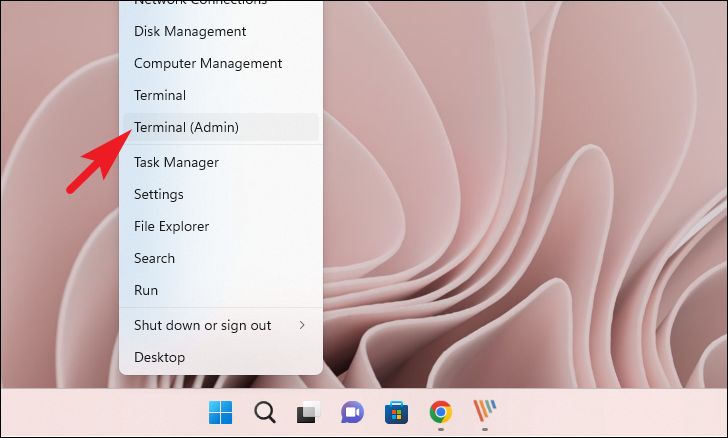
Terminal in the search bar. Right-click on the Terminal app in the search results and select Run as administrator from the context menu.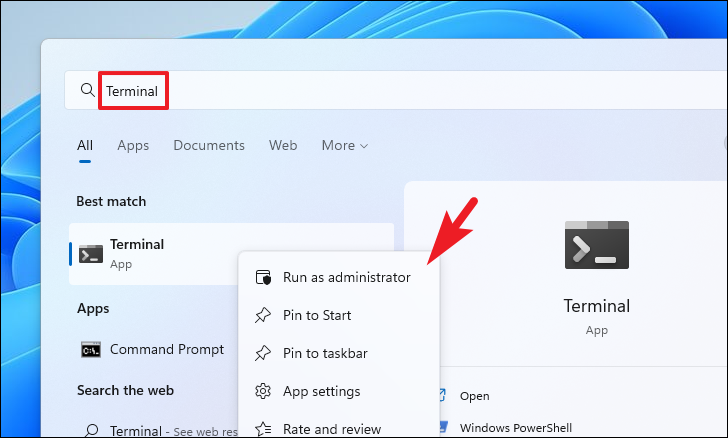
Command Prompt from the dropdown menu. Alternatively, you can press Ctrl + Shift + 2 on your keyboard to open Command Prompt in a new tab.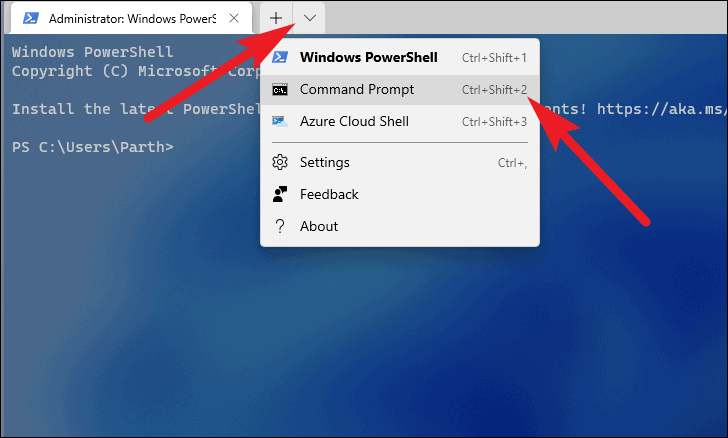
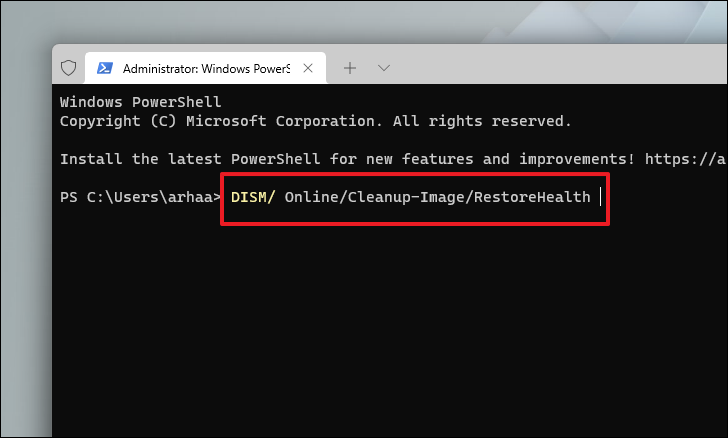
Method 2: Ensure the DISM command is correct
Entering the DISM command incorrectly is a common cause of Error 87. Even a small typo can prevent the command from executing properly.
DISM /Online /Cleanup-Image /RestoreHealthEnsure that there is a space before each parameter and that the slashes and hyphens are correctly placed.
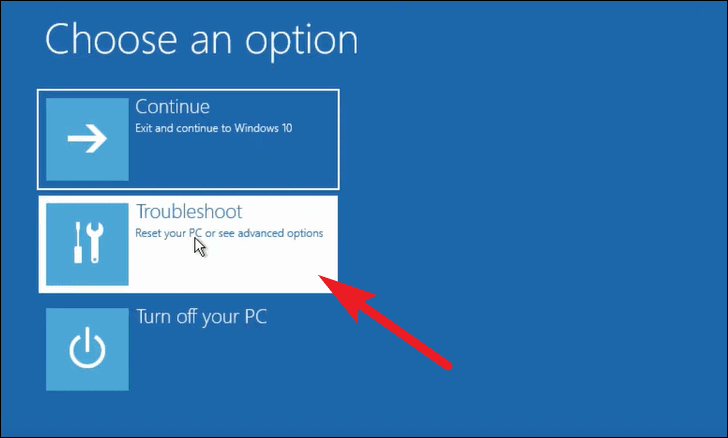
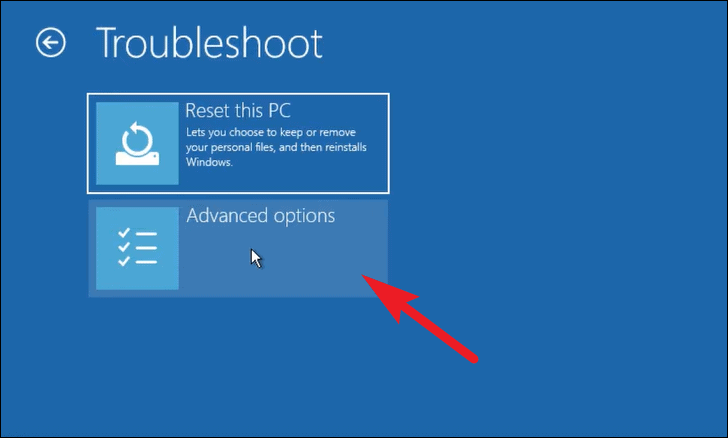
Method 3: Boot into safe mode and run DISM
If the error persists, booting your PC in Safe Mode can help eliminate interference from third-party applications or services.
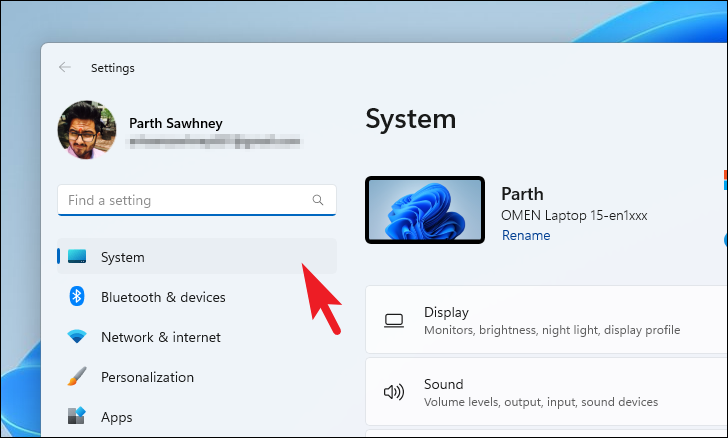
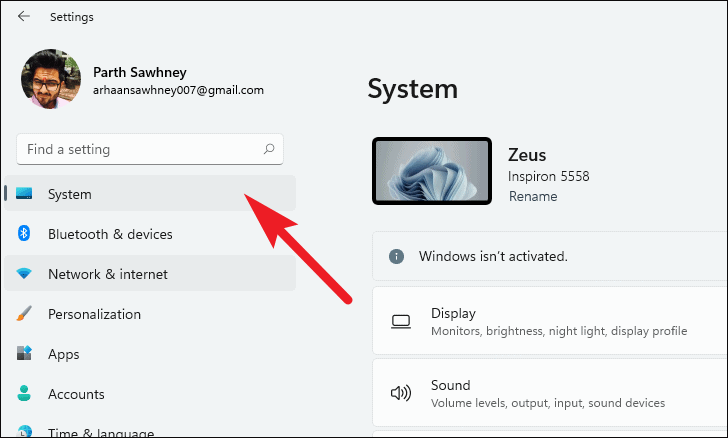
Step 1: Start your PC in Safe Mode
Settings icon from the pinned apps. Alternatively, press Windows + I to open the Settings app.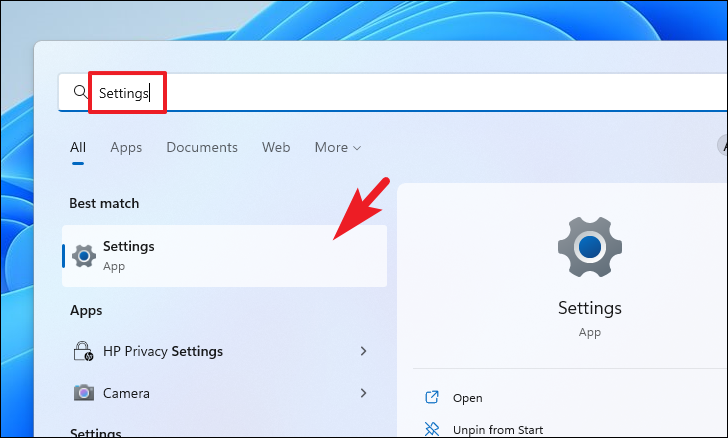
Recovery options section, locate Advanced startup and click on Restart now. This will reboot your PC.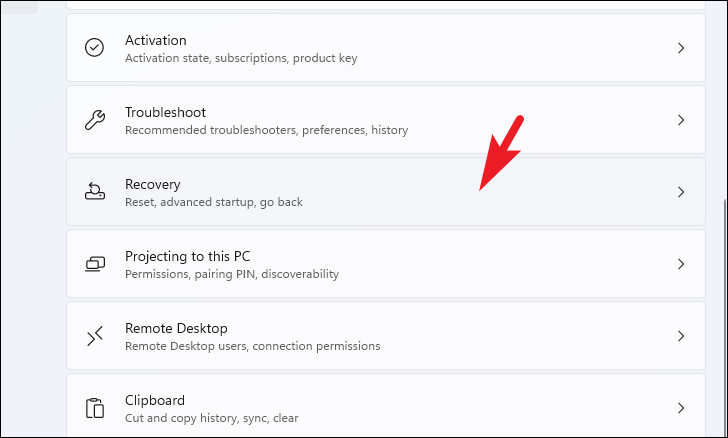
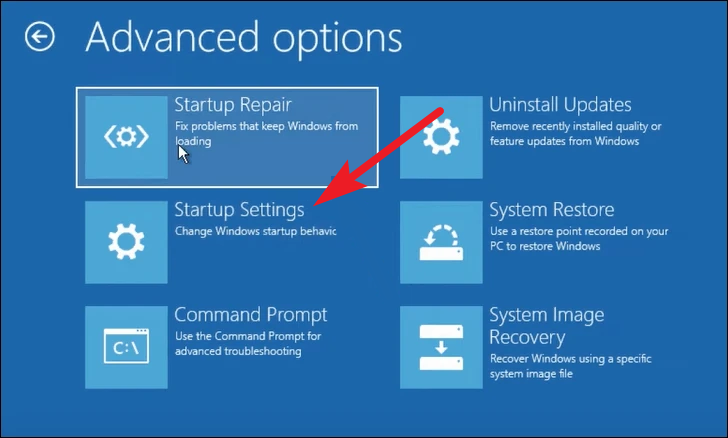
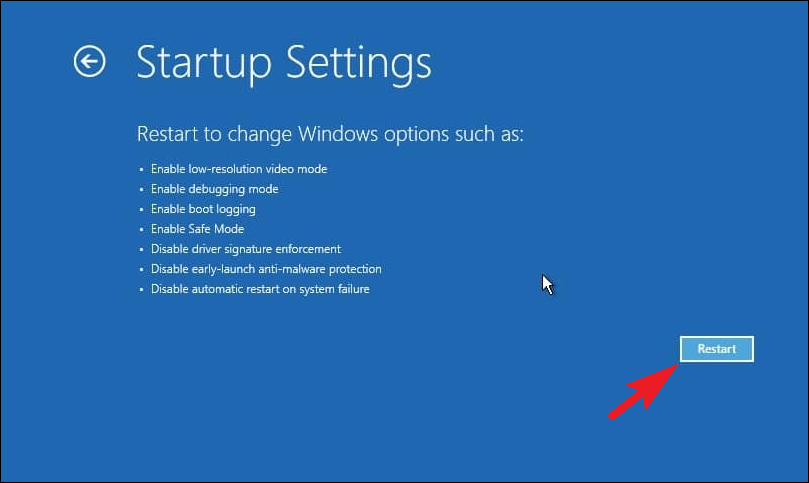
5 or F5 on your keyboard to select Enable Safe Mode with Networking.Loading Safe Mode with Networking ensures you have internet access, which is necessary for the next steps.
Step 2: Run DISM and SFC Commands
Command Prompt to open it in a new tab. Alternatively, press Ctrl + Shift + 2 on your keyboard.DISM /Online /Cleanup-Image /RestoreHealthNote: An internet connection is required for this command, as it downloads necessary files from Microsoft servers.
Enter to run the System File Checker:SFC /scannow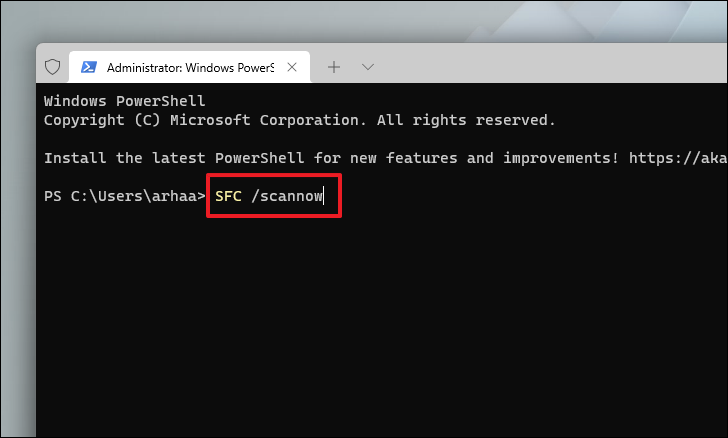
Method 4: Run CHKDSK
The CHKDSK utility checks the integrity of your hard drive and can fix various file system errors that might cause DISM Error 87.
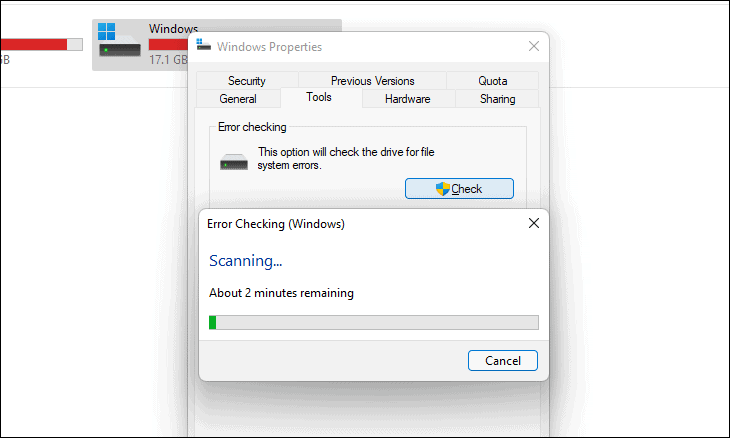
Option 1: Run CHKDSK Using File Explorer
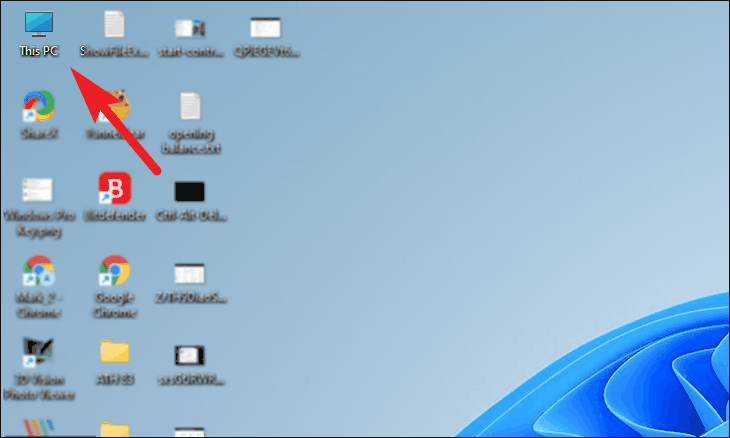
This PC. Then, right-click on the drive you want to check (usually the C: drive) and select Properties from the context menu.
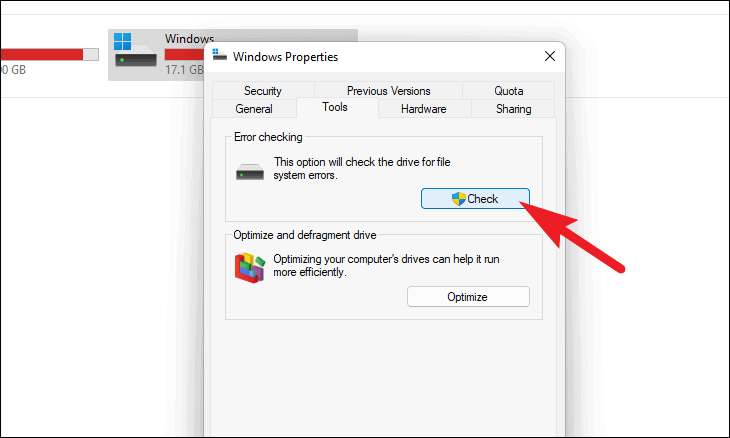
Scan drive to proceed.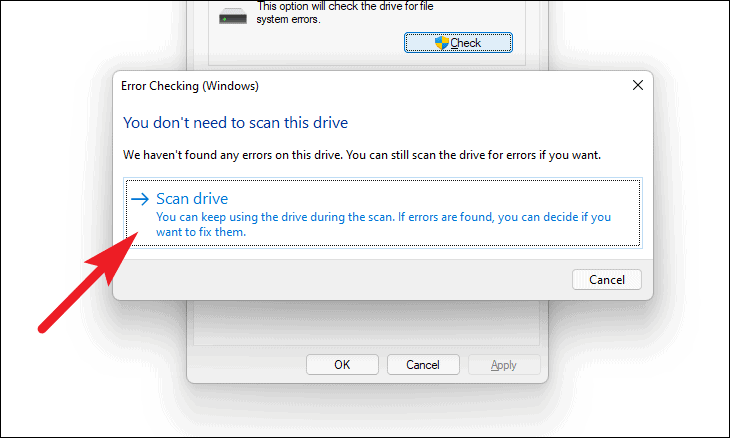
Option 2: Run CHKDSK Using Command Prompt
For more control and flexibility, you can run CHKDSK via Command Prompt with specific parameters.
Terminal in the Start Menu, right-click on Windows Terminal, and select Run as administrator.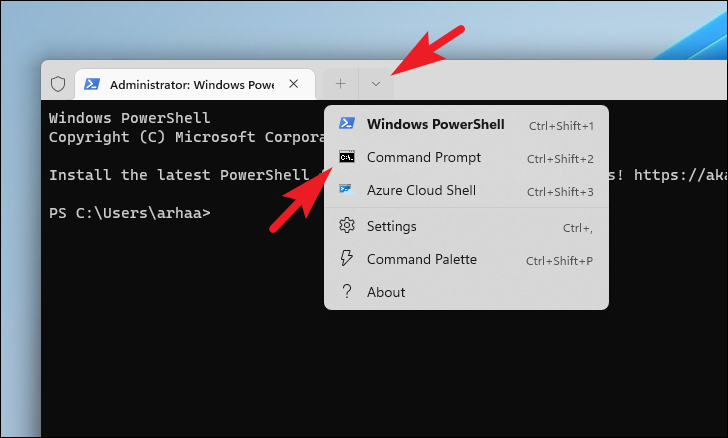
chkdsk /f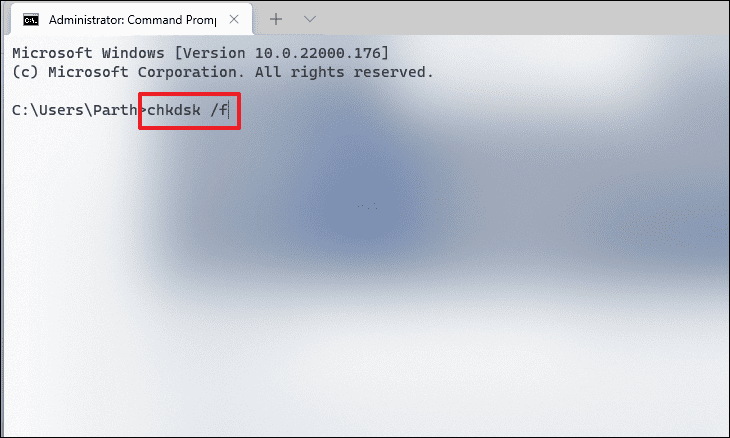
Y and press Enter to schedule the scan.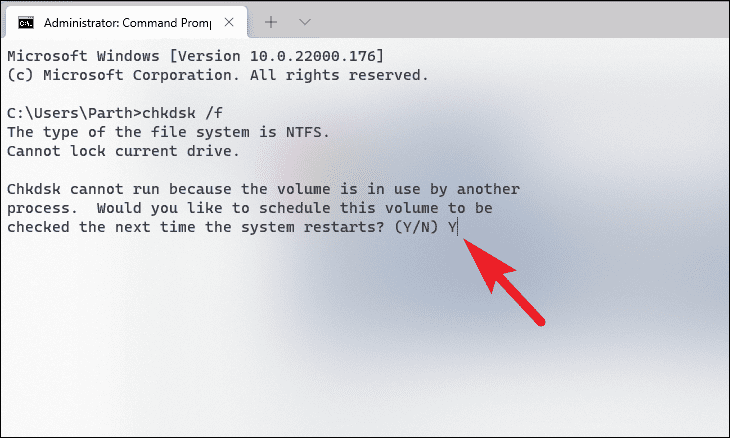
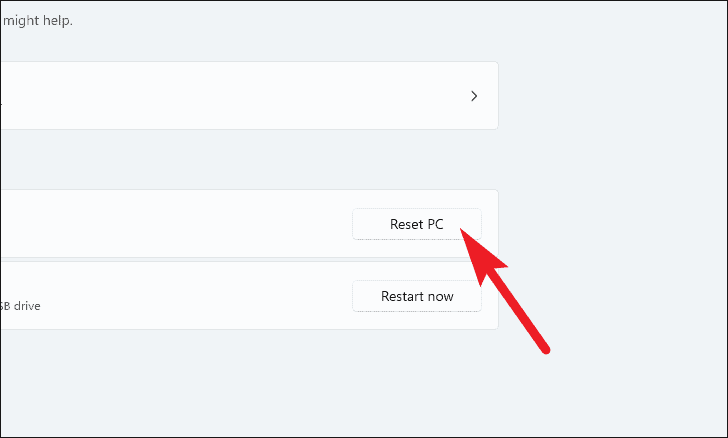
Method 5: Factory reset Windows 11
If all else fails, performing a factory reset might resolve the DISM Error 87. Be aware that this will remove all your files, applications, and settings. It’s recommended to back up important data before proceeding.
Settings icon. Alternatively, press Windows + I to open Settings.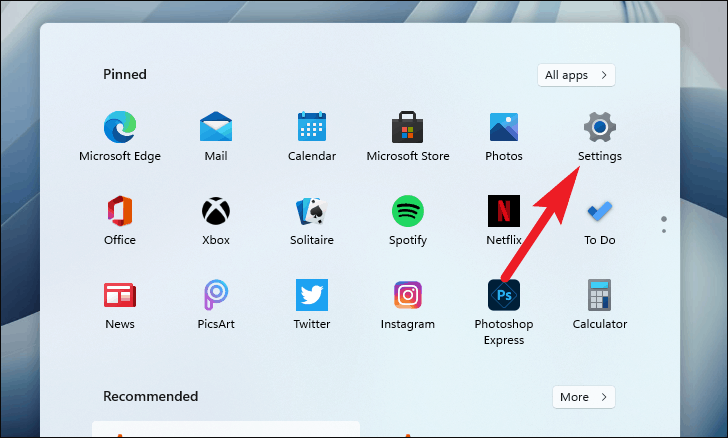
Keep my files or Remove everything. Selecting Remove everything is recommended for a complete reset.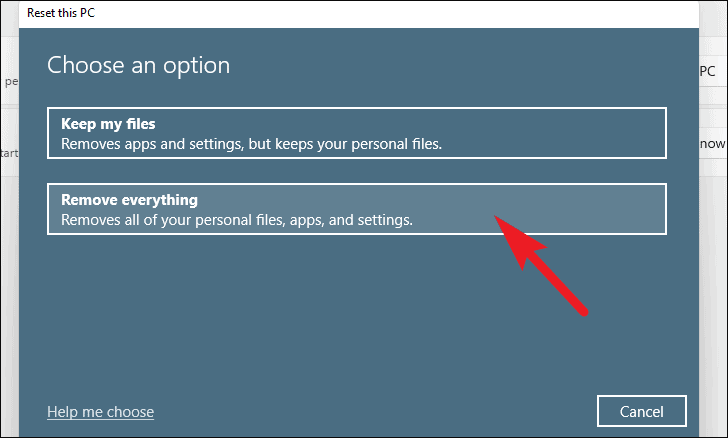
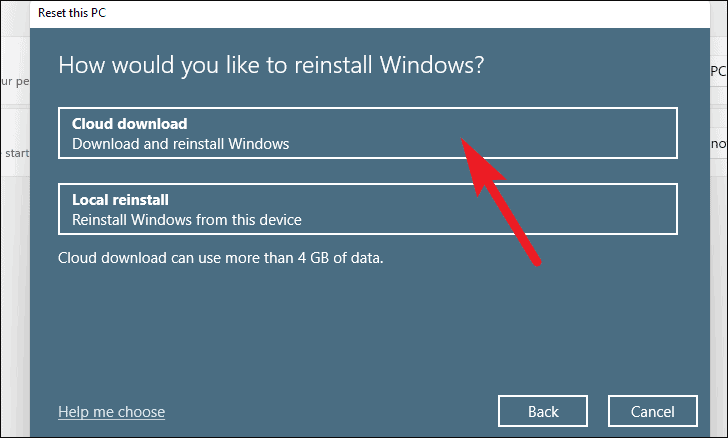
Cloud download or Local reinstall. Cloud download is more reliable, but requires an internet connection and will download about 4 GB of data.Note: Neither option requires external installation media.
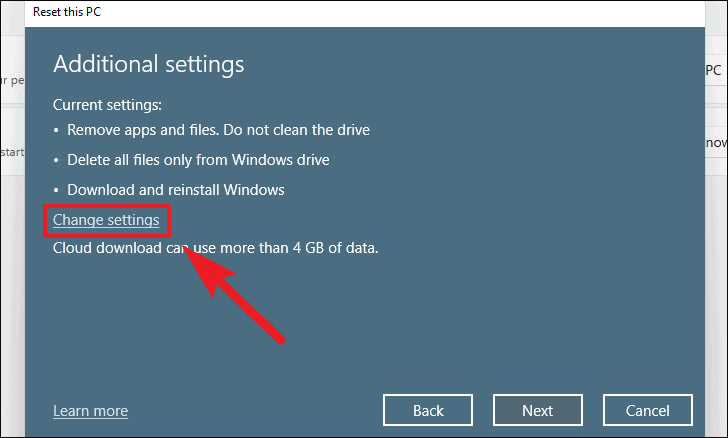
- Clean data? Toggle to
Yesto securely erase files, which is recommended if you’re giving away your PC. - Delete files from all drives? Toggle to
Yesto remove files from all drives, not just the drive where Windows is installed. - Download Windows? Switch between
Cloud downloadandLocal reinstallif needed.
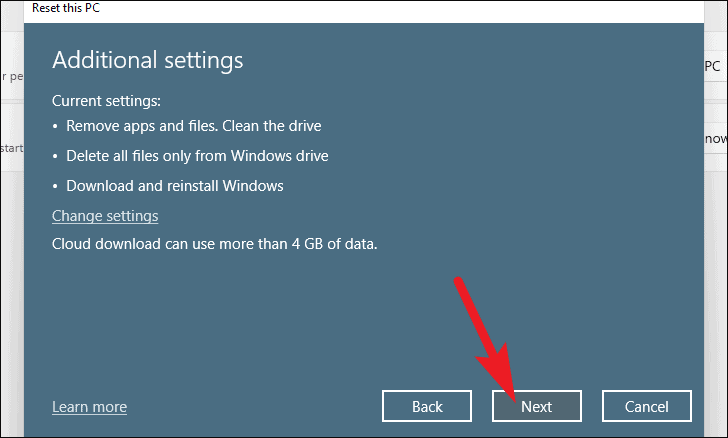
Reset to begin the process.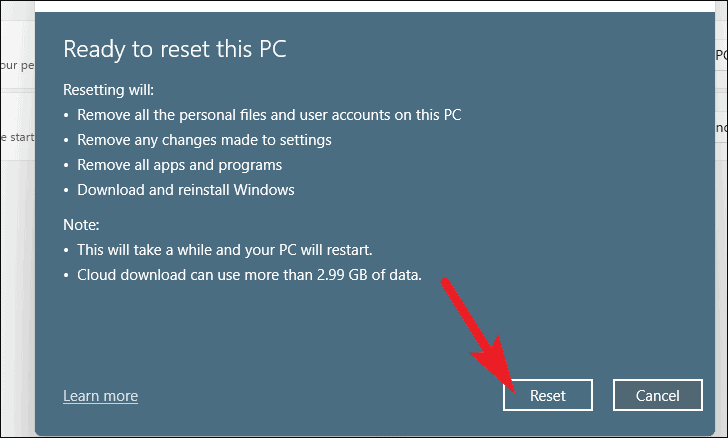
By following these methods, you should be able to fix the DISM Error 87 on your Windows 11 PC and ensure that the DISM tool functions correctly.


