
Encountering Driver Error Code 32 on your Windows 11 system can be quite frustrating, as it typically indicates that a specific hardware driver’s functionality has been disabled or is not working correctly. This error often affects devices like optical drives, CD/DVD players, and Blu-ray players. If you’ve seen the message “A driver (service) for this device has been disabled in the registry. An alternate driver may be providing this functionality.“, don’t worry. There are several methods you can try to resolve this issue and restore your device to proper working order.
Reinstall the driver
Sometimes, reinstalling the problematic driver can fix Error Code 32 by replacing corrupted or misconfigured driver files. You can uninstall the driver and allow Windows to reinstall it automatically upon reboot.
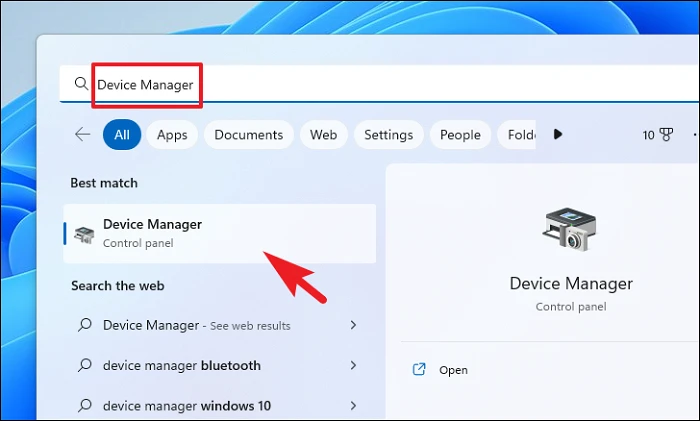
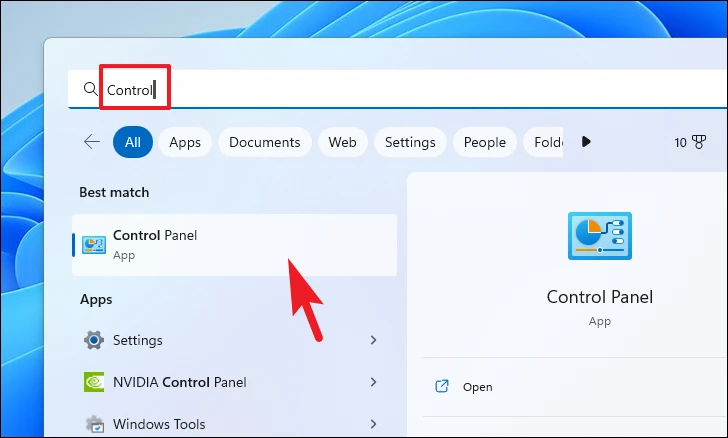
Device Manager by clicking on the Start menu and typing Device Manager. Then, select the Device Manager application from the search results.
DVD/CD-ROM drives section. Since our test machine doesn’t have an optical drive, we’ll demonstrate using the Audio inputs and outputs category.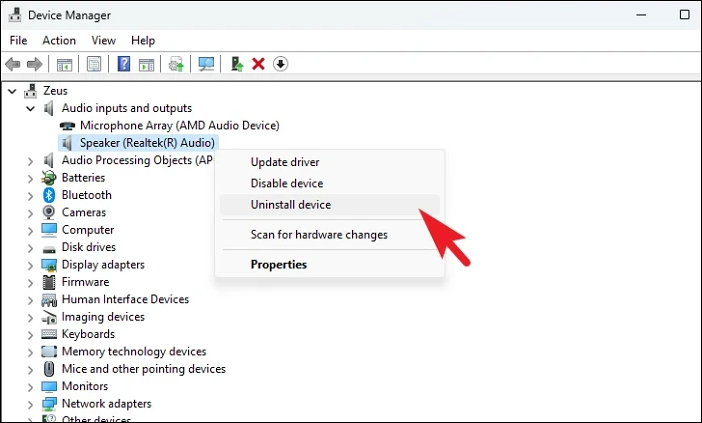
Speakers—and select Uninstall device from the context menu. A confirmation dialog will appear.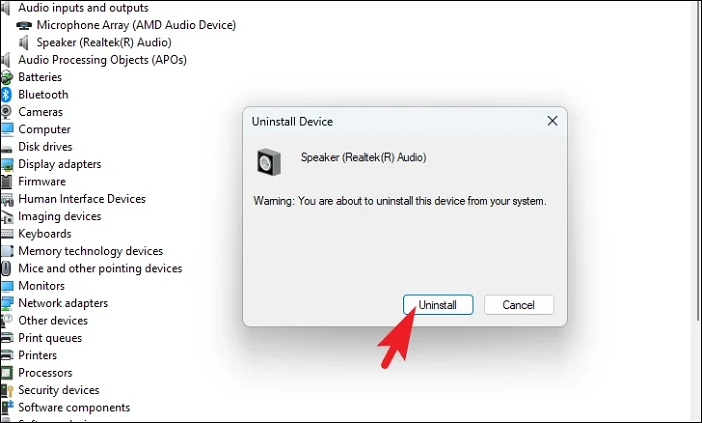
Attempt to remove the driver for this device, and then click Uninstall.Update the driver
If reinstalling the driver doesn’t solve the problem, ensuring that your driver is up to date is essential. Outdated drivers can often lead to conflicts and errors like Code 32.
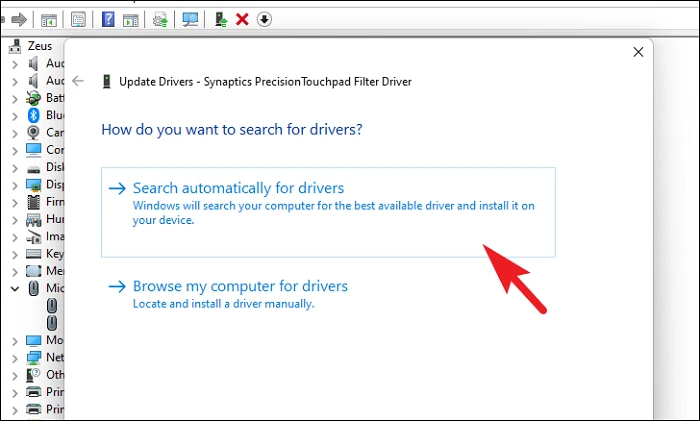
Device Manager by clicking on the Start menu, typing Device Manager, and selecting it from the search results.DVD/CD-ROM drives or, in our example, Mice and other pointing devices. Right-click on the device and select Update driver.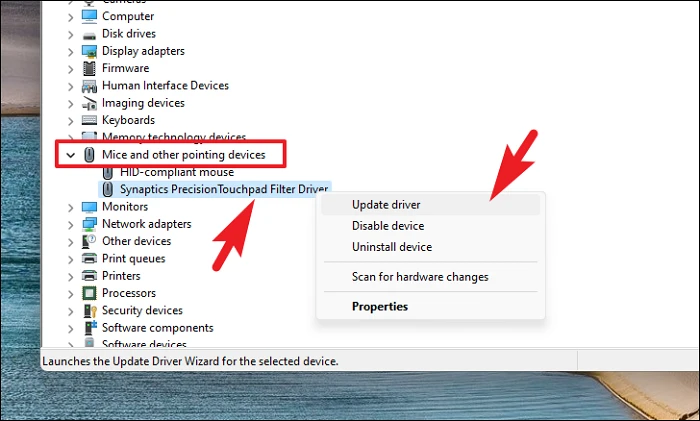
Roll back the driver
If the error began after a recent driver update, rolling back to a previous version might fix the issue.
Properties from the context menu.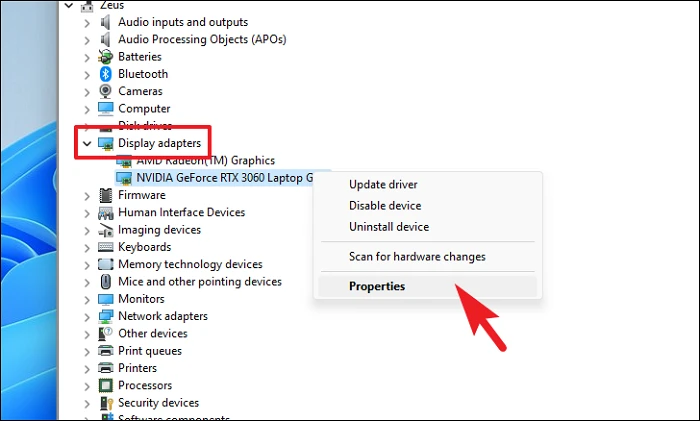
Driver tab, click on Roll Back Driver. A window will prompt you to select a reason for rolling back.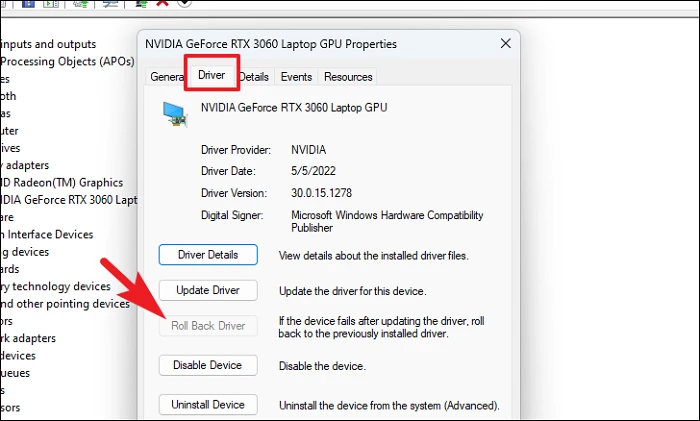
Yes. Windows will revert to the previous driver version. After the process completes, restart your computer.Tweak registry files
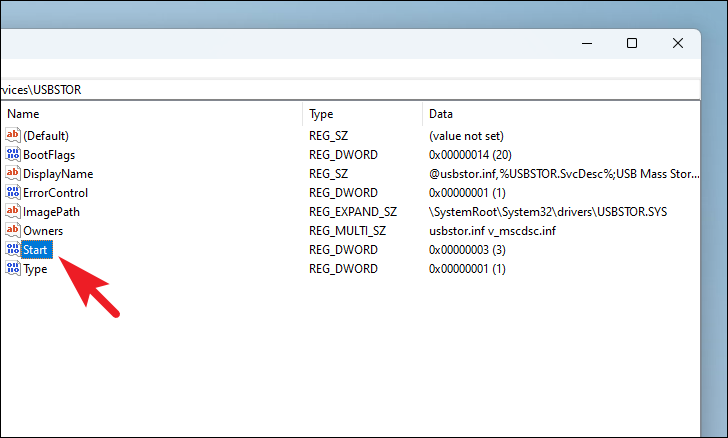
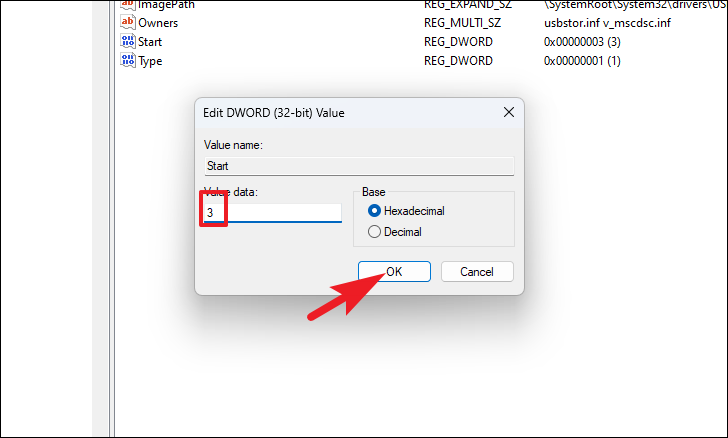
If driver updates and reinstalls haven’t resolved the issue, modifying certain registry entries might help. Please be cautious when editing the registry, as incorrect changes can lead to system instability.
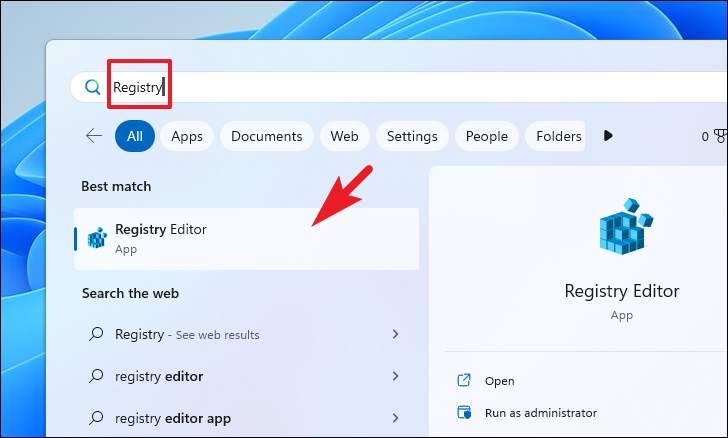
Enter:HKEY_LOCAL_MACHINE\SYSTEM\CurrentControlSet\Services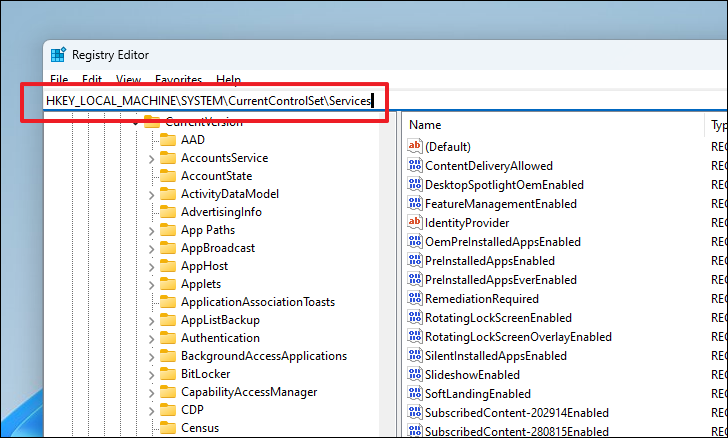
USBSTOR and click on it.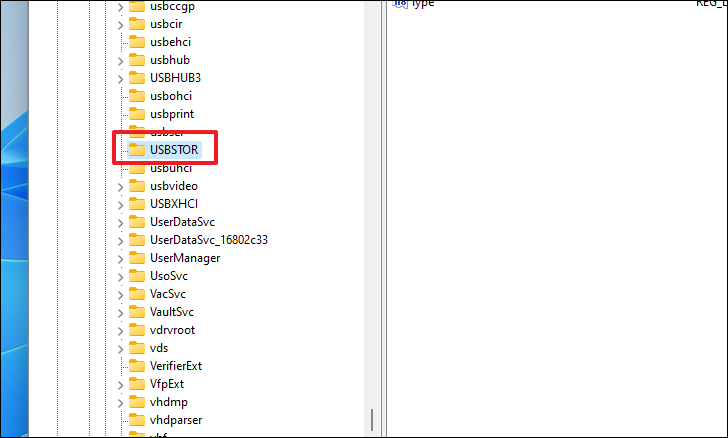
Delete registry files from specific GUID class
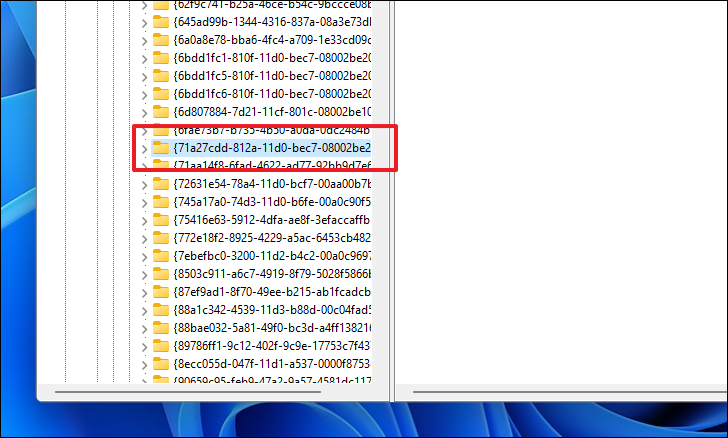
Each device driver has a unique GUID (Globally Unique Identifier) in the registry. Deleting certain registry entries associated with your device may help resolve the error.

Computer\HKEY_LOCAL_MACHINE\SYSTEM\CurrentControlSet\Control\Class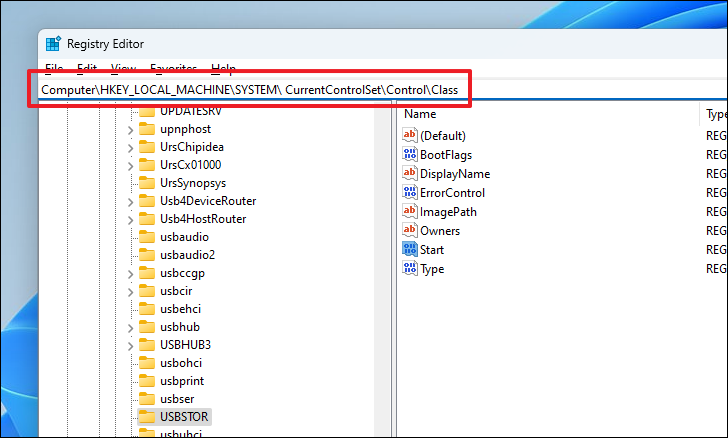
UpperFilters and select Delete. Confirm the deletion when prompted.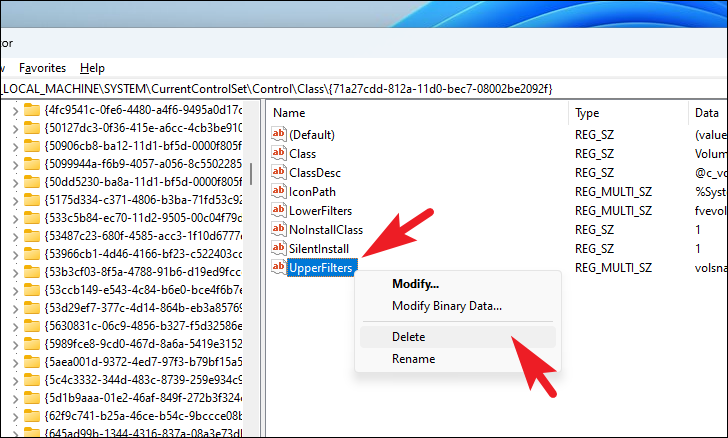
LowerFilters if it exists. After deleting these entries, close the Registry Editor and restart your computer.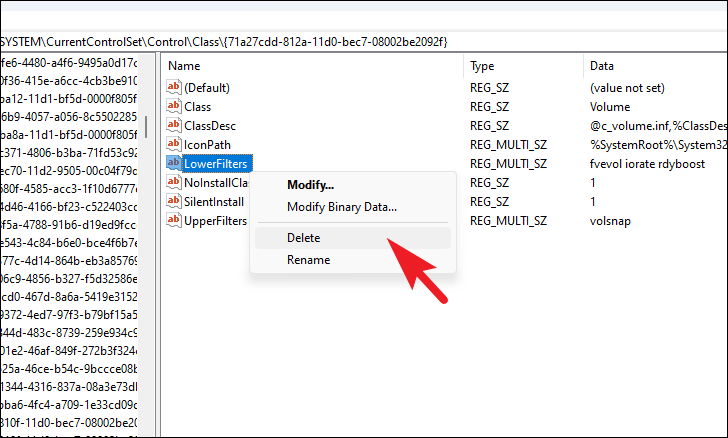
Roll back to a system restore
If you suspect that a recent software change or third-party installation is causing the error, rolling back your system to a previous restore point may help.
Next, then select a restore point from the list. Choose a date when your system was functioning correctly.
Scan for affected programs. Review the information, then click Close.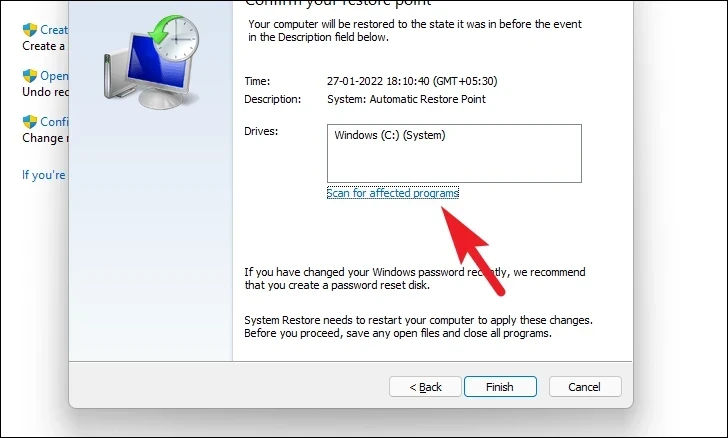
Finish to start the system restore process. Your computer will restart and restore to the selected point.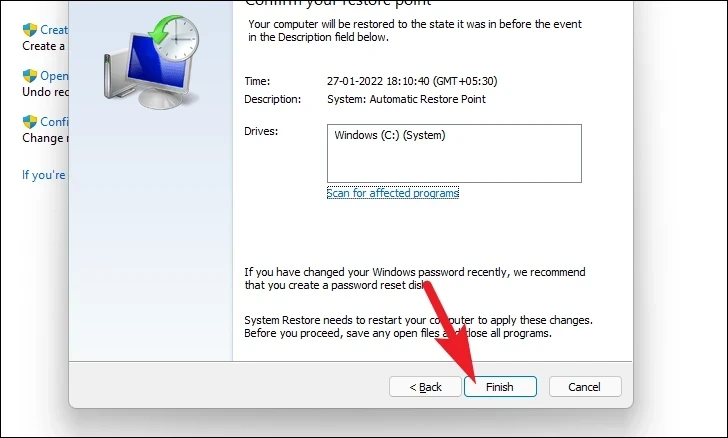
Dealing with Error Code 32 can be a hurdle, but by following these methods, you should be able to resolve the issue and get your hardware working properly again.


