
Managing disk partitions is an essential part of optimizing your Windows 11 system’s storage. Deleting a partition can help you free up space, expand existing partitions, or reorganize your data storage. Here are several methods to delete a drive partition in Windows 11.
1. Using the Disk Management Utility
Disk Management in the search bar. Select the ‘Create and format hard disk partitions’ option from the search results.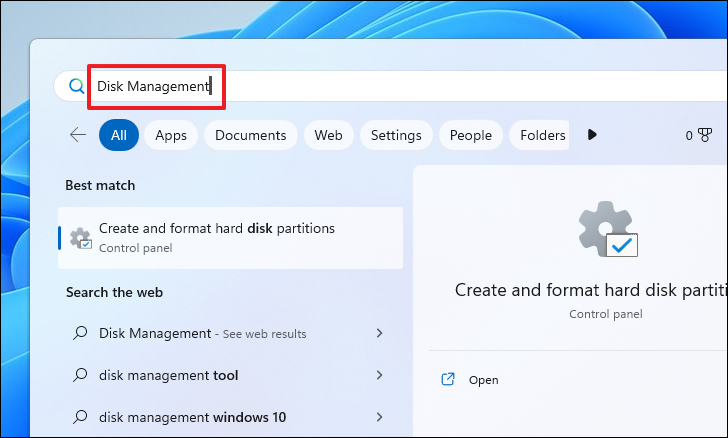
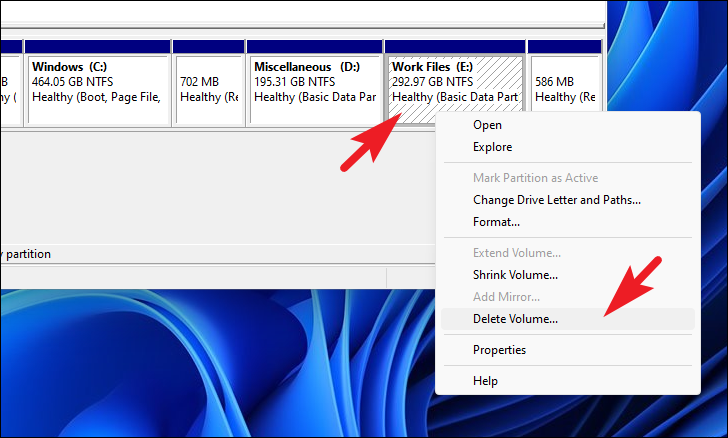
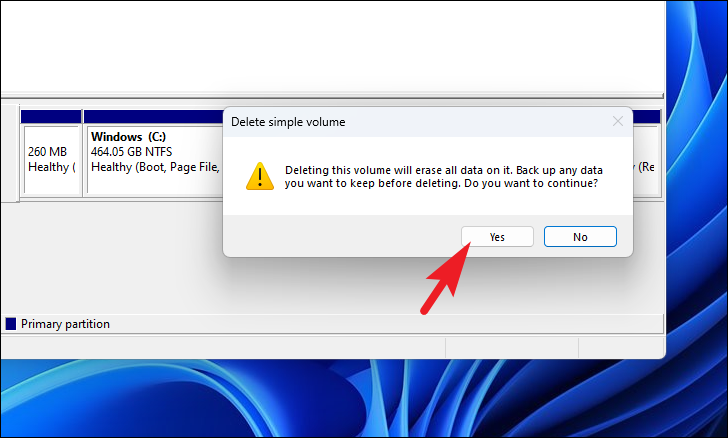
After confirming, the partition will be deleted, and the space it occupied will be marked as unallocated in the Disk Management utility. You can now use this unallocated space to extend another partition or create a new one.
2. Using Diskpart Command
Command Prompt, right-click on the ‘Command Prompt’ app, and select ‘Run as administrator’.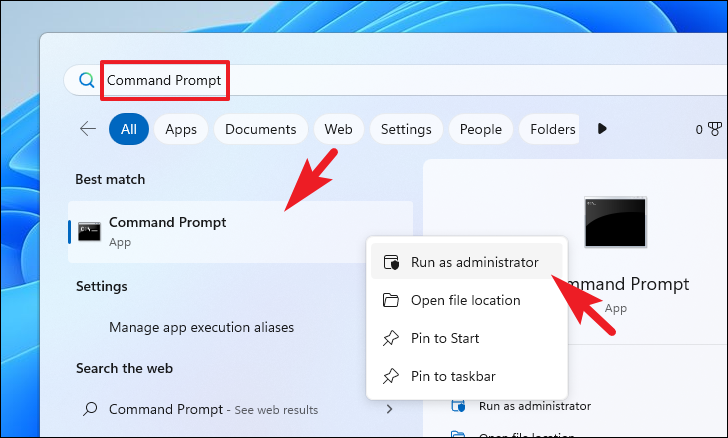
diskpart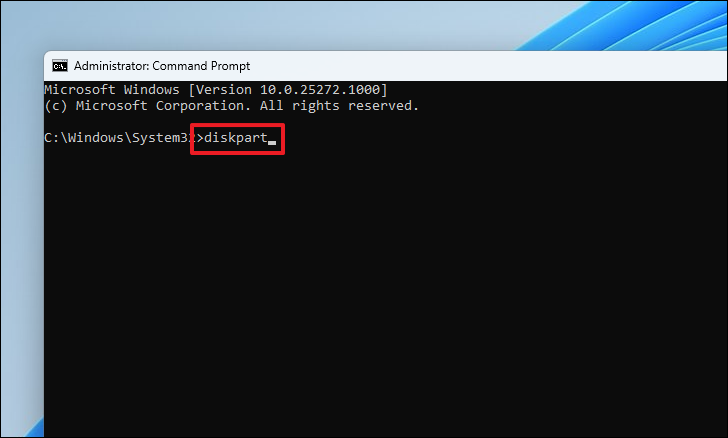
list volume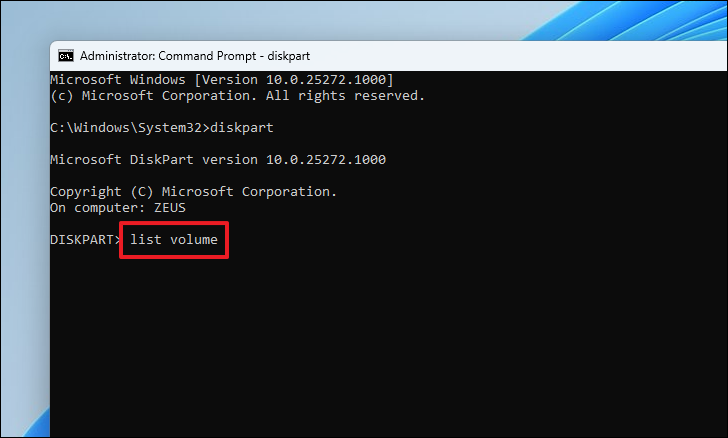
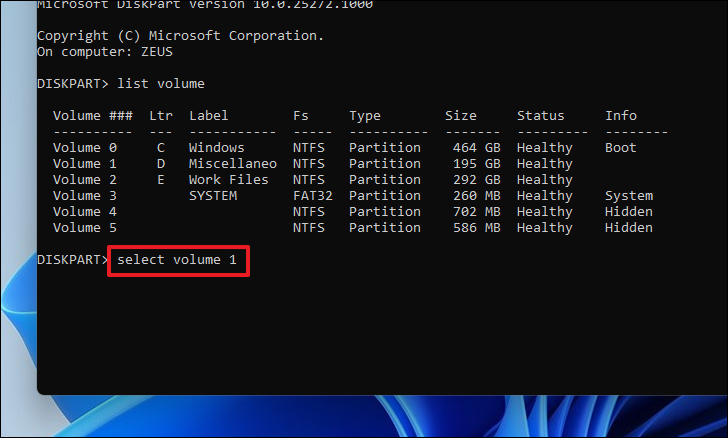
select volume <volume number> (replace <volume number> with the actual number) and press Enter to select it.select volume 4Note: Make sure to replace 4 with the correct volume number corresponding to the partition you want to delete.
delete volume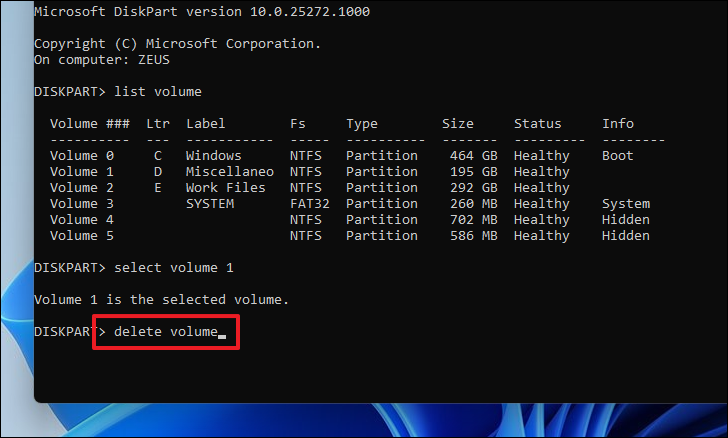
The selected partition will be deleted, and the space will become unallocated, which you can verify in Disk Management or by listing volumes again in DiskPart.
3. Using Windows PowerShell
Terminal, right-click on the ‘Terminal’ app, and select ‘Run as administrator’.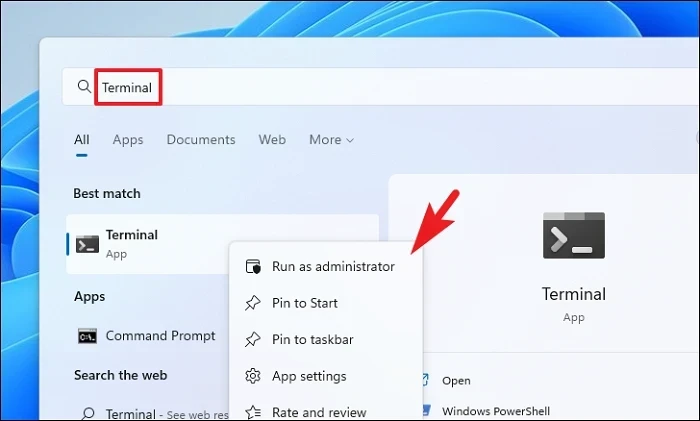
Get-Volume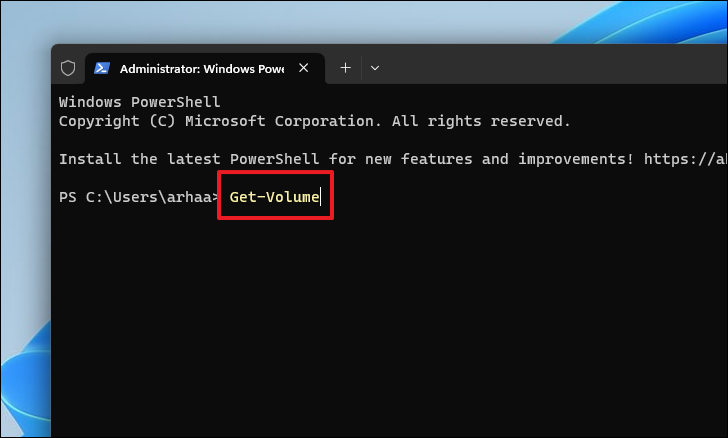
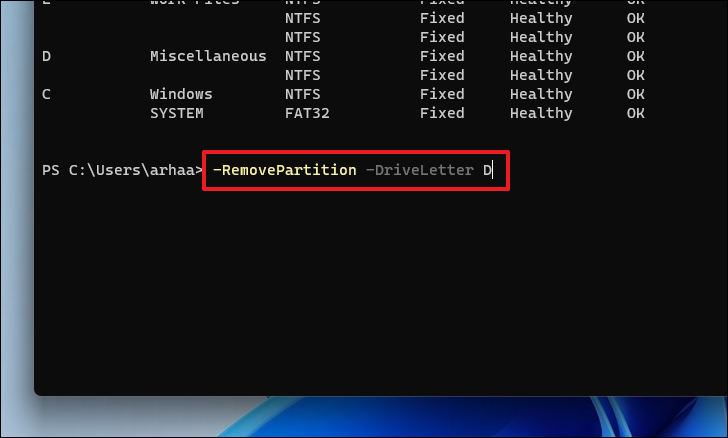
Remove-Partition -DriveLetter <drive letter> (replace <drive letter> with the actual letter) and press Enter.Remove-Partition -DriveLetter FNote: Replace F with the correct drive letter of the partition you intend to delete.
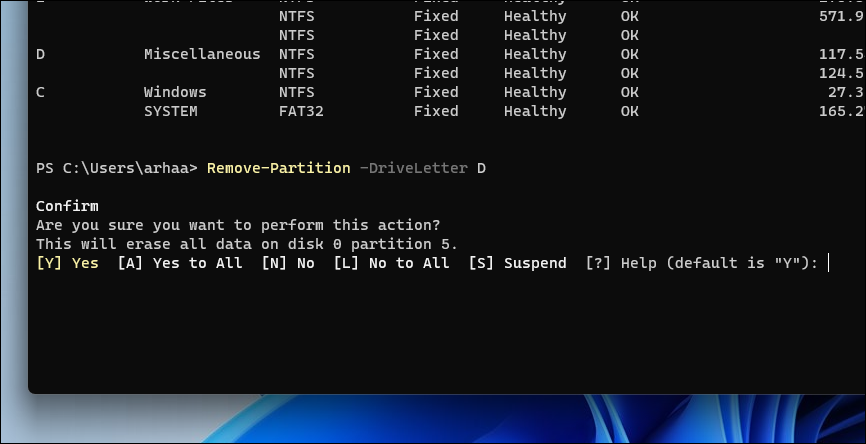
The partition will be deleted, and the space will be available for other storage management operations.
By following these methods, you can effectively delete partitions in Windows 11 to better manage your system’s storage space.


