Microsoft Teams has become one of the most popular apps for communication in organizations. And every feature contributes to making it the powerhouse it is. Even something as small as your status can have a great impact on your workflow and overall proficiency.
In a corporate setting where slight miscommunication can have a disastrous domino effect, status can play a role in preventing that. With just a glance at your status, your colleagues can know if you’re available, busy, in a meeting, or away. You can even set your status to DND so others know not to disturb you with trivial things when you’re trying to focus on something important.
So, when it malfunctions, it can put a kink in your whole day. And yet, it happens. If your status is not showing or stuck and not updating, you’re not alone. It has happened to plenty of users. And fortunately, you can fix it. The only catch is, it might take you a couple of tries before you find a fix that works for you since this problem happens without any reason or rhyme.
Try the Teams Web or Mobile App
Chances are that you’re using the desktop app for Microsoft Teams and facing the status issue there. Although this won’t fix the problem at its core, it will provide you immediate (but temporary) relief, especially if your status is creating miscommunication. Go to teams.microsoft.com to use the web app or install the Teams mobile app on your mobile phone. Then, try updating your status from there.
While the status is fixed once, go on to try these fixes from the desktop app. But if the issue is consistent across the web and mobile apps, the fixes below would still be helpful.
Reset your Status
The quickest fix to this problem with the status is to reset it. The option to reset the status is meant to wipe whatever status you have set and return it to whatever status the app reflects. So, it can force any rogue status that is refusing to update or not showing to fix itself and start behaving normally.
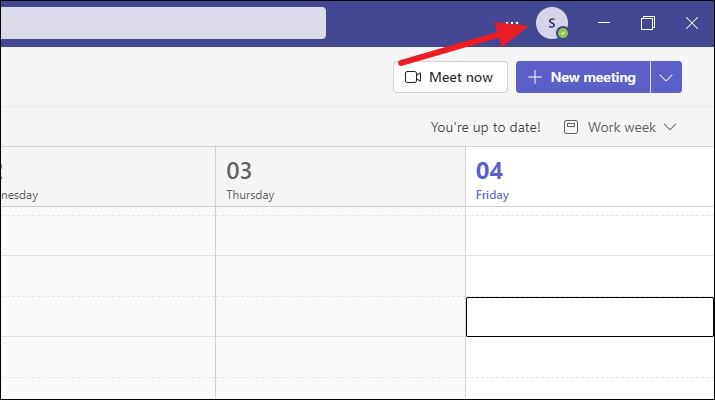
To reset the status, go to your profile icon on the Title Bar of the Teams desktop app.
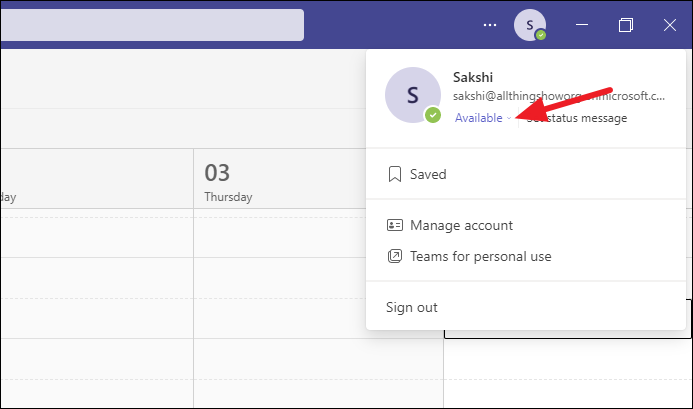
Click the current status being displayed.
Then, click ‘Reset status’ at the bottom of the menu that appears. Your status will be reset.

There’s a good chance that resetting the status will fix the glitch permanently, but there’s also a chance it might not. If the latter’s the case for you, go on to other fixes in the list.
Set Status Duration Manually
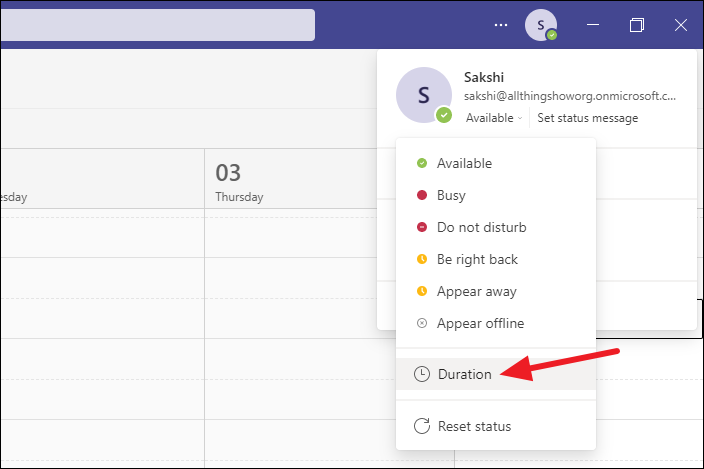
If your status keeps reverting automatically and is causing miscommunication, try setting a duration for it manually. For example, if your status keeps going back to available even when you set your status to busy, this will help you. Click your Profile icon and expand the status options.
Then, go to ‘Duration’.
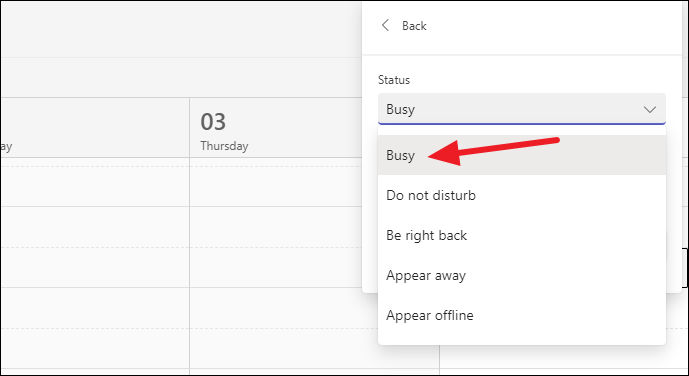
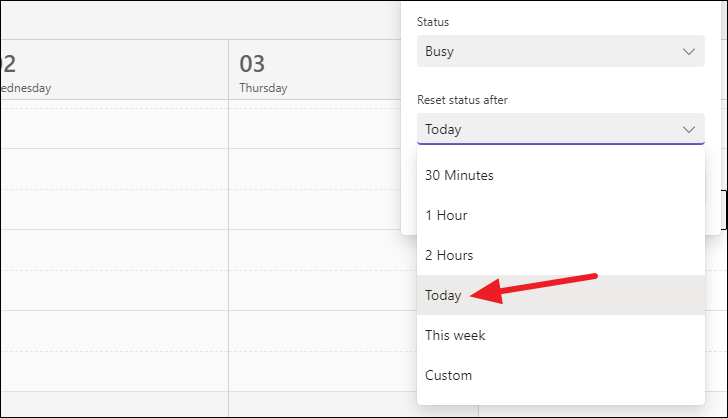
Select the status option from the ones available.
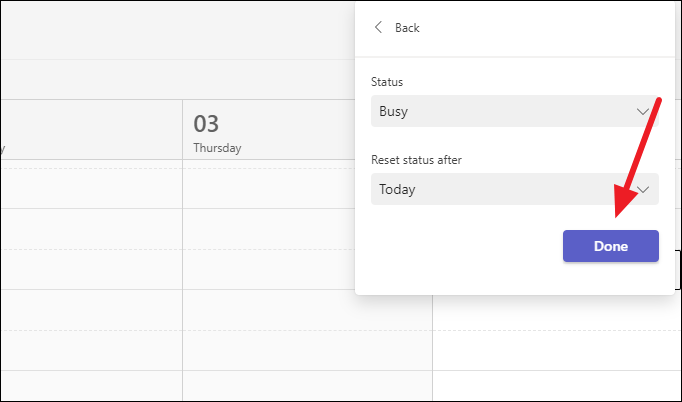
Then, select the duration under ‘Reset status after’ to manually let others know how long you’ll be busy or away, for example.
Finally, click ‘Done’.
Tip: If your status keeps changing to Away even when you’re working on your desk creating troubles with management, try a Mouse Jiggler app to keep your status Available.
Update the App
Keeping the app updated fixes any known bugs that have been fixed in the newest versions. So, make sure that your Teams app is updated.
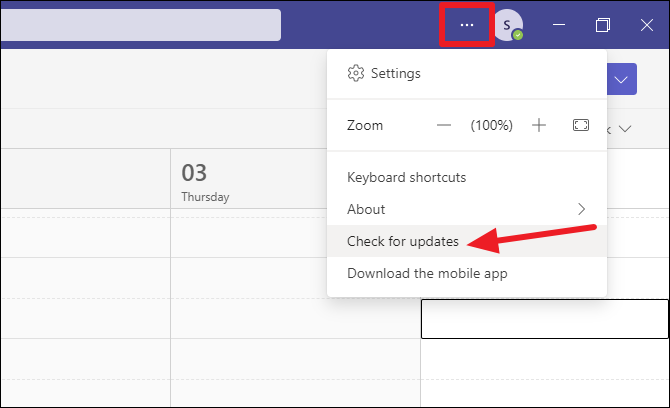
Click the ‘More options’ button on the Title Bar and select ‘check for Updates’ from the menu.
If there is a new update available, it will download and install. Your app will restart once the update completes. Now, check if that solved the problem.
Start a Quick Meeting
Believe it or not, the problem was solved for many users by just hopping in and out of a video meeting real quick. You don’t have to carry out the meeting for any length. A quick video meeting will suffice. If it’s going to help, it’ll help in this duration.
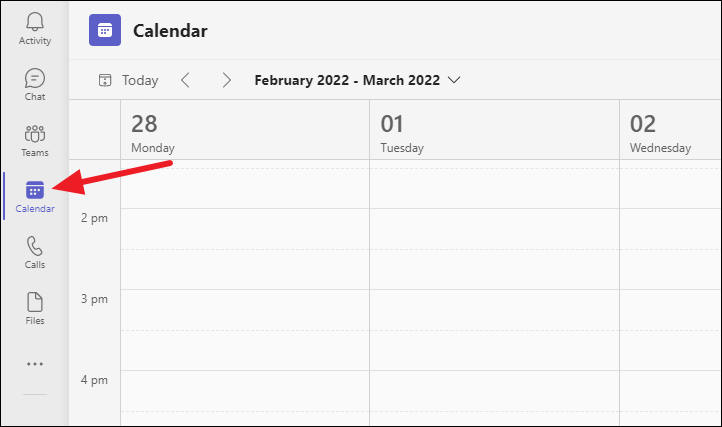
You can start a meeting yourself by going to the ‘Calendar’ tab and clicking the ‘Meet now’ button. Or you can also join a meeting started by someone else.
Sign In again to your Account
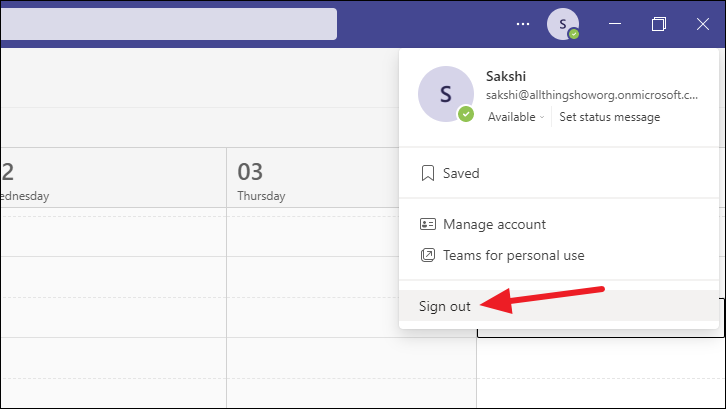
One of the simplest solutions entails signing out of your account from the Teams desktop app and then signing back in. To sign out of your account, click the ‘Profile’ icon and then click ‘Sign out’ from the menu.
Now, restart the Teams app and sign back into your account. See if it solved the problem with the status.
Manage your Multiple Accounts
A lot of users have multiple accounts for Teams, mostly due to different organization policies and client servicing. Microsoft finally introduced the ability to have multiple accounts logged in the desktop app some time back. But sometimes these multiple accounts could be the ones causing your status woes.
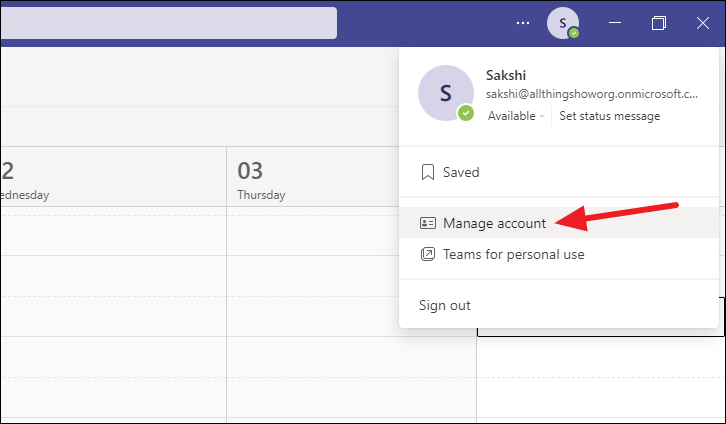
To weed out whether or not they are the ones causing the problem, temporarily log out of all your Teams accounts. Then, sign back into just the one you’re currently dealing with making it the only account on your app at the moment. Go to the ‘Manage Account’ option from the profile menu to manage your multiple accounts.
Then, see if the problem was fixed.
Re-add your Outlook Profile
Teams is a Microsoft product. And it works closely with other Microsoft products, but especially with Office. And sometimes, the fix isn’t in the direct app itself but in the other apps. For some users, this particular problem was solved by removing and re-adding their Outlook profile.
Open the Outlook app and go to ‘Account Settings’ from the File menu option. Further, click the ‘Manage Profiles’ option.
Then, go to ‘Show Profiles’.
Select your profile and click the ‘Remove’ button. A confirmation prompt will appear, click ‘Yes’ to proceed.
Once the profile is removed, go to the Show Profiles option again. Then, click the ‘Add’ button and add the new profile.
Create an All Day Meeting
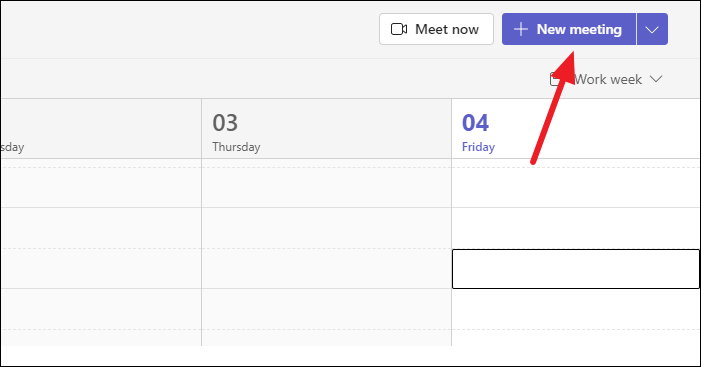
Go to the ‘Calendar’ tab from the navigation bar on the left. Then, click the ‘New Meeting’ button.
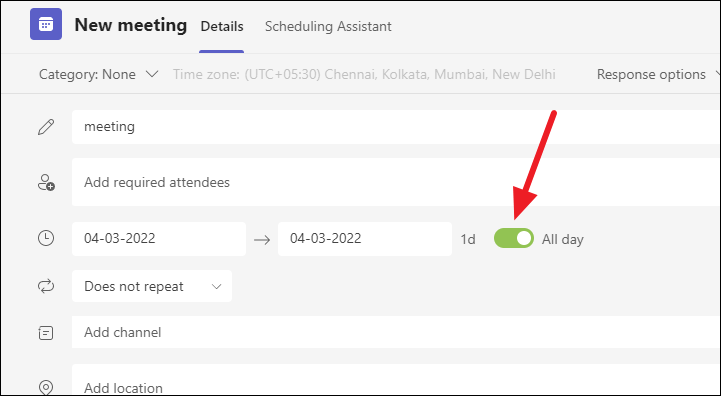
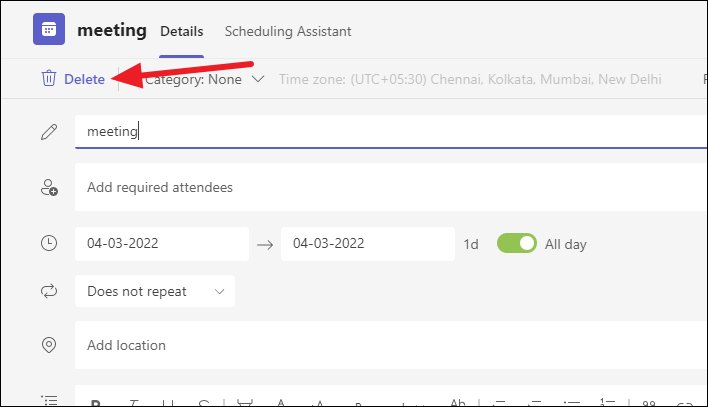
Create a meeting and select the toggle for ‘All Day’ in the meeting details. Click the ‘Save’ button.
Wait for a couple of minutes, then cancel the meeting. To delete it, double-click the meeting from the calendar to open it.
Then, click the ‘Delete’ button.
Check if it fixed your status problem by refreshing it.
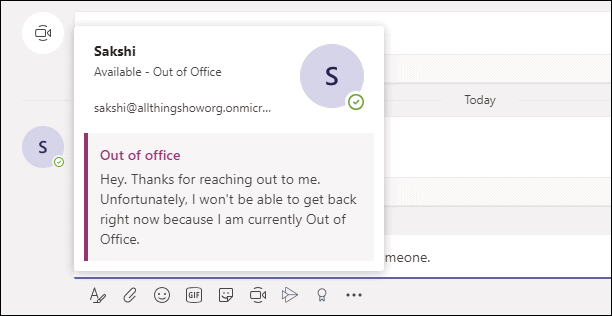
Set an OOO Reply
An Out of Office status can also help fix the trouble with your Microsoft Teams status. An Out of Office status might be shown in Teams, but it isn’t set from there. And you must already know that because there’s no such option in the status menu in Microsoft Teams.
This status can be set from the Office app and this outside intervention can fix things. You can set the Out of Office reply from Automatic Replies in the account information section of the Office app. To know how to set the OOO reply, check out our complete guide here.
Schedule the OOO Reply for only 15 minutes when setting it in the time range option. So, it will revert back to your normal Teams status after 15 minutes and hopefully fix the solution.
Clear the Teams Cache
Clearing the Teams cache folder will clear out any corrupted temporary files that might be causing all the ruckus. Clearing the cache will sign you out of the app, but there won’t be any effect on any other data.
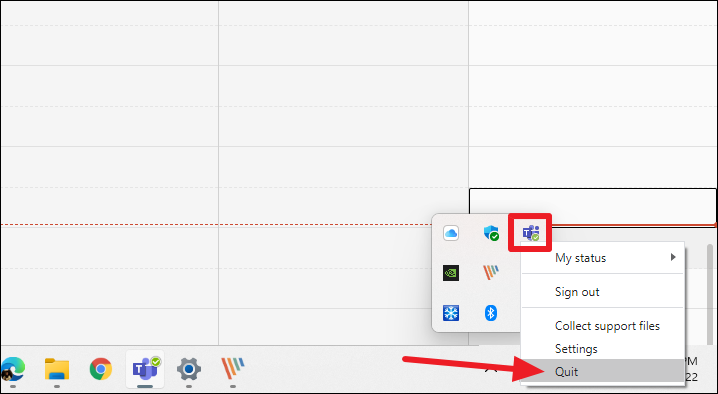
To clear the cache for the Teams app, exit the Teams app and open the File Explorer. Exiting the Teams app requires you to completely quit it. And unless you’ve configured it otherwise, Teams is still running in the background even after you hit the close button on the app window. To completely quit it, go to the system tray and right-click the Teams icon (if it’s present, otherwise skip this step). Then, select ‘Quit’ from the menu.
Now, you can use the keyboard shortcut Windows logo key + E to open the File Explorer.
Then, type the following path in the search bar: %appdata%\Microsoft\Teams

Delete the contents of the following folders in the Teams folder that opens: ‘blob_storage’, ‘Cache’, ‘databases’, ‘GPU Cache’, ‘Local Storage’, and ‘tmp’ to delete the cache for the Teams app.
After clearing the cache, open the Teams app again and see if it fixed the problem.
Delete the Settings File
Microsoft Teams stores your settings and preferences in a dedicated file. It’s possible that this file could have gotten corrupted. But the good news is that we can simply delete it to start fresh. But remember that if you delete this file, it’ll essentially reset all the settings for your Teams app and return it to their default values.
So, you will have to sign back into Teams and reconfigure any preferences that you might have changed. But deleting the file won’t affect any data on the cloud, only your saved settings. It’ll essentially force Teams to create a new file and start storing information from scratch.
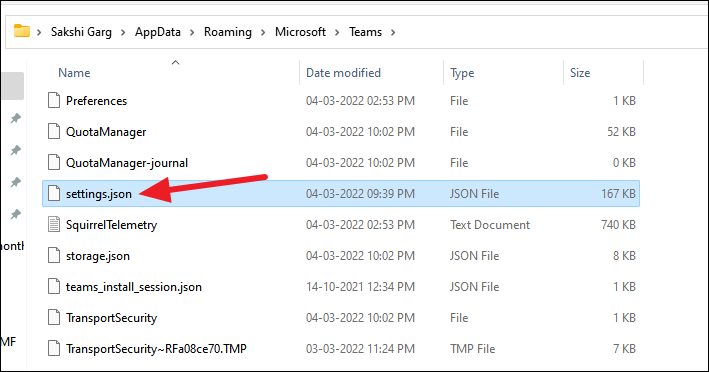
Open the File Explorer and enter the following path in the search bar: %appdata%\Microsoft\teams
In the Teams folder, locate the settings.json file. Before deleting it, copy it to your desktop or some other location to create a backup just in case you end up needing it. Then, delete the file.
After deleting the file, sign out of Teams and restart your system. Then, sign back into your account and see if that fixed the issue.
Set the Coexistence Mode to Teams Only
Microsoft Teams has a coexistence mode for organizations that have upgraded their users from Skype for Business to Teams. This mode allows users who have migrated from Skype to Teams to coexist with users who have directly joined Teams. By default, the setting of this mode is set to ‘Islands’ where users can use both Skype and Teams simultaneously.
Admins can change this setting to ‘Teams Only’ where users can only use Teams and can only use Skype to join any meetings hosted there. If the users in your organization are experiencing trouble with a status, ask the admin to try this fix.
If you’re the admin for your organization, go to the Teams admin center. Then, go to ‘Org-wide settings’ from the navigation menu on the left.
Select ‘Teams upgrade’ from the expanded options. Then, click the drop-down menu next to ‘Co-existence mode’ and select ‘Teams only’ from the options.
Deregister Teams as the Chat app for Office
If nothing has worked till now, don’t worry. There are still fixes left to try. The next thing to try is to deregister Teams as the Chat app for Office. By default, Teams is set as the default chat app for Office. This can lead to a conflict with the status as Teams is also importing status from the Office suite.
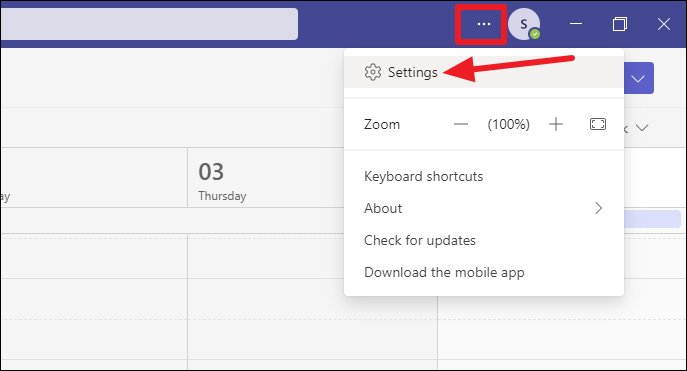
Open settings in the Teams app by clicking the ‘More options’ icon and then selecting ‘Settings’.
Go to Application settings in the General option. There, uncheck the option for ‘Register Teams as the chat app for Office (requires restarting Office applications)’.
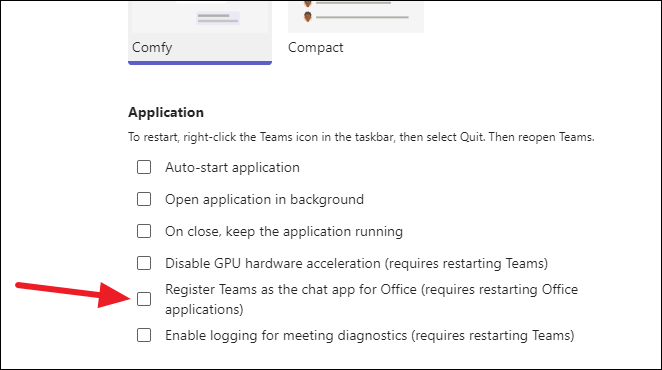
If the option is already disabled, try enabling it instead to fix the status error.
Perform a Clean Uninstall and Reinstall for the App
If none of the above fixes offered any relief, you need to uninstall the app and install it again. Sometimes, some files can get corrupted and the only way is to remove everything and start fresh.
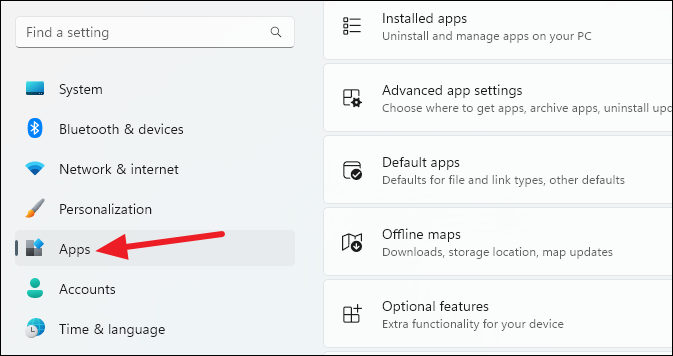
To uninstall the app, open the Settings on your Windows computer. Then, go to ‘Apps’ from the navigation menu on the left.
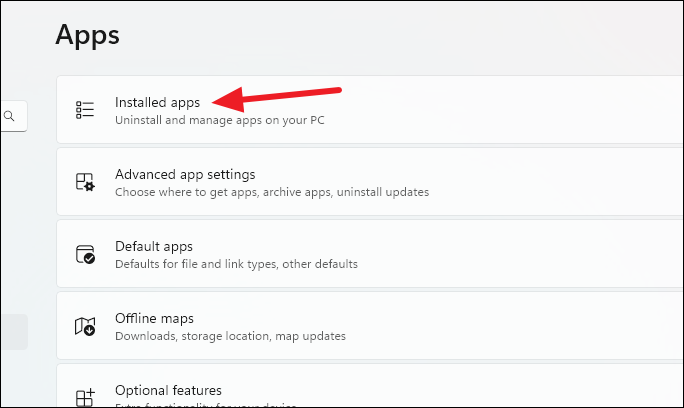
Further, go to ‘Installed Apps’.
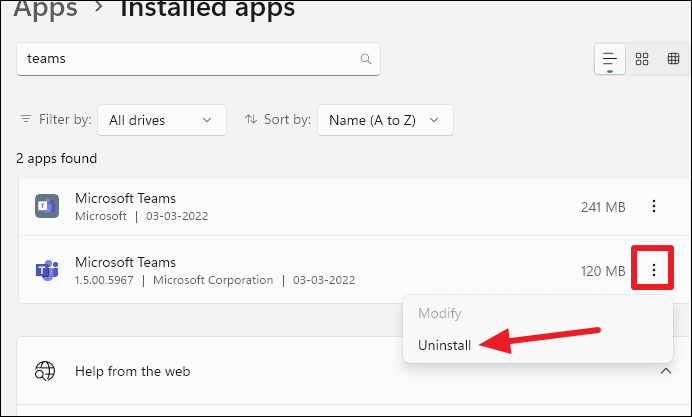
Go to the search bar and search for ‘Microsoft Teams’. Click the three-dot menu on its right and click ‘Uninstall’.
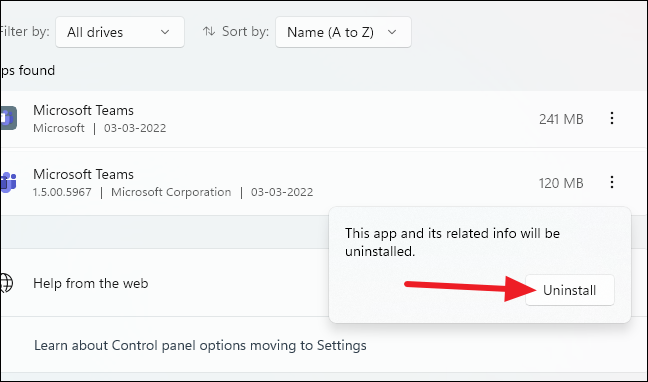
A confirmation prompt will appear, click ‘Uninstall’ to confirm.
Even when you uninstall the app, some files associated with it are still on your computer. To perform a clean uninstall, open the File Explorer and type %appdata%\Microsoft in the search bar.
Then, delete any folders related to Teams.
Once you delete these files, install Microsoft Teams again from Microsoft’s site.
Then, set up your account and the problem with status would have been solved.
A rogue status can cause a lot of problems in organizations. So, it’s important to fix it. One of the fixes above is bound to fix the problem and get things running like clockwork again.