
Changing the screen orientation on your Windows 11 PC can be quite handy, especially when connecting to an external display with a different layout. Whether you want to adjust settings through the system or use quick keyboard shortcuts, Windows 11 makes it straightforward.
Rotate the Screen Using the Settings App
This method is ideal if you need to modify other display settings along with the screen orientation.


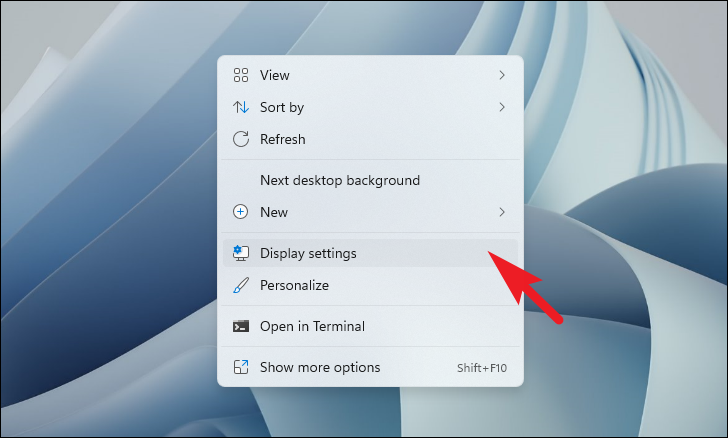
You can also right-click anywhere on your desktop and select Display settings from the context menu to jump directly to the display settings.
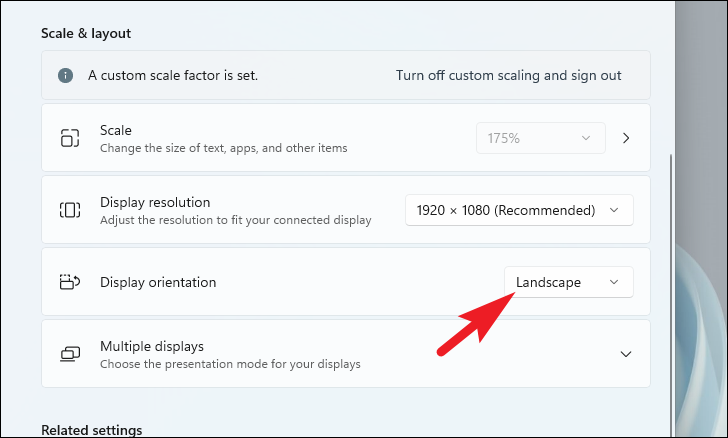
Select your preferred orientation from the list:
- Landscape: The default screen orientation.
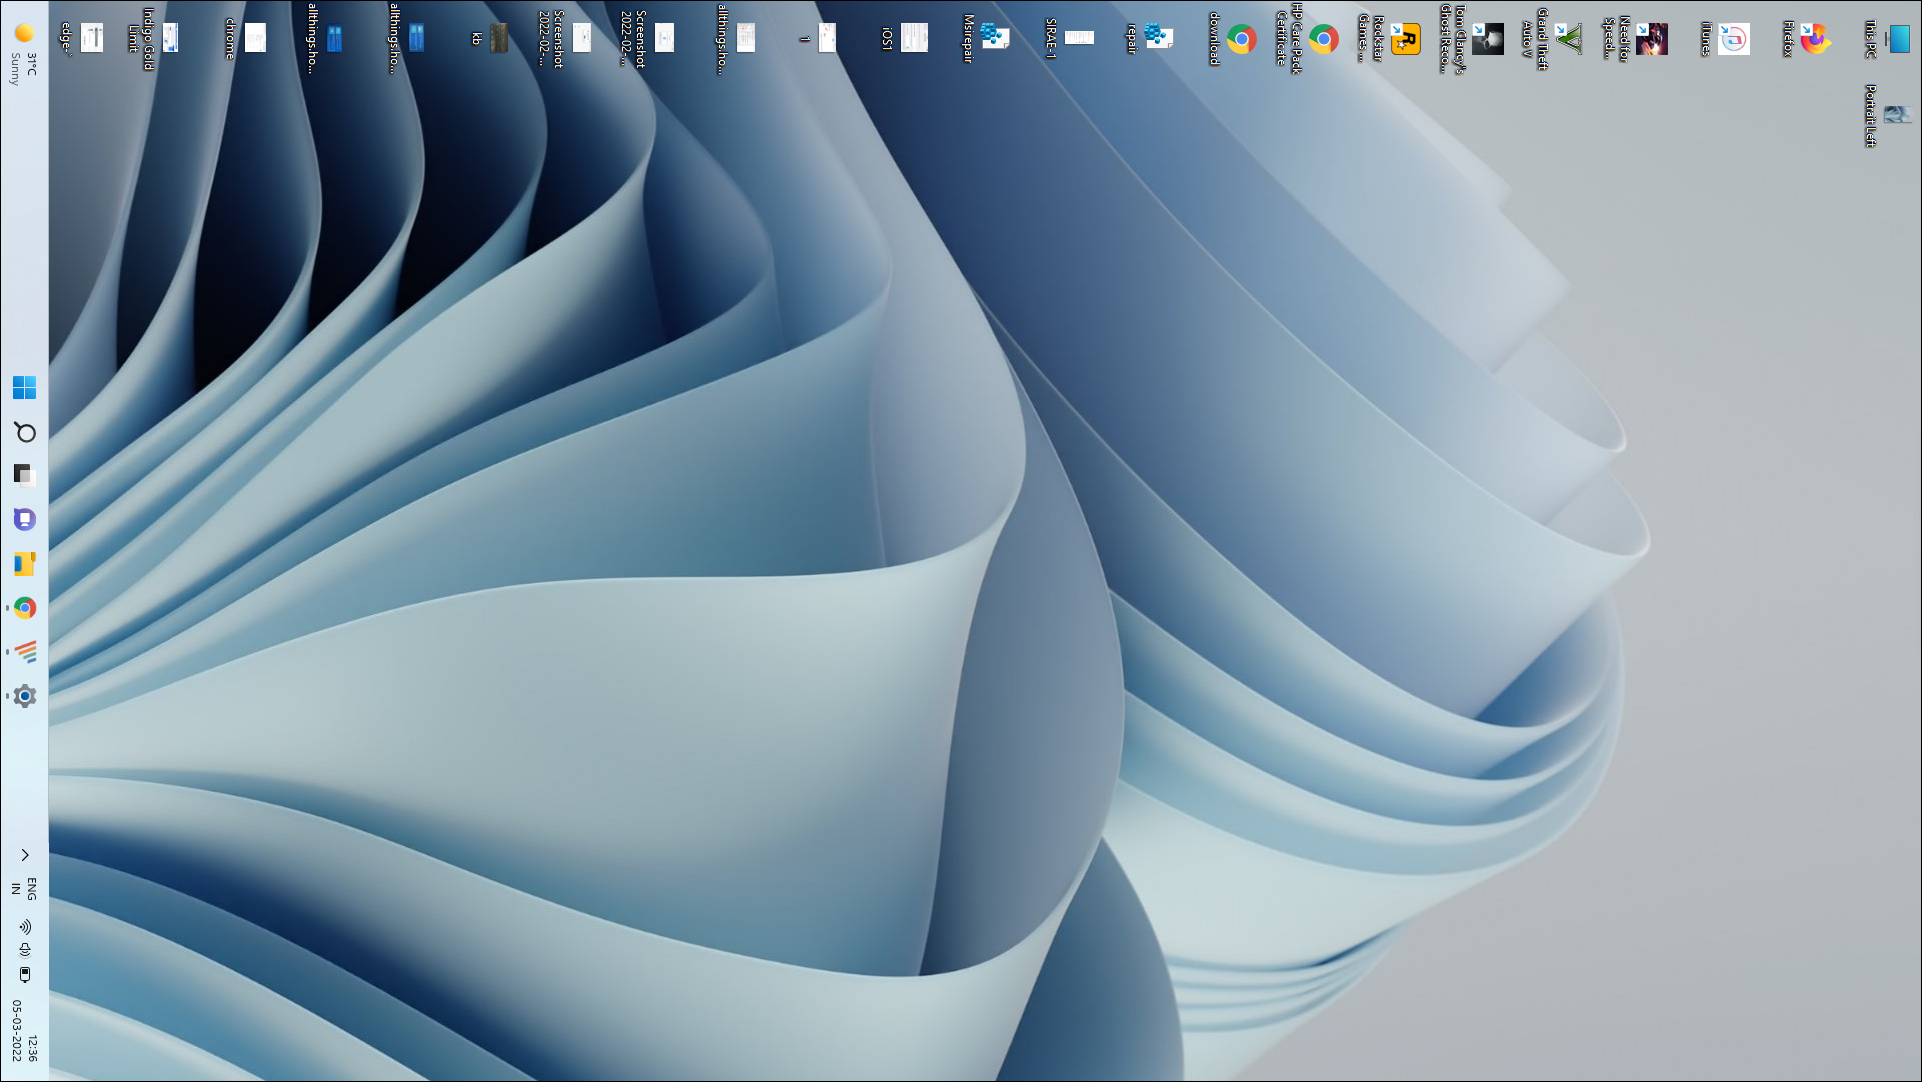
- Portrait: Rotates the screen 90 degrees to the left.
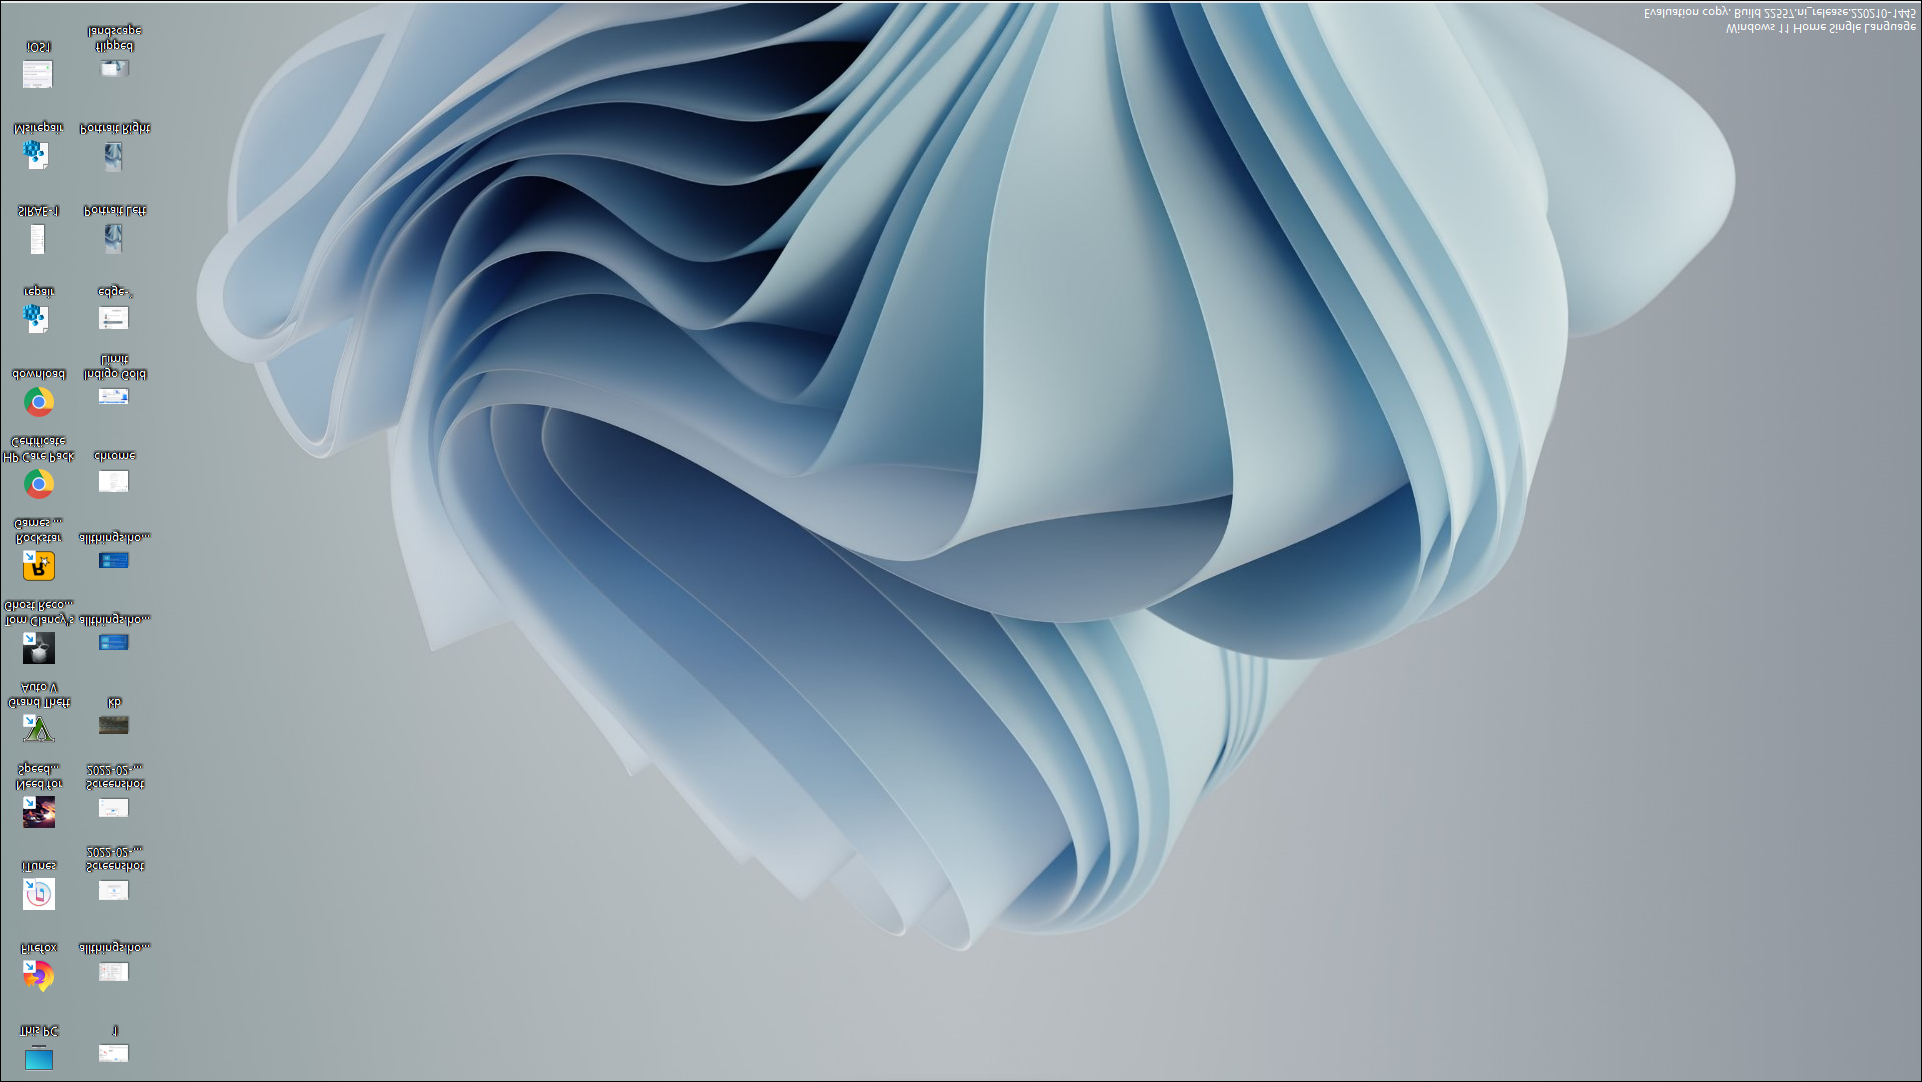
- Landscape (flipped): Rotates the screen 180 degrees upside down.
- Portrait (flipped): Rotates the screen 90 degrees to the right.

Change Screen Orientation Using Keyboard Shortcuts
If you’re looking for a quicker way to rotate your screen, keyboard shortcuts are the way to go. Note that these shortcuts typically work on systems with Intel graphics cards.
To rotate the screen 90 degrees to the left, press Ctrl + Alt + Left Arrow on your keyboard. The screen will immediately rotate.
To rotate the screen 90 degrees to the right, press Ctrl + Alt + Right Arrow. Your display will rotate accordingly.
To flip the screen upside down, press Ctrl + Alt + Down Arrow. The screen orientation will change without any confirmation prompt.
To return the screen to the normal orientation, press Ctrl + Alt + Up Arrow.
Adjusting your screen orientation in Windows 11 is simple, whether you prefer using the Settings app or quick keyboard shortcuts.


