
Experiencing low microphone volume on your Windows 11 PC can be frustrating, especially when you’re trying to communicate clearly during calls or recordings. Luckily, there are several solutions to enhance your microphone’s performance. This guide will walk you through effective methods to fix low microphone volume in Windows 11.
Adjust microphone boost
Increasing the microphone boost can significantly amplify the sound picked up by your microphone, resolving volume issues.
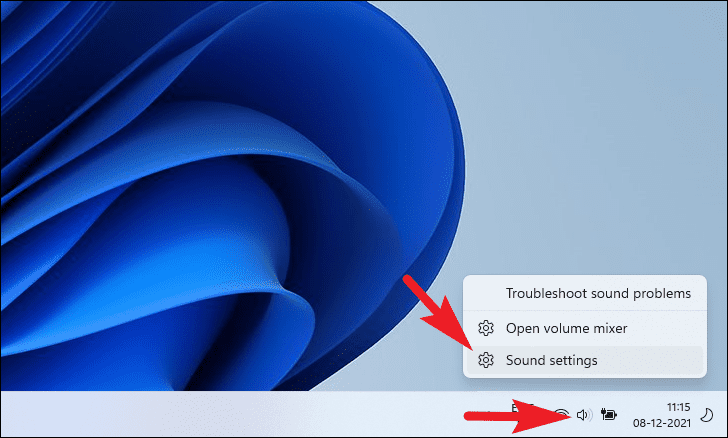
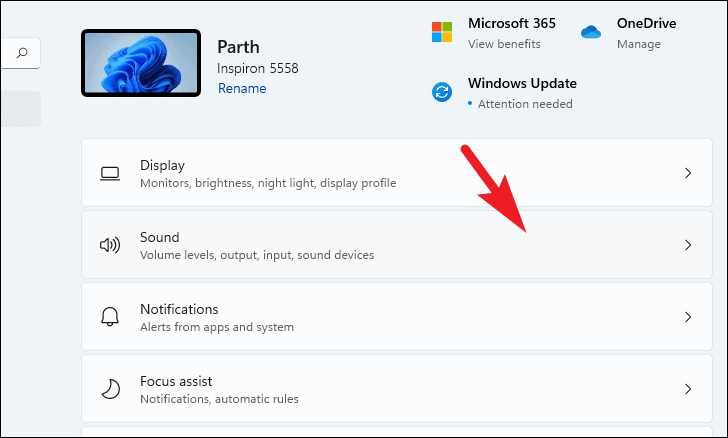
- Right-click the speaker icon at the far right of the taskbar and select
Sound settingsfrom the menu.
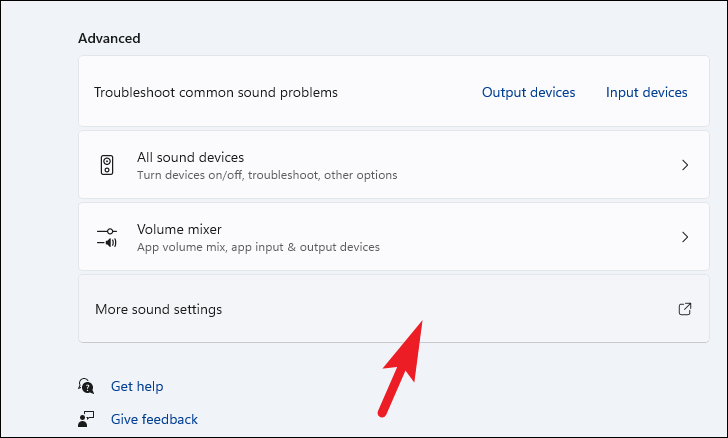
- In the Settings window, scroll down to the Advanced section and click on
More sound settings. This will open the Sound control panel.
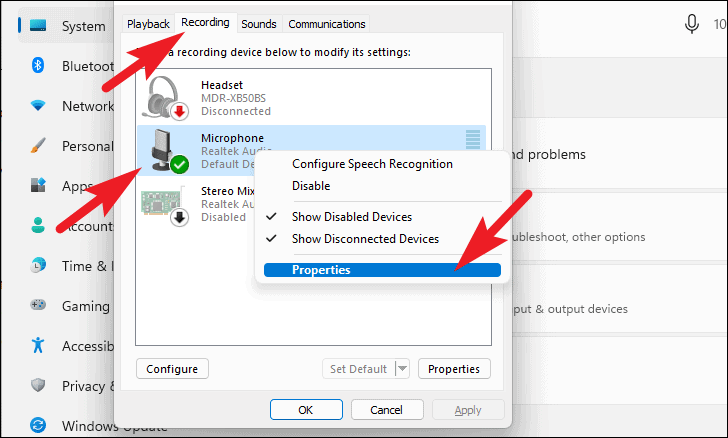
- In the Sound window, go to the Recording tab. Right-click your microphone device and select
Propertiesfrom the context menu.
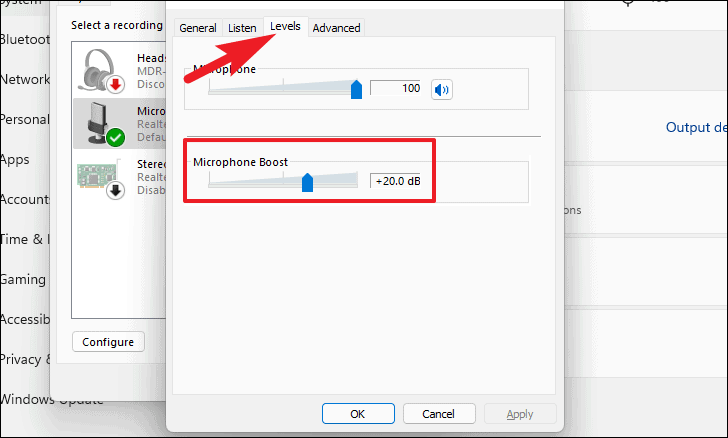
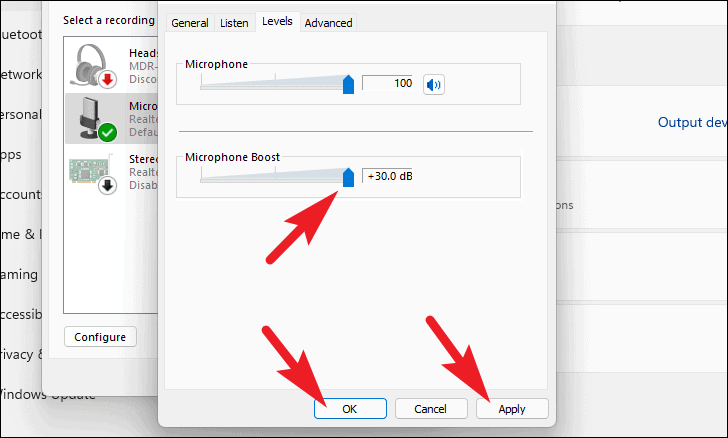
- In the Microphone Properties window, click on the Levels tab. Adjust the Microphone Boost slider to increase the microphone’s sensitivity. Slide it to the right to amplify the input volume.
- Click
Applyto save the changes, then selectOKto close the window.
Turn off audio enhancements for microphone
Disabling audio enhancements can prevent potential conflicts that might be affecting your microphone’s volume.
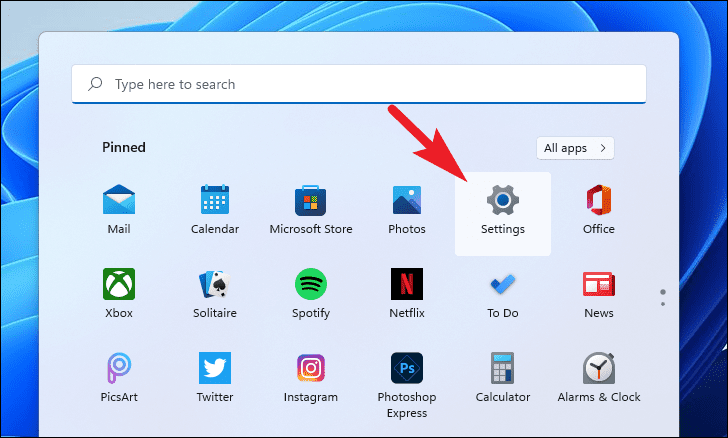
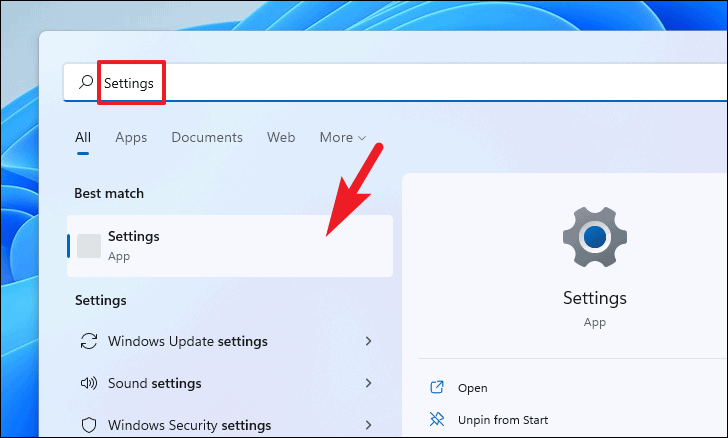
- Open the
Settingsapp by clicking the Start menu and selectingSettings.

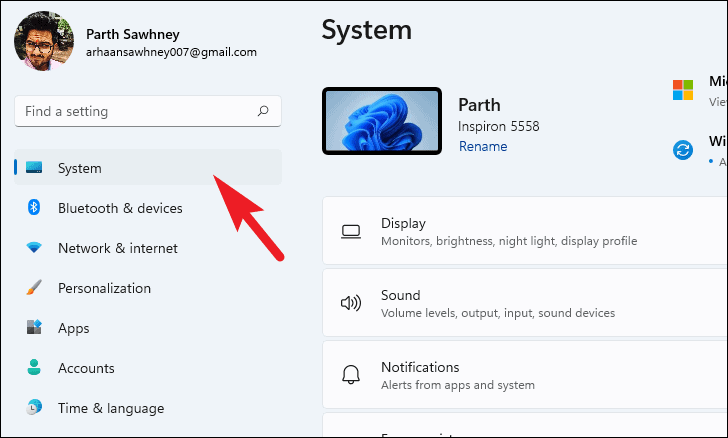
- Ensure you’re in the System section.
- Click on
Soundin the right pane.

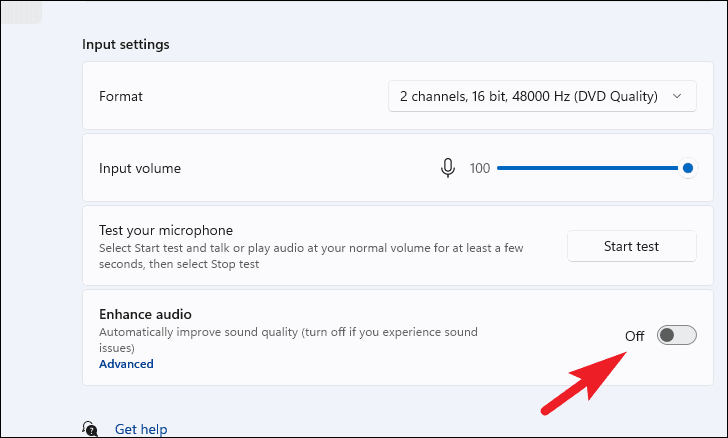
- Scroll down to the Input section and locate Enhance audio. Toggle the switch to the Off position to disable audio enhancements.
Check and adjust microphone volume from sound settings
Ensuring your microphone’s volume is set correctly can help it capture sound more effectively.
- Open the
Settingsapp from the Start menu.
- Click on System in the left sidebar.

- Select
Soundfrom the right pane.
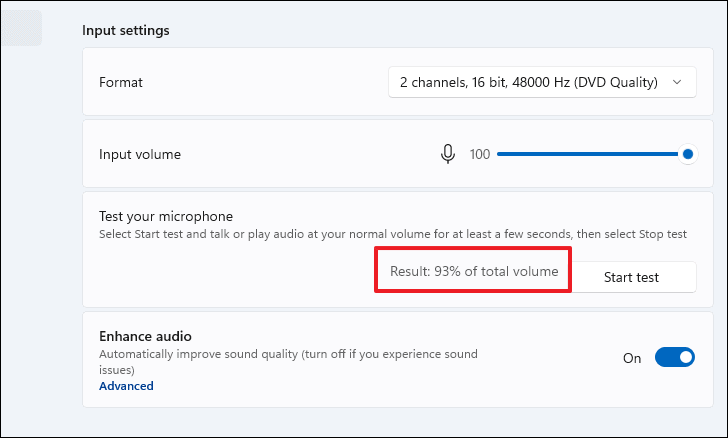
- Under the Input section, make sure the volume slider is set to 100 by moving it all the way to the right.
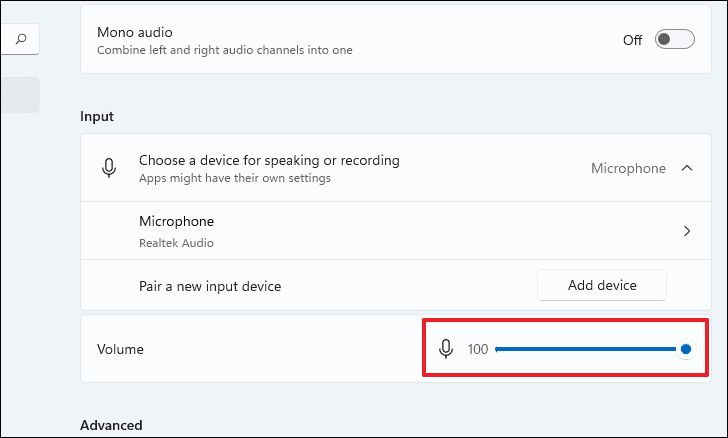
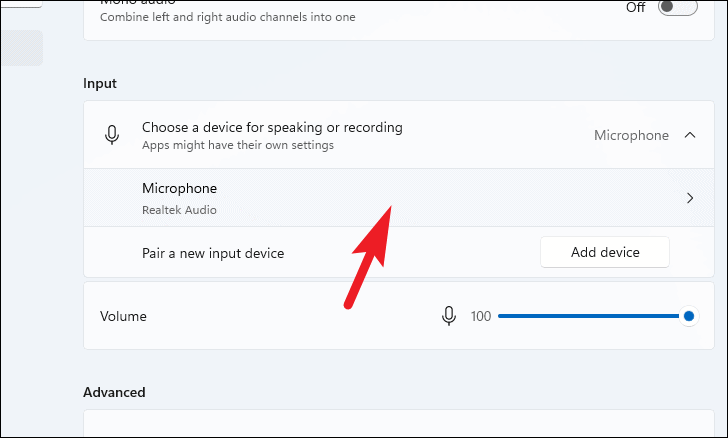
- Click on your Microphone device under the Input section.
- In the Input settings, click
Start testnext to Test your microphone, then speak or play a sound near the microphone for a few seconds.
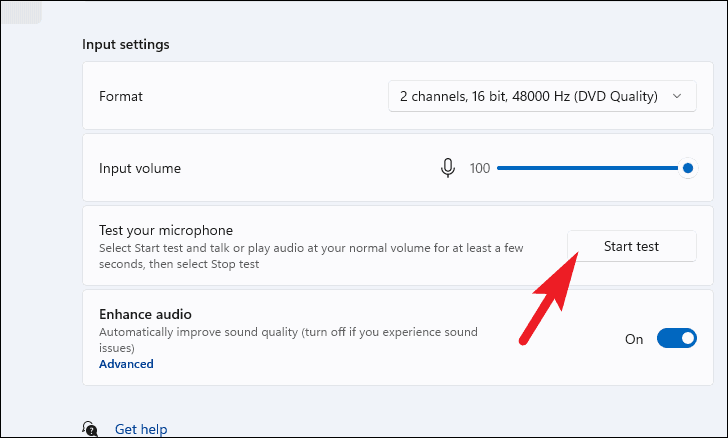
- Click
Stop testand review the result displayed. A higher percentage indicates better microphone sensitivity.
Update your drivers
Outdated or corrupted drivers can cause microphone issues. Updating your audio drivers can help improve microphone performance.
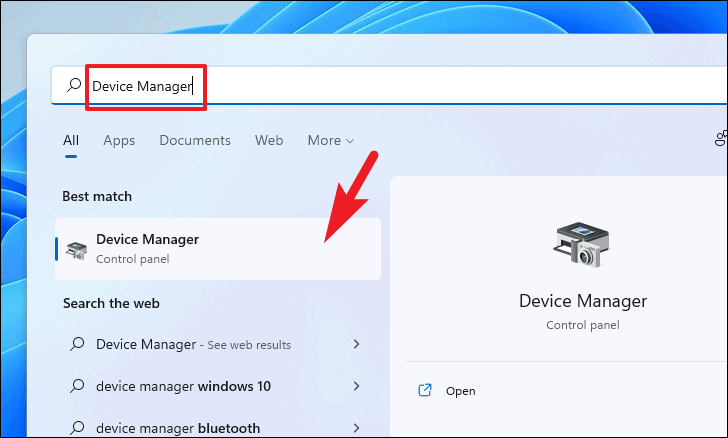
- Press
Win + Xand selectDevice Managerfrom the menu.
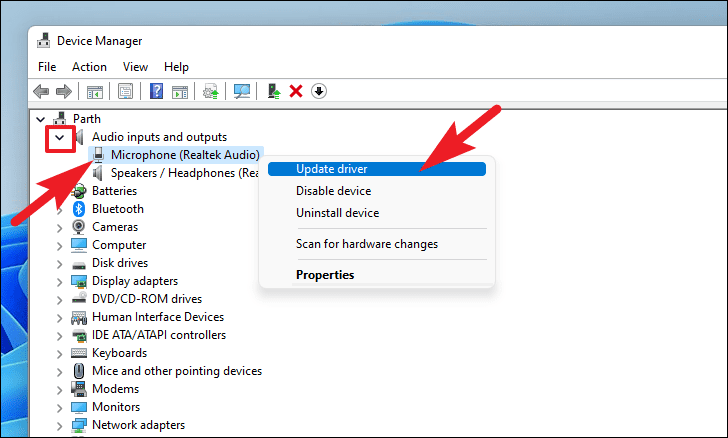
- Expand the Audio inputs and outputs section.
- Right-click your Microphone device and select
Update driver.
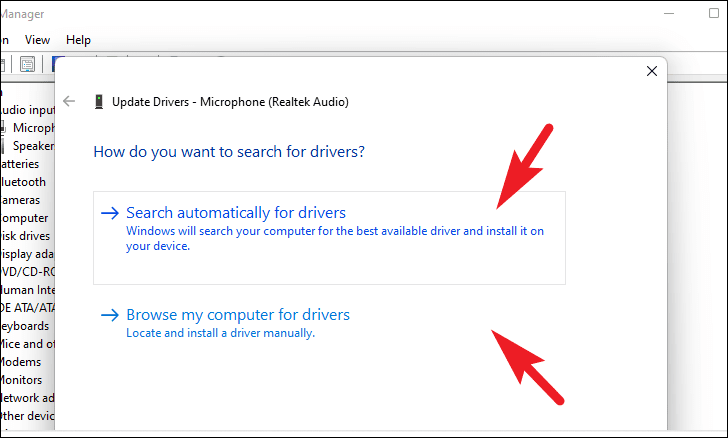
- Choose
Search automatically for drivers. Windows will search for and install the latest driver available.
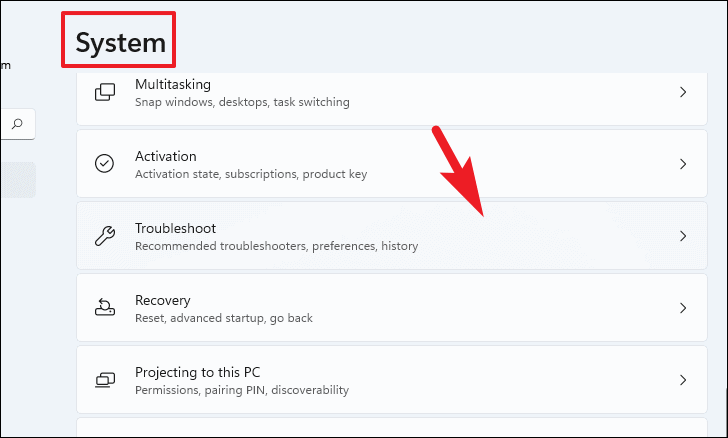
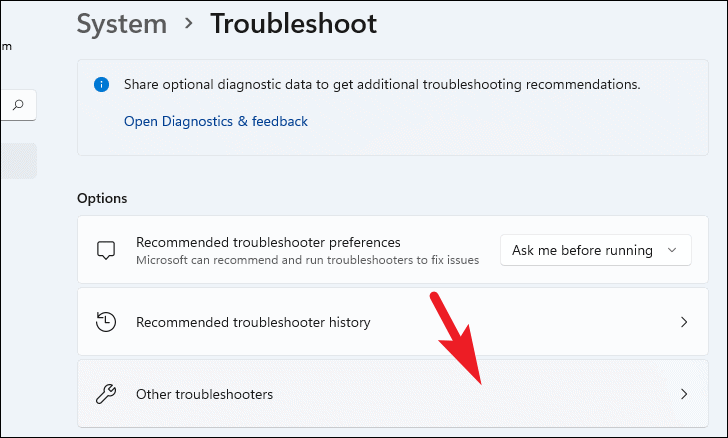
Run microphone troubleshooter
Using the built-in troubleshooter can help identify and fix microphone issues automatically.
- In the
Settingsapp, select System from the left sidebar. - Click on
Troubleshootin the right pane.
- Select
Other troubleshooters.
- Find Recording Audio and click
Runnext to it.
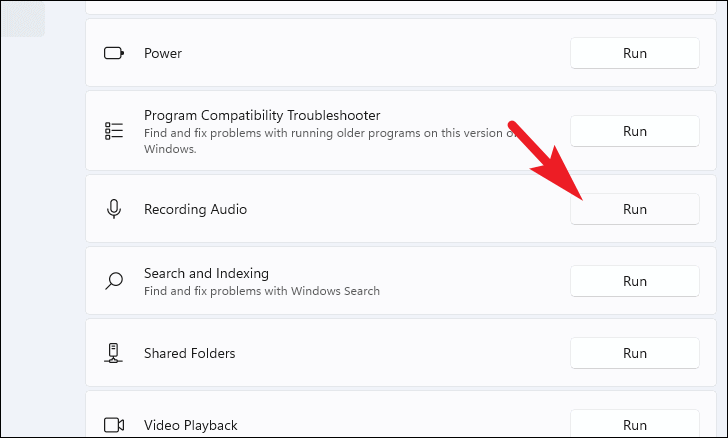
- Follow the on-screen instructions to complete the troubleshooting process.
Check microphone permissions
If your microphone isn’t working in specific apps, ensure those apps have permission to access it.
- Open the
Settingsapp and select Privacy & security from the left sidebar.
- Scroll down to the App permissions section and click on
Microphone.
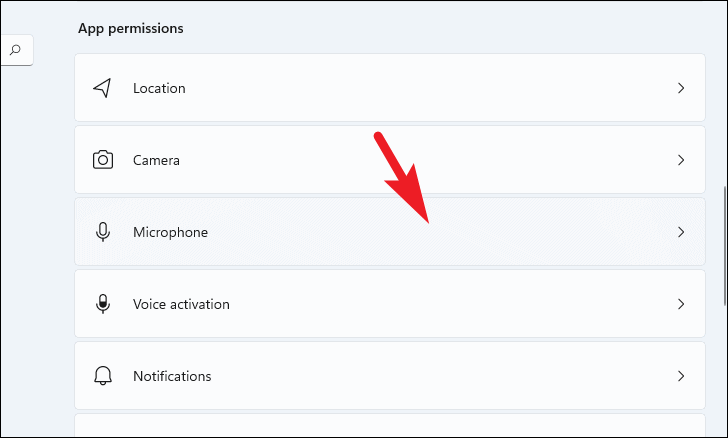
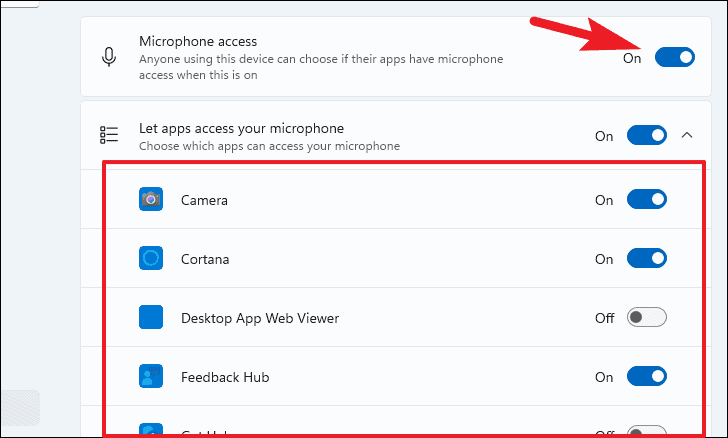
- Ensure the Microphone access toggle is turned On.
- Scroll down and check that the apps you want to use have microphone access enabled.
By following these methods, you should be able to resolve the low microphone volume issue on your Windows 11 device. If the problem continues, consider reaching out to customer support or a professional technician for further assistance.


