How to Fix “No Audio Output Device is Installed” Error on Windows 11
7 easy ways to get rid of this error on your Windows 11 PC.
7 easy ways to get rid of this error on your Windows 11 PC.
by Pallav Pathak
If you’ve recently upgraded to Windows 11 and find that there’s no sound coming from your computer, you’re not alone. Many users experience the ‘No audio output device is installed’ error, which can prevent you from playing music, participating in video calls, or using audio peripherals like speakers and headphones. Fortunately, there are several methods to resolve this issue.
Reinstall the audio driver from the manufacturer’s website
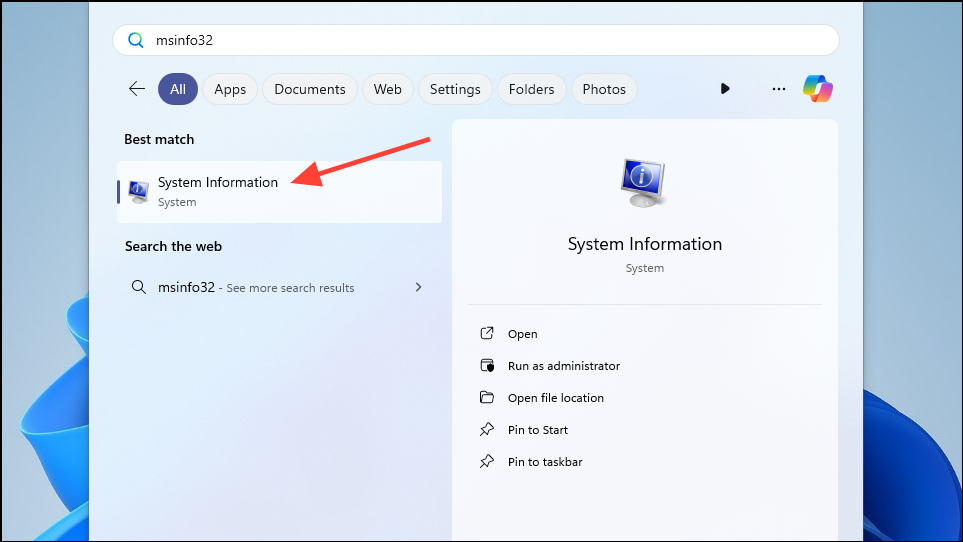
A common cause of the ‘No audio output device is installed’ error is an outdated or corrupted audio driver. Reinstalling the latest driver from your computer manufacturer’s website can often resolve the problem.
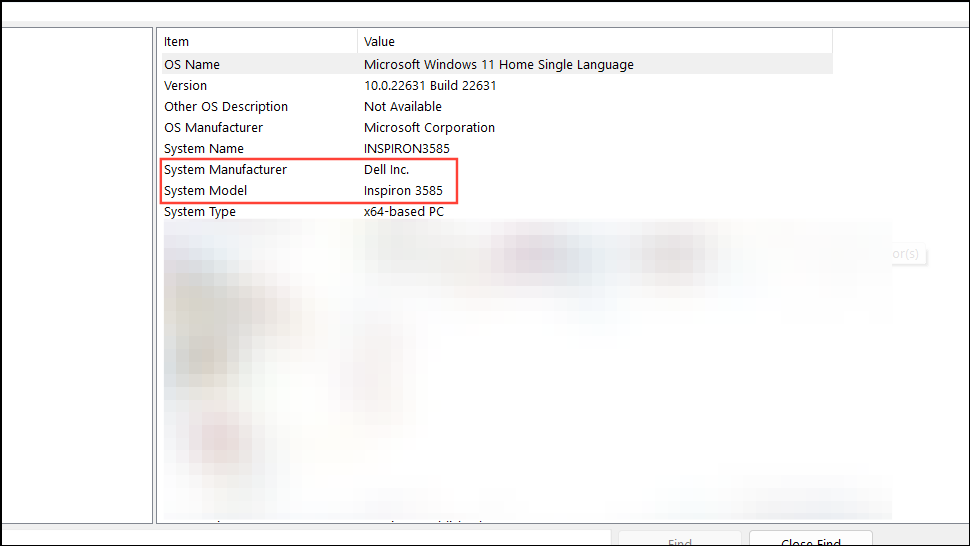
In the System Information window, locate the ‘System Manufacturer’ and ‘System Model’ details. You’ll need this information to find the correct driver on the manufacturer’s website.
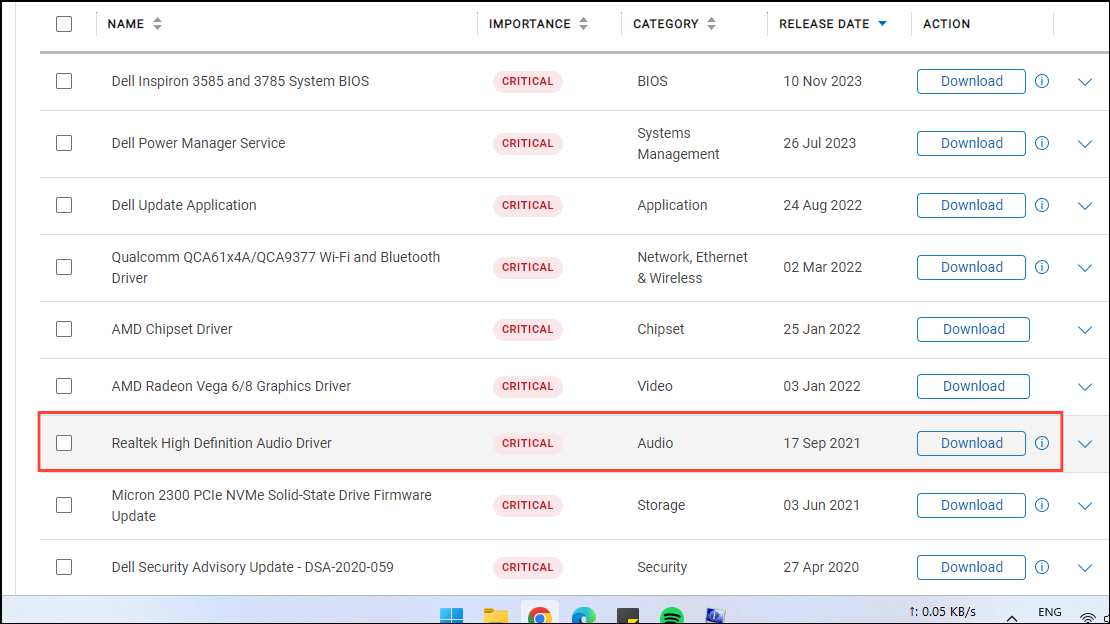
Open your web browser and navigate to your computer manufacturer’s official support website. Search for the latest audio driver compatible with your system model and Windows 11.
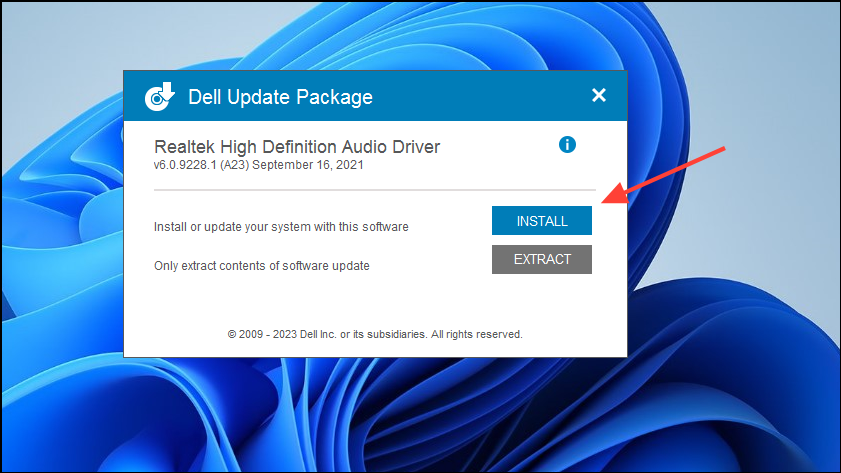
Download the appropriate driver and run the installer. Follow the on-screen instructions to complete the installation. You may need to restart your computer afterward.
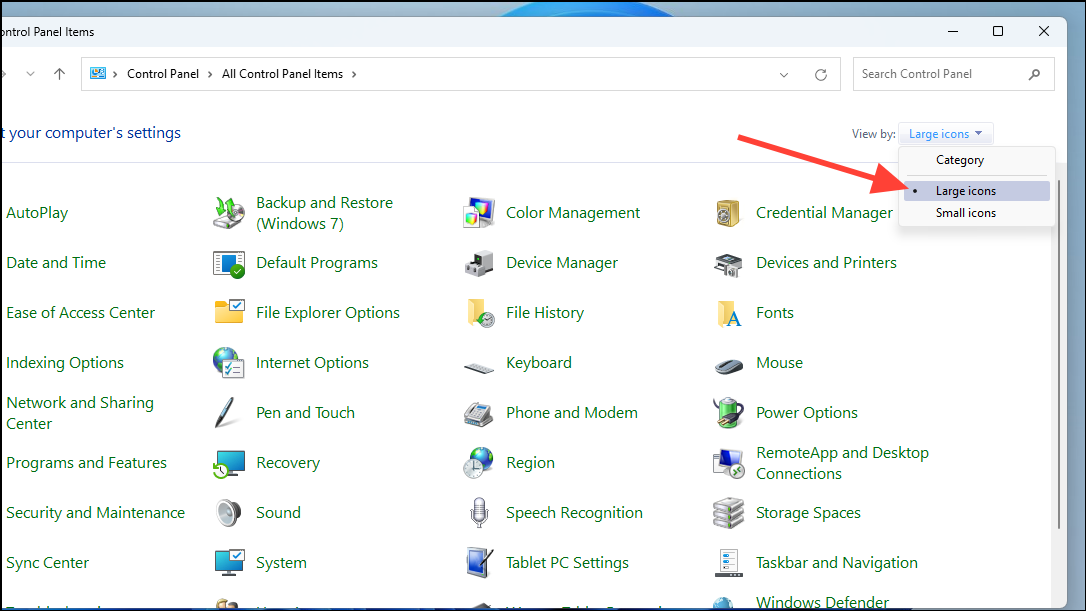
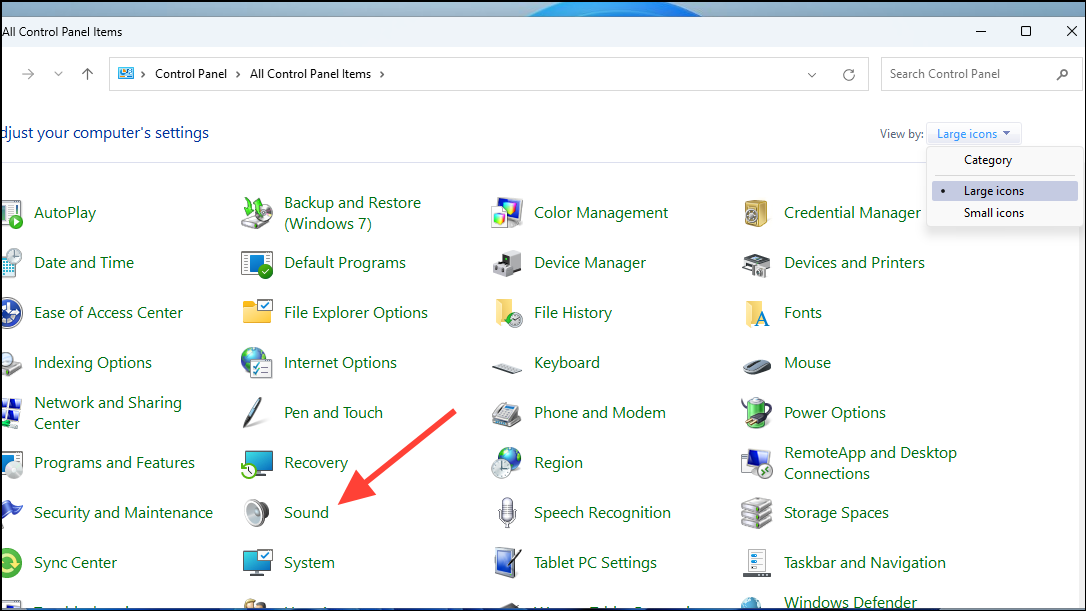
Note: Before installing the new driver, it’s recommended to uninstall the existing audio driver. Open the Control Panel, navigate to ‘Programs and Features’, and remove any audio driver software listed there.
Reinstall the audio driver
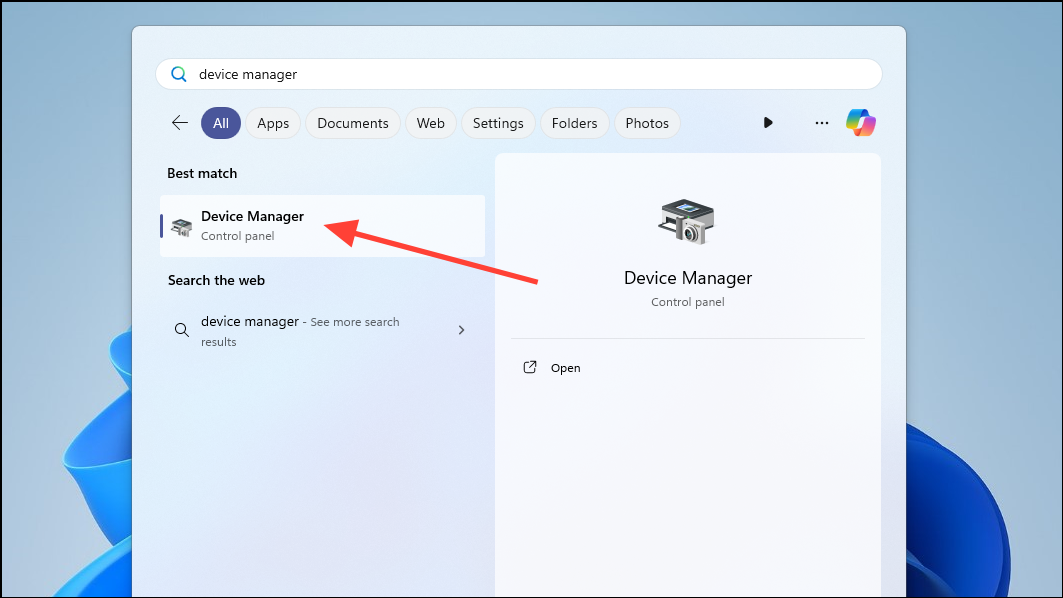
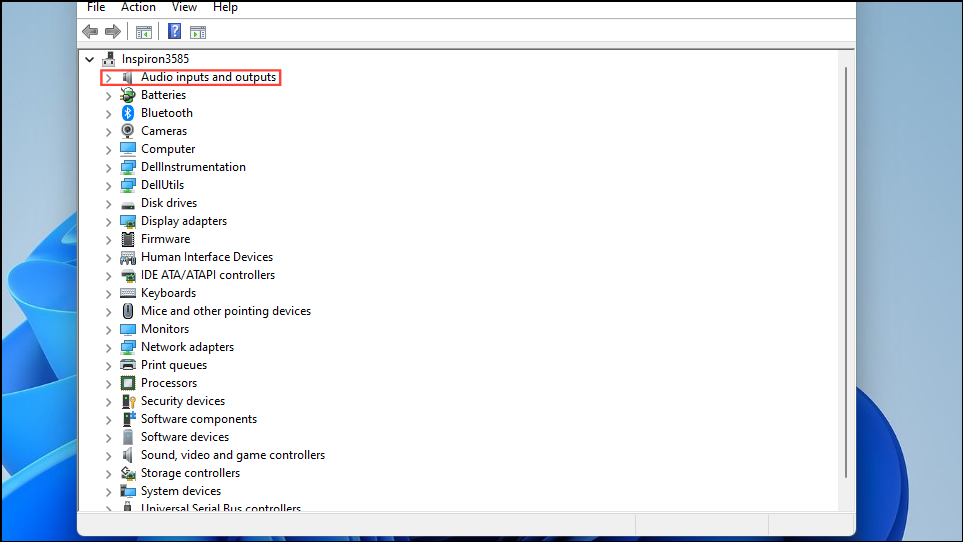
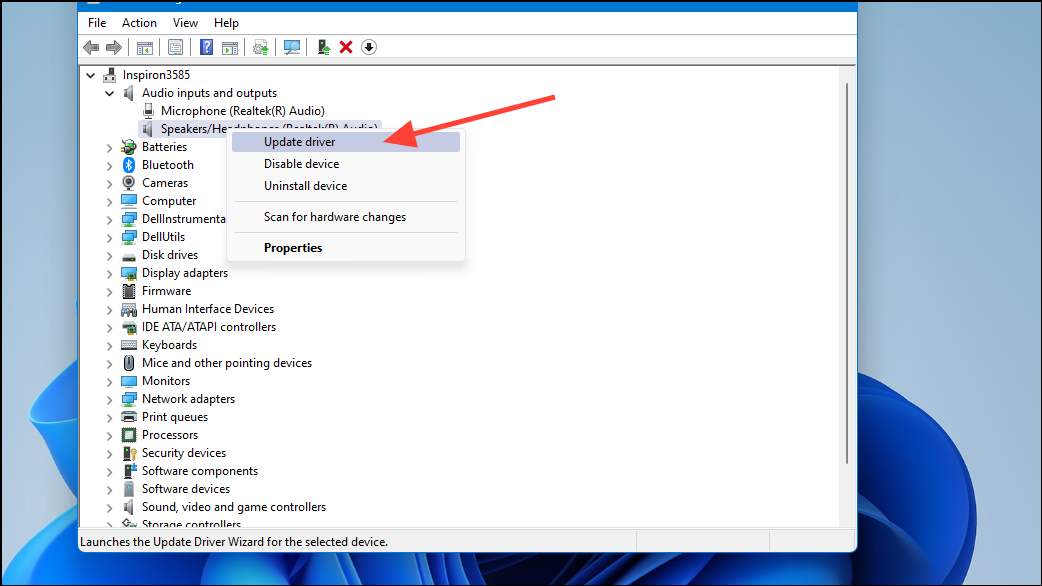
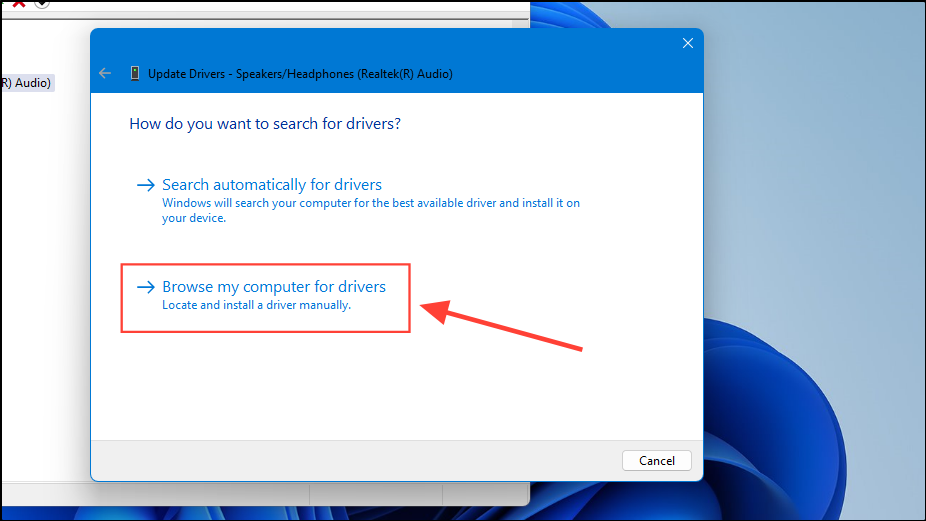
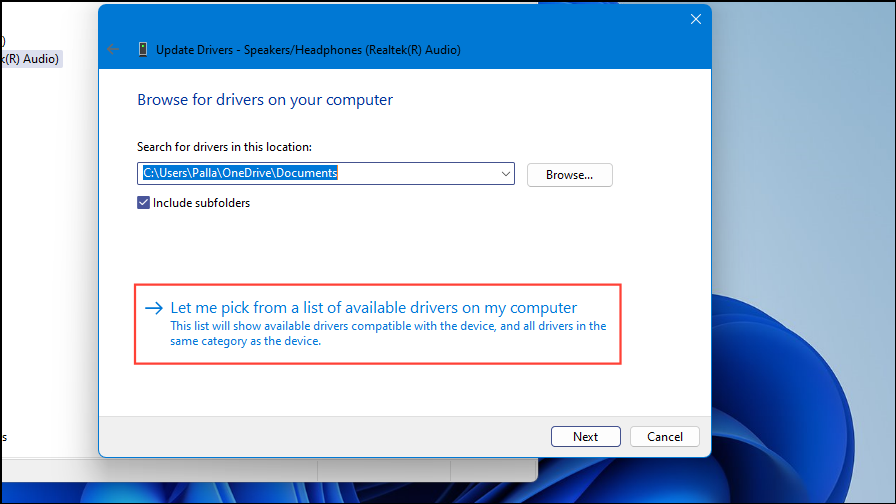
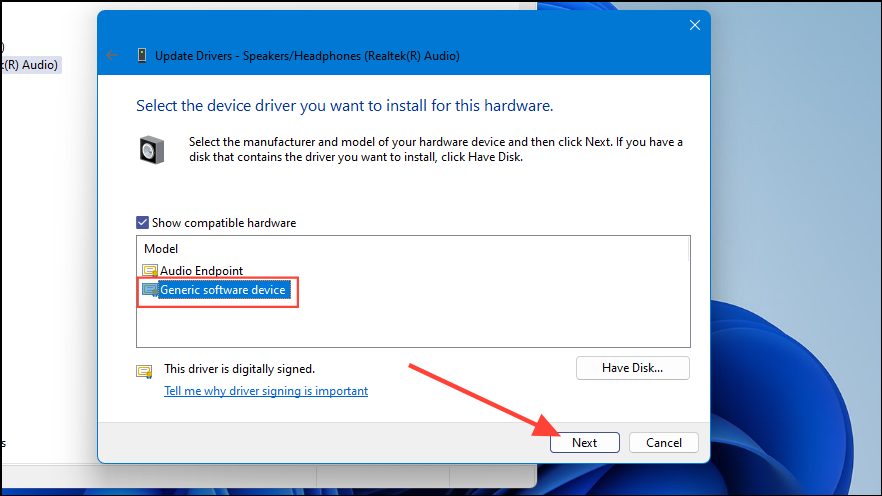
If updating the driver from the manufacturer’s website doesn’t resolve the issue, you can try reinstalling the audio driver using Device Manager. A corrupted driver can prevent Windows from recognizing your audio devices.
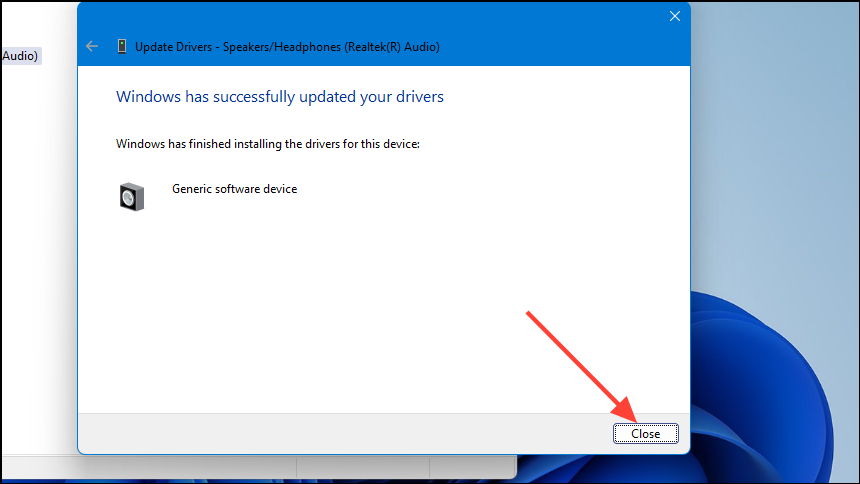
Once the driver is installed, close Device Manager and restart your computer to check if the issue persists.
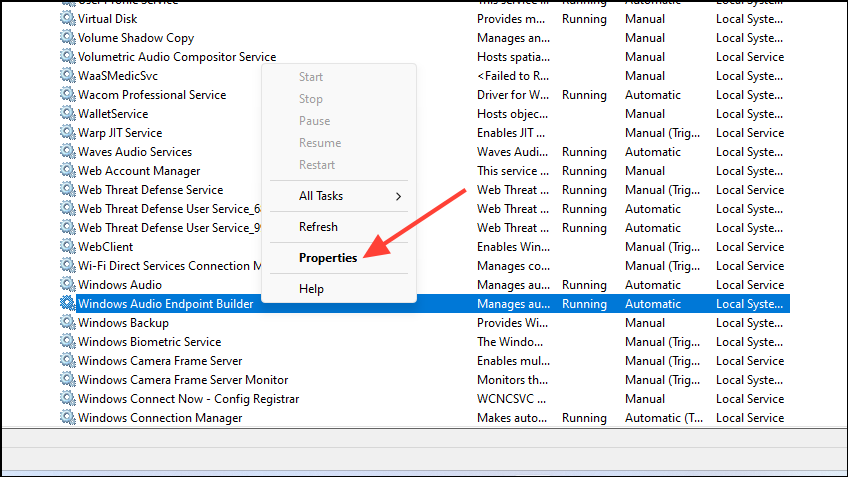
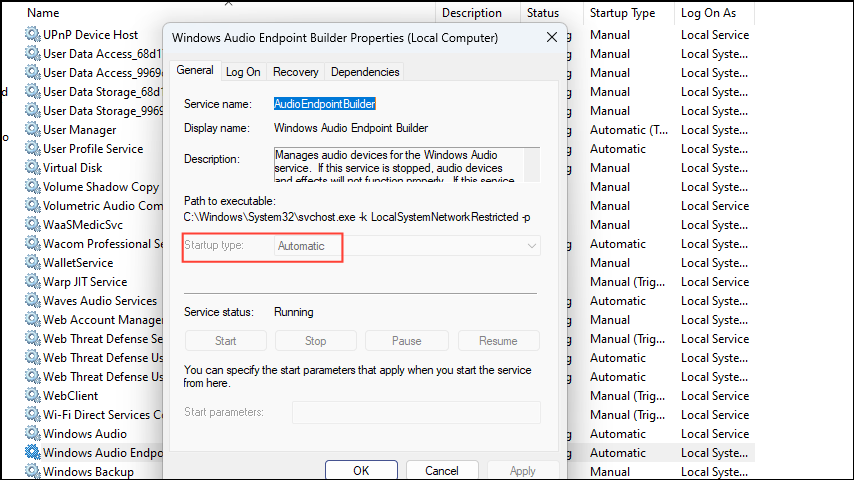
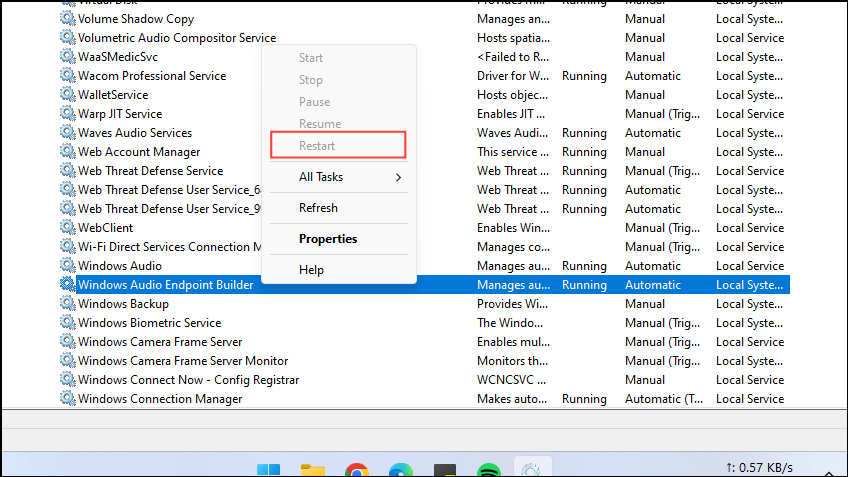
Ensure audio services are running
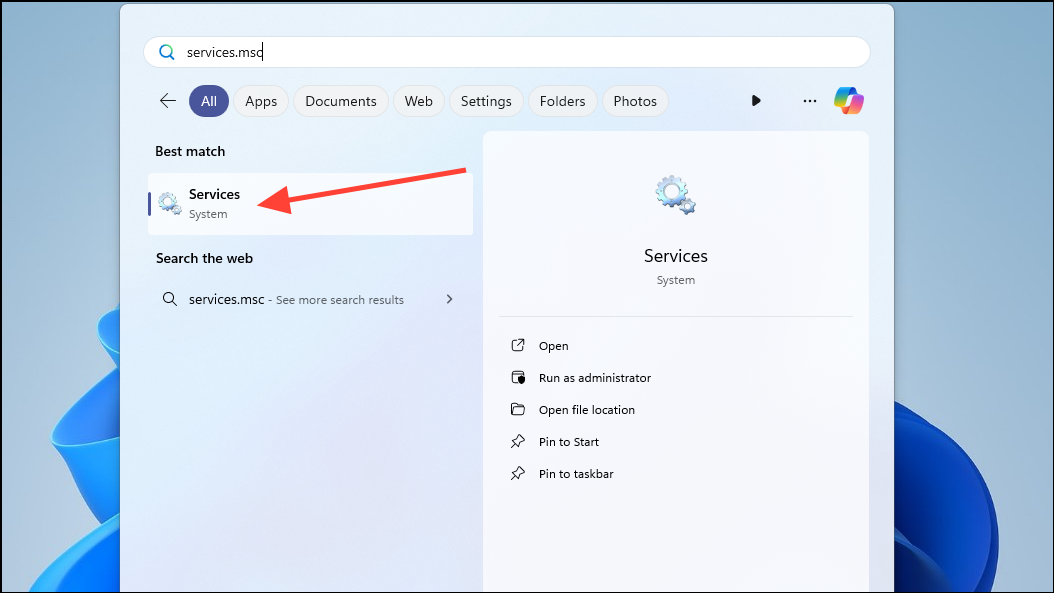
Windows relies on certain services to manage audio output. If these services aren’t running, you may encounter the ‘No audio output device is installed’ error. Verify that the necessary audio services are active.
Close the Services window and check if your audio is working properly.
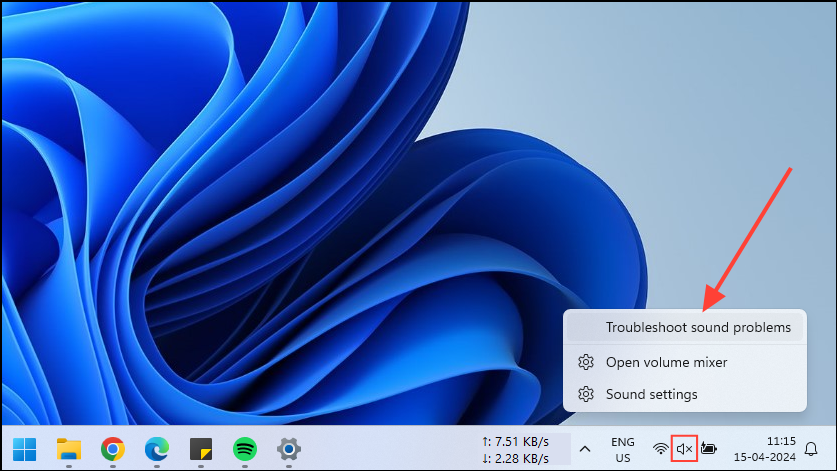
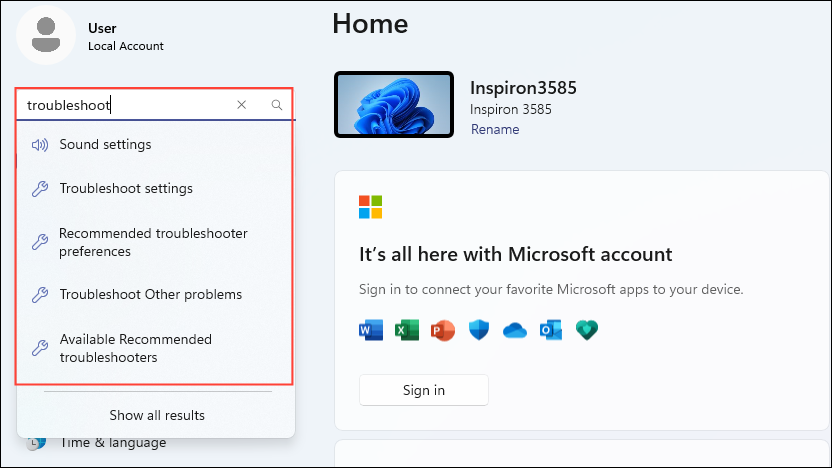
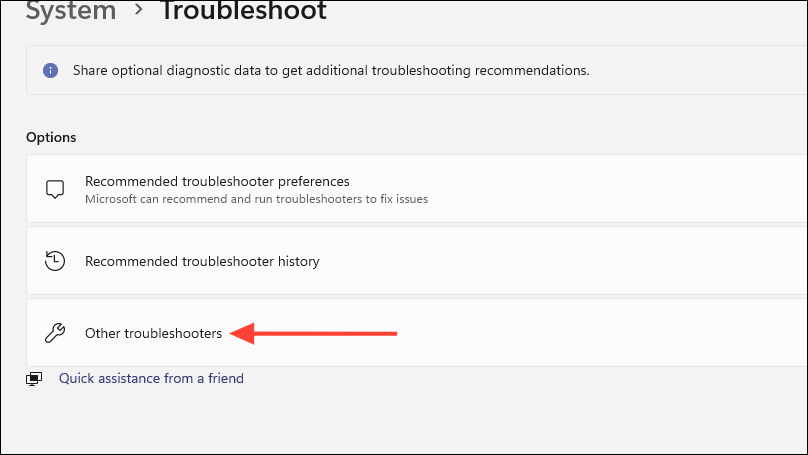
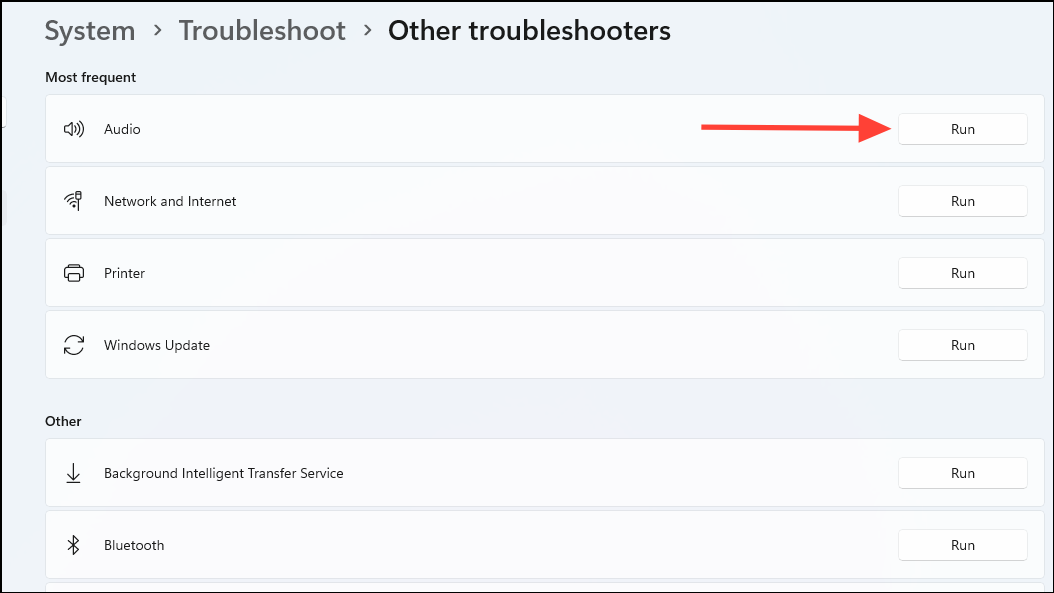
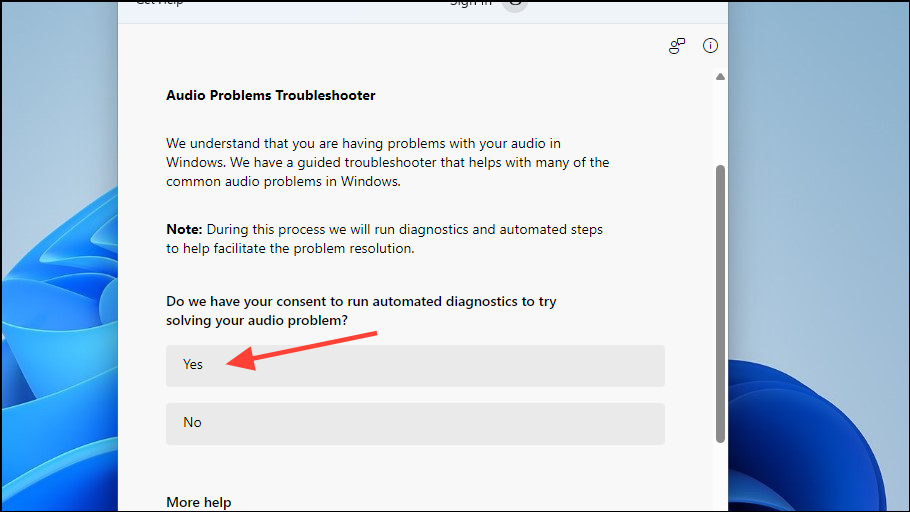
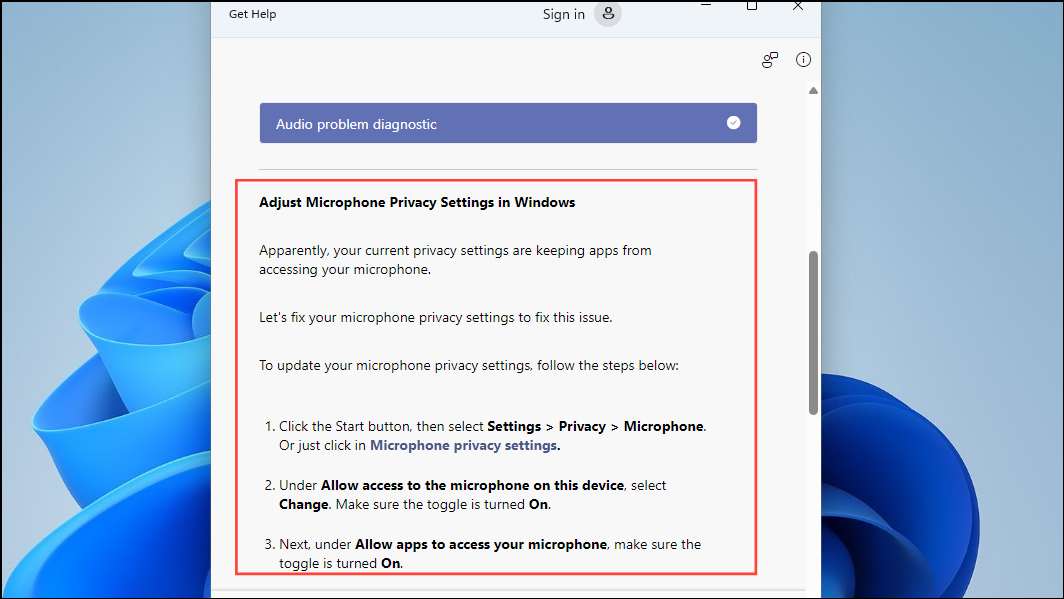
Run the audio troubleshooter
Windows 11 includes a built-in audio troubleshooter that can automatically detect and fix common sound problems. Running this tool might resolve the ‘No audio output device is installed’ error.
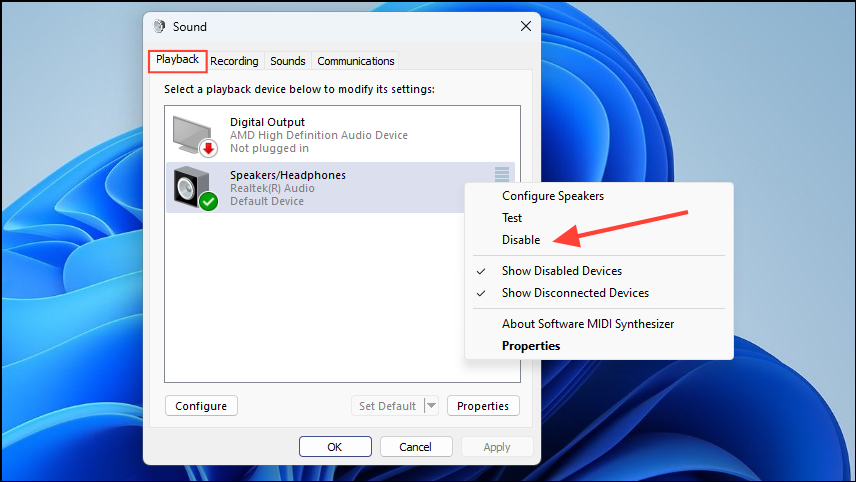
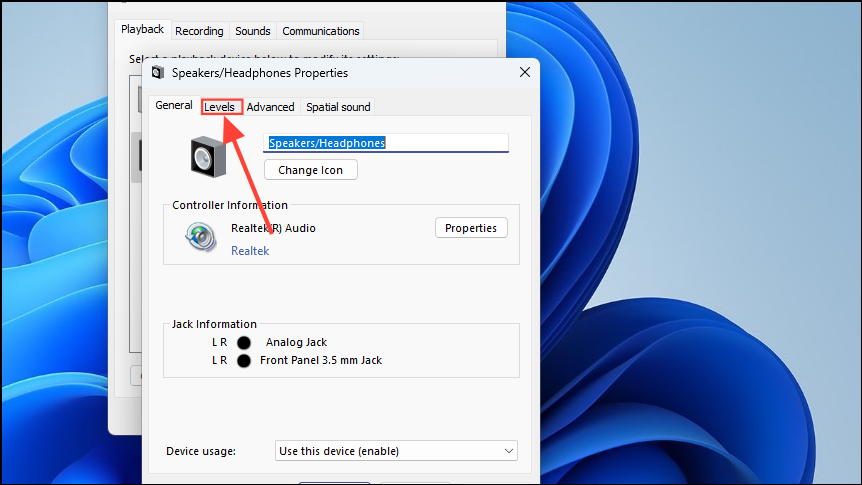
In the ‘Playback’ tab, right-click in the blank area and ensure that ‘Show Disabled Devices’ is checked. If your speakers or headphones are listed as disabled, right-click on them and select ‘Enable’.
Restart your computer and check if the audio issue is resolved.
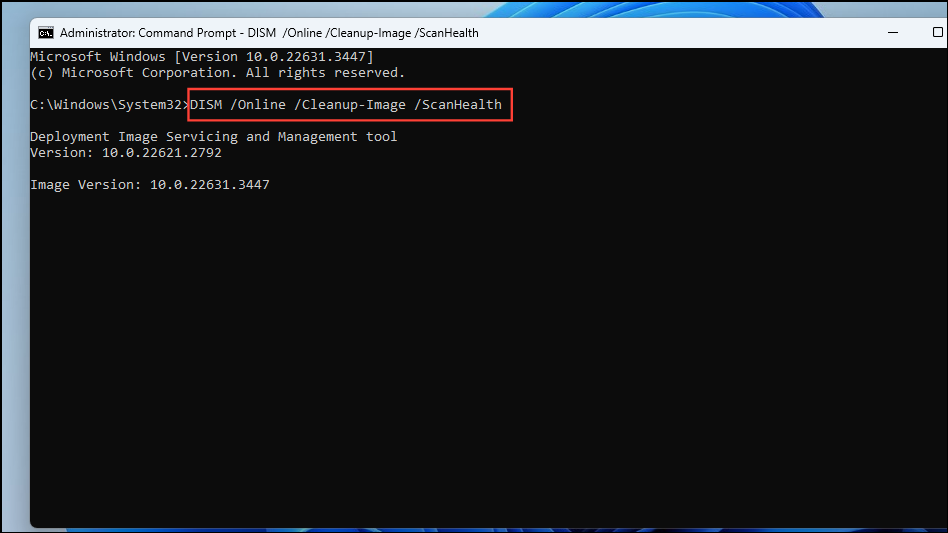
Perform a DISM scan
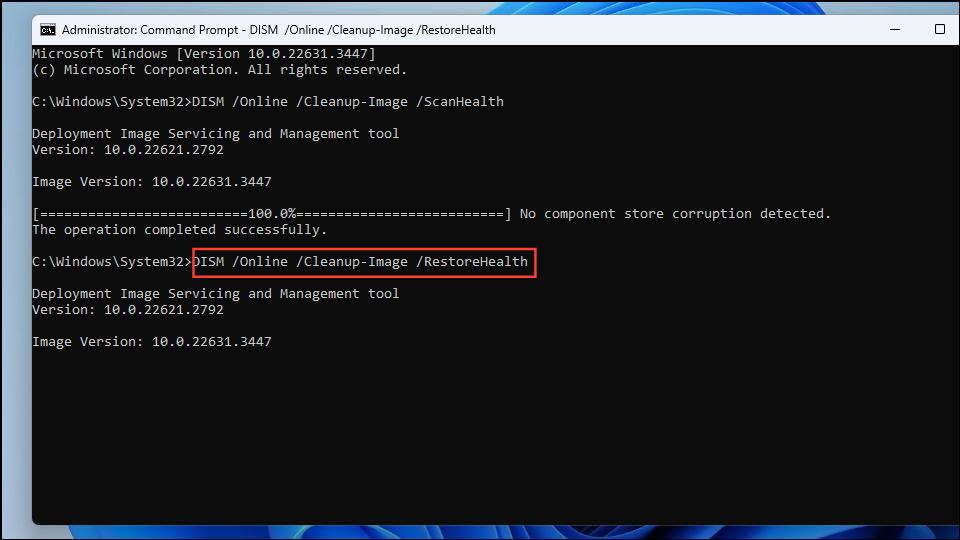
If system files are corrupted, it can affect audio functionality. Running a Deployment Image Servicing and Management (DISM) scan can repair system images and potentially fix the error.
After the process finishes, restart your computer and check if the error persists.
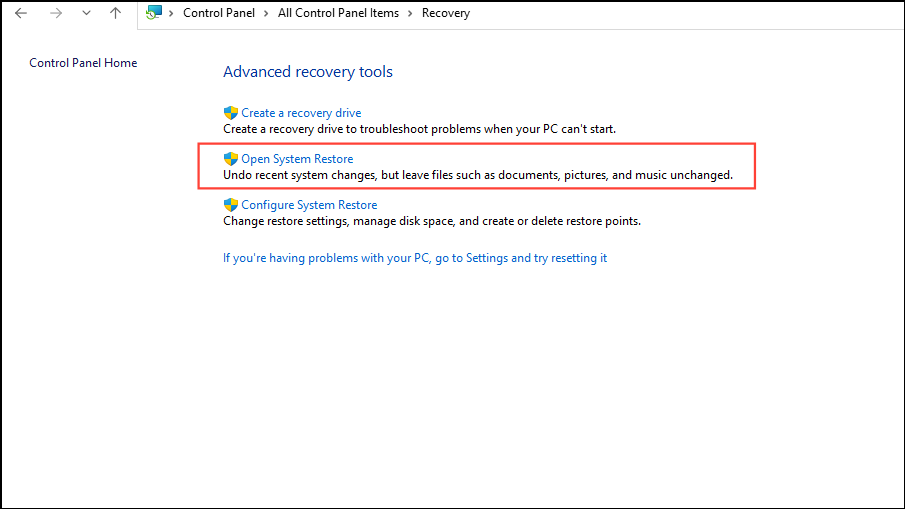
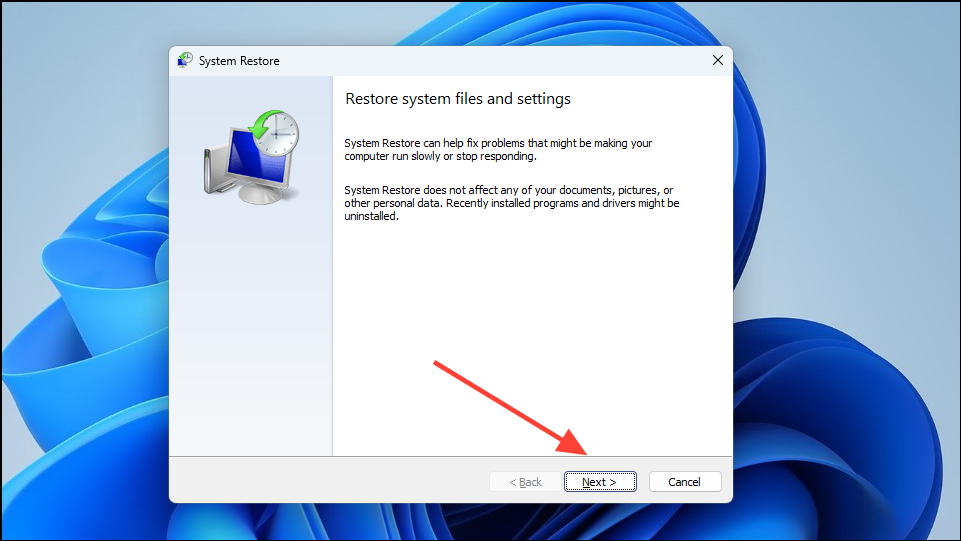
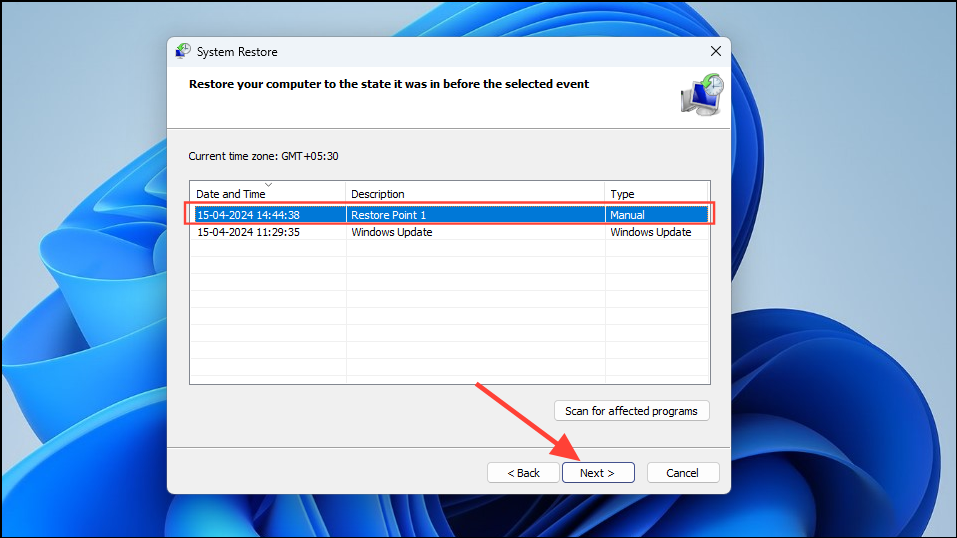
Perform a system restore
If the error started occurring recently, you can restore your system to an earlier point in time when the audio was working correctly. Note that you must have previously created a restore point.
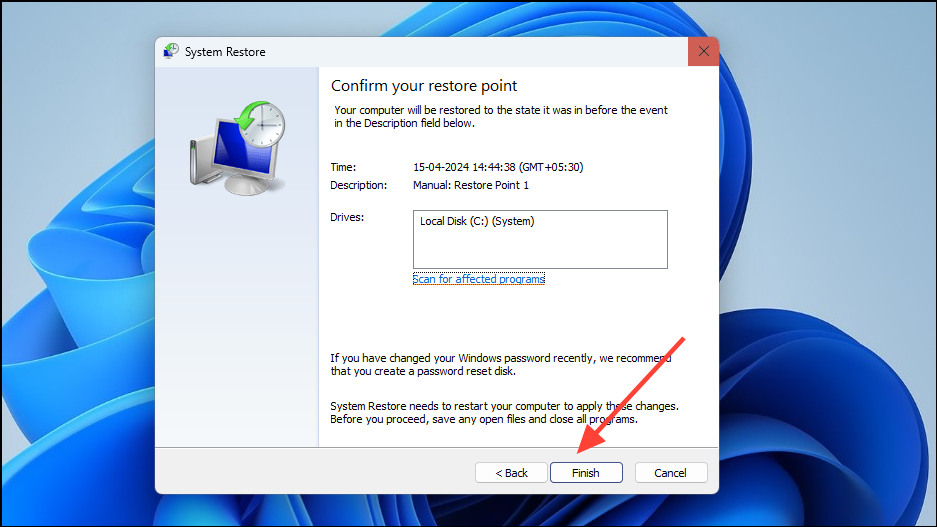
Click ‘Finish’ to start the system restore process. Your computer will restart and revert to the selected restore point.
Experiencing the ‘No audio output device is installed’ error on Windows 11 can be frustrating, but by following the methods above, you should be able to restore your audio functionality. If none of these solutions work, consider performing a fresh installation of Windows 11 or checking your hardware for defects.