Easily transfer your data from your old PC to your new PC with Windows Backup.
Easily transfer your data from your old PC to your new PC with Windows Backup.
by Pallav Pathak
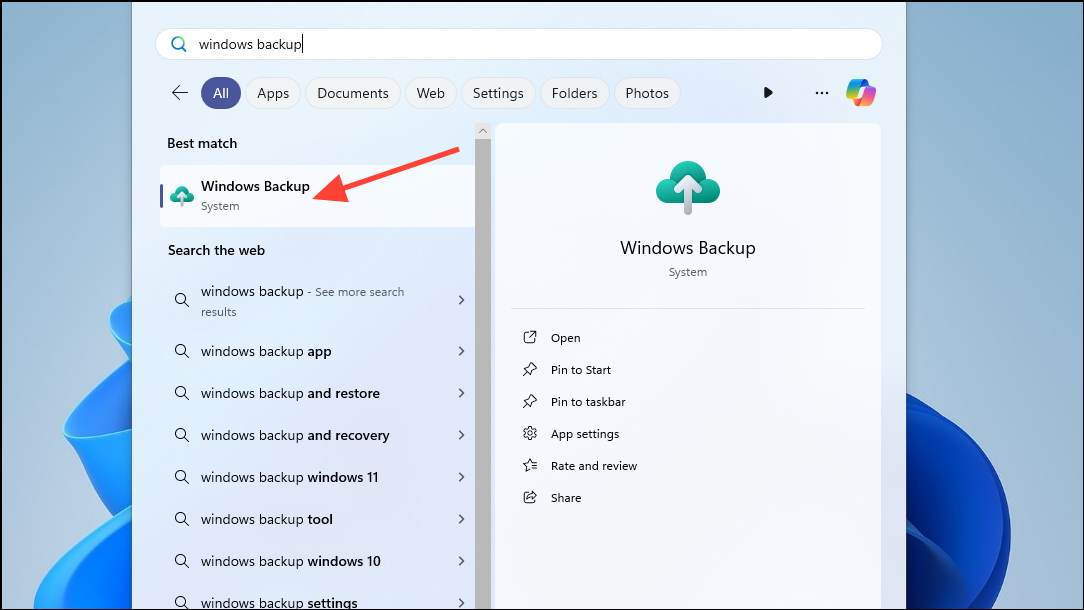
Upgrading to a new Windows PC is exciting, but transferring your files, applications, and settings can seem daunting. Fortunately, Windows Backup provides a simple way to move your important data from your old PC to your new one seamlessly.
Prerequisites
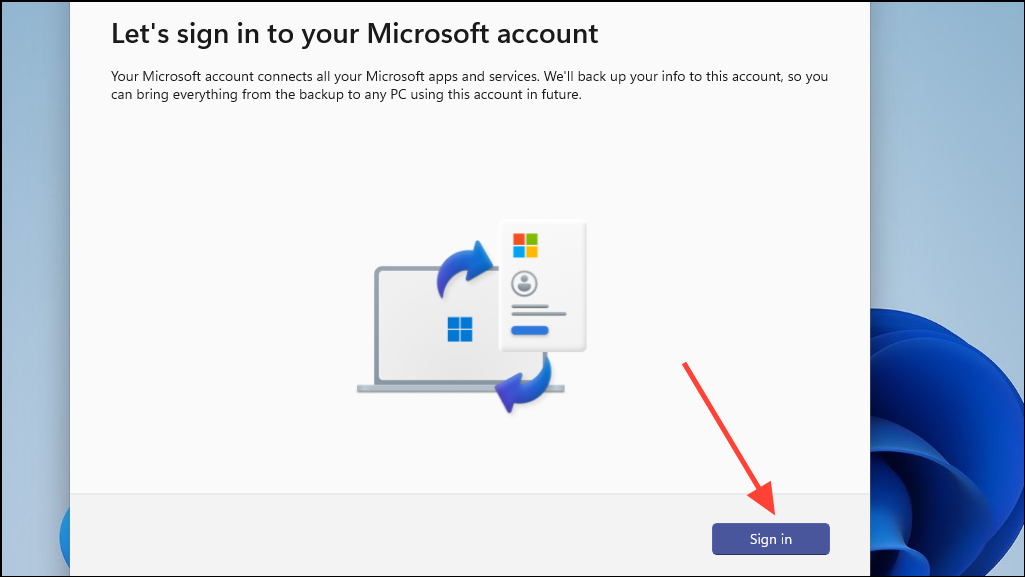
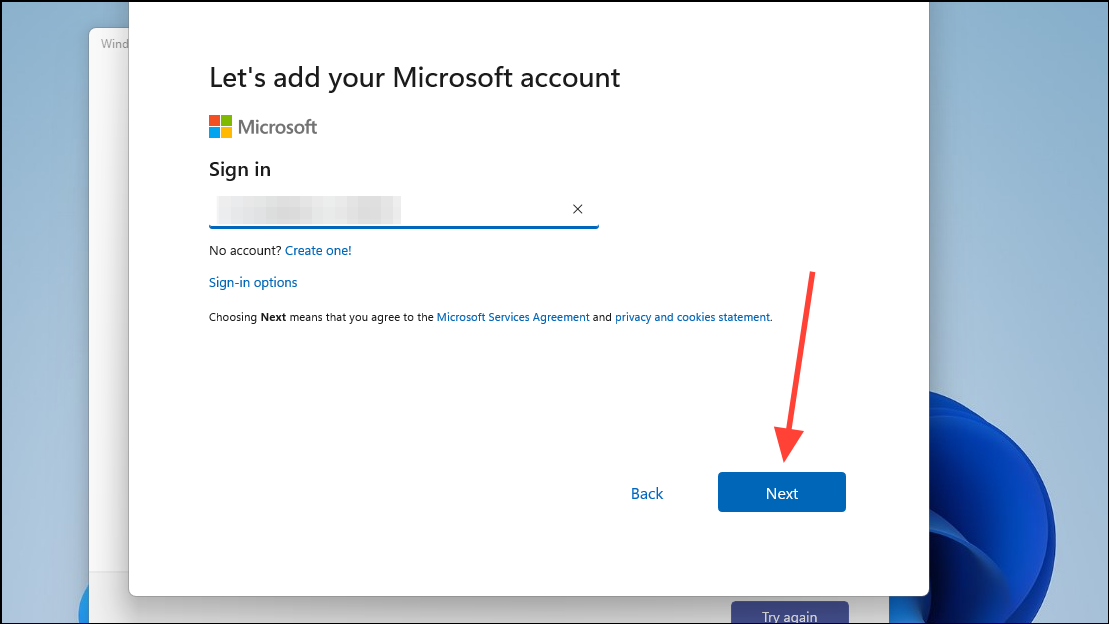
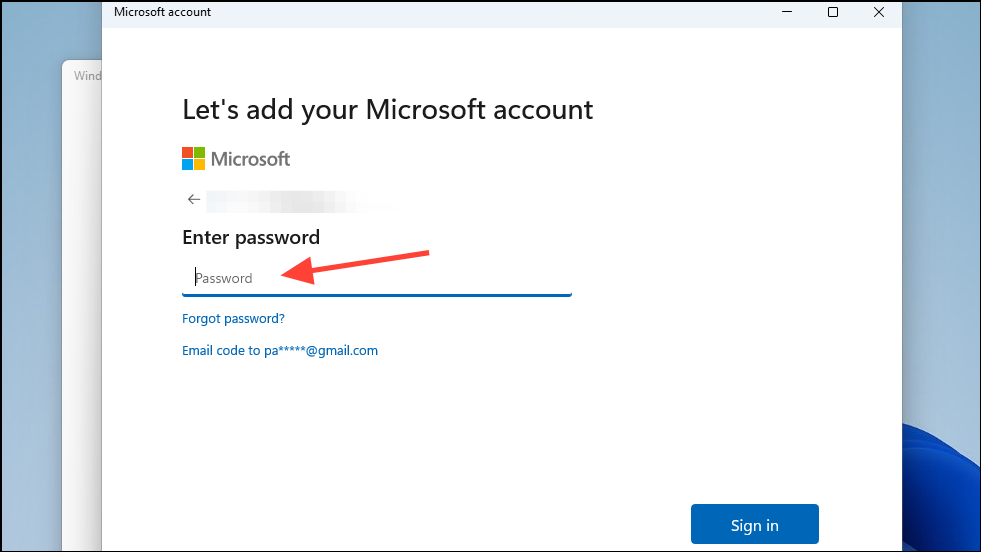
Before you begin, ensure you’re signed in with a Microsoft account on your old PC. If you don’t have one, you’ll need to create it, as Windows Backup stores your backup data in OneDrive, Microsoft’s cloud storage service.
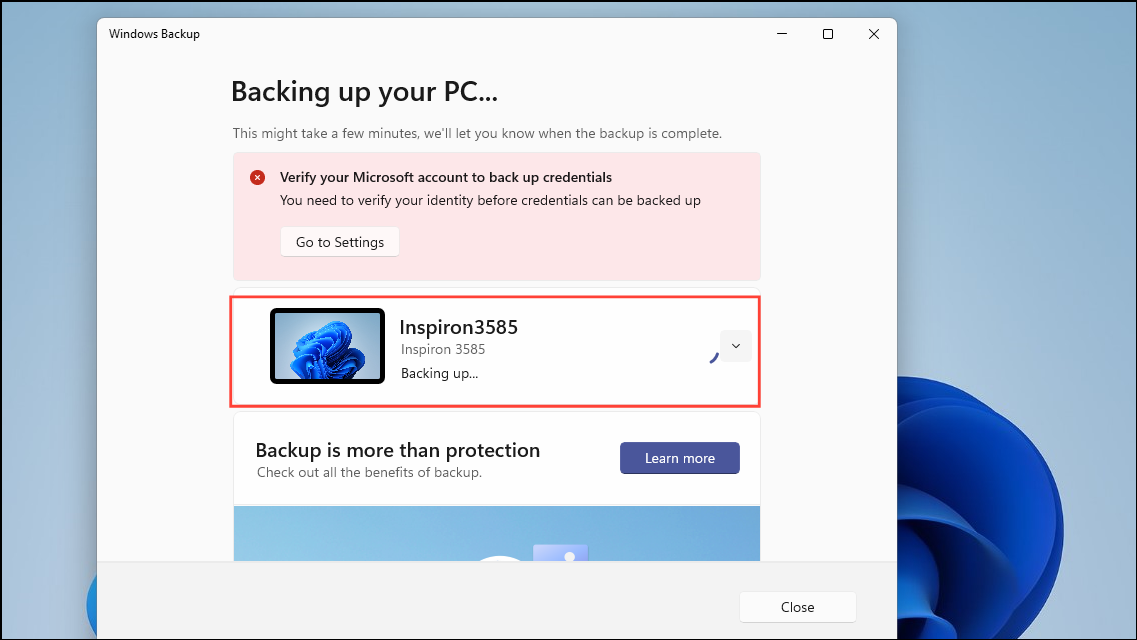
Note: Windows Backup is only available for personal Microsoft accounts; work and school accounts are not supported. Additionally, OneDrive offers 5GB of free storage. If your backup exceeds this limit, consider upgrading to a Microsoft 365 plan for more space.
It’s also important to have installation files ready for any traditional desktop applications you use, as Windows Backup does not back up these apps. Be prepared to reinstall them on your new PC.
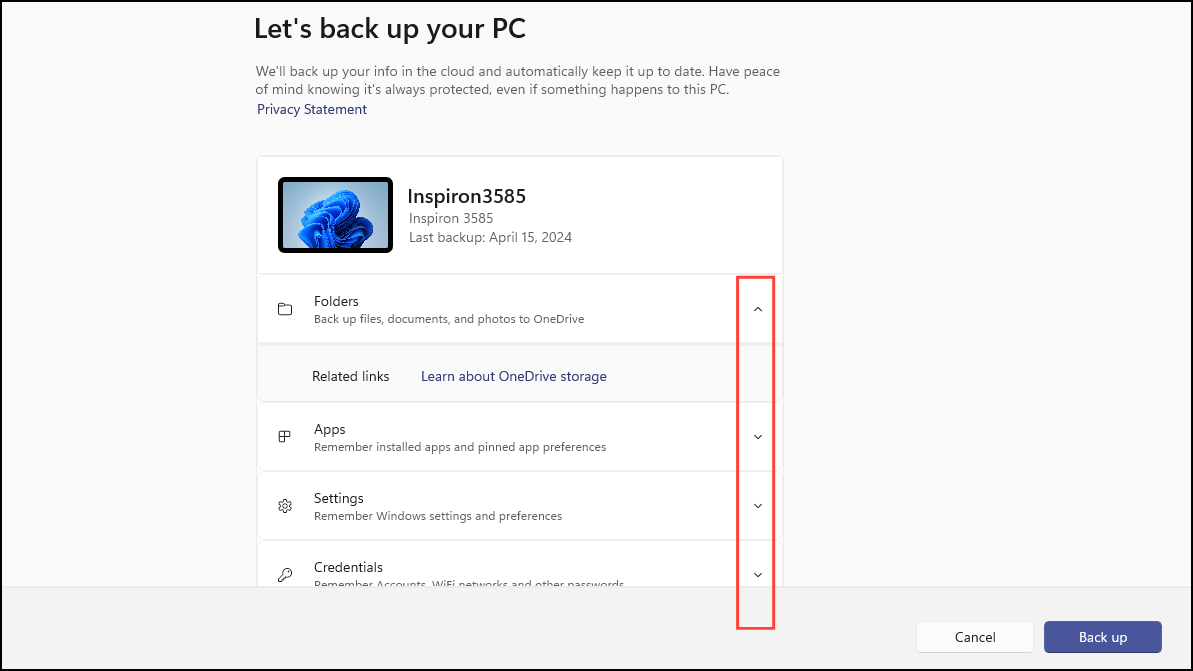
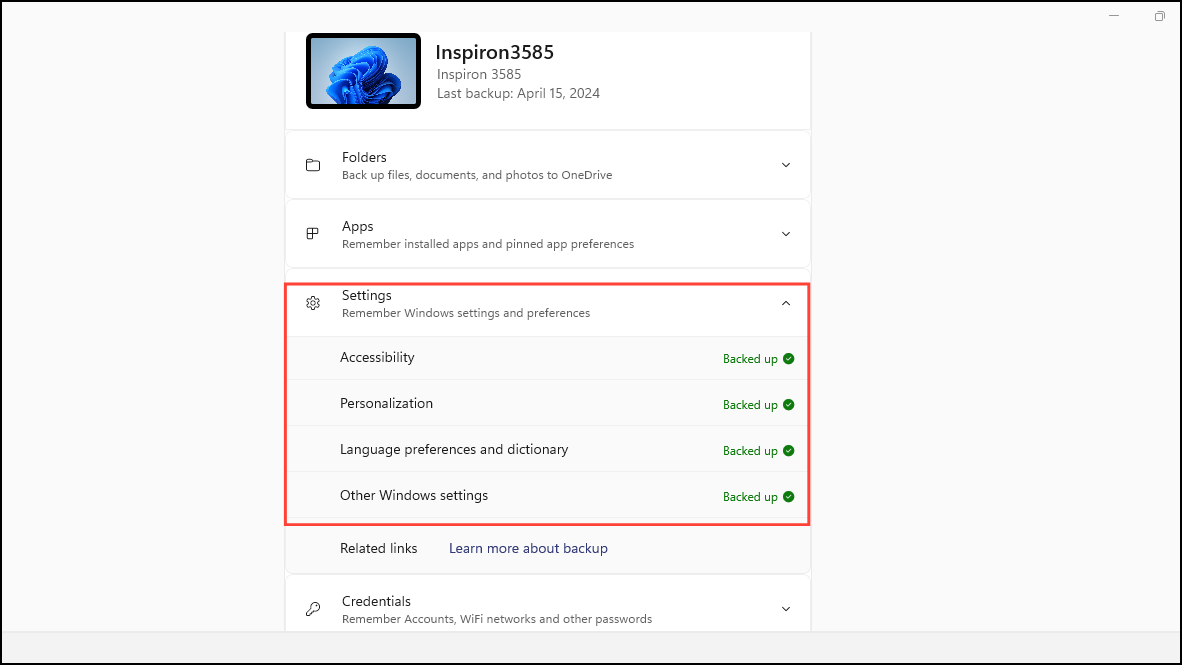
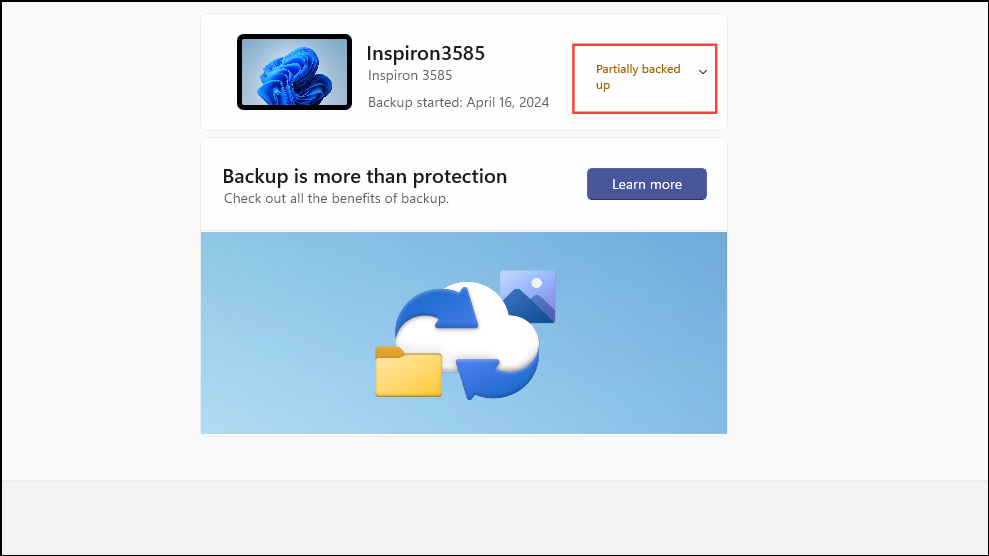
In the Windows Backup app, you’ll see four backup options: Folders, Apps, Settings, and Credentials. Click the downward arrow next to each option to expand and configure them.
Within each option, select the specific items you want to back up. For example, under Settings, choose items like Accessibility or Personalization. Customize your backup according to your needs.
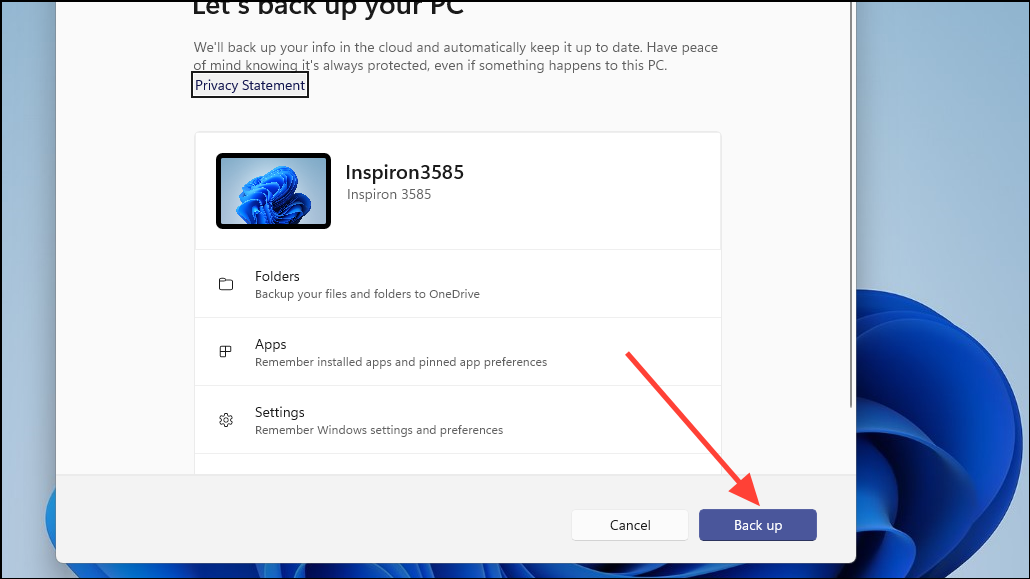
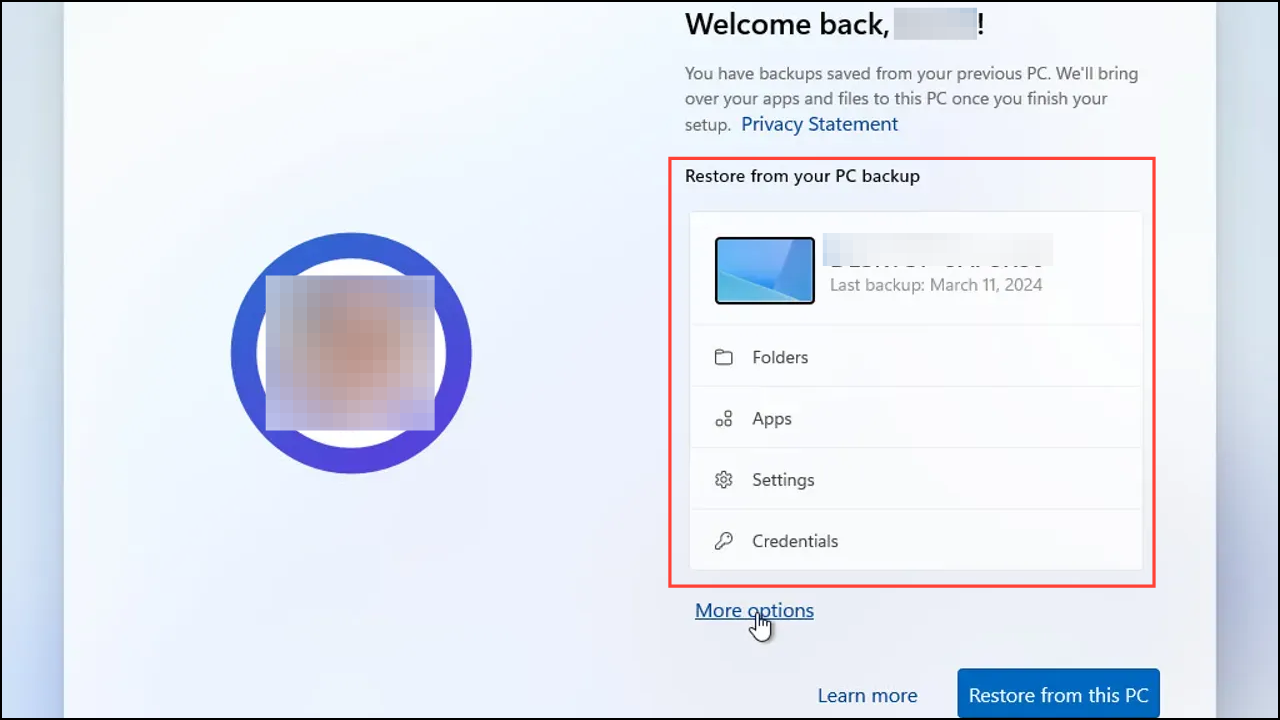
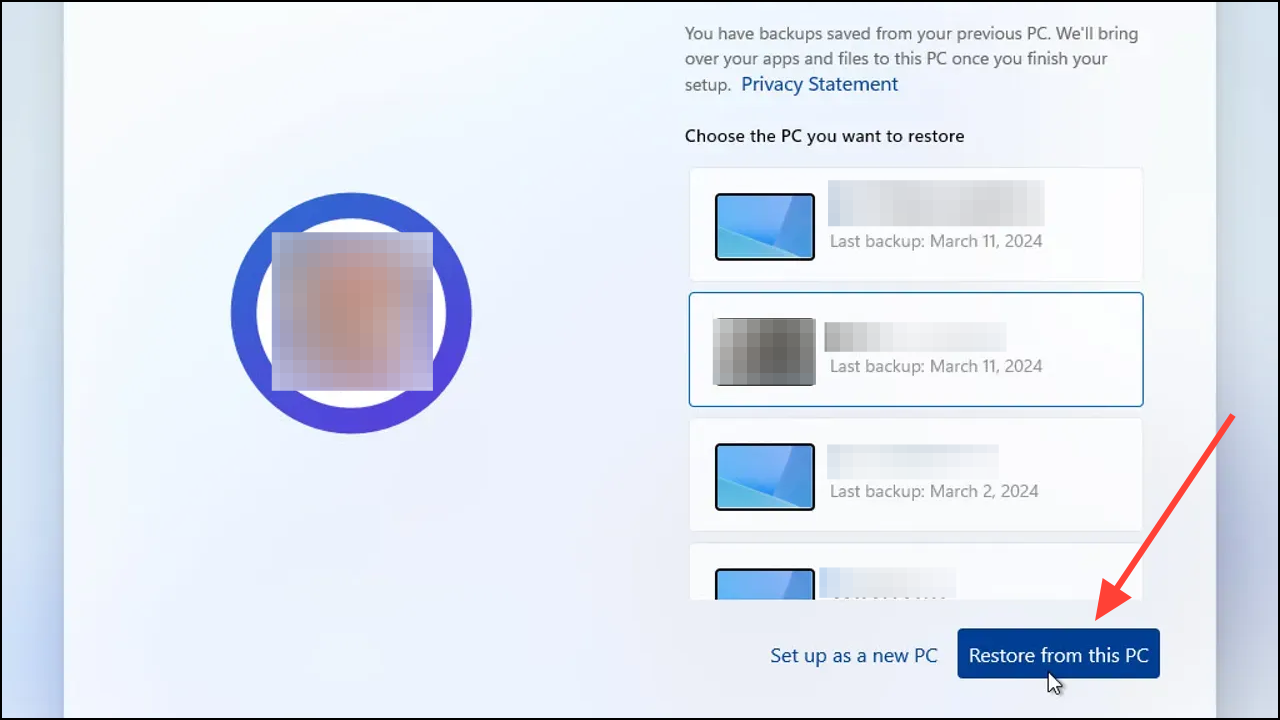
After the setup is complete, log in to your new PC. Your files and settings from the old PC should now be available.
Note: Remember to manually reinstall any desktop applications that were not included in the backup.
Windows Backup streamlines the process of transferring your data to a new PC, ensuring that your important files and settings are carried over with ease. By utilizing OneDrive for backups, you also benefit from having your data securely stored in the cloud.