Microsoft Excel may display the ‘Not Enough Memory to Run Microsoft Excel’ error when your system lacks sufficient memory or when Excel’s files and settings encounter issues. This error can prevent you from accessing or working on your important spreadsheets.
Microsoft Office includes a repair feature that can resolve minor glitches and issues with the software.
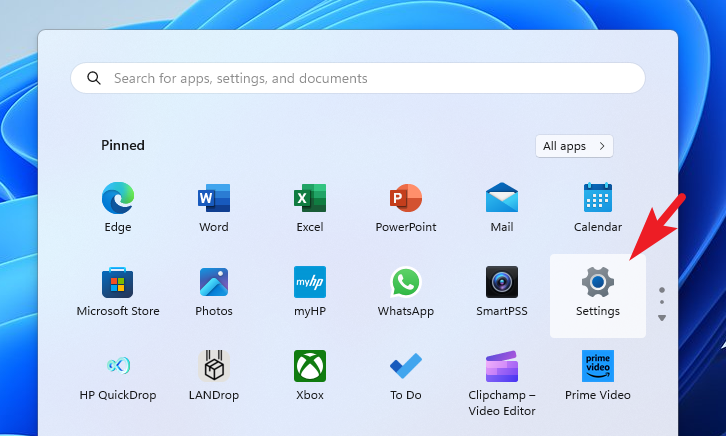
1 Click on the Start menu and select the Settings icon.
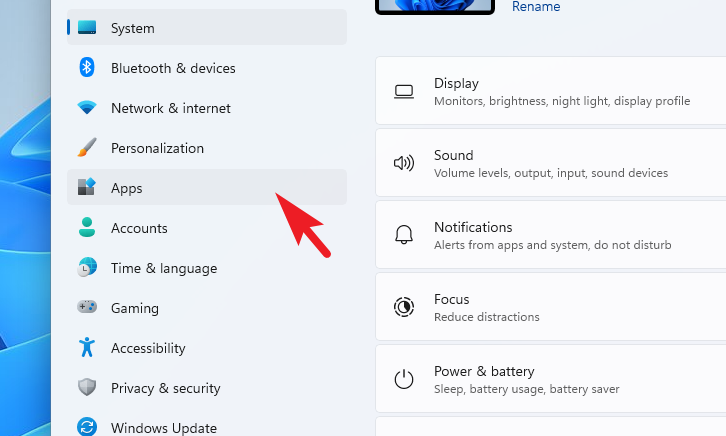
2 In the Settings window, click on the Apps option from the left sidebar.
3 From the right pane, select Installed apps.
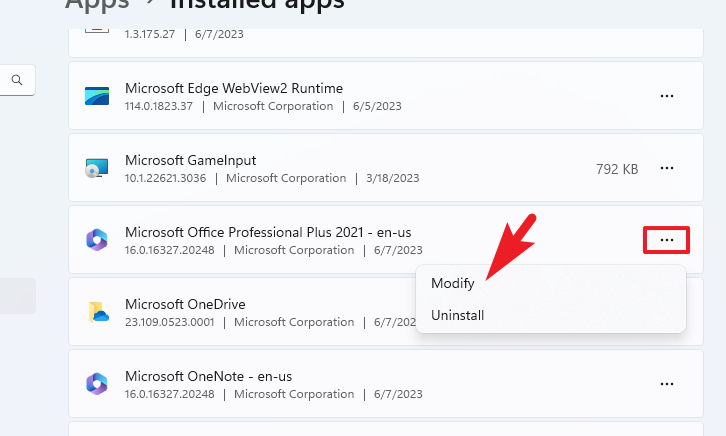
4 Scroll through the list or use the search bar to find Microsoft Office. Once found, click on the ellipsis (three dots) next to it and choose Modify.
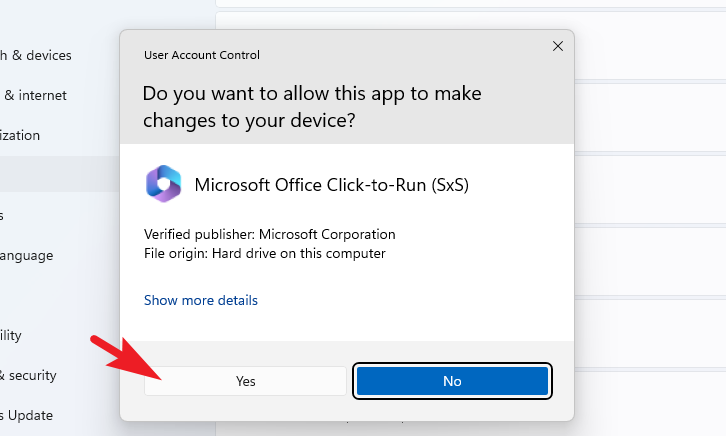
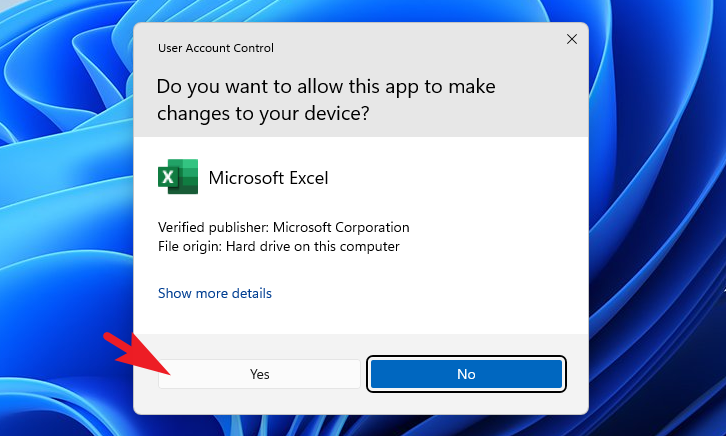
5 A User Account Control (UAC) prompt will appear. If you’re logged in as an administrator, click Yes. Otherwise, enter the administrator credentials.
6 In the Microsoft Office window that opens, select Online Repair and then click on Repair to initiate the process.
Empty Excel AppData folder
Clearing the Excel AppData folder can resolve issues caused by corrupted or excessive temporary files.
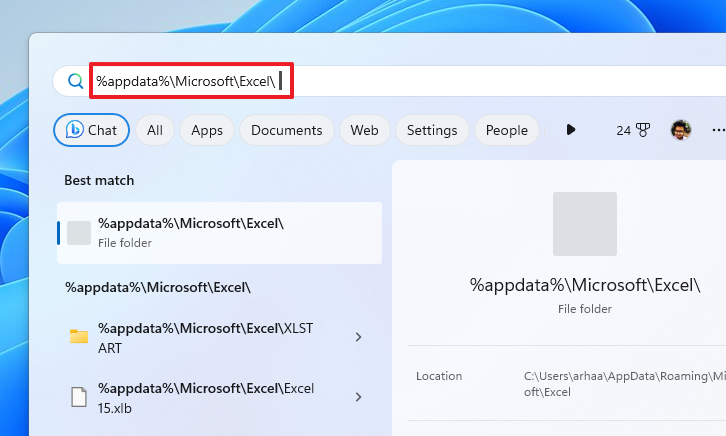
1 Open the Start menu, type %appdata%\Microsoft\Excel\, and press Enter to navigate to the Excel AppData folder.
2 Press Ctrl + A to select all files in the folder, then press Ctrl + C to copy them. Paste these files to a safe location as a backup.
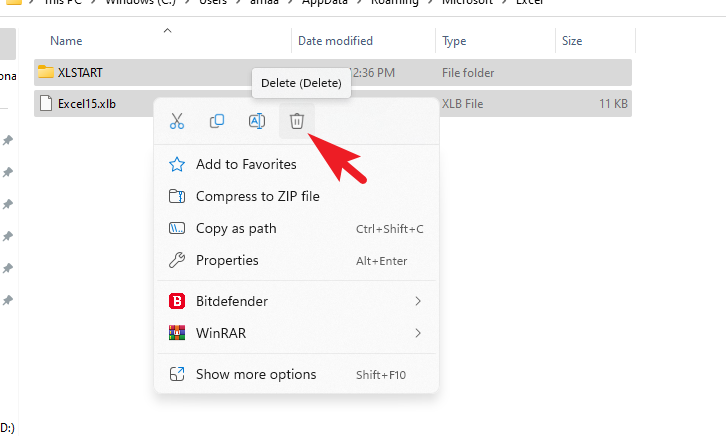
3 Delete all the files in the Excel AppData folder by right-clicking and selecting Delete.
4 Restart Excel to see if the error has been resolved.
Launch Excel in Safe Mode
Running Excel in Safe Mode disables all add-ins and extensions, which can help determine if they are causing the issue.
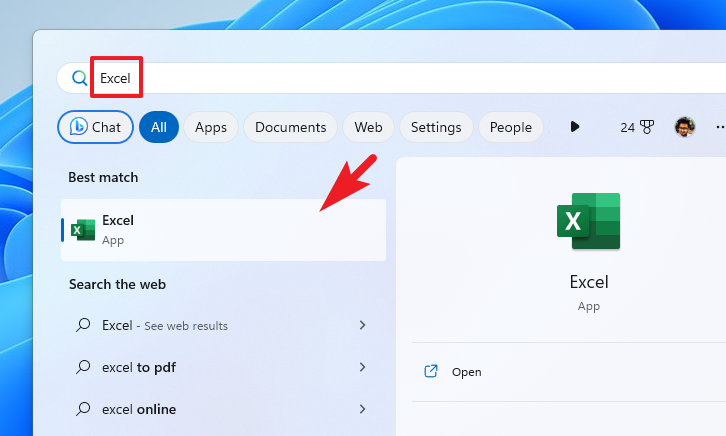
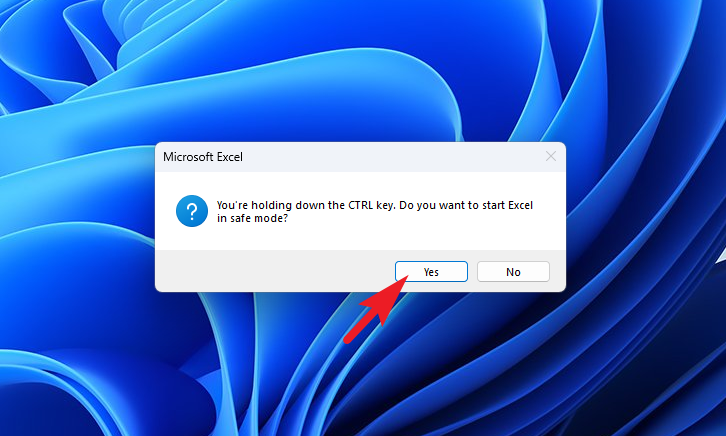
1 Open the Start menu and type Excel. While holding down the Ctrl key, click on the Excel app to open it in Safe Mode. You will see a confirmation prompt.
2 Click Yes on the prompt to continue.
3 If Excel works properly in Safe Mode, you can disable add-ins to find the problematic one.
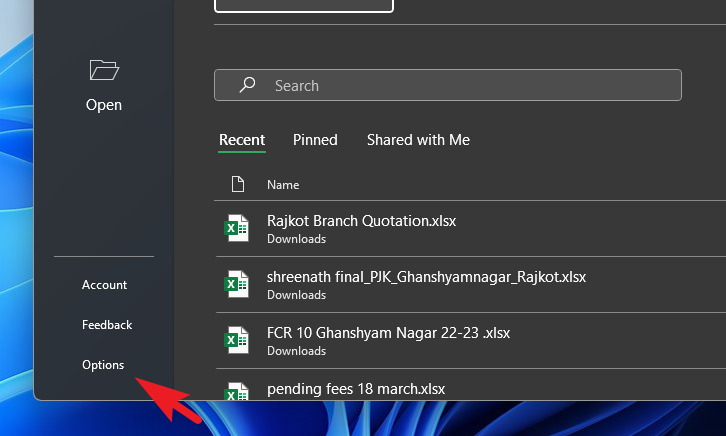
4 In Excel, click on Options from the left sidebar to open Excel Options.
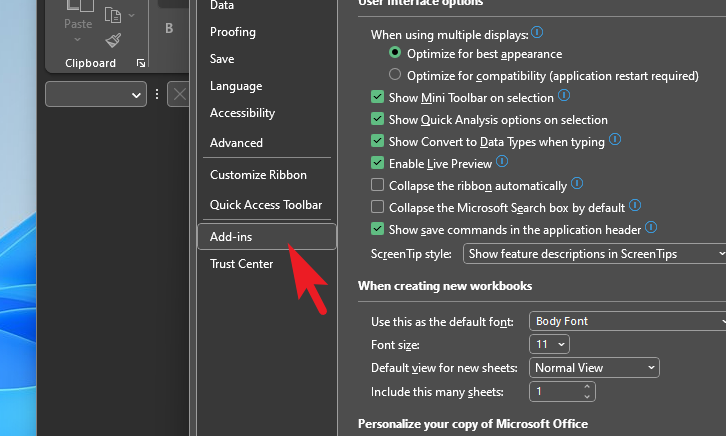
5 Go to the Add-ins section.
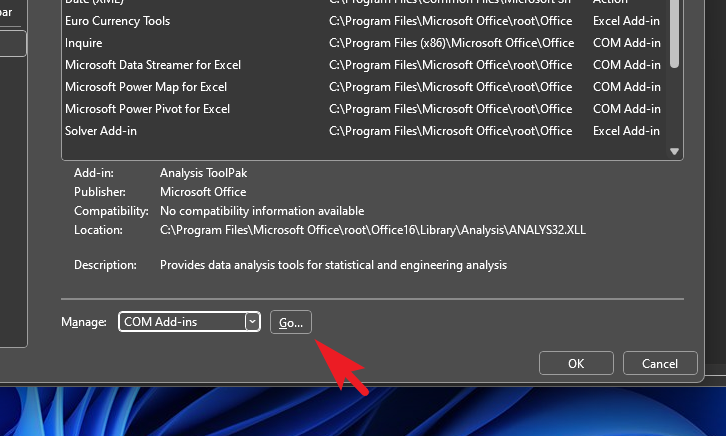
6 At the bottom, select COM Add-ins from the Manage dropdown and click Go.
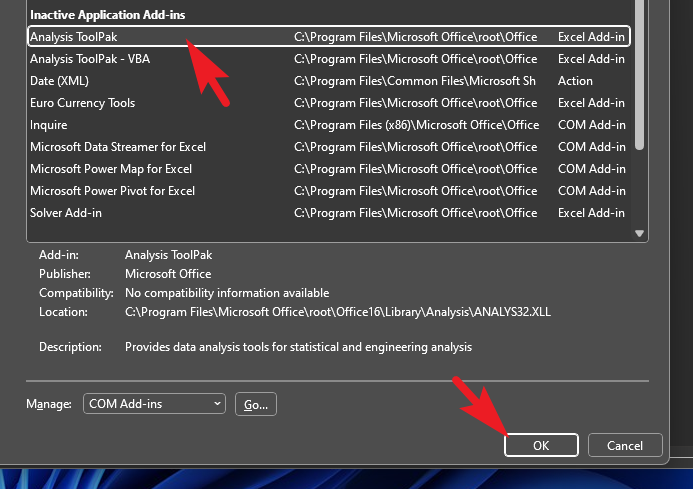
7 Uncheck the add-ins one by one and click OK to disable them. Restart Excel each time to see if the error persists.
Update Office
Keeping Microsoft Office up to date can fix bugs and improve performance.
1 Open the Start menu and type Excel. Click on the Excel app to open it.
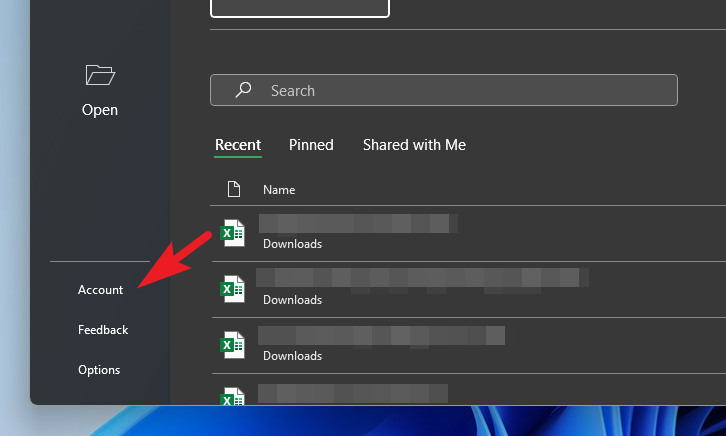
2 In Excel, click on the Account tab from the left sidebar.
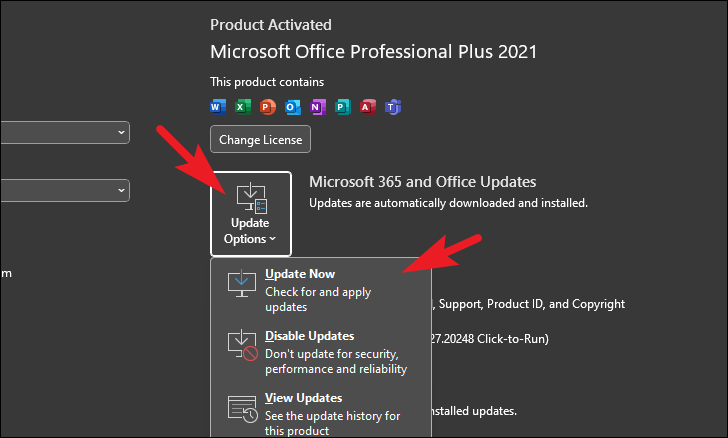
3 On the right, click on Office Updates and select Update Now to check for updates.
Update Windows
Ensuring that your Windows operating system is up to date can resolve compatibility issues.
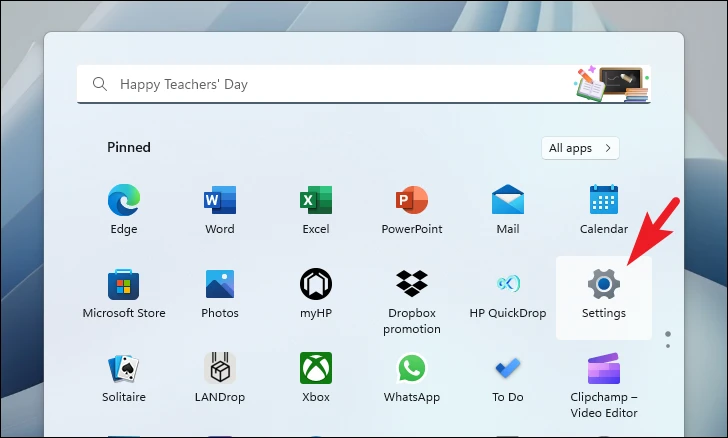
1 Click on the Start menu and select the Settings icon.
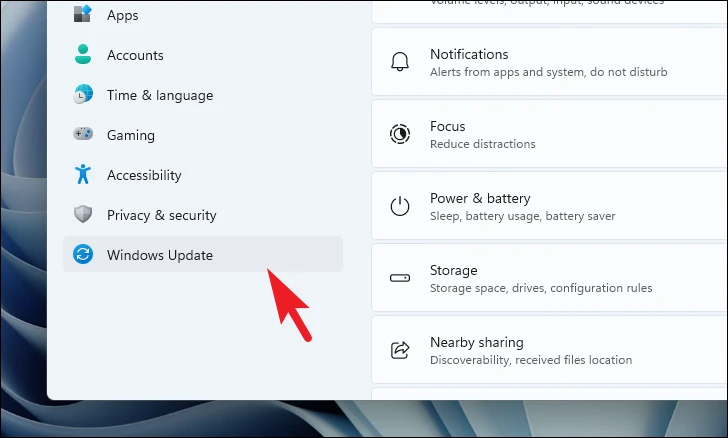
2 In Settings, click on Windows Update from the left sidebar.
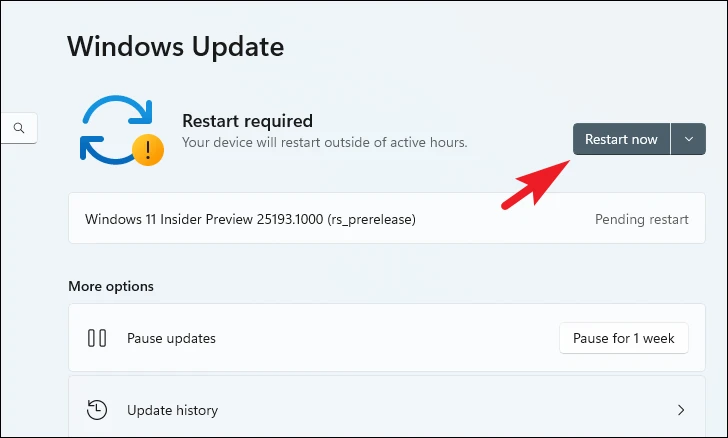
3 Click Check for updates, and if updates are available, click Download & Install.
Launch Excel in a Clean Boot
A clean boot starts Windows with minimal drivers and startup programs, which can help determine if background programs are interfering with Excel.
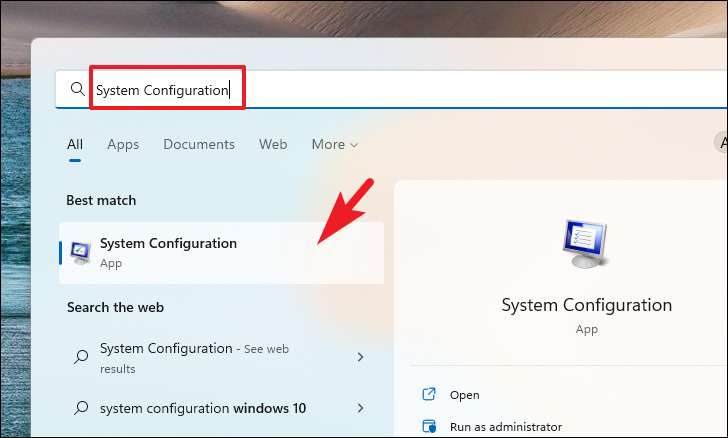
1 Open the Start menu, type System Configuration, and click on it.
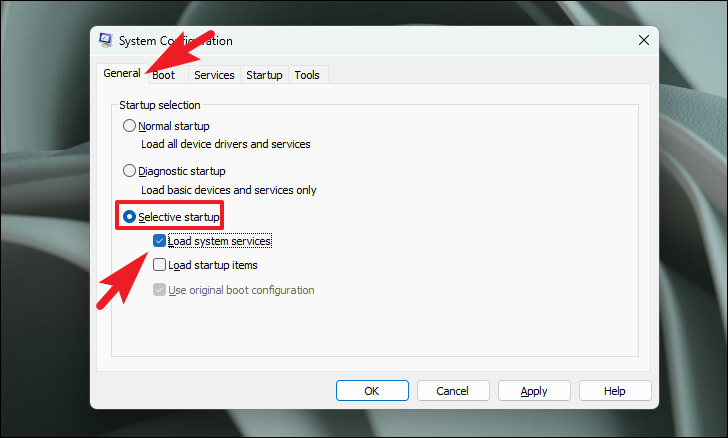
2 In the System Configuration window, go to the General tab and select Selective startup. Uncheck Load startup items and ensure Load system services is checked.
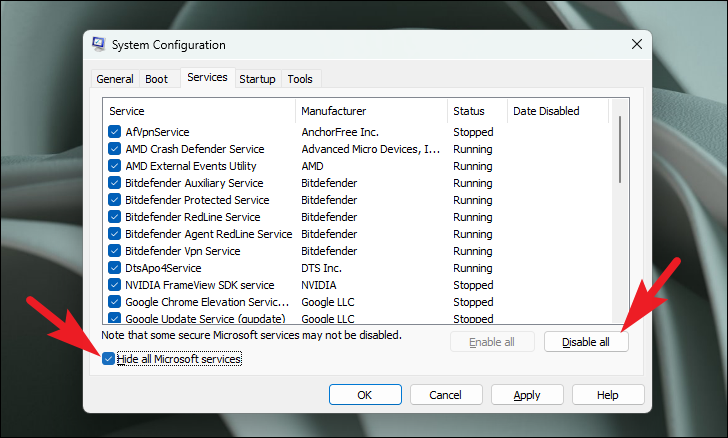
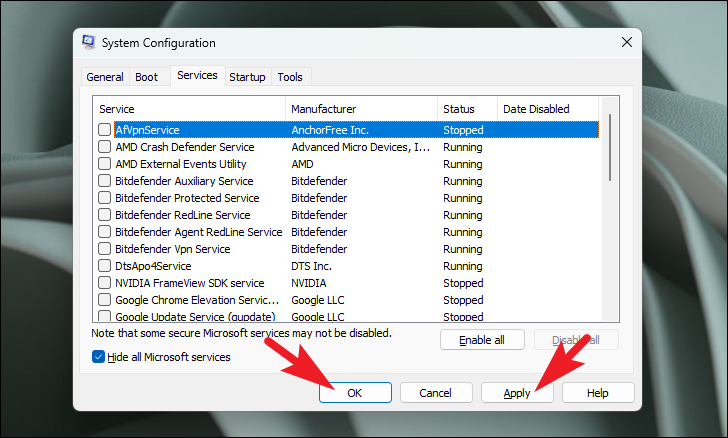
3 Navigate to the Services tab, check the box for Hide all Microsoft services, and then click Disable all.
4 Click Apply and OK, then restart your computer.
5 After the restart, try launching Excel to see if the error persists.
Change Trust Center settings
Adjusting the Trust Center settings can resolve issues related to protected view and blocked files.
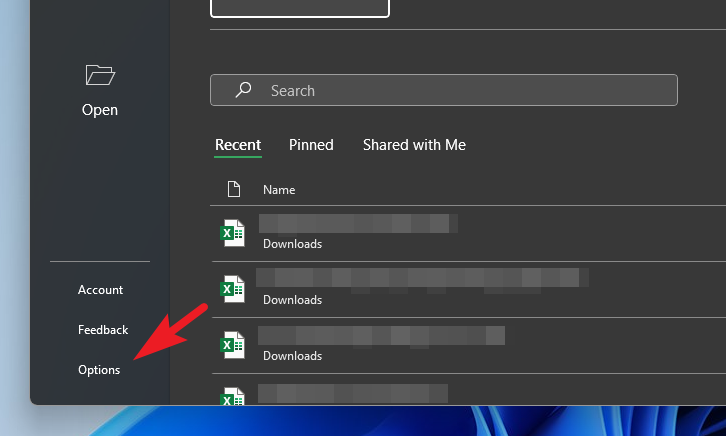
1 Open Excel and click on Options from the bottom of the left sidebar.
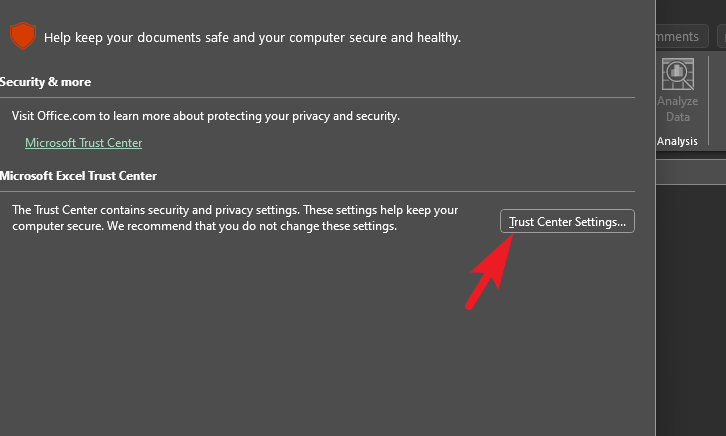
2 In the Excel Options window, select Trust Center from the left panel.
3 Click on Trust Center Settings.
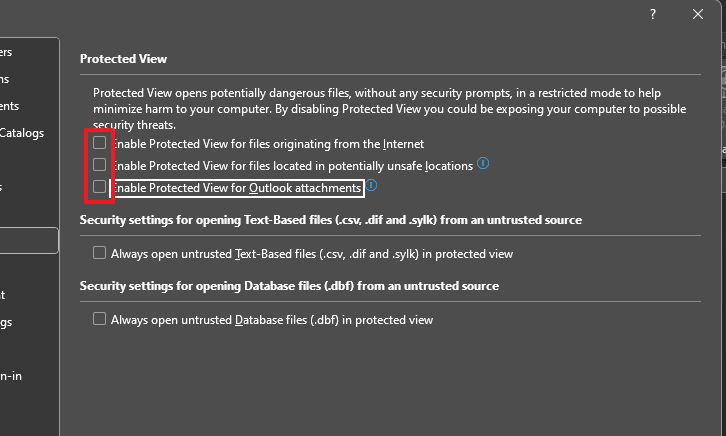
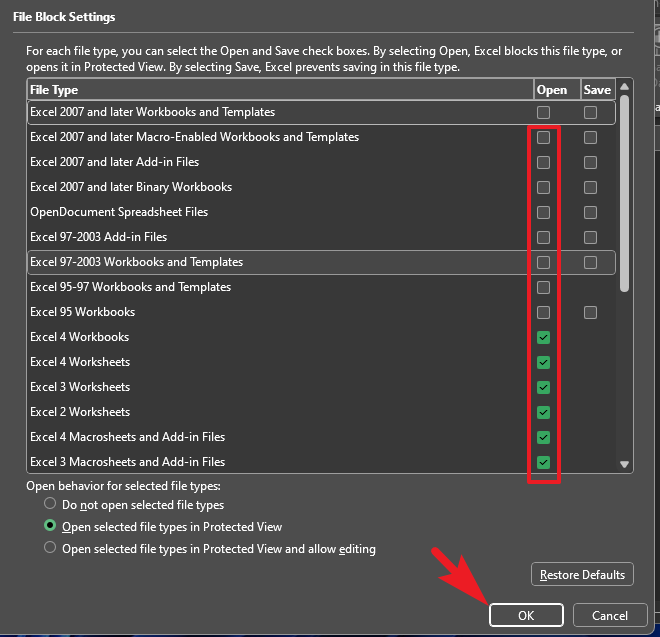
4 Go to the Protected View section and uncheck all the options.
5 Next, select File Block Settings and uncheck all the checkboxes. Click OK to save the changes.
6 Restart Excel to see if the error is resolved.
Disable Dynamic Data Exchange (DDE)
Disabling DDE can fix issues where Excel is not opening files properly.
1 Open Excel and click on Options from the left sidebar.
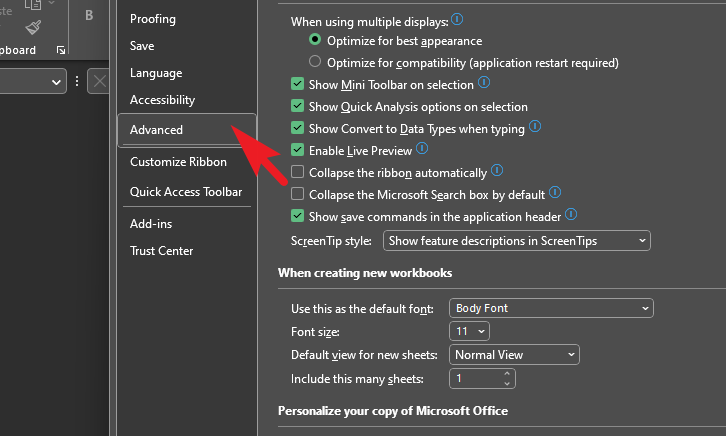
2 Select the Advanced tab.
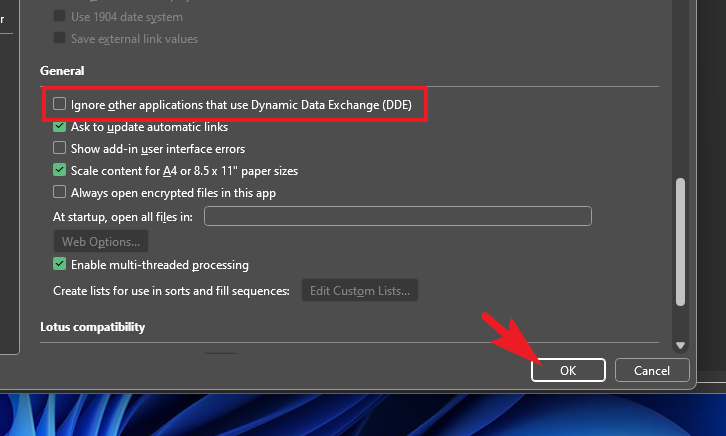
3 Scroll down to the General section and uncheck the option Ignore other applications that use Dynamic Data Exchange (DDE). Click OK to save the changes.
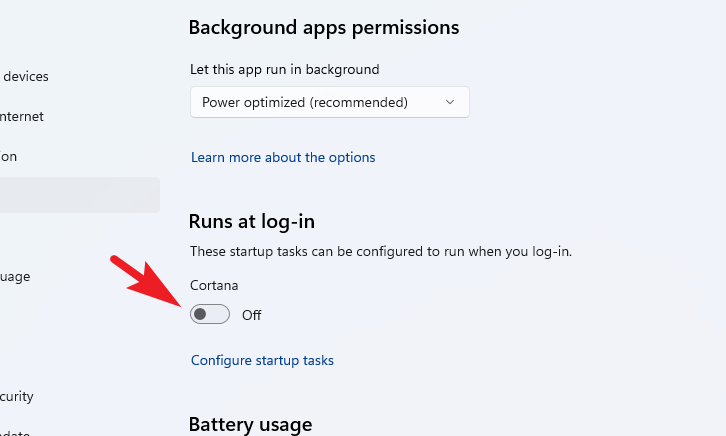
Disable Cortana
Cortana can consume system resources even when not in use. Disabling it may free up memory.
1 Open the Start menu and click on the Settings icon.
2 In Settings, select Apps from the left sidebar.
3 Click on Installed apps on the right.
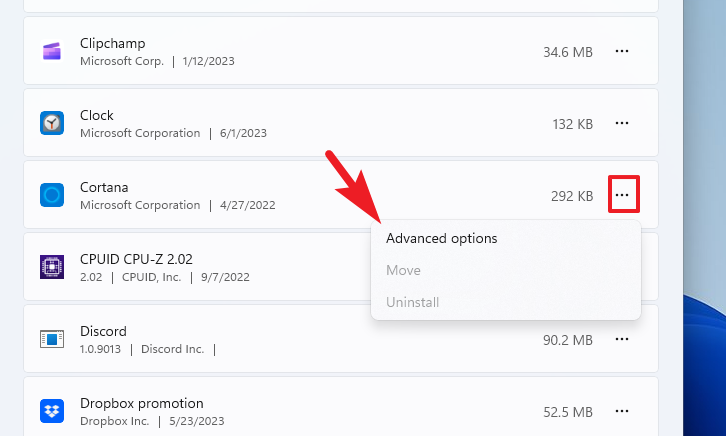
4 Locate Cortana in the list. Click on the ellipsis next to it and select Advanced options.
5 Turn off the toggle for Runs at log-in.
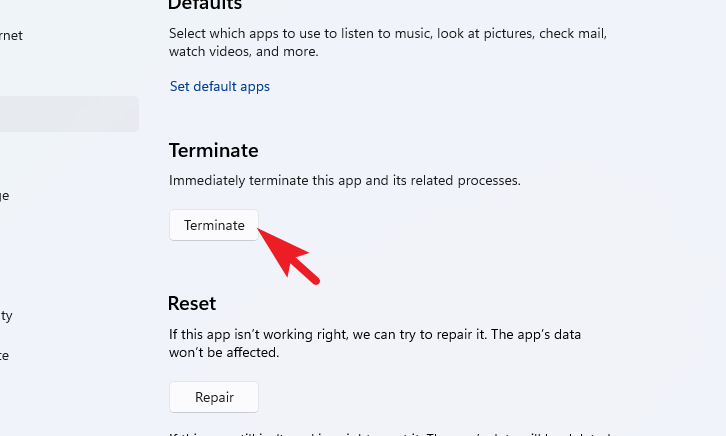
6 Scroll down and click on Terminate to stop Cortana from running.
7 Restart your computer and check if Excel works properly.
Launch Excel as administrator
Running Excel with administrative privileges can sometimes resolve permission-related issues.
1 Open the Start menu, type Excel, right-click on the Excel app, and select Run as administrator.
2 If prompted by User Account Control (UAC), click Yes or enter the administrator password.
Change the default printer and update printer drivers
Issues with the default printer or outdated printer drivers can affect Excel’s performance.
1 Open Settings from the Start menu.
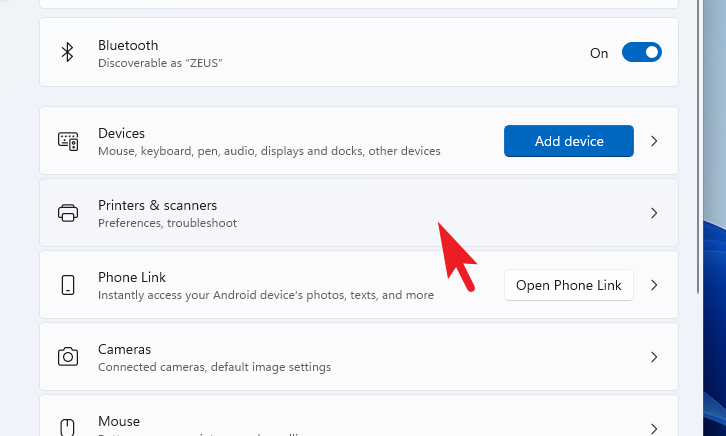
2 Click on Bluetooth & devices from the left sidebar.
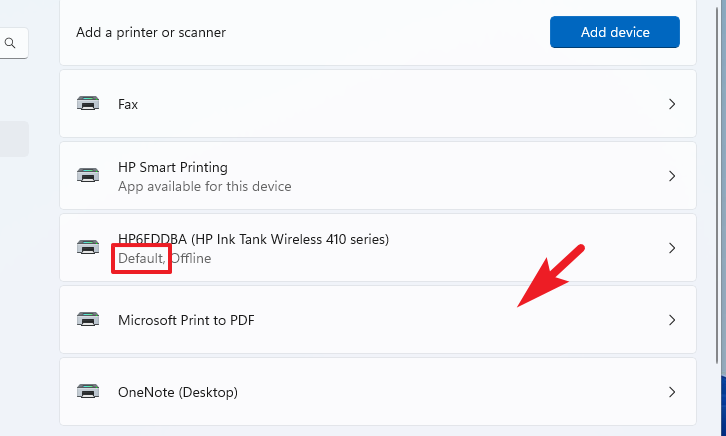
3 Select Printers & scanners on the right pane.
4 Locate your default printer and choose a different one by clicking on it.
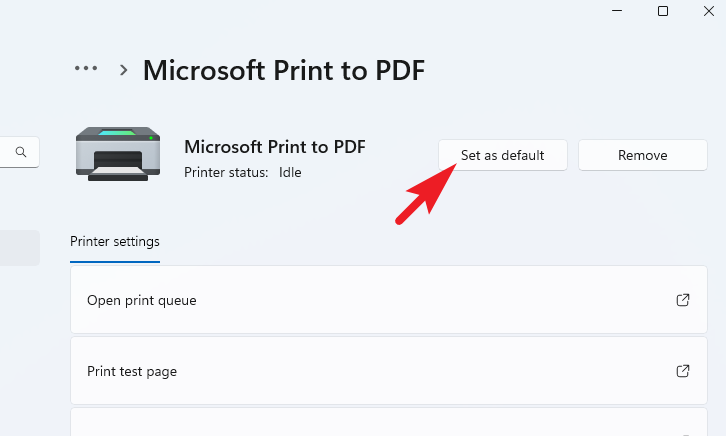
5 Click on Set as default to change the default printer.
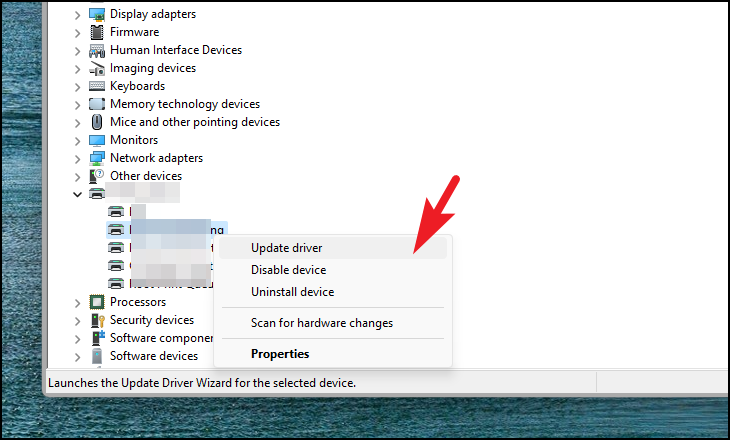
6 To update printer drivers, open the Start menu, type Device Manager, and open it.
7 Expand the Printers section, right-click on your printer, and select Update driver.
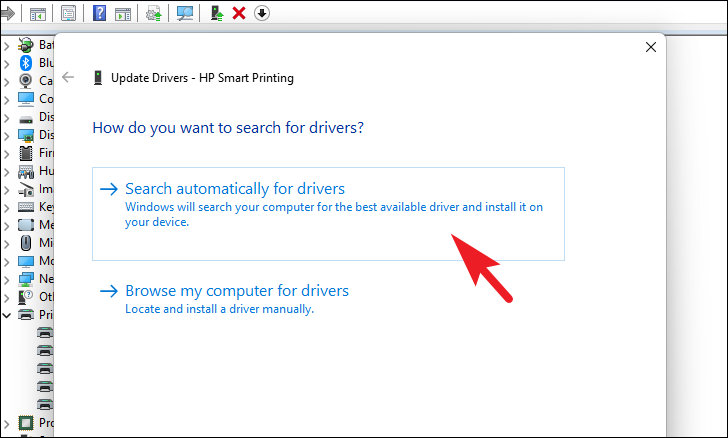
8 Choose Search automatically for drivers to let Windows find and install the latest drivers.
By following these methods, you should be able to resolve the ‘Not Enough Memory to Run Microsoft Excel’ error and restore Excel’s normal functionality.