
OneDrive failing to launch at Windows startup interrupts seamless file syncing, forcing users to open the app manually every session. This issue often traces back to disabled startup settings, conflicting group policies, or registry values that block OneDrive from auto-starting. Addressing these root causes restores automatic launches and keeps your files synchronized without extra effort.
Check and Enable OneDrive Startup Settings
Step 1: Click the OneDrive icon in your taskbar (bottom right of the screen) to open its menu. If you don’t see the icon, search for OneDrive using the Windows search bar and open the app.

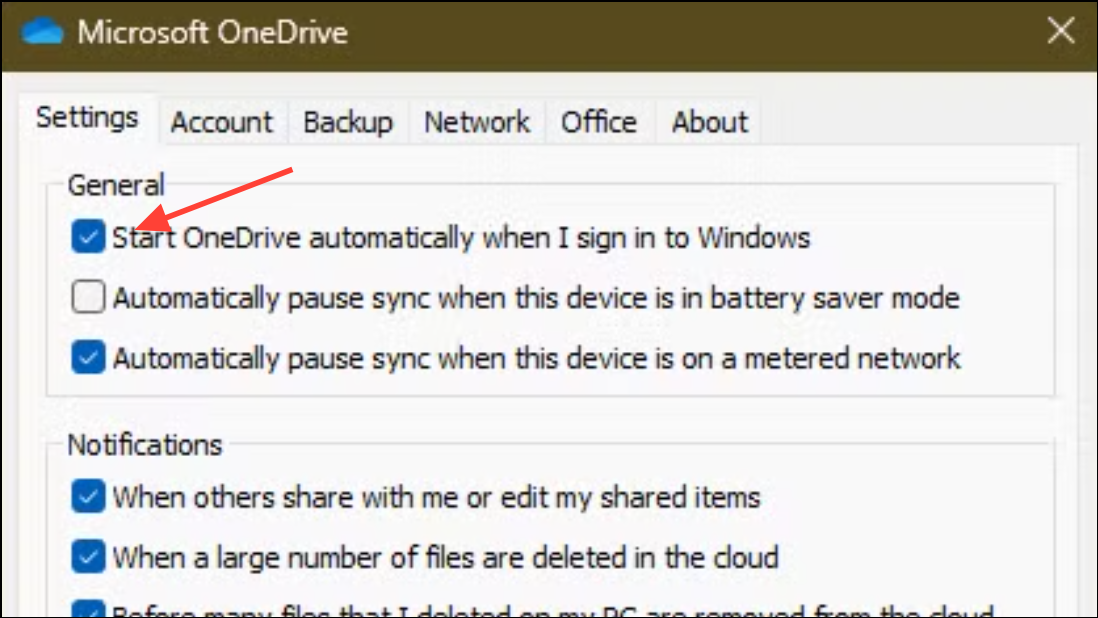
Step 2: Select the gear icon to access Settings. In the Settings tab, make sure the box labeled Start OneDrive automatically when I sign in to Windows is checked. This setting directs Windows to launch OneDrive every time you log in.
Step 3: Click OK or Apply to confirm the change, then restart your computer. If OneDrive still doesn’t start, continue to the next steps.
Enable OneDrive in Windows Startup Apps
Step 1: Press Ctrl + Shift + Esc to open Task Manager. Alternatively, right-click the taskbar and select Task Manager.
Step 2: Go to the Startup apps tab. Locate Microsoft OneDrive in the list of startup apps.
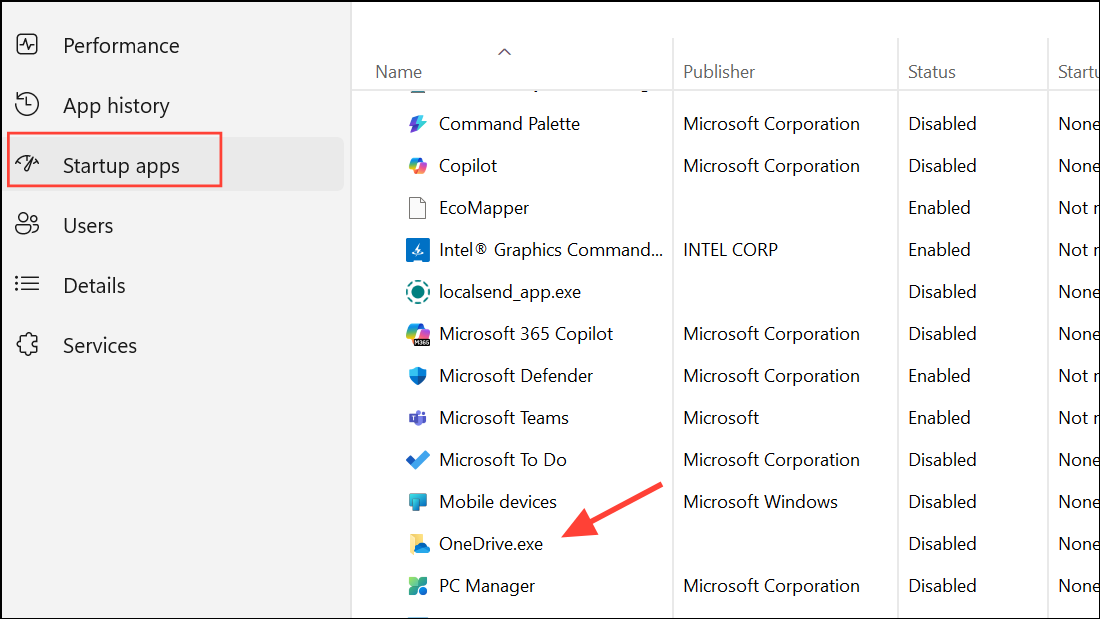
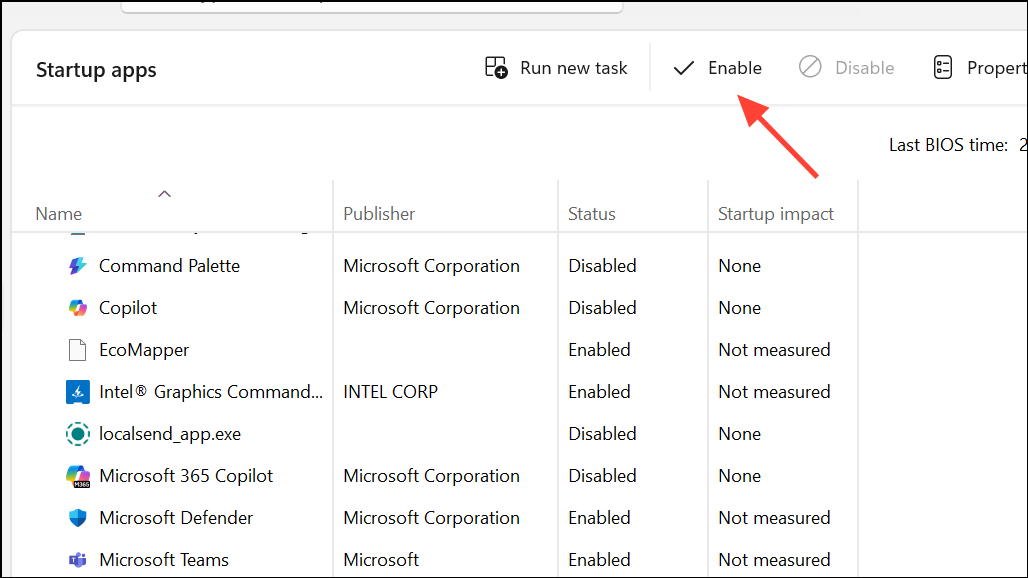
Step 3: If OneDrive is listed as Disabled, right-click it and select Enable. This change ensures Windows includes OneDrive in its startup sequence.
Step 4: Restart your computer to check if OneDrive launches automatically. If the setting reverts to disabled, move to registry troubleshooting.
Modify Registry to Allow OneDrive Startup
Sometimes, group policies or registry keys prevent OneDrive from launching at startup, especially on devices managed by organizations or after certain Windows updates.
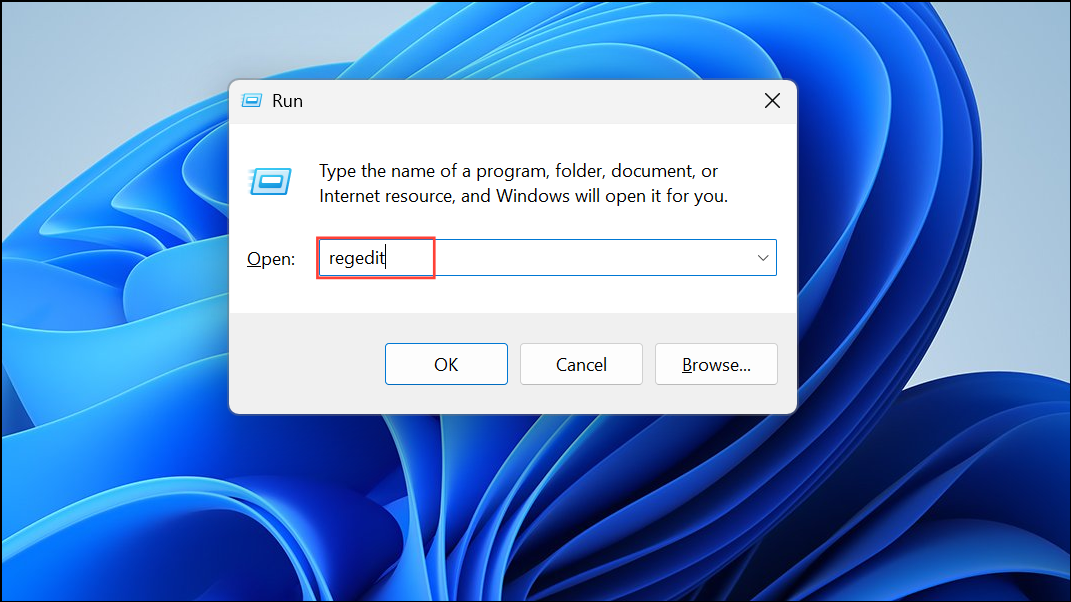
Step 1: Press Windows + R to open the Run dialog, then type regedit and press Enter. Click Yes if prompted by User Account Control.
Step 2: Navigate to the following path in the Registry Editor:
HKEY_LOCAL_MACHINE\Software\Policies\Microsoft\Windows\OneDriveIf you don’t see the OneDrive key, skip to the next section. Otherwise, check for a value named DisableFileSyncNGSC.
Step 3: Double-click DisableFileSyncNGSC. If its value is set to 1, OneDrive is blocked from running. Change the value to 0 and click OK.
Step 4: Restart your computer. OneDrive should now be permitted to start automatically. If the value keeps reverting or you’re on a managed device, contact your IT administrator for policy adjustments.
Reset OneDrive Application
Corrupted OneDrive settings or files can prevent the app from starting with Windows. Resetting OneDrive restores default configurations without deleting your files.
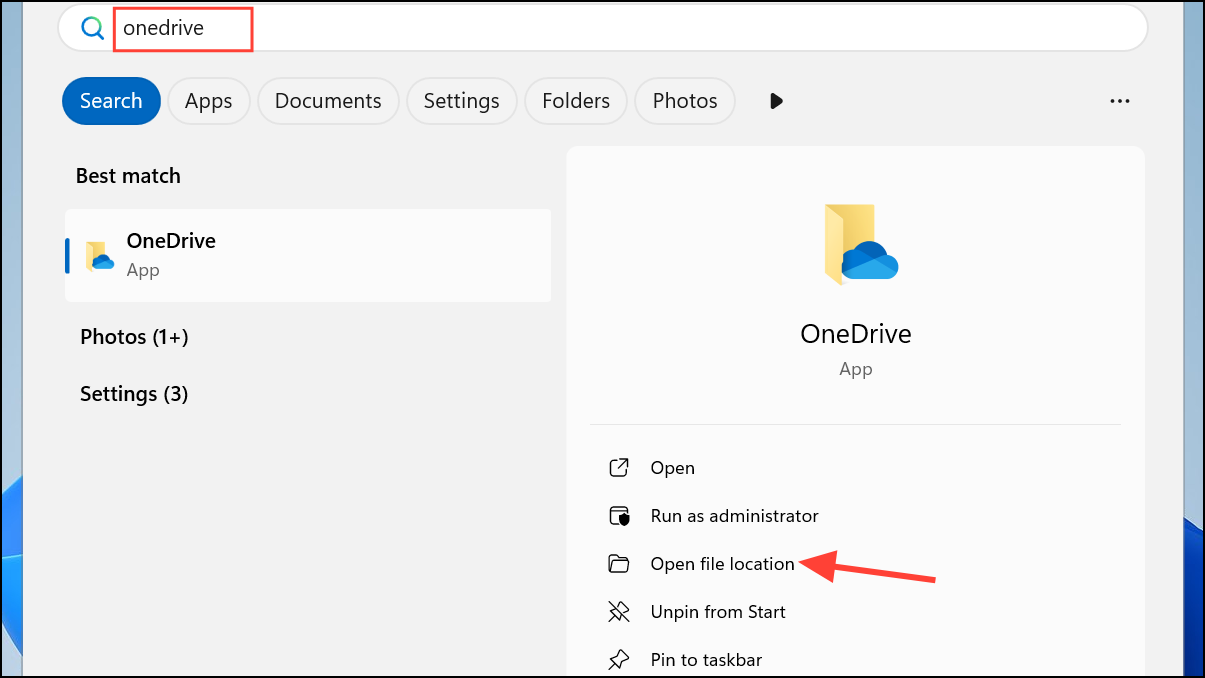
Step 1: Open the Windows search bar and type OneDrive. Right-click the result and select Open file location.
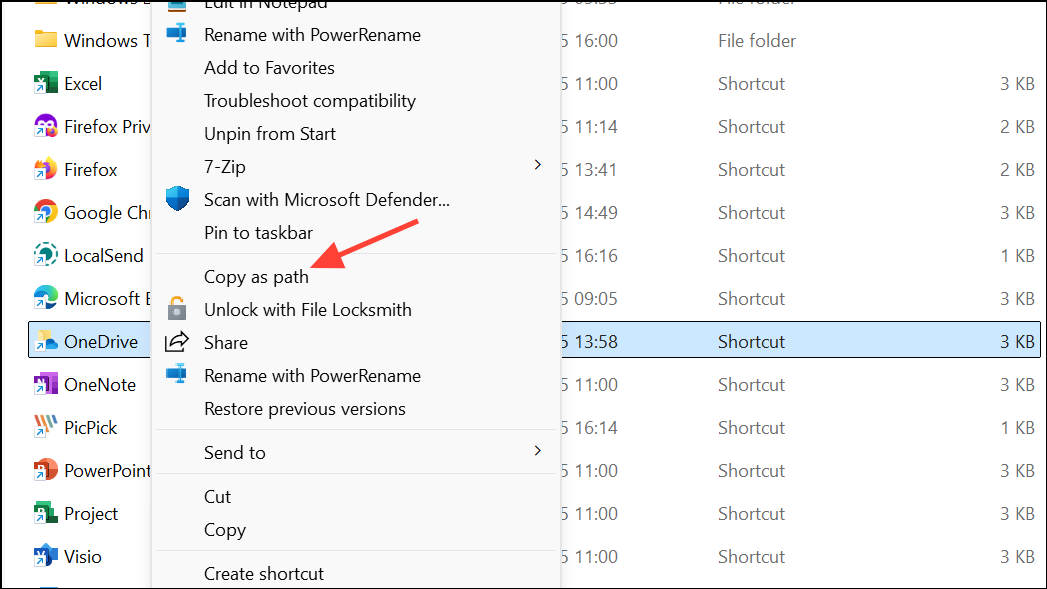
Step 2: In File Explorer, right-click OneDrive and choose Copy as path.
Step 3: Press Windows + R to open the Run dialog. Paste the copied path and add /reset at the end. For example:
"C:\Program Files\Microsoft OneDrive\OneDrive.exe" /reset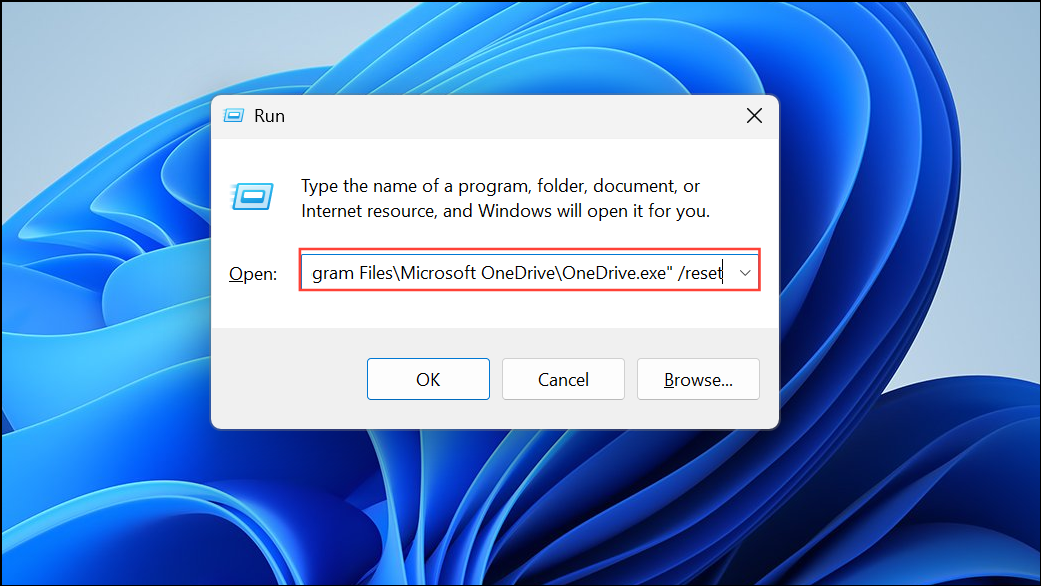
Click OK to run the reset command. Wait a few minutes for OneDrive to reset, then restart your computer. Open OneDrive and check its settings to ensure automatic startup is enabled.
Add or Repair OneDrive Startup Registry Entry
If the OneDrive startup entry is missing from the registry, adding it manually can resolve persistent startup issues.
Step 1: Open Registry Editor as described above.
Step 2: Navigate to:
HKEY_CURRENT_USER\Software\Microsoft\Windows\CurrentVersion\Run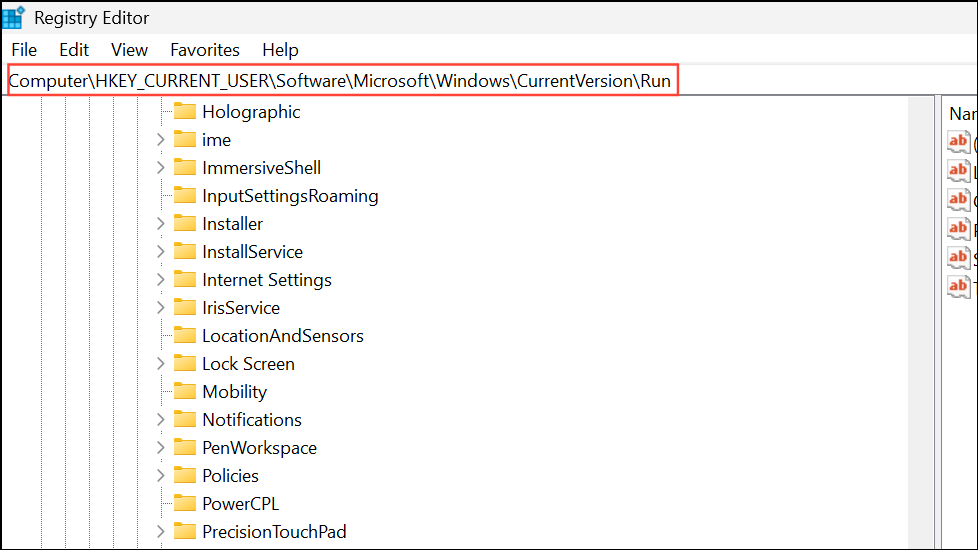
Step 3: Look for an entry named OneDrive. If it’s missing, right-click in the right pane and choose New > String Value. Name it OneDrive.
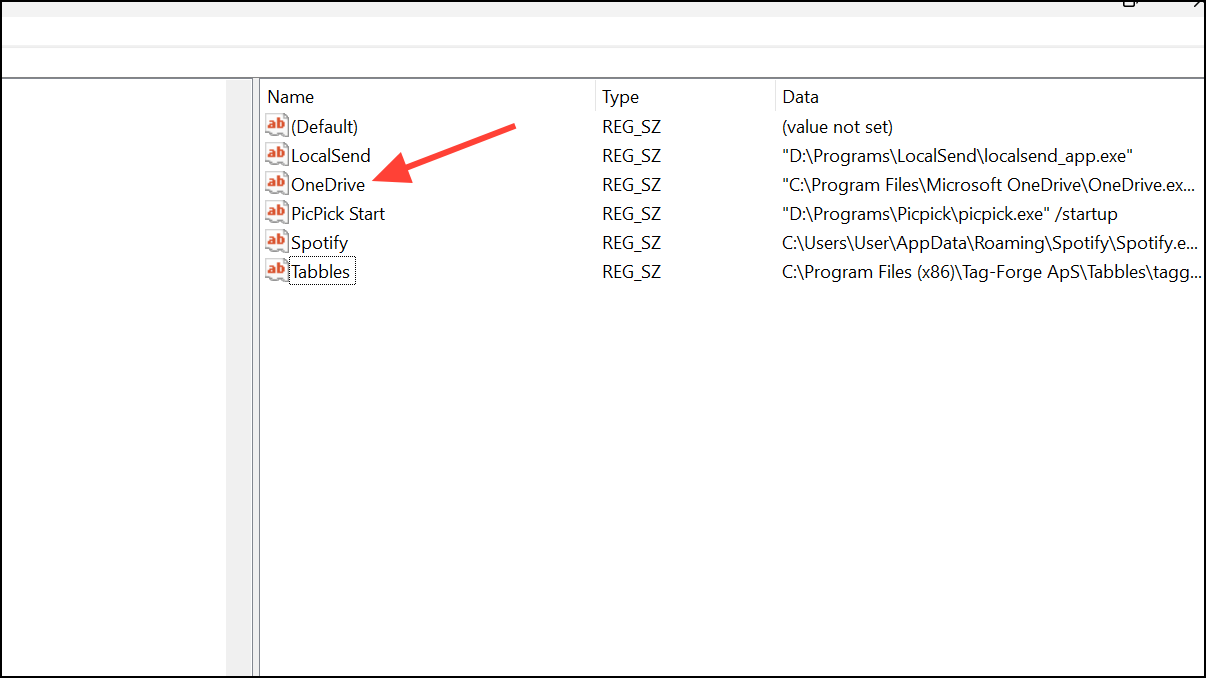
Step 4: Double-click the new entry and paste the following in Value data:
"C:\Program Files\Microsoft OneDrive\OneDrive.exe" /background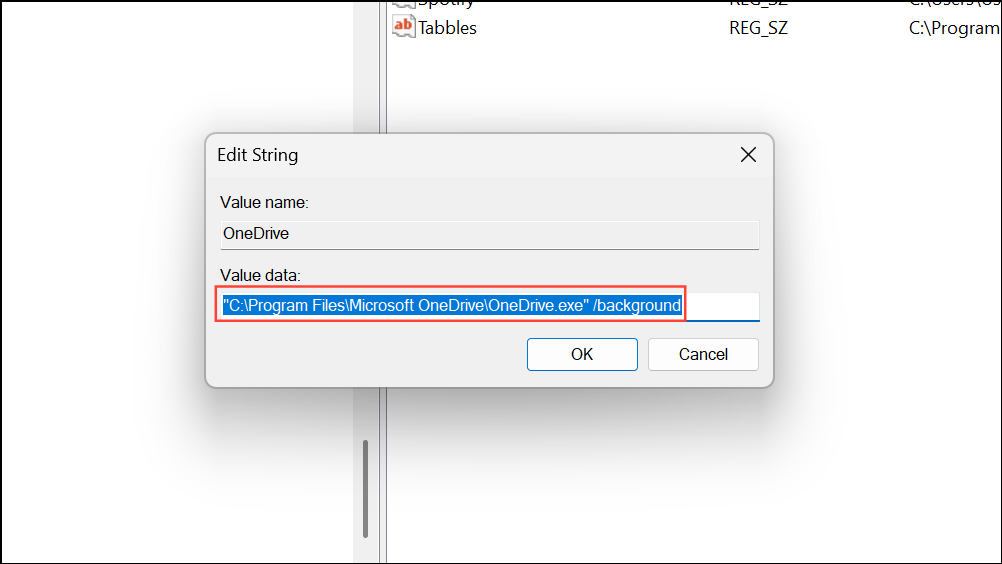
Click OK and restart your computer. This registry entry instructs Windows to start OneDrive in the background at login.
Uninstall and Reinstall OneDrive
If all previous steps fail and OneDrive still does not start automatically, reinstalling the application can resolve software corruption or misconfiguration.
Step 1: Open Settings with Windows + I, then go to Apps > Installed apps (or Apps & features in older versions).
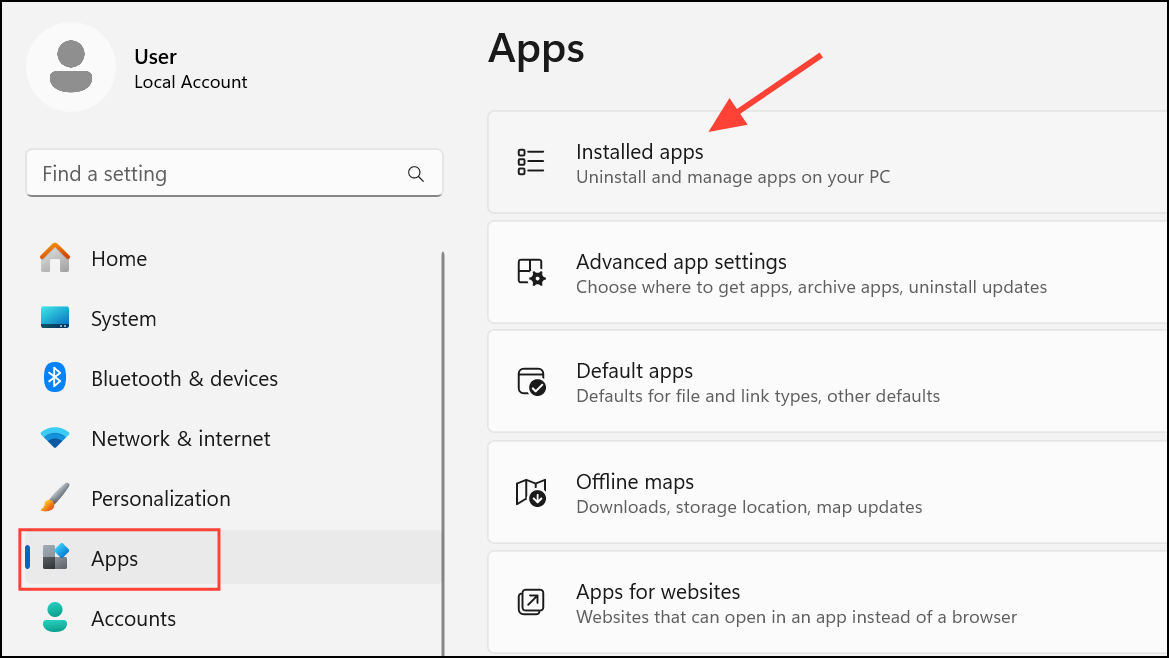
Step 2: Scroll to Microsoft OneDrive, click the three dots next to it, and select Uninstall. Follow the prompts to remove the app.
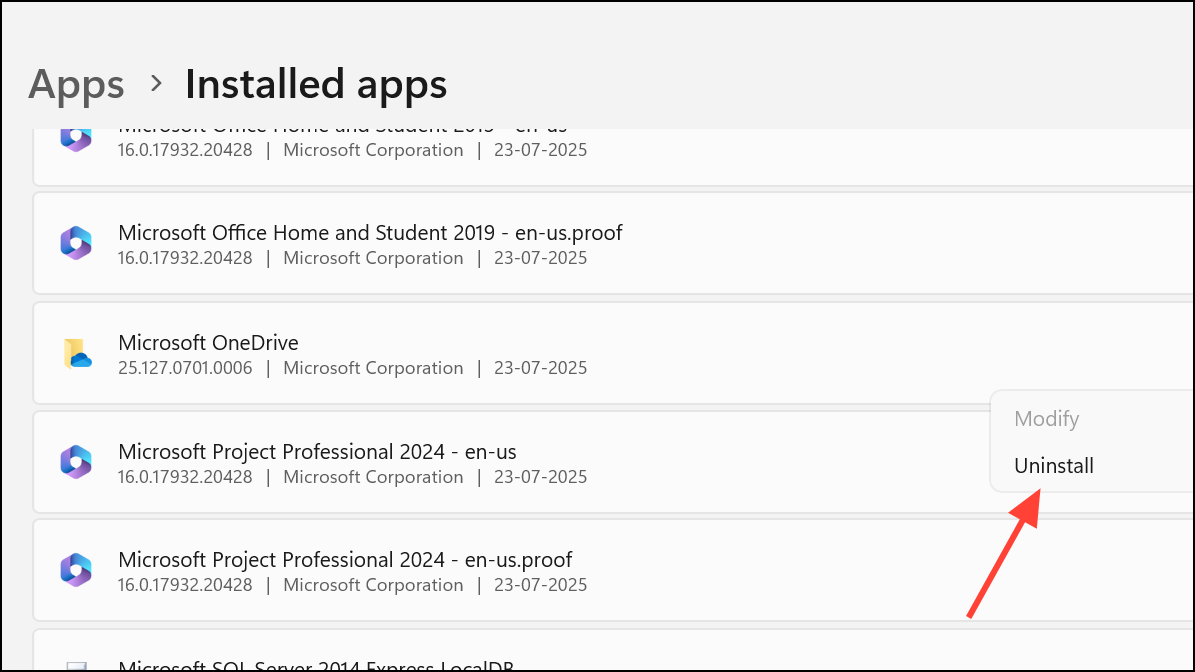
Step 3: Download the latest version of OneDrive from the official Microsoft website and install it. After installation, sign in and check the startup settings as described earlier.
Check for Group Policy or MDM Restrictions (Advanced)
On devices managed by organizations, group policies or mobile device management (MDM) profiles may override user settings and block OneDrive from running at startup.
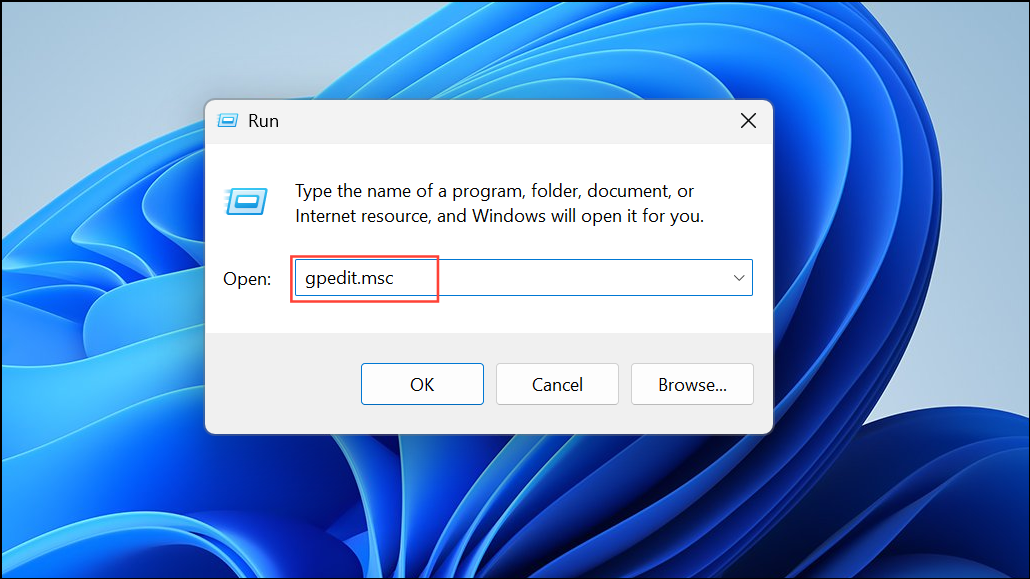
Step 1: If you suspect this is the case, open the Local Group Policy Editor by pressing Windows + R, typing gpedit.msc, and pressing Enter.
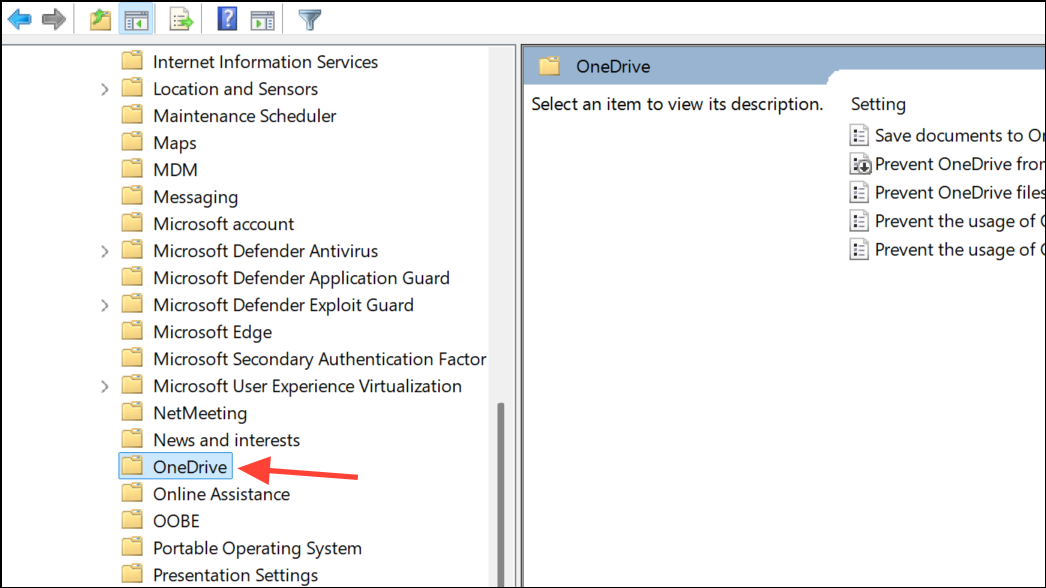
Step 2: Navigate to Computer Configuration > Administrative Templates > Windows Components > OneDrive.
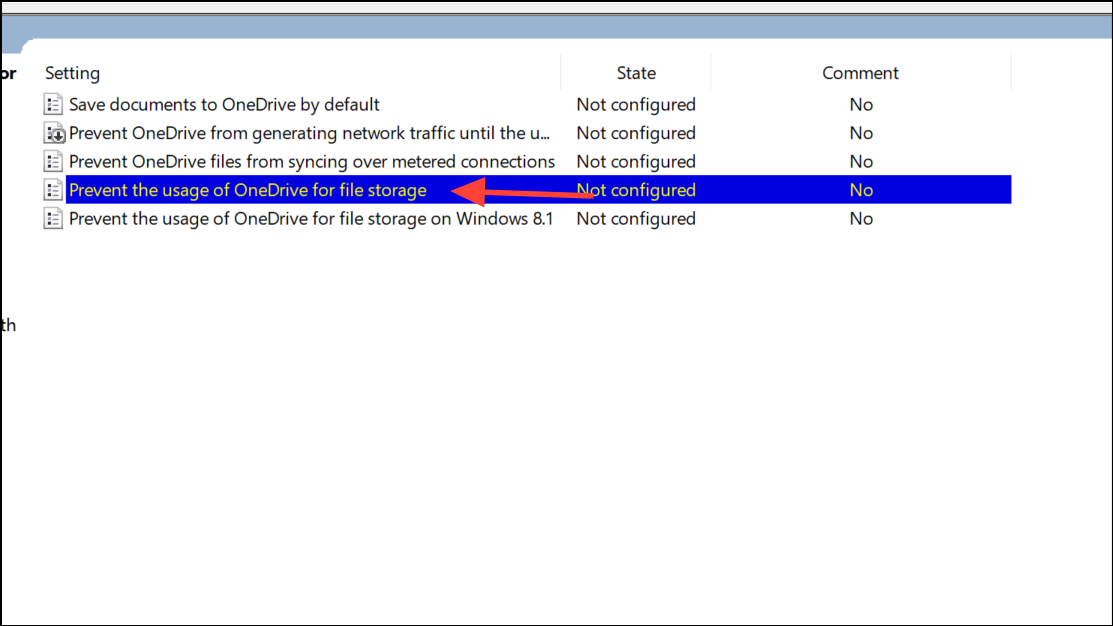
Step 3: Look for the setting Prevent the usage of OneDrive for file storage. If this is enabled, OneDrive will not run.
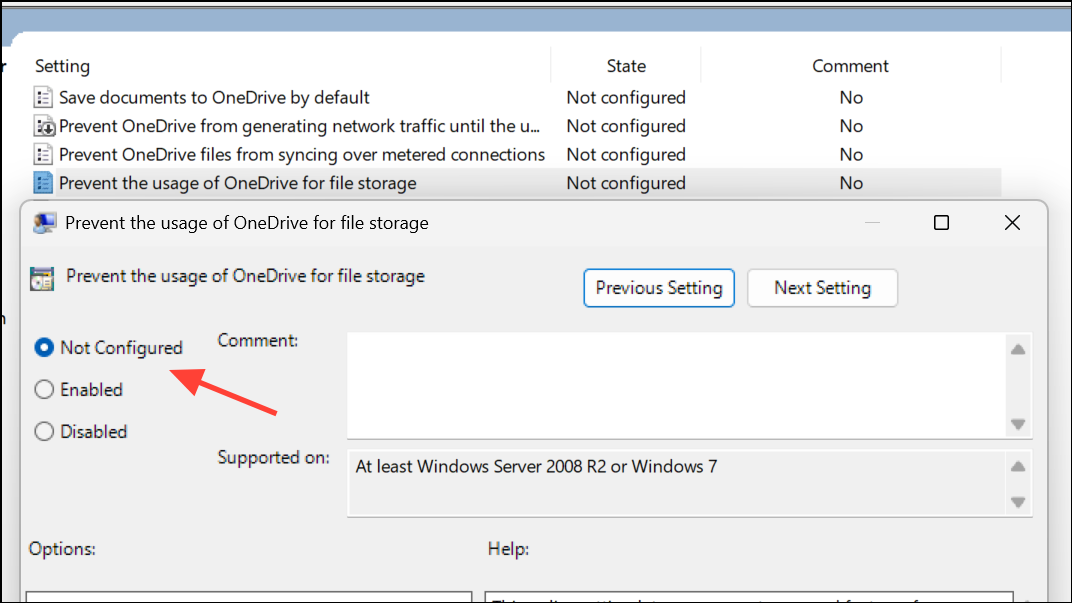
Step 4: Set it to Not Configured or Disabled if you have permission. On corporate or school devices, you may need to contact your IT department to adjust these policies.
Restoring OneDrive’s automatic startup ensures your files remain synchronized and accessible as soon as you log in. If issues persist after these steps, checking for Windows updates or seeking IT support may be necessary for deeper troubleshooting.