How to Fix Spacebar or Enter Key Not Working Issue in Windows 11
5 solutions that are bound to fix all your keyboard woes on Windows 11.
5 solutions that are bound to fix all your keyboard woes on Windows 11.
by Parth Sawhney
Experiencing your Spacebar or Enter key not working on Windows 11 can be highly frustrating. Fortunately, if the issue is software-related, there are several methods you can try to restore your keyboard’s functionality. This guide provides detailed steps to help you resolve the problem.
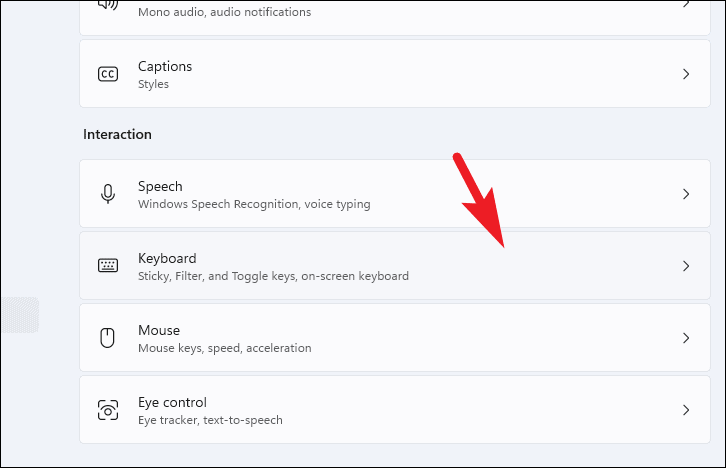
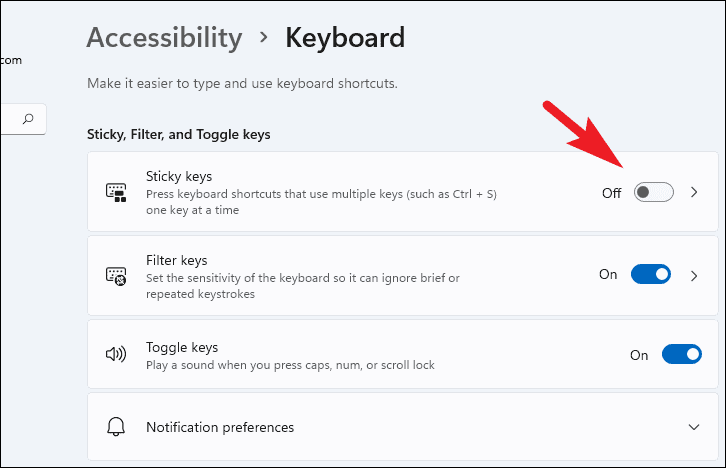
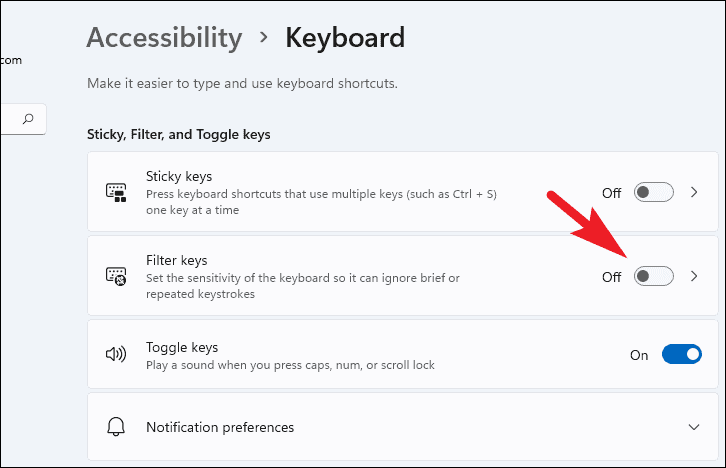
Turn off Sticky and Filter Keys on your computer
Sticky Keys and Filter Keys are accessibility features that can sometimes interfere with normal keyboard operation. Disabling these settings may resolve the issue with your Spacebar or Enter key.
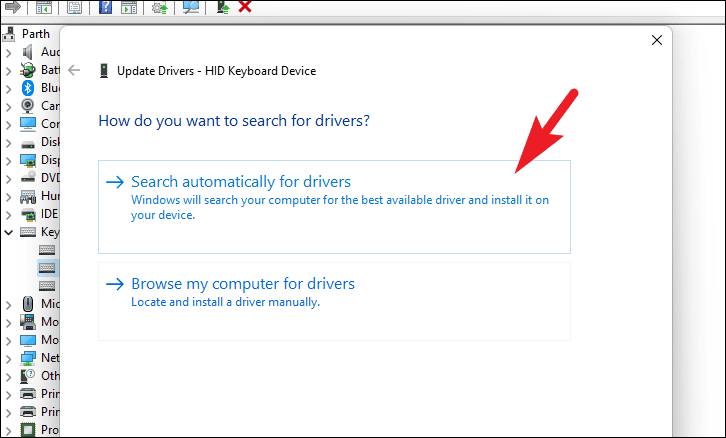
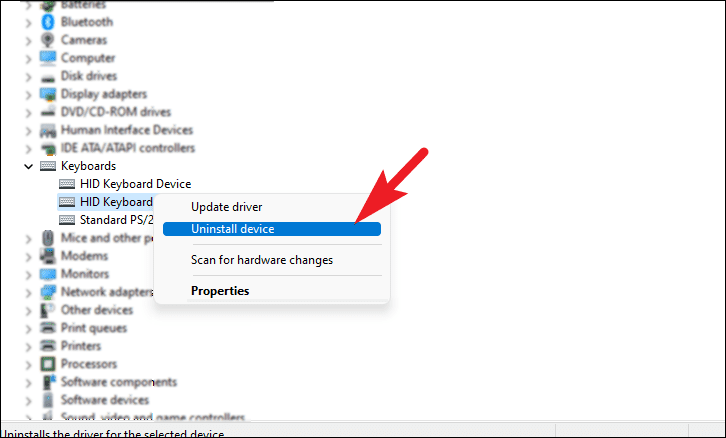
In the Update Drivers window, choose Search automatically for drivers to allow Windows to find and install the latest driver. If you have a driver downloaded, select Browse my computer for drivers and locate it manually.
After updating, check if your keyboard’s Spacebar and Enter keys are working.
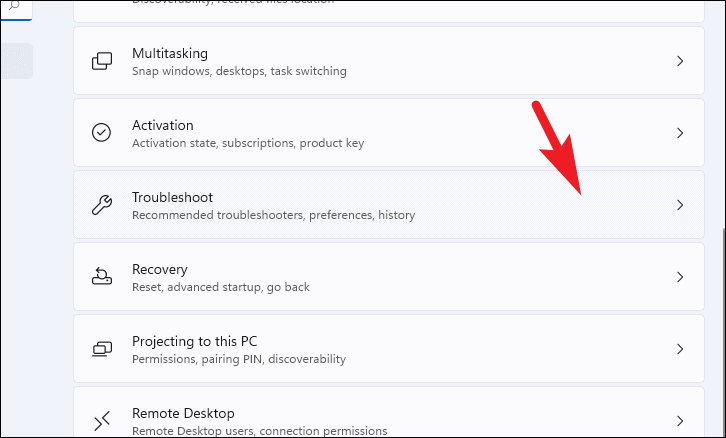
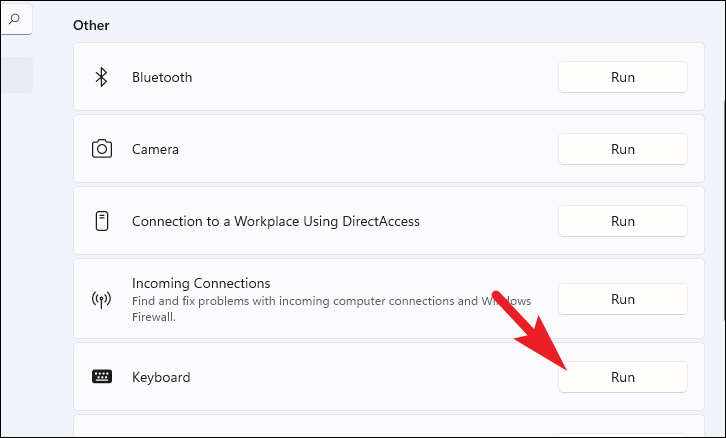
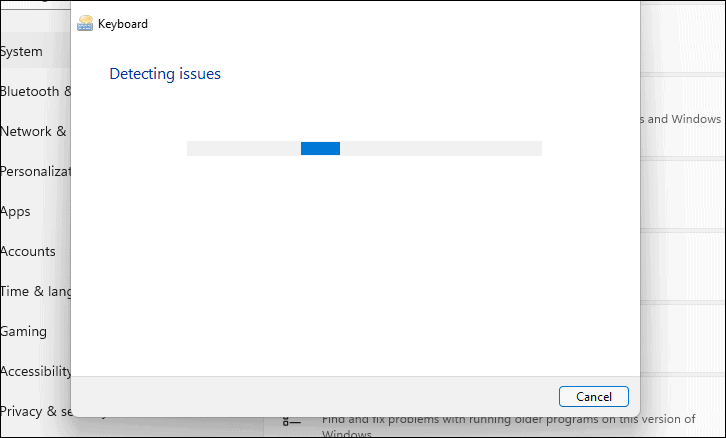
Run the keyboard troubleshooter
Windows 11 includes a built-in troubleshooter that can detect and fix keyboard problems automatically.
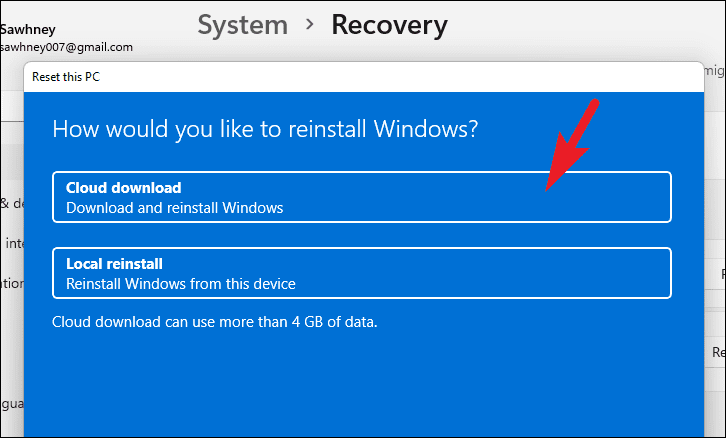
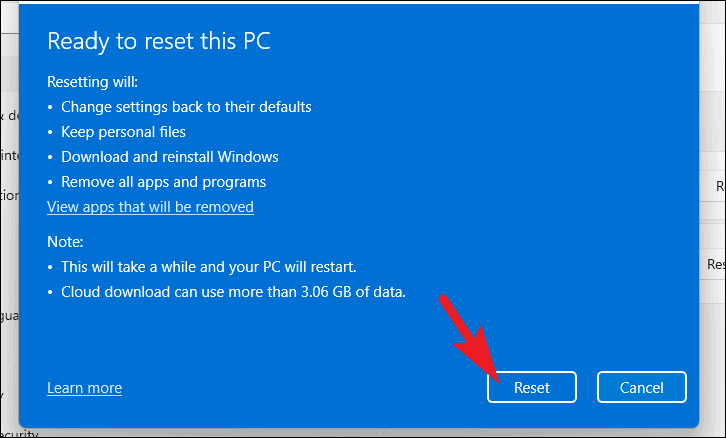
Select either Cloud download or Local reinstall. Cloud download will download a fresh copy of Windows from Microsoft, which may be more reliable but requires an internet connection and at least 4 GB of data.
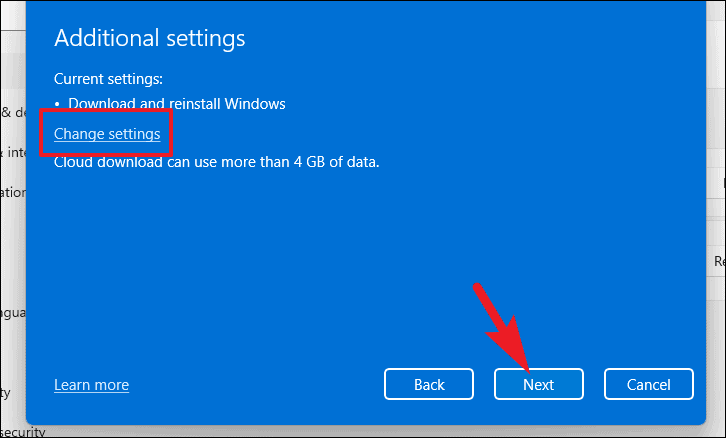
Read the information on the next screen and click Reset to begin the process.
Your computer will restart and begin the reset process. This may take some time and your PC may restart several times. Once completed, check if the Spacebar and Enter keys are working.
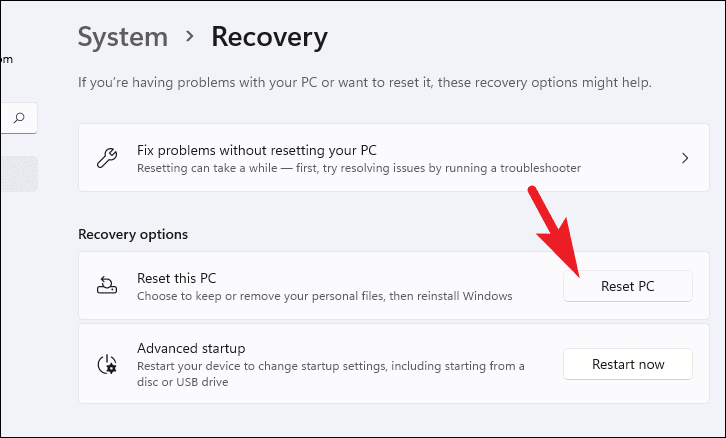
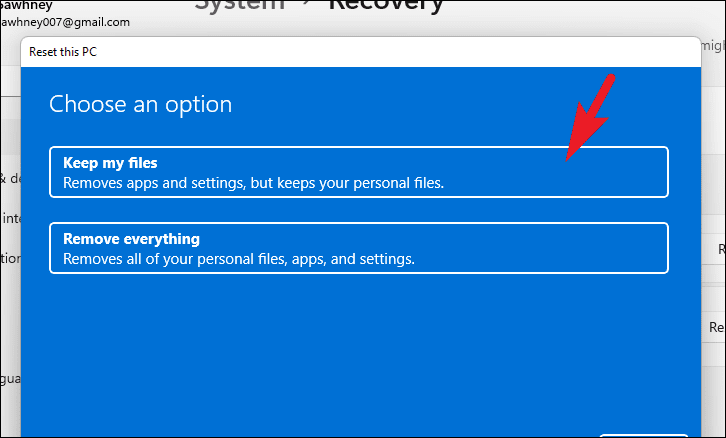
If these methods do not resolve the issue, it’s possible that the problem is hardware-related. In that case, consider consulting a professional technician or replacing the keyboard.