
Encountering a Blue Screen of Death (BSOD) like the srttrail.txt error can be quite alarming, especially when your PC ends up in a continuous reboot loop. This issue often arises when there are corrupted system files or other underlying problems that Windows’ Startup Repair can’t resolve on its own. Fortunately, there are several methods you can try to fix this error and restore your system’s functionality.
Method 1: Repair Corrupted System Files Using DISM, SFC, and CHKDSK
Corrupted or damaged system files are a common cause of the srttrail.txt BSOD error. Running the DISM (Deployment Image Servicing and Management), SFC (System File Checker), and CHKDSK (Check Disk) commands can help repair these files and fix disk errors. It’s important to run these commands in the order specified to ensure that your system files are properly restored.
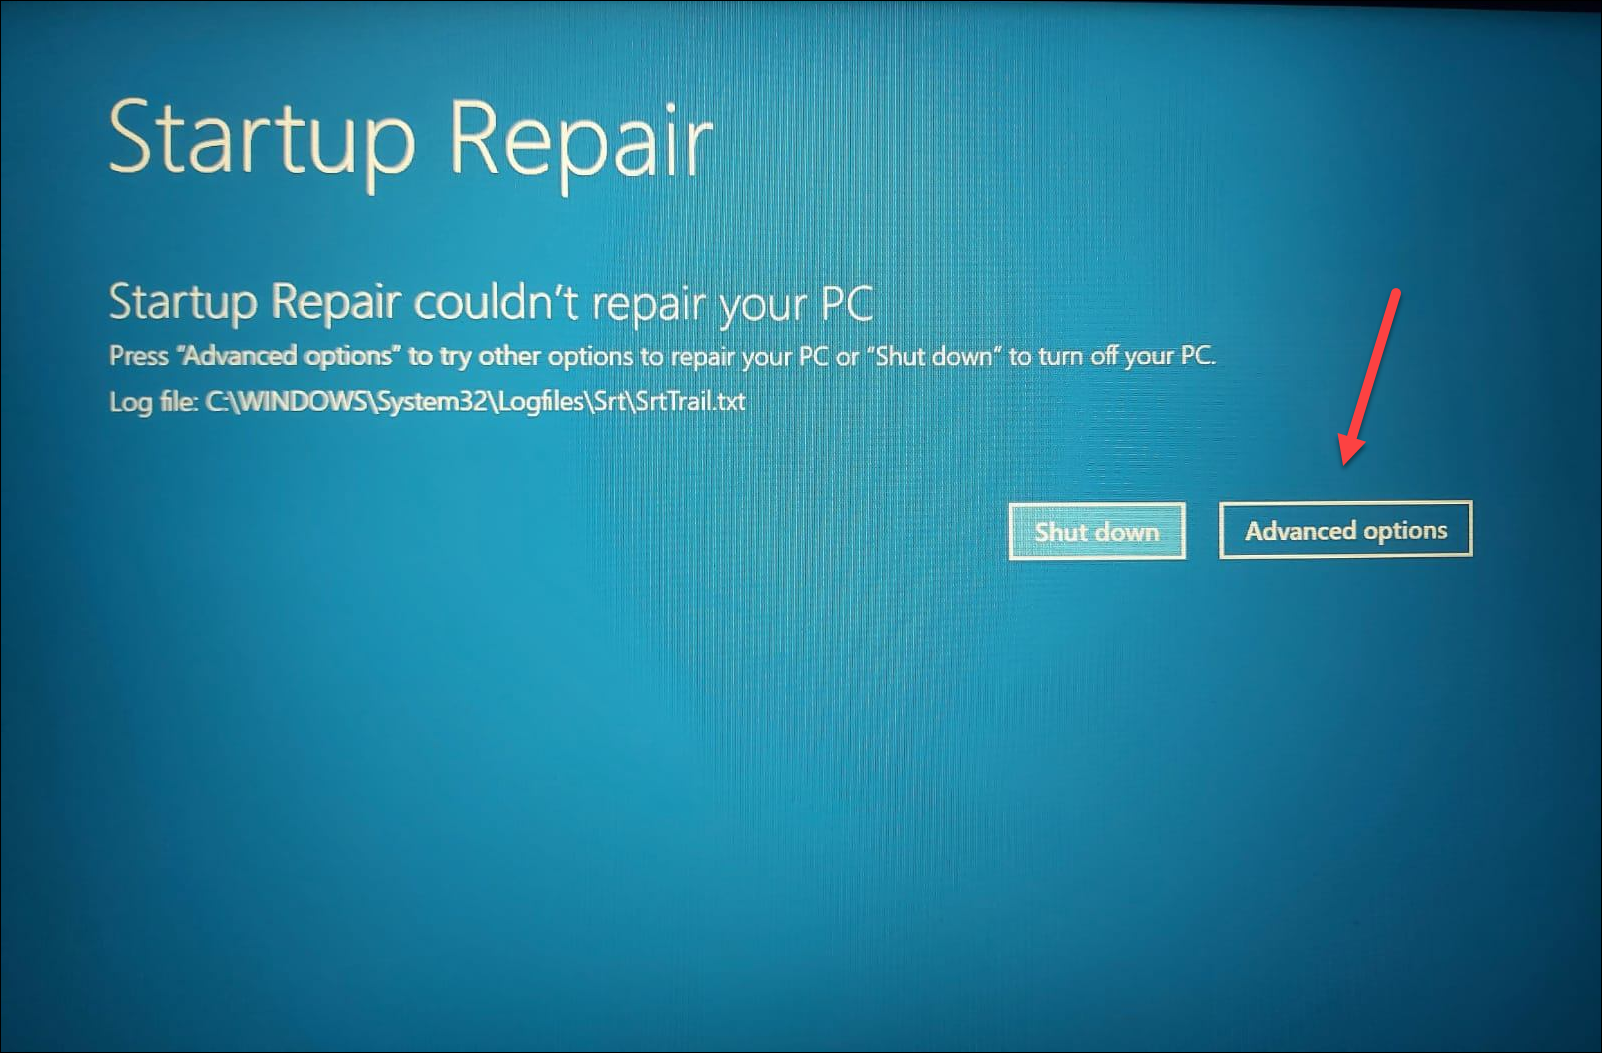
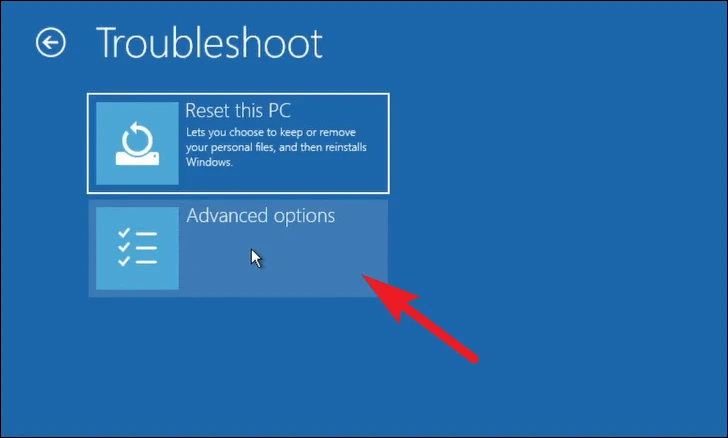
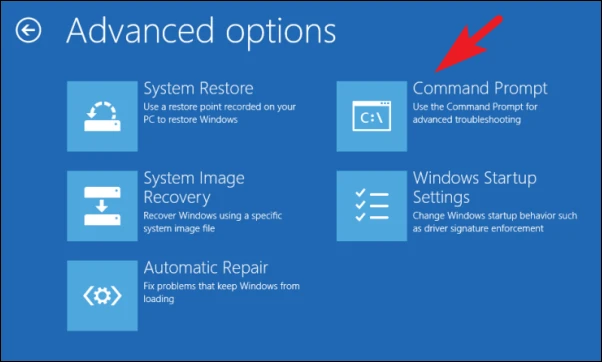
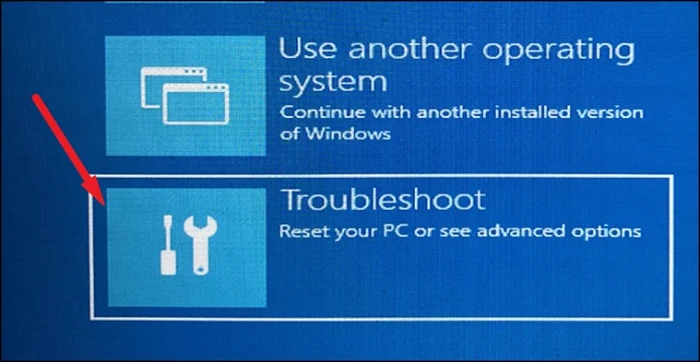
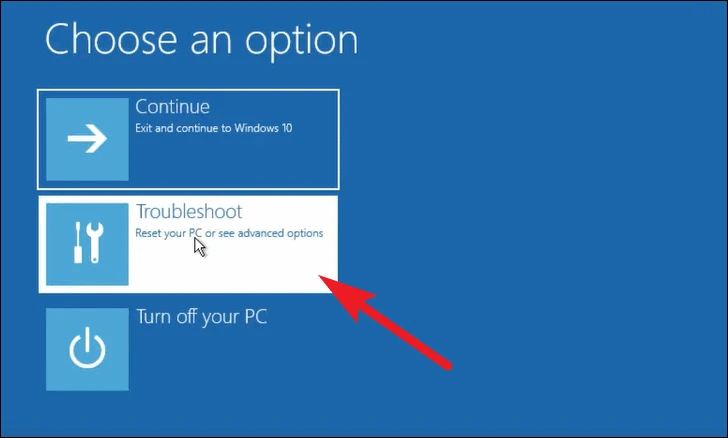
If you’re not seeing the Startup Repair screen and can’t log in to Windows, perform a hard shutdown by holding down the power button for about 20 seconds as soon as your PC starts to boot. Repeat this process three times. On the fourth boot, Windows should enter the Automatic Repair mode. On the Automatic Repair screen, click on the ‘Troubleshoot’ option.


Enter to run DISM and restore the health of your system image:DISM /Online /Cleanup-Image /RestoreHealth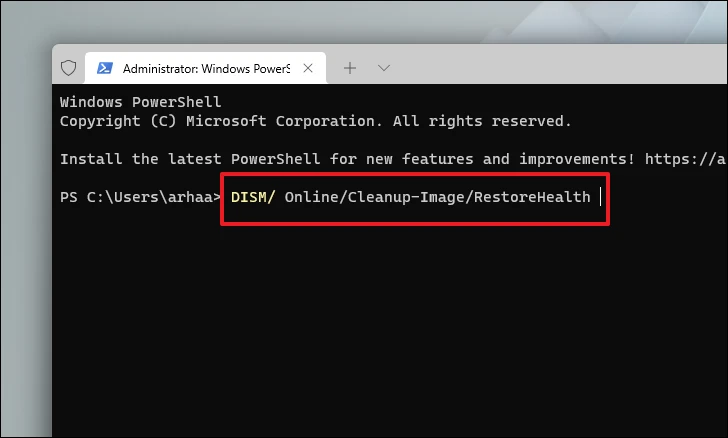
Enter to run the System File Checker and repair any corrupted system files:SFC /scannow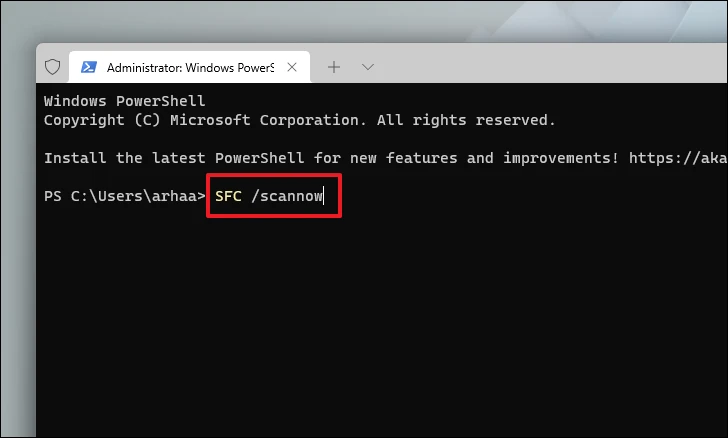
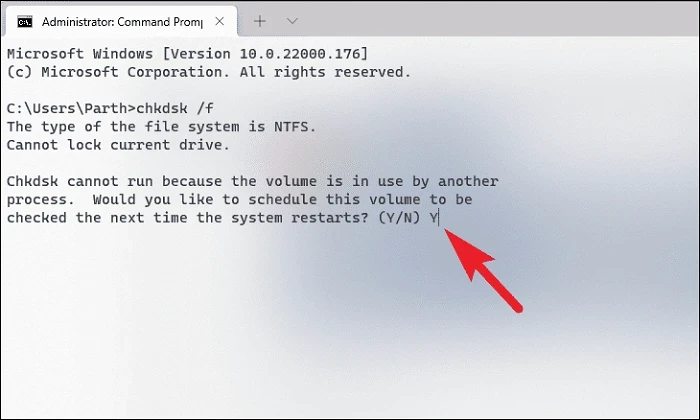
Enter to check your disk for errors:chkdsk /f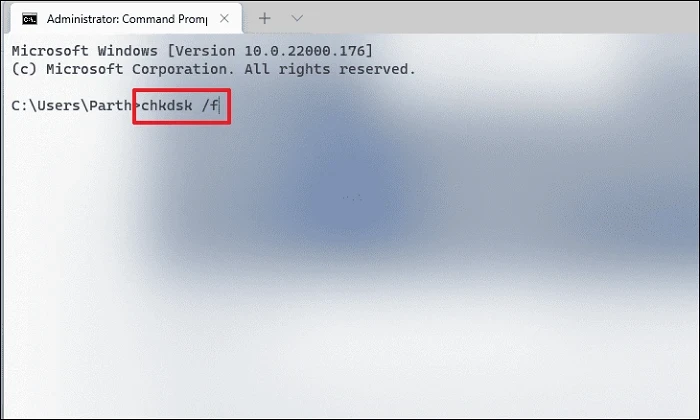
Method 2: Repair the Master Boot Record (MBR)
A corrupted Master Boot Record can prevent your system from booting properly, leading to errors like srttrail.txt. Repairing the MBR can often fix these boot issues.
bootrec.exe /rebuildbcdbootrec.exe /fixmbrbootrec.exe /fixboot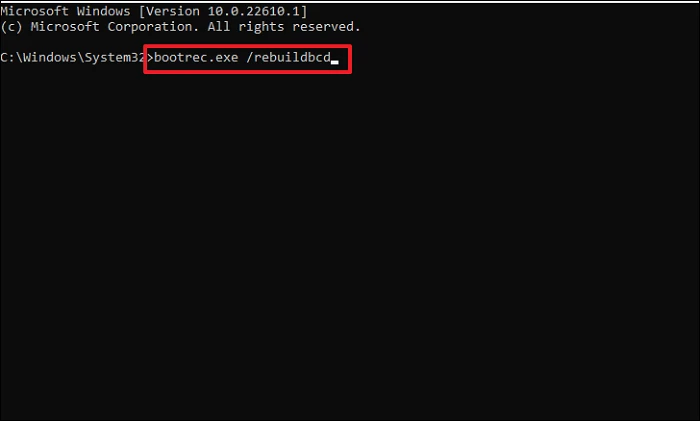
Method 3: Disable Automatic Startup Repair
Sometimes, the Automatic Startup Repair feature can get stuck in a loop and prevent your system from booting properly. Disabling it might allow your system to boot normally.
bcdedit /set {default} recoveryenabled No
Method 4: Disconnect External Devices
Faulty or incompatible external devices can sometimes interfere with the boot process. Disconnecting them might resolve the BSOD error.
If the issue persists after disconnecting external devices, proceed to the next method.
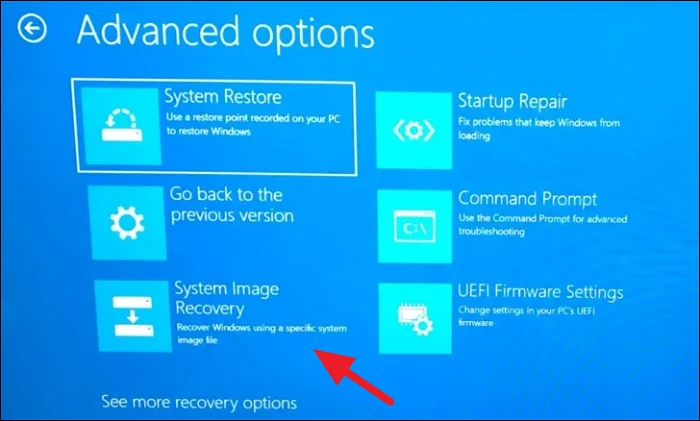
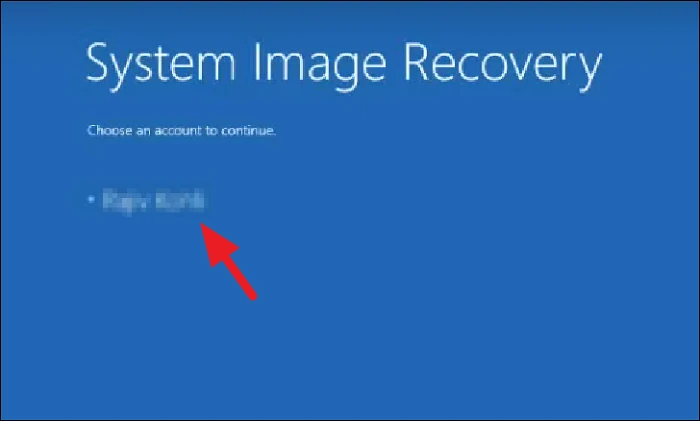
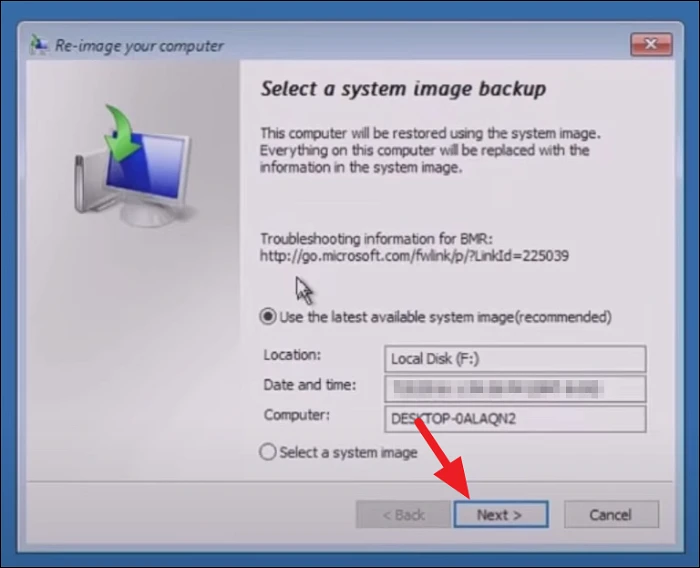
Method 5: Restore Your System from a Backup
If you have a previous system backup, restoring your PC to an earlier state might resolve the error. Keep in mind that this will remove any applications or files added after the backup was created.
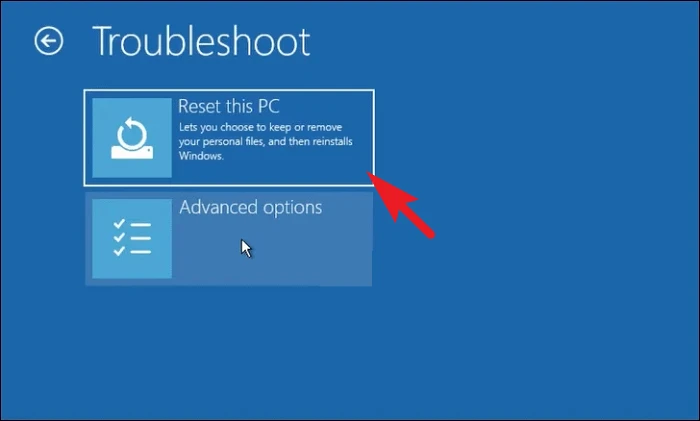
Method 6: Reset Your PC
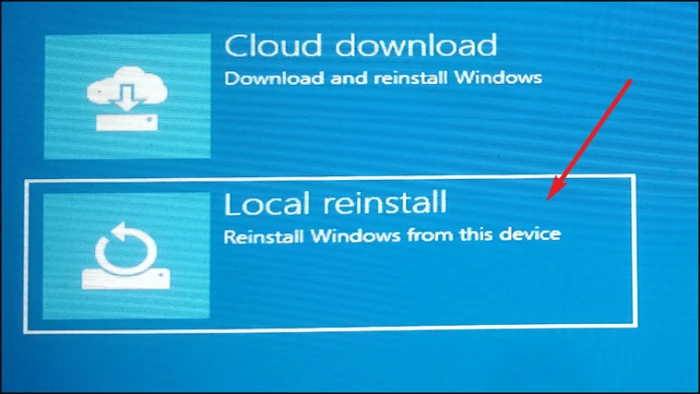
If none of the above methods work, resetting your PC might be the solution. This will reinstall Windows and can either keep your personal files or remove everything, depending on your choice.

Note: ‘Cloud download’ requires an active internet connection and will consume a significant amount of data.
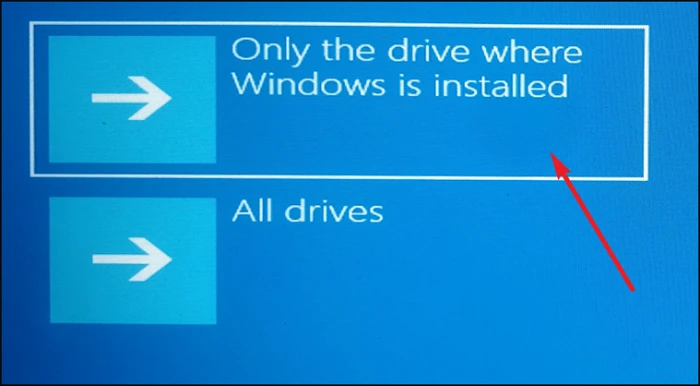

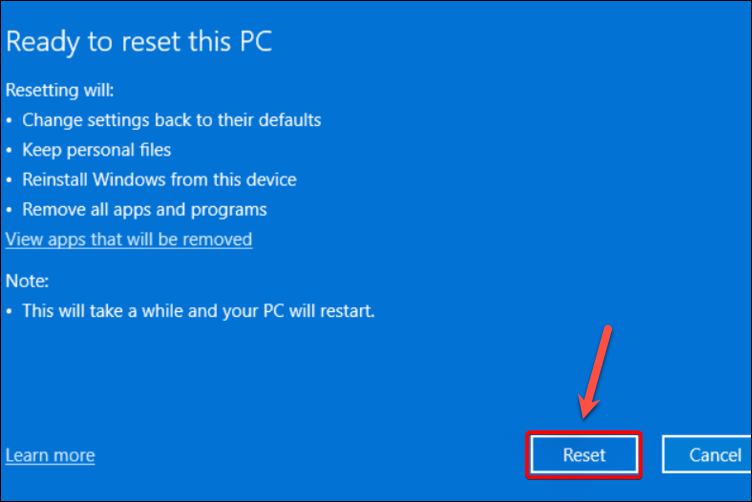
After the reset is complete, your PC should no longer experience the srttrail.txt BSOD error.
Hopefully, one of these methods helped you fix the srttrail.txt BSOD error on your Windows 11 PC. If the problem persists, consider seeking professional technical support.


